この記事について
shadowとwillとretainを活用してAWS IoT CoreとPubSubする⑩mosquittoでshadow updateで行ったmosquittoでのmessage pubsub、shadow update/getに続いてmessage retainとwill(notification)を設定します。
shadowとwillとretainを活用してAWS IoT CoreとPubSubする⑤pahoでretainとwillで詳細に説明した内容は割愛します。
retain
AWS IoTでsubした最新messageを、S3やDynamoDBに保存するのではなくIoT Coreで保持します。

設定方法
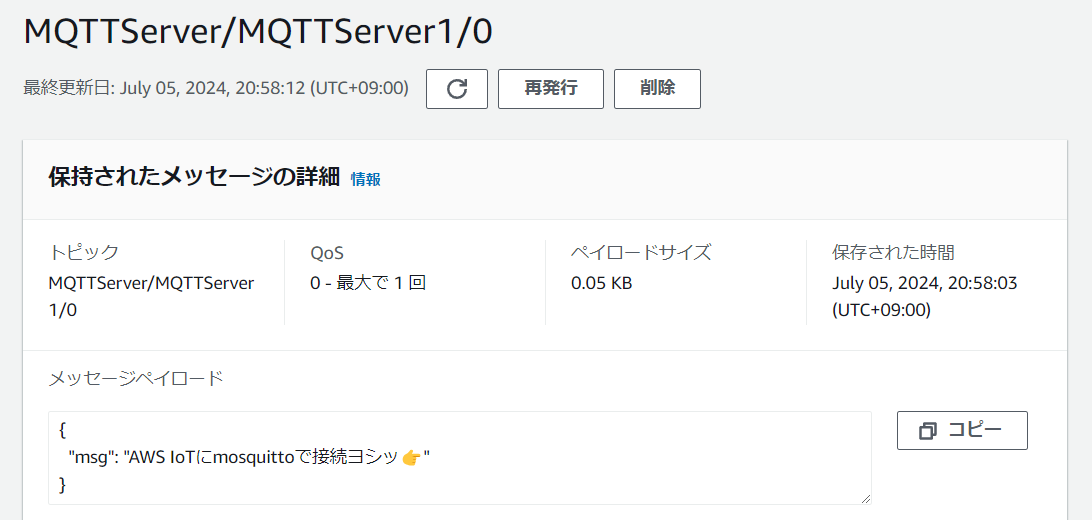
mosquittoでretainを設定するためにはmosquitto_pubコマンドにrオプションを付けます。
mosquitto_pub -h 127.0.0.1 -u ${username} -P ${password} -t $topic -m "$payload" -r
実行結果
messageの保存がコンソールで確認できました。
will
mosquittoではwill機能に変わるものとしてnotificationがあります。
pahoとAWS IoT Device SDKで説明したwillと同様の使い方が可能だと思います。
本稿では便宜上このままwillと呼ばせていただきます。

設定方法
説明はこちらです。
Place your local configuration in /etc/mosquitto/conf.d/
A full description of the configuration file is at
/usr/share/doc/mosquitto/examples/mosquitto.conf.example
# If set to true, publish notification messages to the local and remote brokers
# giving information about the state of the bridge connection. Retained
# messages are published to the topic $SYS/broker/connection/<clientid>/state
# unless the notification_topic option is used.
# If the message is 1 then the connection is active, or 0 if the connection has
# failed.
# This uses the last will and testament feature.
#notifications true

# Choose the topic on which notification messages for this bridge are
# published. If not set, messages are published on the topic
# $SYS/broker/connection/<clientid>/state
#notification_topic
説明に従い/etc/mosquitto/conf.d/bridge.confにnotification設定をします。
#以下を追加
notifications true
# will topic
notification_topic MQTTServer/MQTTServer1/will
willの動作確認
mosquittoを再起動します。
sudo systemctl enable mosquitto
sudo systemctl daemon-reload
sudo systemctl restart mosquitto
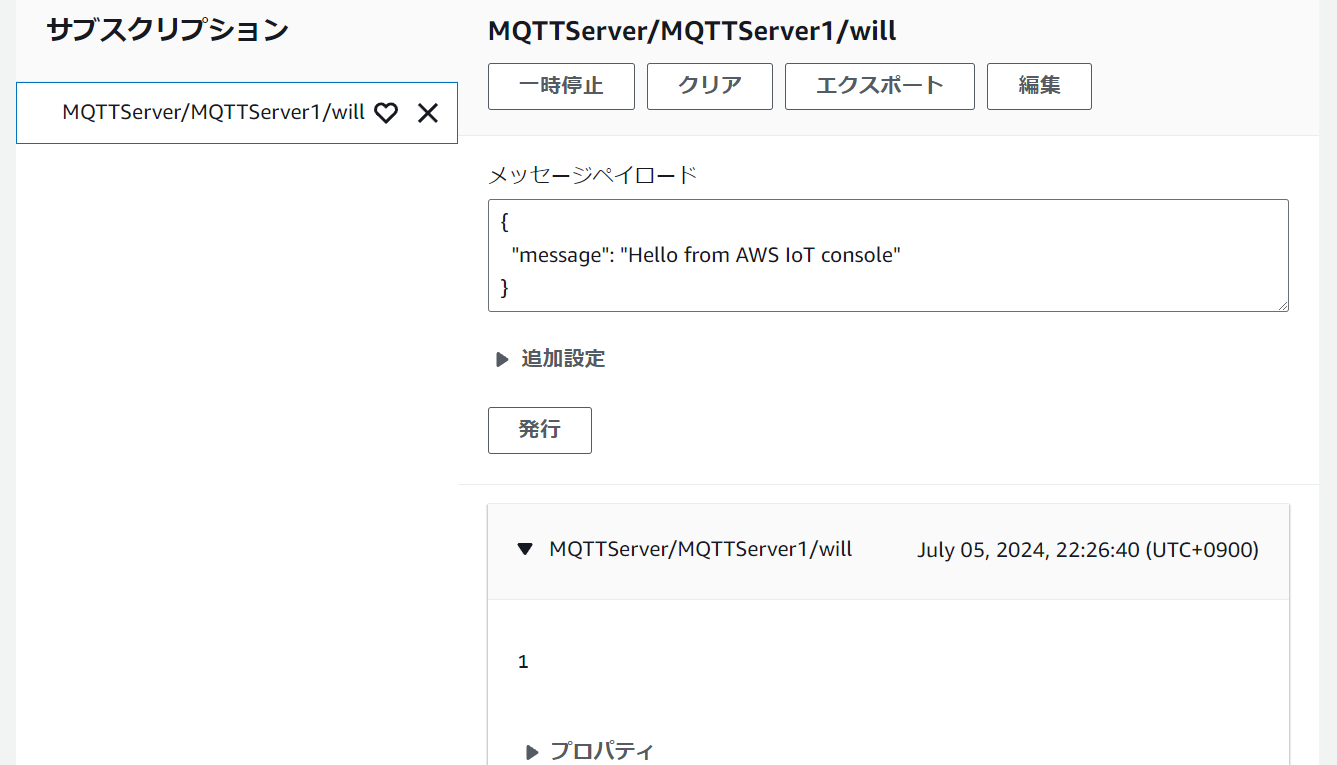
AWS IoT CoreのMQTTクライアントで接続がアクティブなことを示す1がwill topicで確認できます。
回線を切断して動作を確認します。
~ $ nmcli c
NAME     UUID                                  TYPE      DEVICE
w0-inet  26a642da-5cb5-4922-9d11-36c55c228d67  wifi      wlan0
lo       8a283e6d-f9b3-4a8a-a90c-8d761f1abf78  loopback  lo
e0-lo    c32ebcb0-ef11-4fc0-acc9-5d0322760f35  ethernet  eth0
~ $ sudo nmcli c down w0-inet
Connection 'w0-inet' successfully deactivated (D-Bus active path: /org/freedesktop/NetworkManager/ActiveConnection/3)
~ $ nmcli c
NAME     UUID                                  TYPE      DEVICE
lo       8a283e6d-f9b3-4a8a-a90c-8d761f1abf78  loopback  lo
e0-lo    c32ebcb0-ef11-4fc0-acc9-5d0322760f35  ethernet  eth0
w0-inet  26a642da-5cb5-4922-9d11-36c55c228d67  wifi      --
AWS IoT CoreのMQTTクライアントで接続失敗を示す0がwill topicで確認できました。

この1/0のフラグを接続状態判定トリガーとして使えそうです。
最後に
「shadowとwillとretainを活用してAWS IoT CoreとPubSubする」と題して11回に分けて説明してきたpaho、AWS IoT Device SDK、mosquittoを使ったAWS IoT CoreとのMQTT基本操作備忘録は以上で終了となります。
これ以外にも必要な手順が色々とありますので折を見て備忘録に追加したいと思います。
連続投稿にお付き合いいただきありがとうございました。