ログイン前
 ⇨
⇨ 
⇩
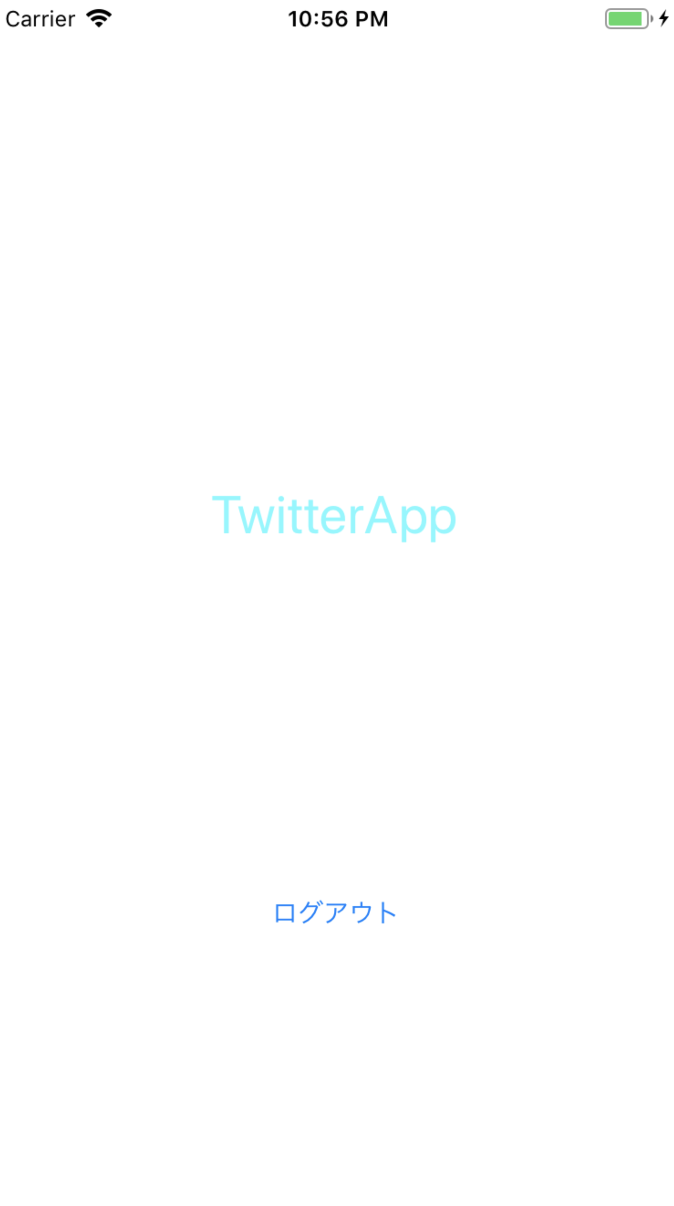
ログイン後
⇨ ⇨
⇨ 
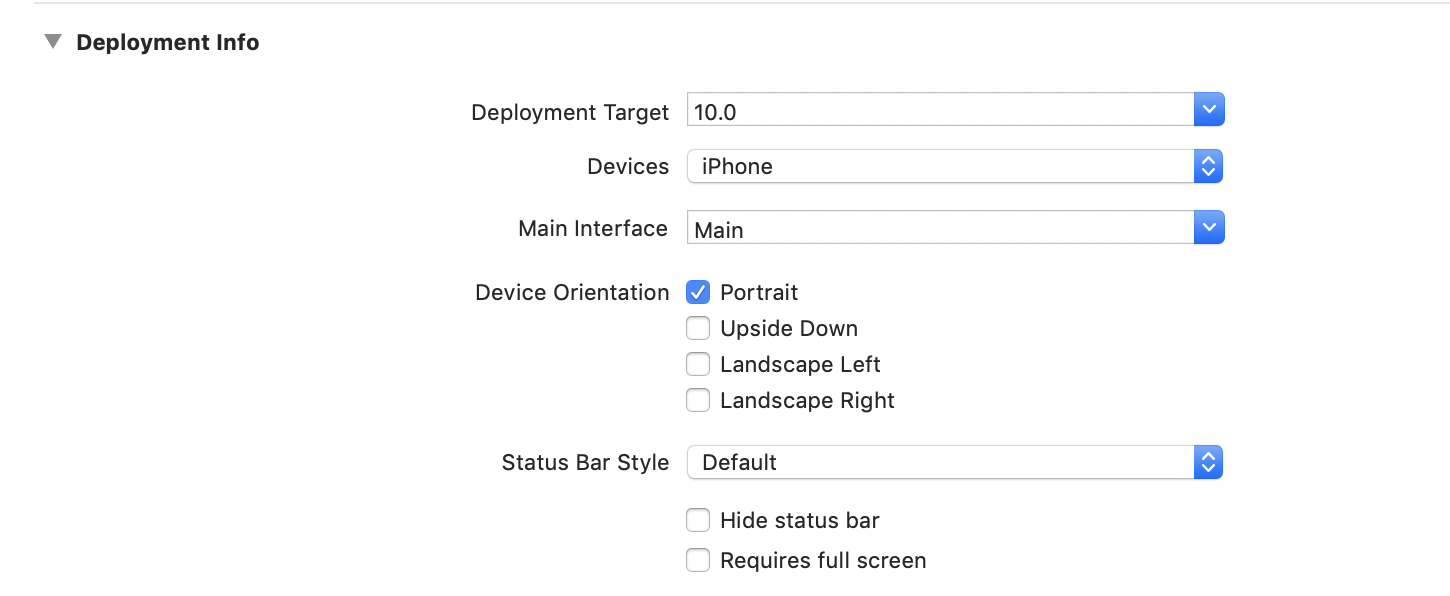
事前準備
縦画面だけの対応にするため、GeneralのDeployment infoのLandscapeLandscapeLeftとLandscaperightのチェックを外す。
今回はNCMBを使うので、こちらのページのCocoaPodsを利用する方法を用いてNCMBを導入する。
また、Storyboardを作成していきます。(赤:Outlet接続 黒:Action接続orclass)
SignIn.storyboard(自分で作る)
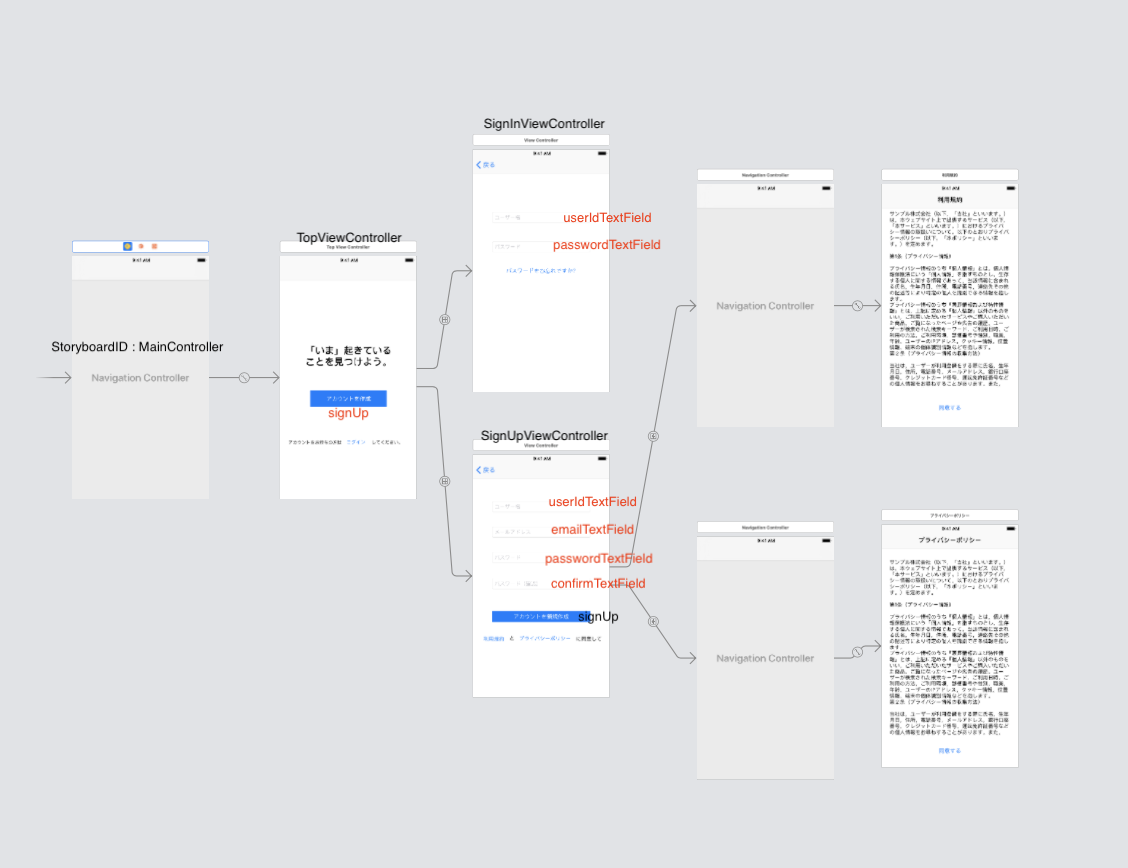
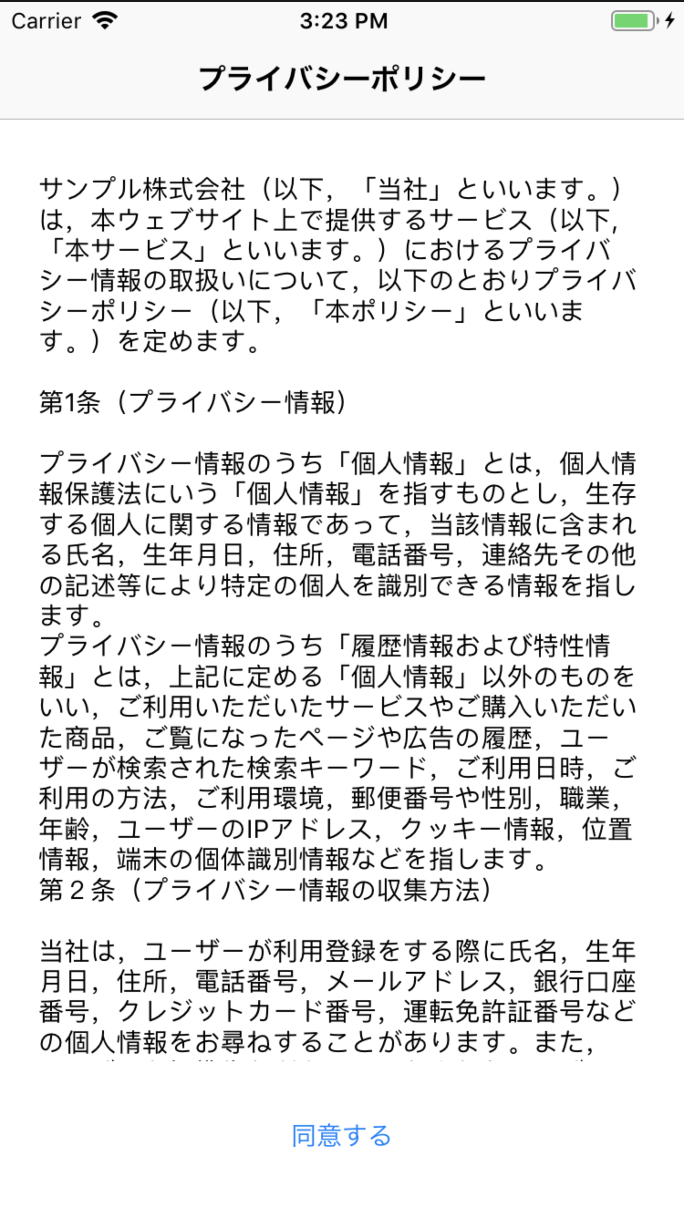
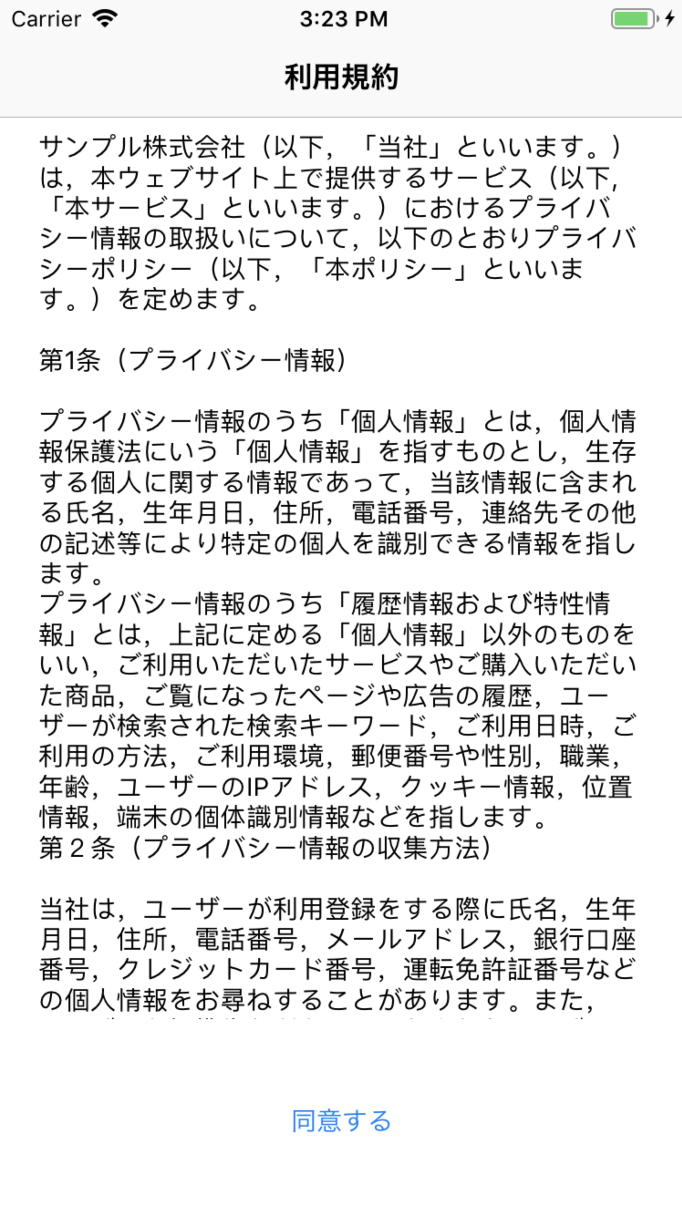
今回はパスワードを忘れたときと、利用規約、プライバシーポリシーの処理は省かせていただきます。
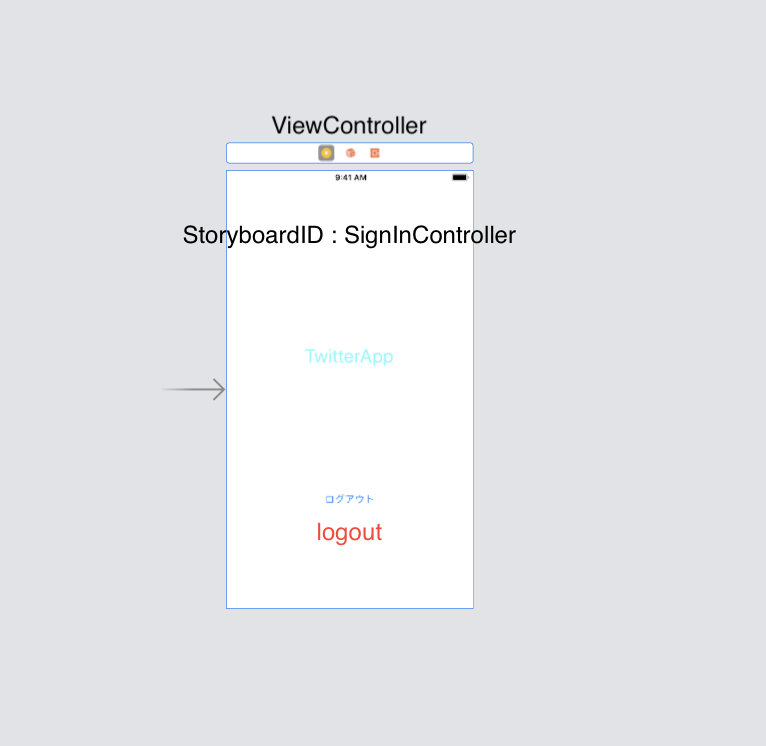
Main.storyboard
これから本題に入っていくのですが、
❶ユーザー登録
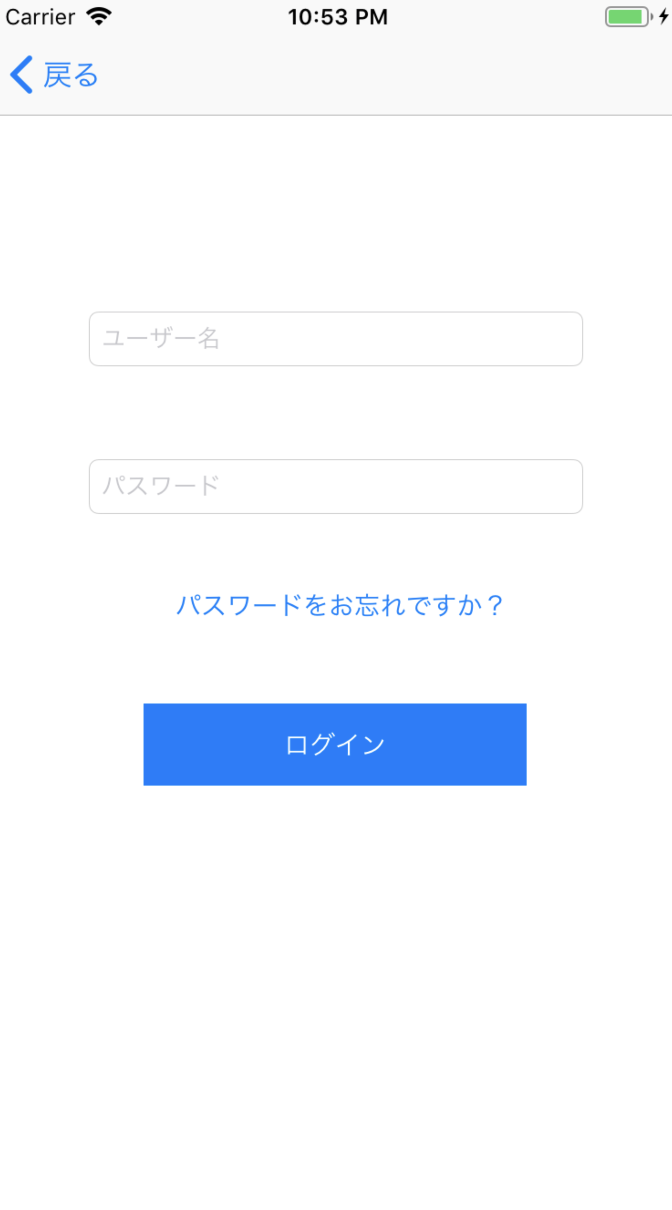
❷ログイン
❸ログアウト
➍ユーザー退会
の順番でやっていこうと思います。
ユーザー登録
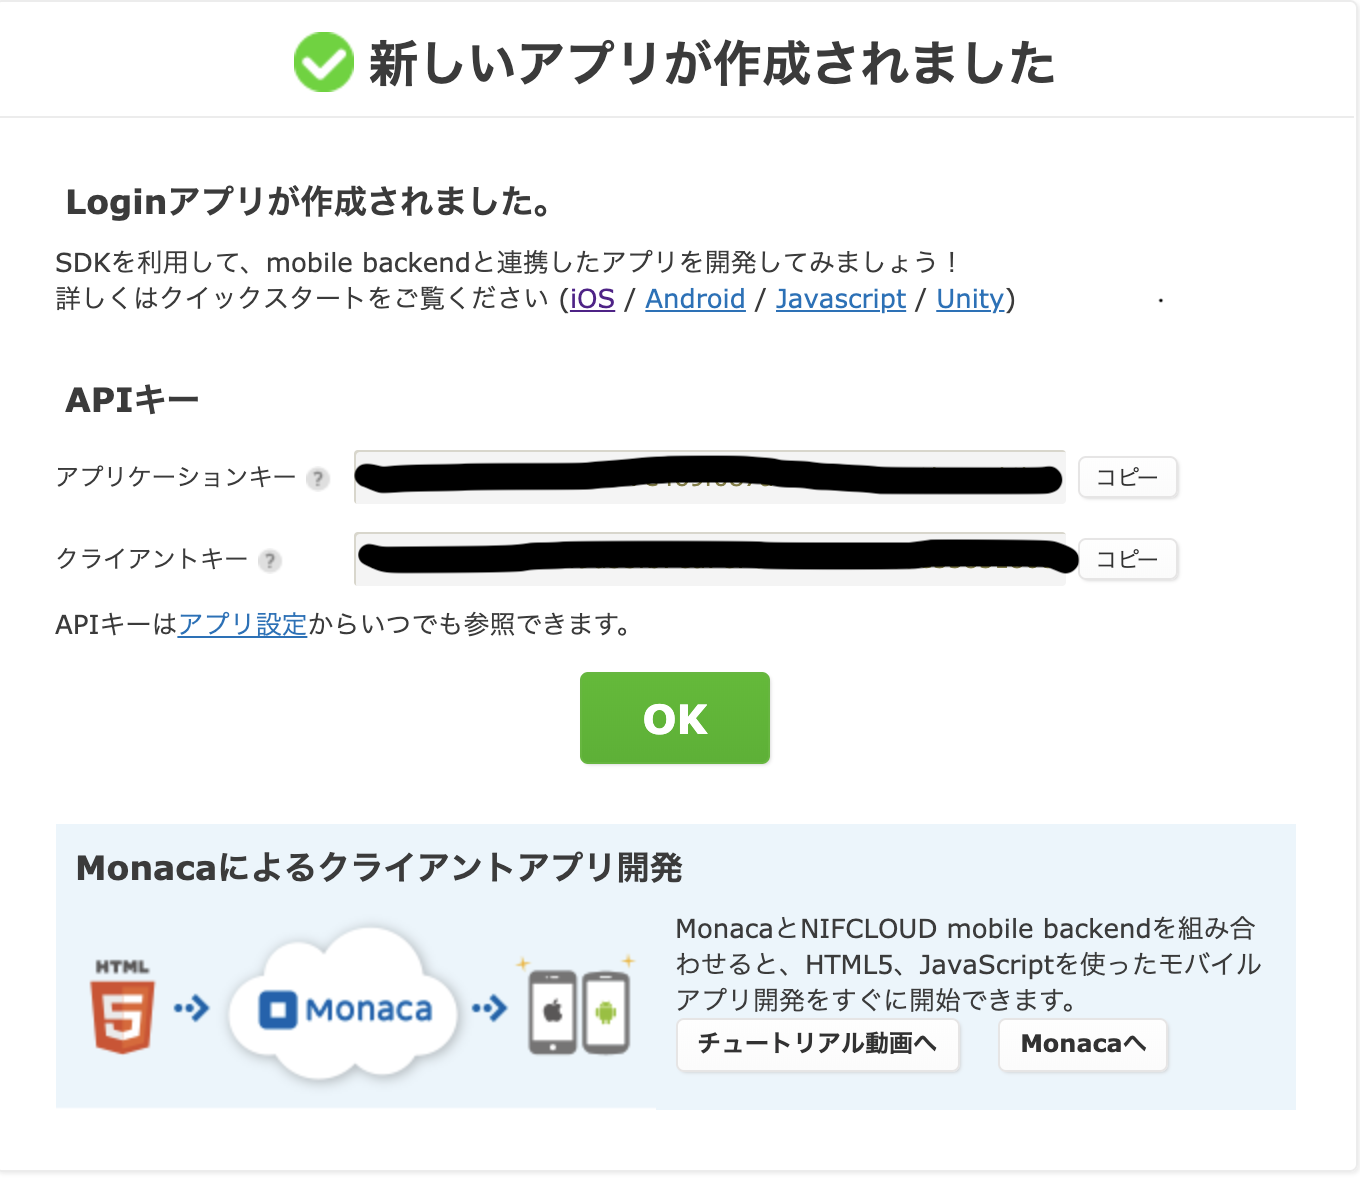
NCMBのページを開いて、アプリを作成します。
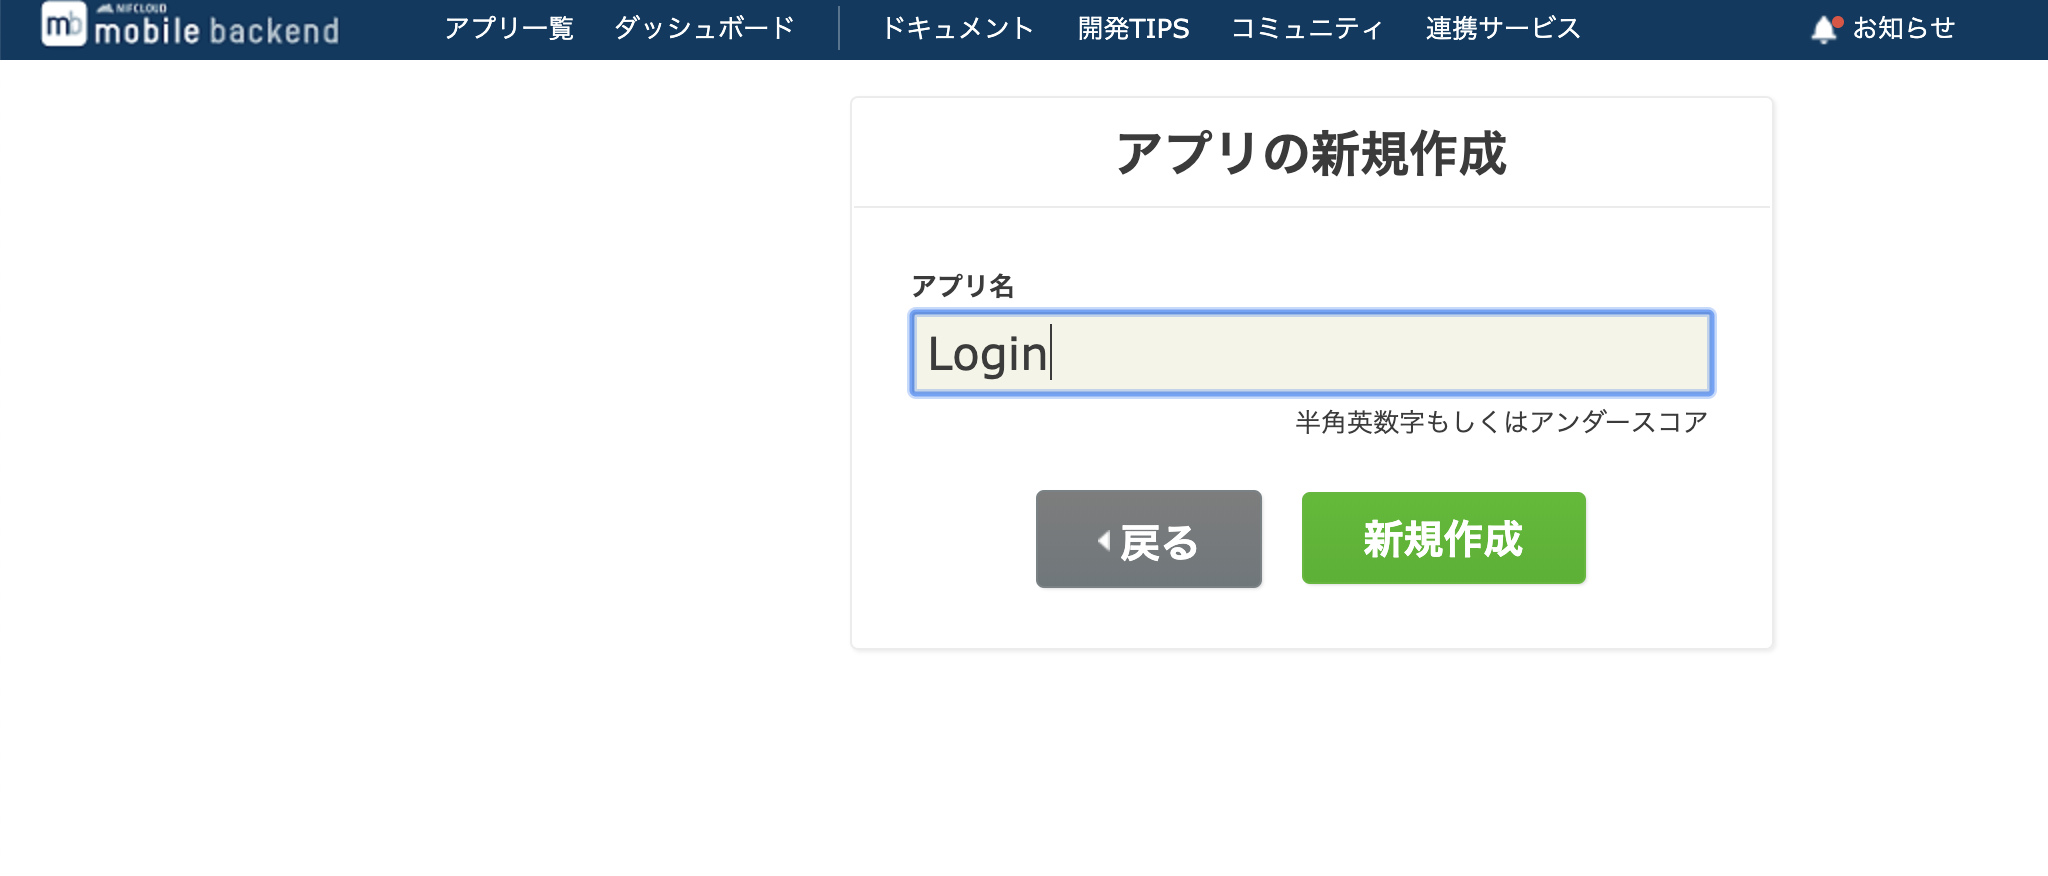
アプリケーションキーとクライアントキーはのちに使うのでコピーしておいて下さい。
AppDelegate.swiftに以下の記述を書いてください。
これでNCMBと接続が行えます。
import UIKit
import NCMB

@UIApplicationMain
class AppDelegate: UIResponder, UIApplicationDelegate {

    var window: UIWindow?


    func application(_ application: UIApplication, didFinishLaunchingWithOptions launchOptions: [UIApplication.LaunchOptionsKey: Any]?) -> Bool {

        //連携完了
        NCMB.setApplicationKey("あなたのアプリケーションキー", clientKey: "あなたのクライアントキー")
        return true
    }

    ~~~省略~~~
また、ログインしているか否かで最初の画面表示(Storyboard)が違うのでそのためのコードを書かなければなりません。
AppDelegate.swift

 func application(_ application: UIApplication, didFinishLaunchingWithOptions launchOptions: [UIApplication.LaunchOptionsKey: Any]?) -> Bool {

       ~~~省略~~~
        let ud = UserDefaults.standard
        let isLogin = ud.bool(forKey: "isLogin")

        if isLogin == true {
            // ログイン中だったら
            //画面の大きさ
            self.window = UIWindow(frame: UIScreen.main.bounds)
            let storyboard = UIStoryboard(name: "Main"
                , bundle: Bundle.main)
            //起動時の画面を設定
            let rootViewController = storyboard.instantiateViewController(withIdentifier: "MainController")
            self.window?.rootViewController = rootViewController
            self.window?.backgroundColor = UIColor.white
            //その画面を表示
            self.window?.makeKeyAndVisible()
        } else {
            // ログインしていなかったら
            self.window = UIWindow(frame: UIScreen.main.bounds)
            let storyboard = UIStoryboard(name: "SignIn", bundle: Bundle.main)
            let rootViewController = storyboard.instantiateViewController(withIdentifier: "SignInController")
            self.window?.rootViewController = rootViewController
            self.window?.backgroundColor = UIColor.white
            self.window?.makeKeyAndVisible()
        }
        return true
    }
これで起動時の画面が決定しました。
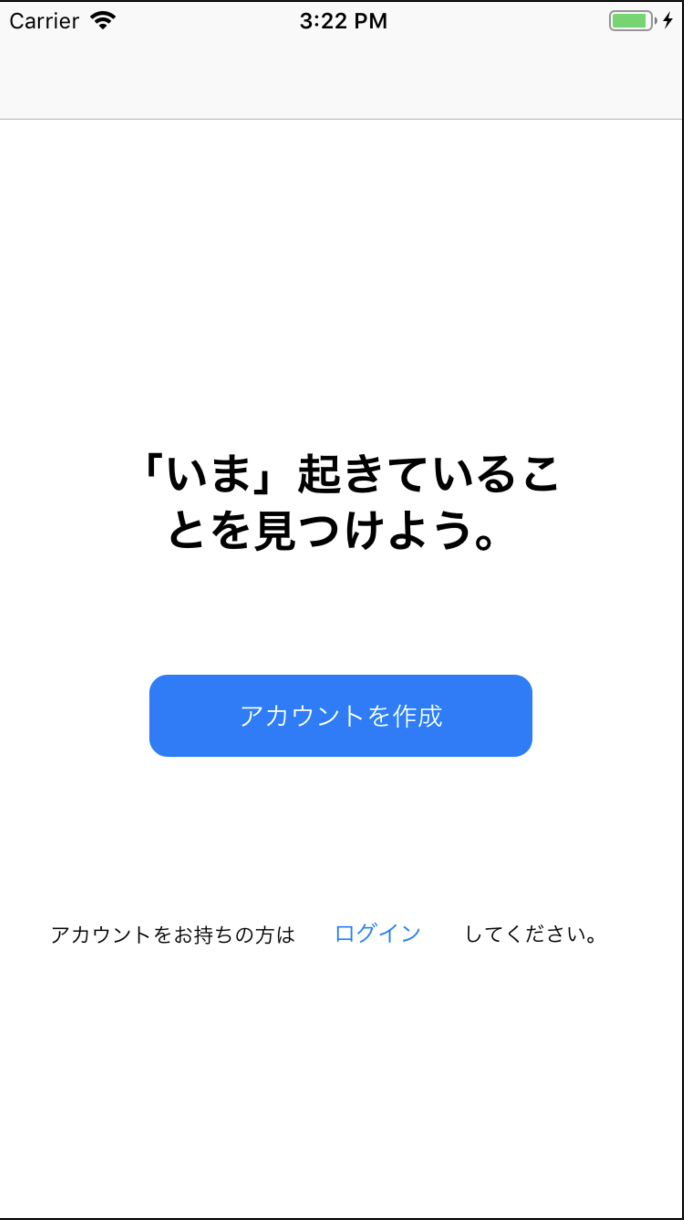
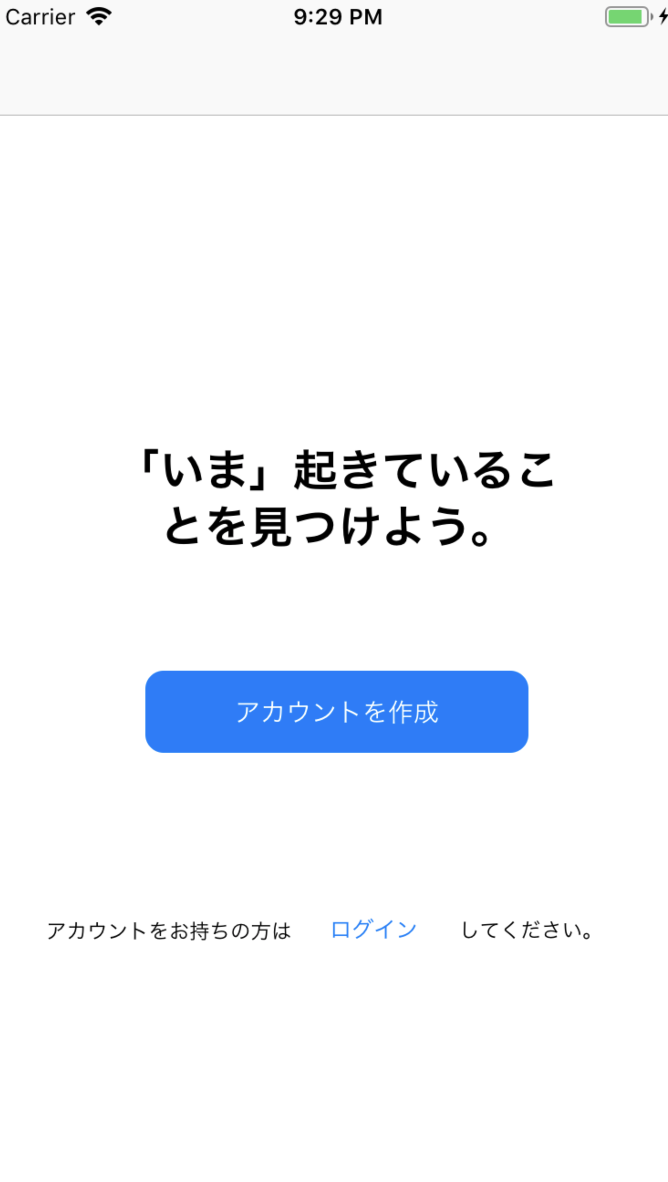 このような丸みを帯びたボタンにするために以下のコードを書いていきます。
import UIKit

class TopViewController: UIViewController {
    @IBOutlet weak var signUp: UIButton!

    override func viewDidLoad() {
        super.viewDidLoad()

        //角丸サイズ
        signUp.layer.cornerRadius = 10.0
    }
}
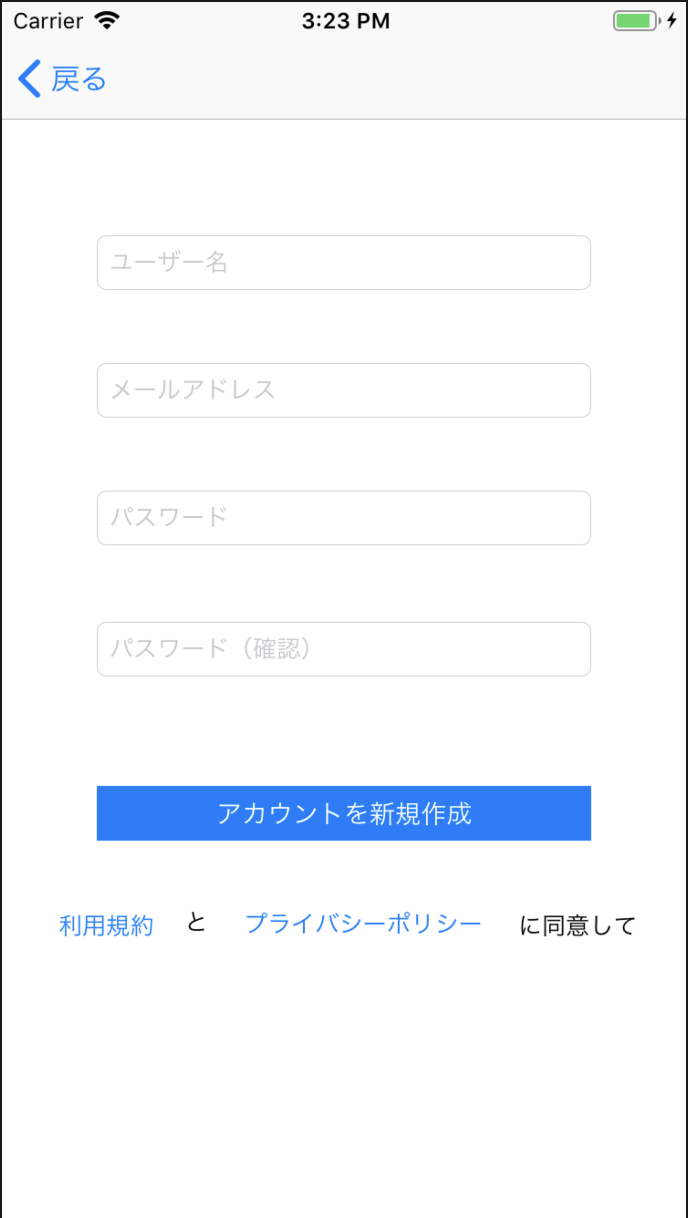
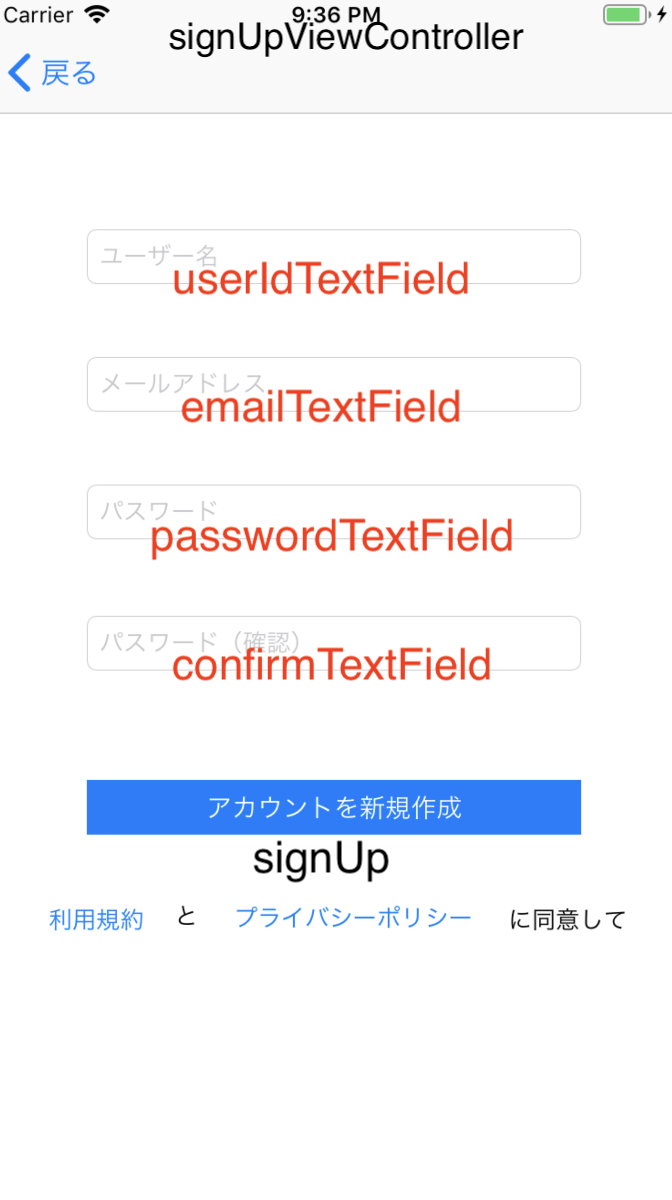
次にアカウント作成ページを作っていきましょう。
import UIKit
import NCMB

class SignUpViewController: UIViewController, UITextFieldDelegate {

    @IBOutlet var userIdTextField: UITextField!
    @IBOutlet var emailTextField: UITextField!
    @IBOutlet var passwordTextField: UITextField!
    @IBOutlet var confirmTextField: UITextField!

    override func viewDidLoad() {
        super.viewDidLoad()

        userIdTextField.delegate = self
        emailTextField.delegate = self
        passwordTextField.delegate = self
        confirmTextField.delegate = self
    }

    override func didReceiveMemoryWarning() {
        super.didReceiveMemoryWarning()
        // Dispose of any resources that can be recreated.
    }

    func textFieldShouldReturn(_ textField: UITextField) -> Bool {
        textField.resignFirstResponder()
        return true
    }

    @IBAction func signUp() {
        let user = NCMBUser()

        if (userIdTextField.text?.characters.count)! < 4 {
            print("文字数が足りません")
            return
        }

        user.userName = userIdTextField.text!
        user.mailAddress = emailTextField.text!

        if passwordTextField.text == confirmTextField.text {
            user.password = passwordTextField.text!
        } else {
            print("パスワードの不一致")
        }

        user.signUpInBackground { (error) in
            if error != nil {
                // エラーがあった場合
                print(error)
            } else {
                // 登録成功
                let storyboard = UIStoryboard(name: "Main", bundle: Bundle.main)
                let rootViewController = storyboard.instantiateViewController(withIdentifier: "MainController")<img width="338" alt="スクリーンショット 2019-07-04 22.35.52.png" src="https://qiita-image-store.s3.ap-northeast-1.amazonaws.com/0/325764/90f22961-fbfc-55fe-9181-67a7c1a8d19b.png">
<img width="338" alt="スクリーンショット 2019-07-04 22.35.52.png" src="https://qiita-image-store.s3.ap-northeast-1.amazonaws.com/0/325764/52410859-4046-e5f8-7f2c-1f18f8d501fe.png">

                UIApplication.shared.keyWindow?.rootViewController = rootViewController

                 // ログイン状態の保持
                 let ud = UserDefaults.standard
                 ud.set(true, forKey: "isLogin")
                 ud.synchronize()

                    }
                })
            }
        }

    }
以上で簡易ではありますが、ユーザー登録の処理は終わりました。
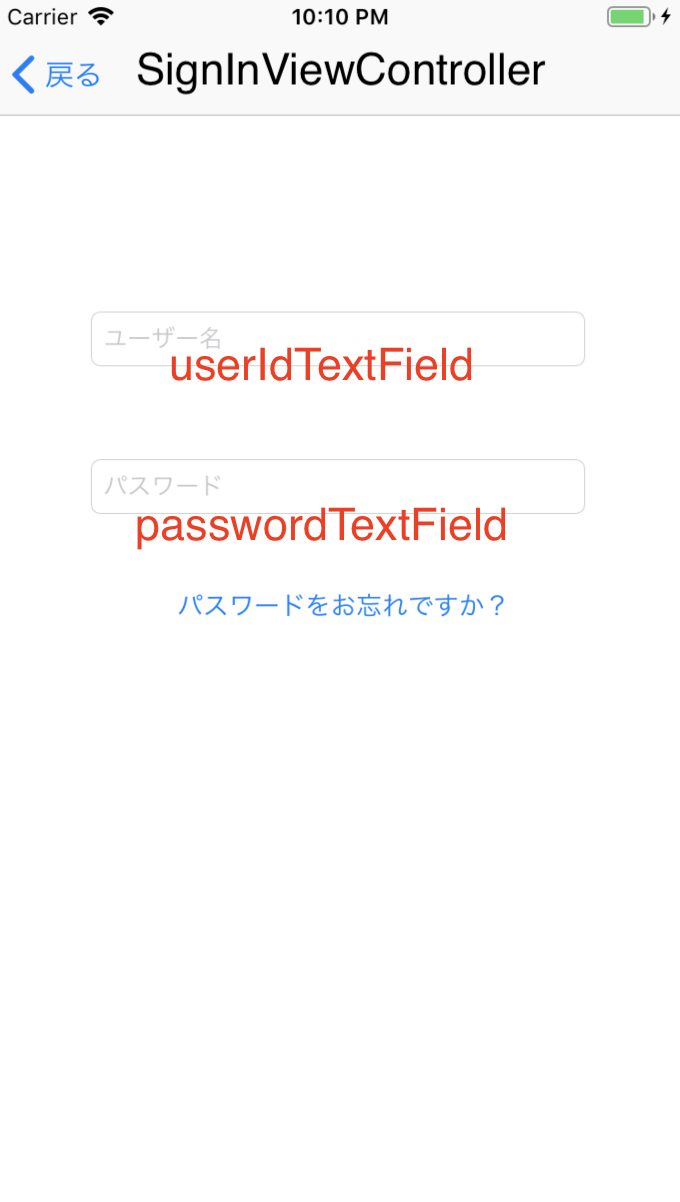
ログイン
import UIKit
import NCMB

class SignInViewController: UIViewController, UITextFieldDelegate {

    @IBOutlet var userIdTextField: UITextField!
    @IBOutlet var passwordTextField: UITextField!

    override func viewDidLoad() {
        super.viewDidLoad()

        userIdTextField.delegate = self
        passwordTextField.delegate = self
    }

    func textFieldShouldReturn(_ textField: UITextField) -> Bool {
        textField.resignFirstResponder()
        return true
    }

    @IBAction func signIn() {

        if (userIdTextField.text?.characters.count)! > 0 && (passwordTextField.text?.characters.count)! > 0 {

            NCMBUser.logInWithUsername(inBackground: userIdTextField.text!, password: passwordTextField.text!) { (user, error) in
                if error != nil {
                    print(error)
                } else {
                    // ログイン成功
                    let storyboard = UIStoryboard(name: "Main", bundle: Bundle.main)
                    let rootViewController = storyboard.instantiateViewController(withIdentifier: "MainController")
                    UIApplication.shared.keyWindow?.rootViewController = rootViewController

                    // ログイン状態の保持
                    let ud = UserDefaults.standard
                    ud.set(true, forKey: "isLogin")
                    ud.synchronize()
                    }
                }
            }
        }
    }
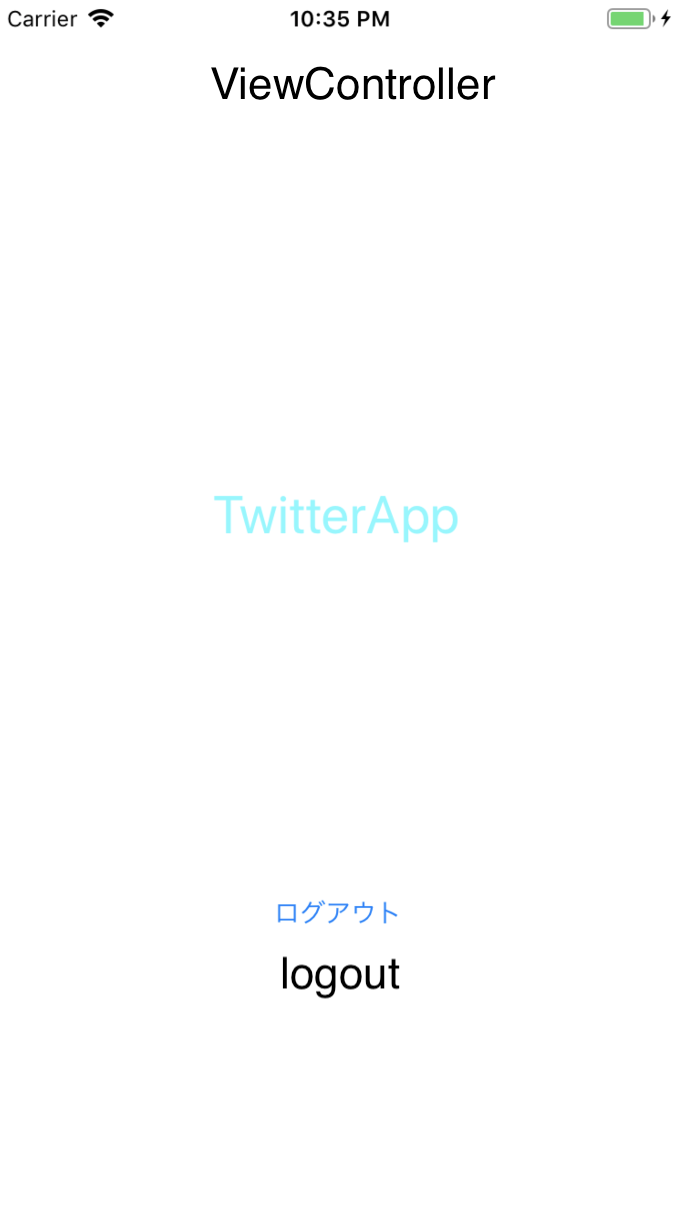
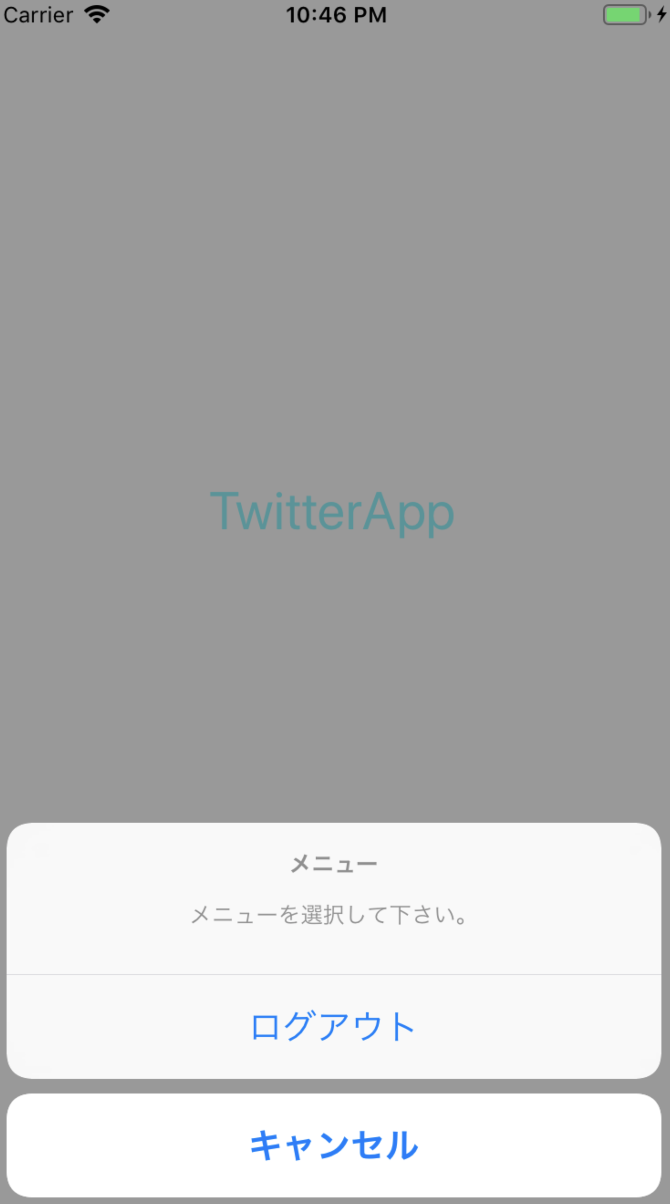
ログアウト
import UIKit
import NCMB
class ViewController: UIViewController {
override func viewDidLoad() {
super.viewDidLoad()
// Do any additional setup after loading the view, typically from a nib.
}
@IBAction func logout(_ sender: Any) {
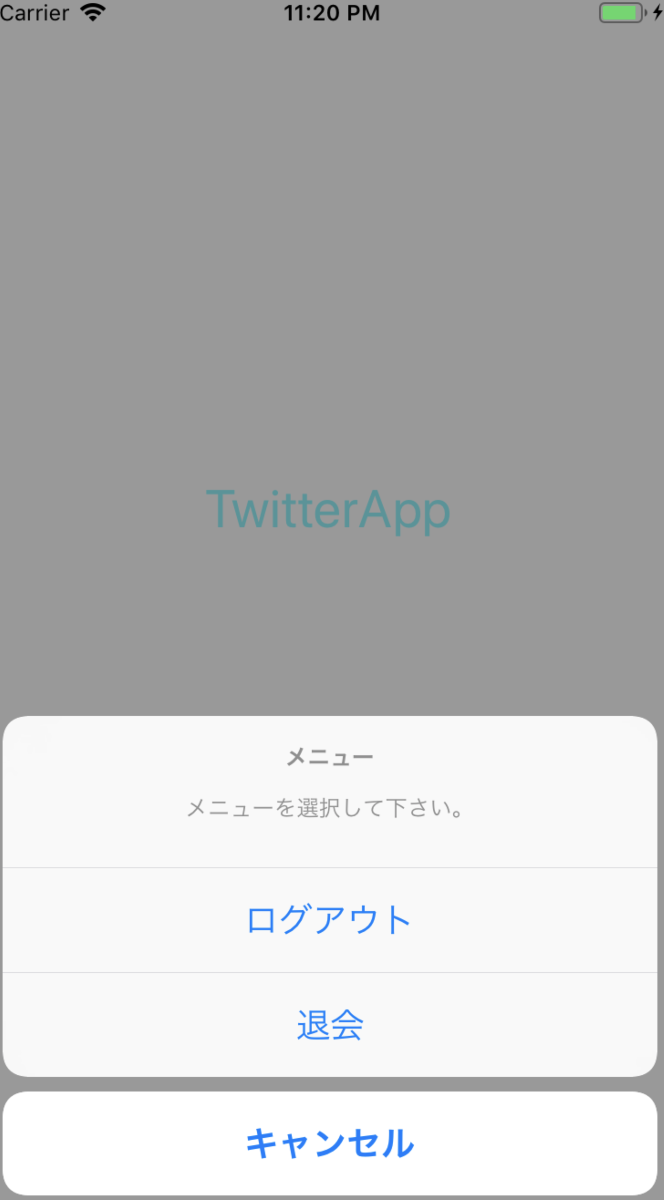
let alertController = UIAlertController(title: "メニュー", message: "メニューを選択して下さい。", preferredStyle: .actionSheet)
let signOutAction = UIAlertAction(title: "ログアウト", style: .default) { (action) in
NCMBUser.logOutInBackground({ (error) in
if error != nil {
print(error)
} else {
// ログアウト成功
let storyboard = UIStoryboard(name: "SignIn", bundle: Bundle.main)
let rootViewController = storyboard.instantiateViewController(withIdentifier: "SignInController")
UIApplication.shared.keyWindow?.rootViewController = rootViewController
// ログイン状態の保持
let ud = UserDefaults.standard
ud.set(false, forKey: "isLogin")
ud.synchronize()
}
})
}
let cancelAction = UIAlertAction(title: "キャンセル", style: .cancel) { (action) in
alertController.dismiss(animated: true, completion: nil)
}
alertController.addAction(signOutAction)
alertController.addAction(cancelAction)
self.present(alertController, animated: true, completion: nil)
}
}
ここで少し小技。
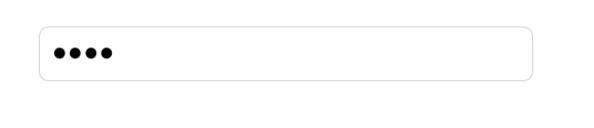
このようにパスワードを打つとき隠したい場合、
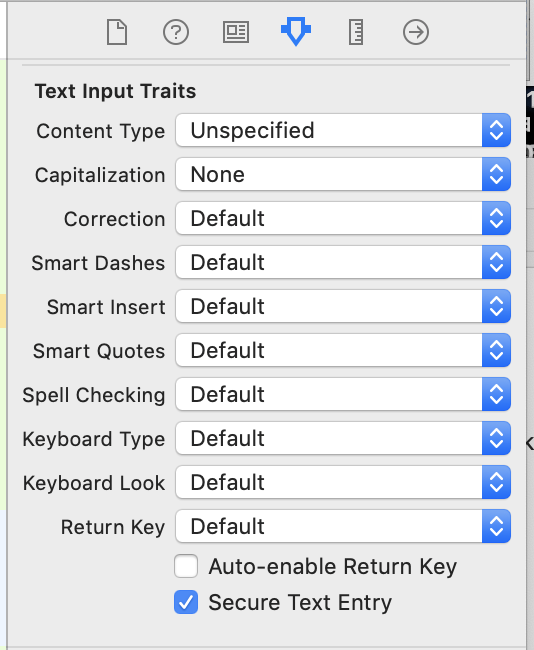
このようにSecure Text Entryにチェックを入れる。
ユーザー退会
ユーザーの退会は重い処理なので、メールアドレスを入力させたりするのですが今回は簡単にやってみたいと思います。
 ⇨
⇨ 
ViewControllerに
@IBAction func logout(_ sender: Any) {
       ~~~省略~~~

        let deleteAction = UIAlertAction(title: "退会", style: .default) { (action) in
            let user = NCMBUser.current()

            user?.deleteInBackground({ (error) in
                if error != nil{
                    print(error)
                }else{
                    // ログアウト成功
                    let storyboard = UIStoryboard(name: "SignIn", bundle: Bundle.main)
                    let rootViewController = storyboard.instantiateViewController(withIdentifier: "SignInController")
                    UIApplication.shared.keyWindow?.rootViewController = rootViewController

                    // ログイン状態の保持
                    let ud = UserDefaults.standard
                    ud.set(false, forKey: "isLogin")
                    ud.synchronize()
                }
            })

        }

      ~~~省略~~~
        alertController.addAction(deleteAction)

        self.present(alertController, animated: true, completion: nil)
    }
これで簡易ではありますがログインからユーザー退会までの機能がすべて終わりました。
ぜひみなさん開発するときの参考にしてみてください。
サンプルはこちらです。