このページの続きです。
 ⇨
⇨ 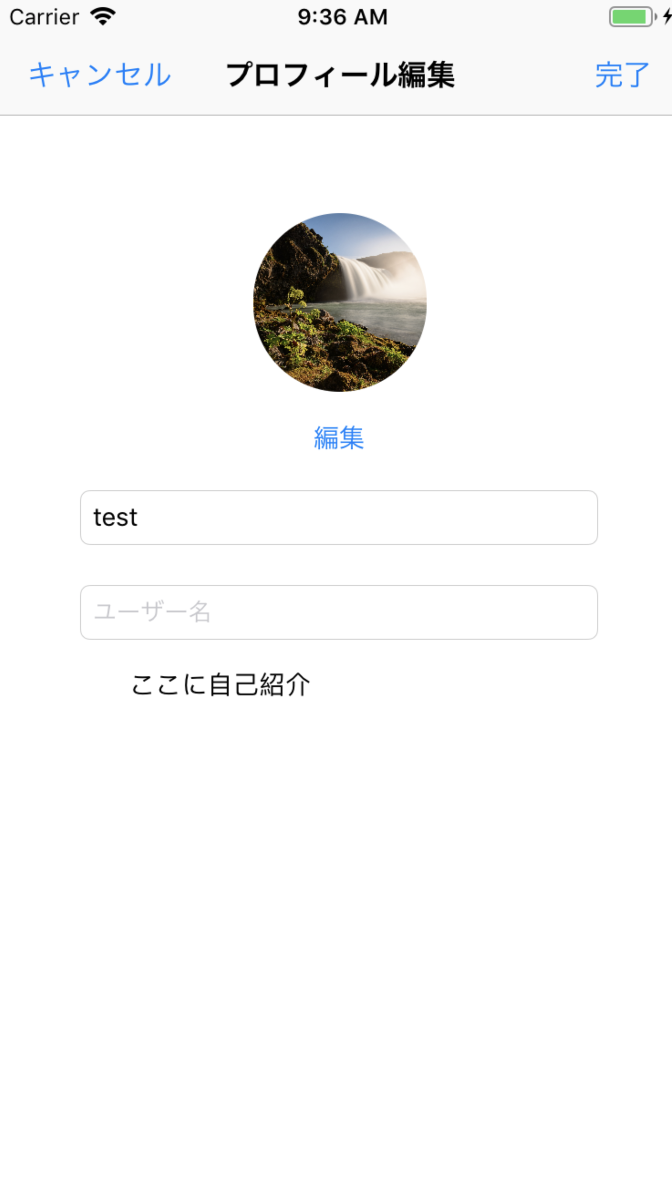
これが完成形です。
事前に
❶画像を拾ってくる。
❷画像をNCMBにアップロード
❸画像をユーザーページに読み込む。
の手順でやっていきたいと思います。

まずは部品の接続、TextField,TextViewのDelegate接続、userIdTextFieldに現在ログインしているユーザーの取得を行なっていきます。
import UIKit
import NCMB

class EditProfileViewController: UIViewController,UITextViewDelegate,UITextFieldDelegate {

    @IBOutlet weak var userImageView: UIImageView!

    @IBOutlet weak var userIdTextField:UITextField!

    @IBOutlet weak var userNameTextField: UITextField!

    @IBOutlet weak var introductionTextView: UITextView!
    override func viewDidLoad() {
        super.viewDidLoad()

        userIdTextField.delegate = self
        userNameTextField.delegate = self
        introductionTextView.delegate = self

        let userId = NCMBUser.current()?.userName
        userIdTextField.text = userId

    }

    func textFieldShouldReturn(_ textField: UITextField) -> Bool {
        textField.resignFirstResponder()
        return true
    }

    func textViewShouldEndEditing(_ textView: UITextView) -> Bool {
        textView.resignFirstResponder()
        return true
    }

    @IBAction func close(_ sender: Any) {
        self.dismiss(animated: true, completion: nil)
    }

}
以下のような挙動になると思います。

そしてここからカメラとフォトライブラリーの取得に入っていきます。
またその機能に移る前に、iOS10以降ではプライバシーを扱う前にInfo.plistに書かなければいけないことがあります。

赤色で囲んでいるところを追加し、適当にカメラとフォトライブラリを使うときの文言を書いてください。
UIImagePickerController
EditProfileViewController.swift
~~~省略~~~
@IBAction func selectImage(_ sender: Any) {

        let alertController = UIAlertController(title: "画像の選択", message: "選択してください", preferredStyle:.actionSheet)

        let cameraAction = UIAlertAction(title: "カメラ", style: .default) { (action) in
            // カメラ起動
            //カメラが使えたら
            if UIImagePickerController.isSourceTypeAvailable(.camera) == true {
                let picker = UIImagePickerController()
                picker.sourceType = .camera
                picker.allowsEditing = true
                picker.delegate = self
                self.present(picker, animated: true, completion: nil)
            } else {
                print("この機種ではカメラが使用出来ません。")
            }
        }
        let albumAction = UIAlertAction(title: "フォトライブラリ", style: .default) { (action) in
            // アルバム起動
            if UIImagePickerController.isSourceTypeAvailable(.photoLibrary) == true {
                let picker = UIImagePickerController()
                picker.sourceType = .photoLibrary
                picker.allowsEditing = true
                picker.delegate = self
                self.present(picker, animated: true, completion: nil)
            } else {
                print("この機種ではフォトライブラリが使用出来ません。")
            }
        }
        let cancelAction = UIAlertAction(title: "キャンセル", style: .cancel) { (action) in
            alertController.dismiss(animated: true, completion: nil)
        }
        alertController.addAction(cameraAction)
        alertController.addAction(albumAction)
        alertController.addAction(cancelAction)
        self.present(alertController, animated: true, completion: nil)

    }

次に選ばれた画像をImageViewに表示するという処理を作っていきます。
とその前に、縦長や横長の画像を表示するために一手間加えます。
UIImageViewを選択した状態で、

ContentModeをAspectFillに、またCliptoBoundsにチェックを入れてください。
EditProfileViewController.swift
~~~省略~~~
    func imagePickerController(_ picker: UIImagePickerController, didFinishPickingMediaWithInfo info: [UIImagePickerController.InfoKey : Any]) {
        let selectedImage = info[UIImagePickerController.InfoKey.originalImage] as! UIImage

        userImageView.image = selectedImage

        picker.dismiss(animated: true, completion: nil)
    }
~~~省略~~~
 画像が表示されました。
これでは画像が保存されません。
そのため拾ってきた画像をNCMBに保存し、アップロードする必要があります。。
NCMBに画像をアップロード
その前にiPhoneで取ってきた画像は大きすぎるのでリサイズする必要があります。
そのために今回は簡単なライブラリを紹介します。
NYXImagesKitです。
これをPodfileに
pod 'NYXImagesKit'
と追加し、pod installを行なってください。
 func imagePickerController(_ picker: UIImagePickerController, didFinishPickingMediaWithInfo info: [UIImagePickerController.InfoKey : Any]) {
        let selectedImage = info[UIImagePickerController.InfoKey.originalImage] as! UIImage

        //NYXImagesKitライブラリでリサイズを行う。
        let resizedImage = selectedImage.scale(byFactor: 0.4)


        picker.dismiss(animated: true, completion: nil)

        //data型に変換
        let data = resizedImage!.pngData()

        //型を変換
        let file = NCMBFile.file(withName: NCMBUser.current()?.objectId,data:data) as! NCMBFile

        file.saveInBackground({ (error) in
            if error != nil{
                print(error)
            }else{
                self.userImageView.image = selectedImage

            }
        }) { (progress) in
            print(progress)
        }

    }
これで以下のようにNCMBに保存されるようになりました。

次にアップロードした画像を読み込みます。
ユーザーページに読み込む。
ViewController.swift

    override func viewDidLoad() {
        super.viewDidLoad()
        // Do any additional setup after loading the view, typically from a nib.
        //丸くするコード
        userImageView.layer.cornerRadius = userImageView.bounds.width / 2.0
        userImageView.layer.masksToBounds = true
    }

    override func viewWillAppear(_ animated: Bool) {
        if let user = NCMBUser.current() {

            let file = NCMBFile.file(withName: (user.objectId)!, data: nil) as! NCMBFile

            file.getDataInBackground { (data, error) in
                if error != nil{
                    print(error)
                }else{
                    if let image = UIImage(data: data!){
                        self.userImageView.image = image
                    }

                }
            }
        }else{
            // NCMBUser.current()がnilだったとき
            let storyboard = UIStoryboard(name: "SignIn", bundle: Bundle.main)
            let rootViewController = storyboard.instantiateViewController(withIdentifier: "SignInController")
            UIApplication.shared.keyWindow?.rootViewController = rootViewController

            // ログイン状態の保持
            let ud = UserDefaults.standard
            ud.set(false, forKey: "isLogin")
            ud.synchronize()
        }

    }

また、このような画像をImageViewのImageに設定しておけば、画像が読み込まれる前に表示することができます。
以上で完成です。