IoT と ブロックチェーンで簡単なプロダクトを作ってみたいという願望から実装してみました。
やりたいこと
ETHの送金トランザクションを監視して、マイニングが完了したらLチカで知らせたい。
※ Raspberry PiにEthereumクライアントのgethをインストールしてマイニングを試す予定でしたが、メモリー不足でマイニングできず、Macローカルにインストールすることに。
完成するとこうなります
【こんなにも地味で誰得な実装..🙇】
— サトミ|OKUTAMAでブロックチェーン (@satomin_dev) 2018年11月25日
ETH送金のトランザクション監視して、マイニングされたら、Lチカで知らせてくれます。
Lチカが可愛くて気に入ってます。 pic.twitter.com/S6cSSVY87n
手順
- Raspberry Piでnode.jsからLチカ制御する
- EthereumクライアントのGethをインストール〜アカウント作成
- sendTransactionを監視して、Raspberry Piを叩きにいく
Raspberry Piでnode.jsからLチカ制御する
人生初のLチカだったので、まずは回路とはなんぞやというところからはじめました。
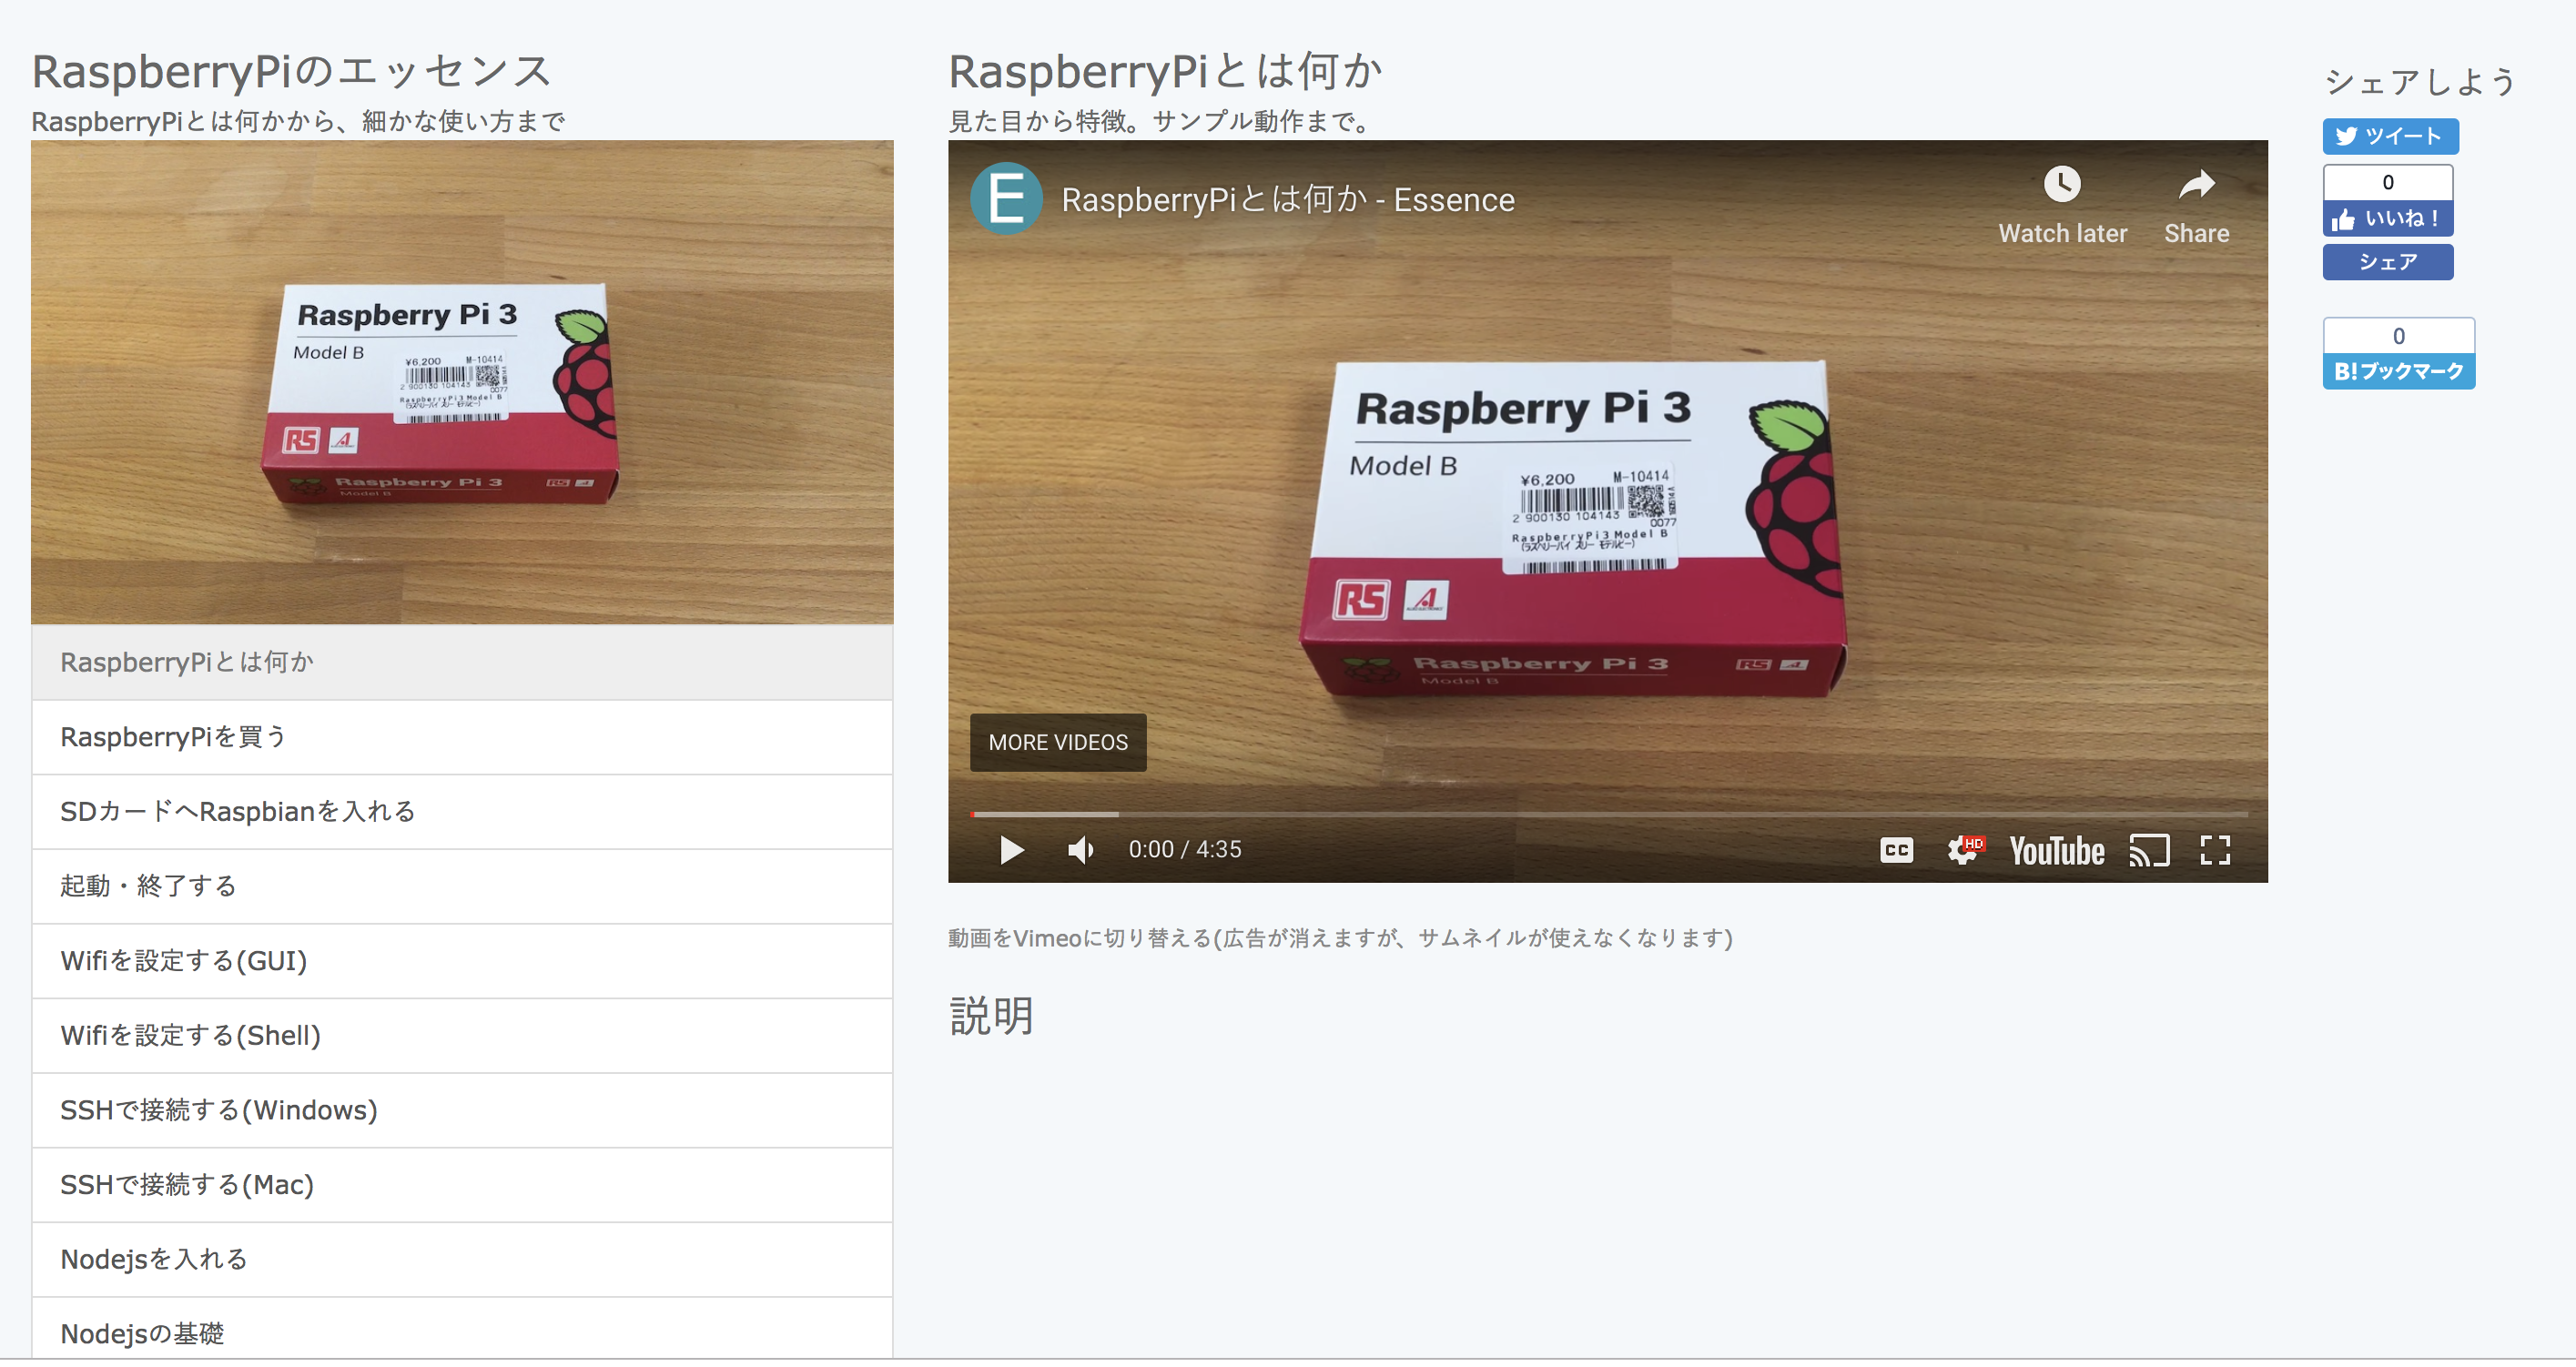
参考にしたのはこちらの動画で、とても丁寧に解説されています。
※ 本当におすすめ
RaspberryPiのエッセンス - RaspberryPiとは何かから、細かな使い方まで
必要なモジュールをインストールします。
※ nodeとnpmは事前にインストールしておいてください。Raspberry Piの設定も他に記事がたくさんあります。
npm i express onoff -s
index.jsを作成していきます。
const express = require('express');
const app = express();

const Gpio = require("onoff").Gpio;
const led = new Gpio(22, "out");

app.use(function(req, res, next) {
	  res.header("Access-Control-Allow-Origin", "*");
	  res.header("Access-Control-Allow-Headers", "Origin, X-Requested-With, Content-Type, Accept");
	  next();
});

app.get("/", (req, res) => {
	  res.status(200).send("Ready to Raspberry Pi");
})

app.get("/on", (req, res) => {
   var iv = setInterval( () => {
     console.log("count");
     led.writeSync(led.readSync() === 0 ? 1 : 0)
   }, 1000);

  setTimeout( () => {
    clearInterval(iv);
    led.writeSync(0);
    led.unexport();
  }, 10000);
})

app.listen(8888);
node index.js
実行して、ある特定のURLを叩くと1秒ごとに10秒間点滅するLチカを準備しておきます。
※ アクセスオリジンをこじ開けておくのは現実的な解ではありません。今回は応急処置的に。
参考|expressにてCORSを許可する
EthereumクライアントのGethをインストール〜アカウント作成
この記事はたくさんあるので、他の方のQiitaを見ることをおすすめします。
おすすめ|Ethereumクライアント「Geth」を試してみる
sendTransactionを監視して、Raspberry Piを叩きにいく
時間節約に、create react appでちゃちゃっとシンプルに実装していきます。
import React, {
  Component
} from 'react';

import axios from 'axios';
import Web3 from 'web3';
var web3 = new Web3();
web3.setProvider(new web3.providers.HttpProvider('http://localhost:8545'));

// Raspberry Piターミナル [ifconfig] でIP確認
const domain = "http://XXX.XXX.X.XXX:YOUR PORT";
// gethで作成したアドレス
const address1 = "0xxxxxxxxxxxxxxxxxxxxxxxxxxxxxxxxxxxxxxxxx";
const address2 = "0xxxxxxxxxxxxxxxxxxxxxxxxxxxxxxxxxxxxxxxxx";

class SendTx extends Component {

  constructor(props) {
    super(props);
    this.state = {
    }
  }

  async onClick() {
    var _sendTransaction = await web3.eth.sendTransaction({ from: address1, to: address2, value: 10 });
    await console.log(_sendTransaction);
    await web3.eth.getBalance(address2, async (err, result) => {
      if (err) {
        console.log(err)
      } else {
        const url = await domain + "/on";
        await axios.get(url)
      }
    });
  }

  render() {
    return (
        <button onClick={this.onClick}>SEND ETH</button>
    )
  }
}

export default SendTx;
import React, { Component } from 'react';
import SendTx from './sendTx';

class App extends Component {
  render() {
    return (
        <SendTx />
    );
  }
}

export default App;
import React from 'react';
import ReactDOM from 'react-dom';
import App from './App';
import * as serviceWorker from './serviceWorker';

ReactDOM.render(<App />, document.getElementById('root'));

serviceWorker.unregister();
npm start
実行してブラウザからSEND ETHを押して、Eth送金のトランザクションがマイニングされるとLチカでお知らせしてくれます。
エラーが出る場合
少し雑に書いてしまったので、エラーが出そうな箇所をチェックポイント的に書いていきます。
● GPIOの番号が実際のPINとあっているか
● PORT番号とIPアドレスに間違いはないか
● Gethのインストールは正しくできているか(geth attach等で確認)
● RPCサーバーを起動しているか
● Gethで作成したアカウントをunlockしているか
● 叩きに行くときにクロスドメインを許可しているか
● 必要なモジュールをインストールできているか
この他ご意見、アドバイスなどはコメントください m(_ _)m
