はじめに
- ピンに情報を埋め込む方法
- 他のピンをクリックした時
- cssで装飾
- 最後に
ピンに情報を埋め込む方法
ピンに情報を埋め込む方法は私の一個前の記事で紹介しています!
ぜひ参考にしてください!
https://qiita.com/Ryunosuke-watanabe/items/48c8ec80f87283cc0006
今回は前回立てたピンをクリックしたあとに、他のピンをクリックしたときの挙動を施します。
複数のピンが乱立していると見えにくいので、2個目のピンをクリックしたときに他のピンは消えるようにしましょう。
他のピンをクリックした時
htmlとcssは前回と同じです。
<html>
<head>
    <meta charset="UTF-8">
    <title>map</title>
    <link rel="stylesheet" href="css/style.css">
</head>
<body>
    <div id="map"></div>
    <script src="js/map.js"></script>
    <script src="data/place.json"></script>
    <script src="https://maps.googleapis.com/maps/api/js?key=YOUR_API_KEY&callback=initMap" async defer></scriptsrc>></script>
</body>
</html>
body {
    height: 100%;
    width: 100%;
}

# map {
    height: 100%;
    width: 100%;
}
JavaScriptの方で操作していきます。今回はみやすいようにJSONのデータを配列として記載しておきます。
データのballoonのなかに紹介文を本来は記載しますが、ホゲホゲとしておきます。
var map;
var marker = [];
var infowindow = [];
var Center = {lat: 24.4064, lng: 124.1754};
var place_data = [
    {
        "loc": "バンナ公園",
        "lat": 24.375031,
        "lng": 124.160795,
        "balloon": "hogehogehogehogehogehogehogehogehogehogehogehogehogehogehogehogehogehogehogehogehogehogehogehogehogehogehogehogehogehogehogehogehogehogehogehogehogehogehogehoge"
    },
      {
        "loc": "石垣島鍾乳洞",
        "lat": 24.361743,
        "lng": 124.154466,
        "balloon": "test"
    },
      {
        "loc": "石垣やいま村",
        "lat": 24.40489,
        "lng": 124.144636,
        "balloon": "test"
    }
]

function initMap() {
    map = new google.maps.Map(document.getElementById('map'), {
        center: Center,
        zoom: 11.5
    });
    markerset()
};

function markerset(){
    for(var i=0;i<place_data.length;i++) {
        marker[i] = new google.maps.Marker({
            position: {lat: place_data[i].lat, lng: place_data[i].lng},
            map: map,
            title: place_data[i].loc
        });

        infowindow[i] = new google.maps.InfoWindow({
            content: '<div class="mapsballoon"><h2>' + place_data[i].loc + '</h2>' + place_data[i].balloon + '</div>'
        });
        markerEvents(i)
    }
}

var opened = place_data.length + 1;
function markerEvents(i) {
    marker[i].addListener('click', function() {
        if (opened != place_data.length + 1) {
            infowindow[opened].close(map, marker[opened]);
        }
        infowindow[i].open(map, marker[i]);
        opened = i;
    });
}
openedという新しい変数を用意しておきます。そしてif文で2回目以降マーカーをクリックしたときに前回開いたマーカーを消すという作業をしています。これで二つ目のマーカーをクリックしたとき最初のマーカーは消えます。
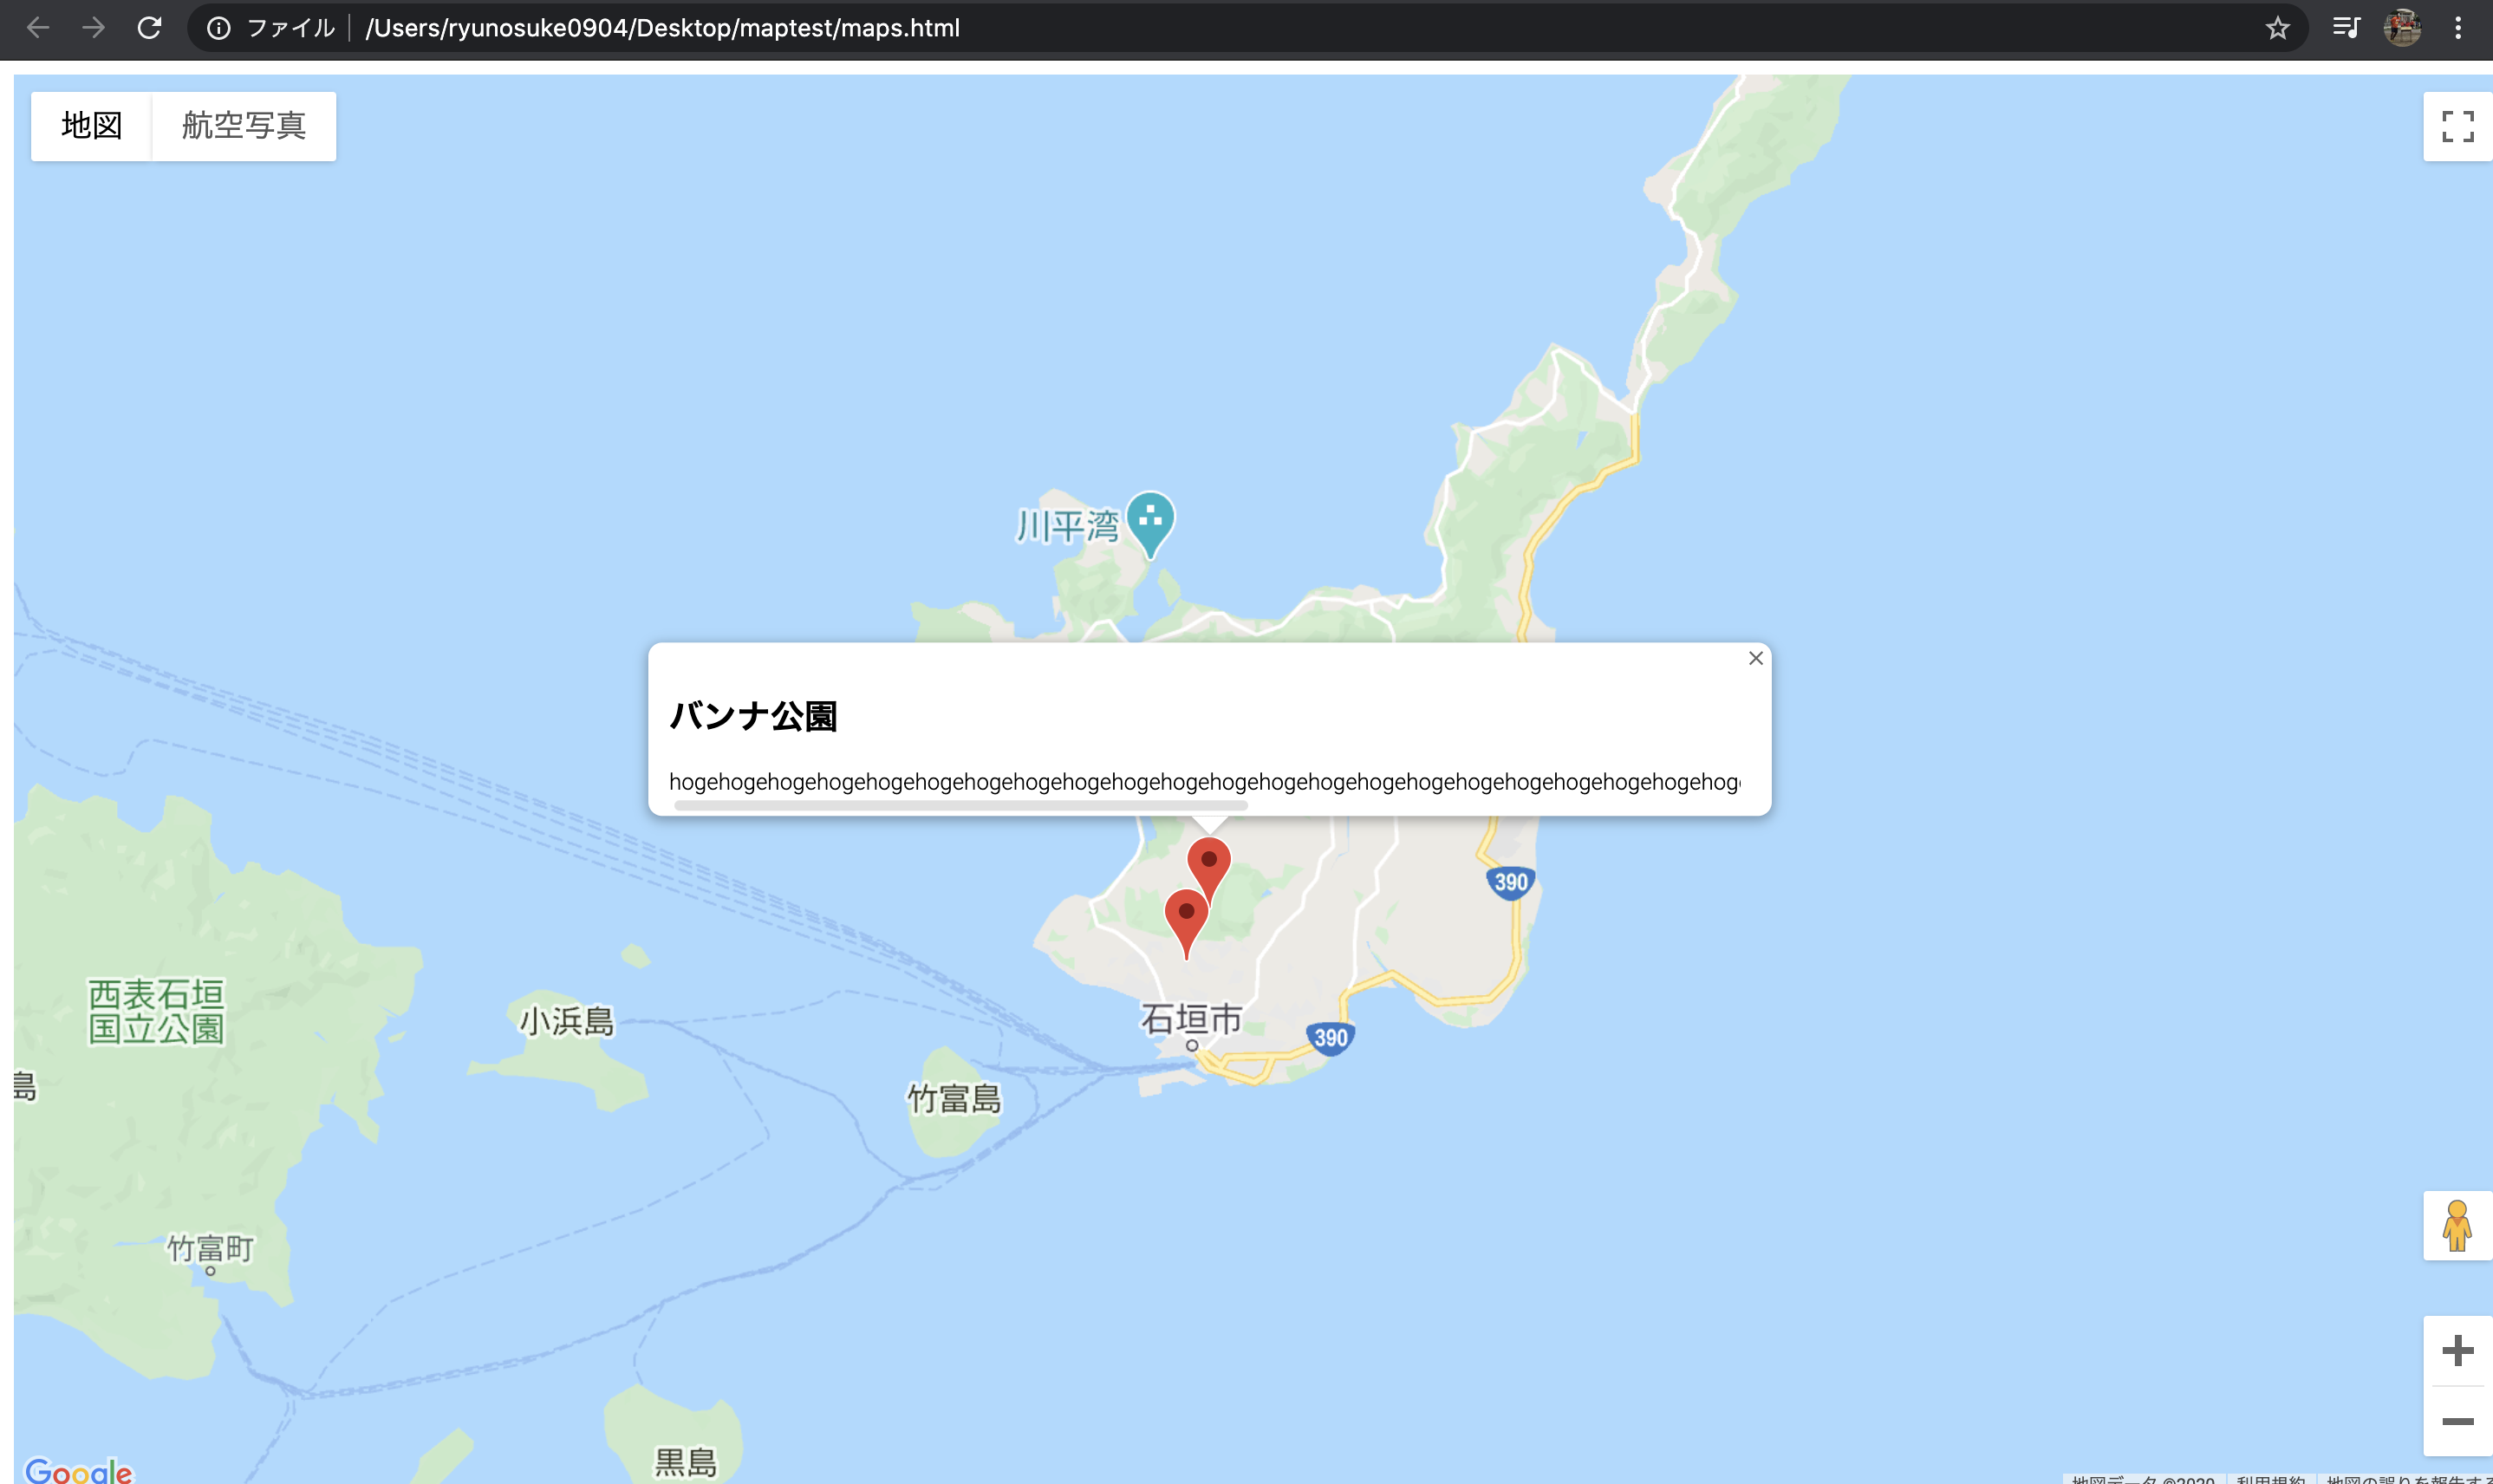
ですが、紹介文があまりに長いとこのような感じでwindowが横長になってしまいます。なのでcssで変更を施していきたいと思います。
cssで装飾
実はJavaScriptでdivでballoonの中を囲ってあるので、class名のmapsballoonを指定して装飾することができます。
body {
    height: 100%;
    width: 100%;
}

# map {
    height: 100%;
    width: 100%;
}

.mapsballoon {
    width: 150px;
    height: auto;
}
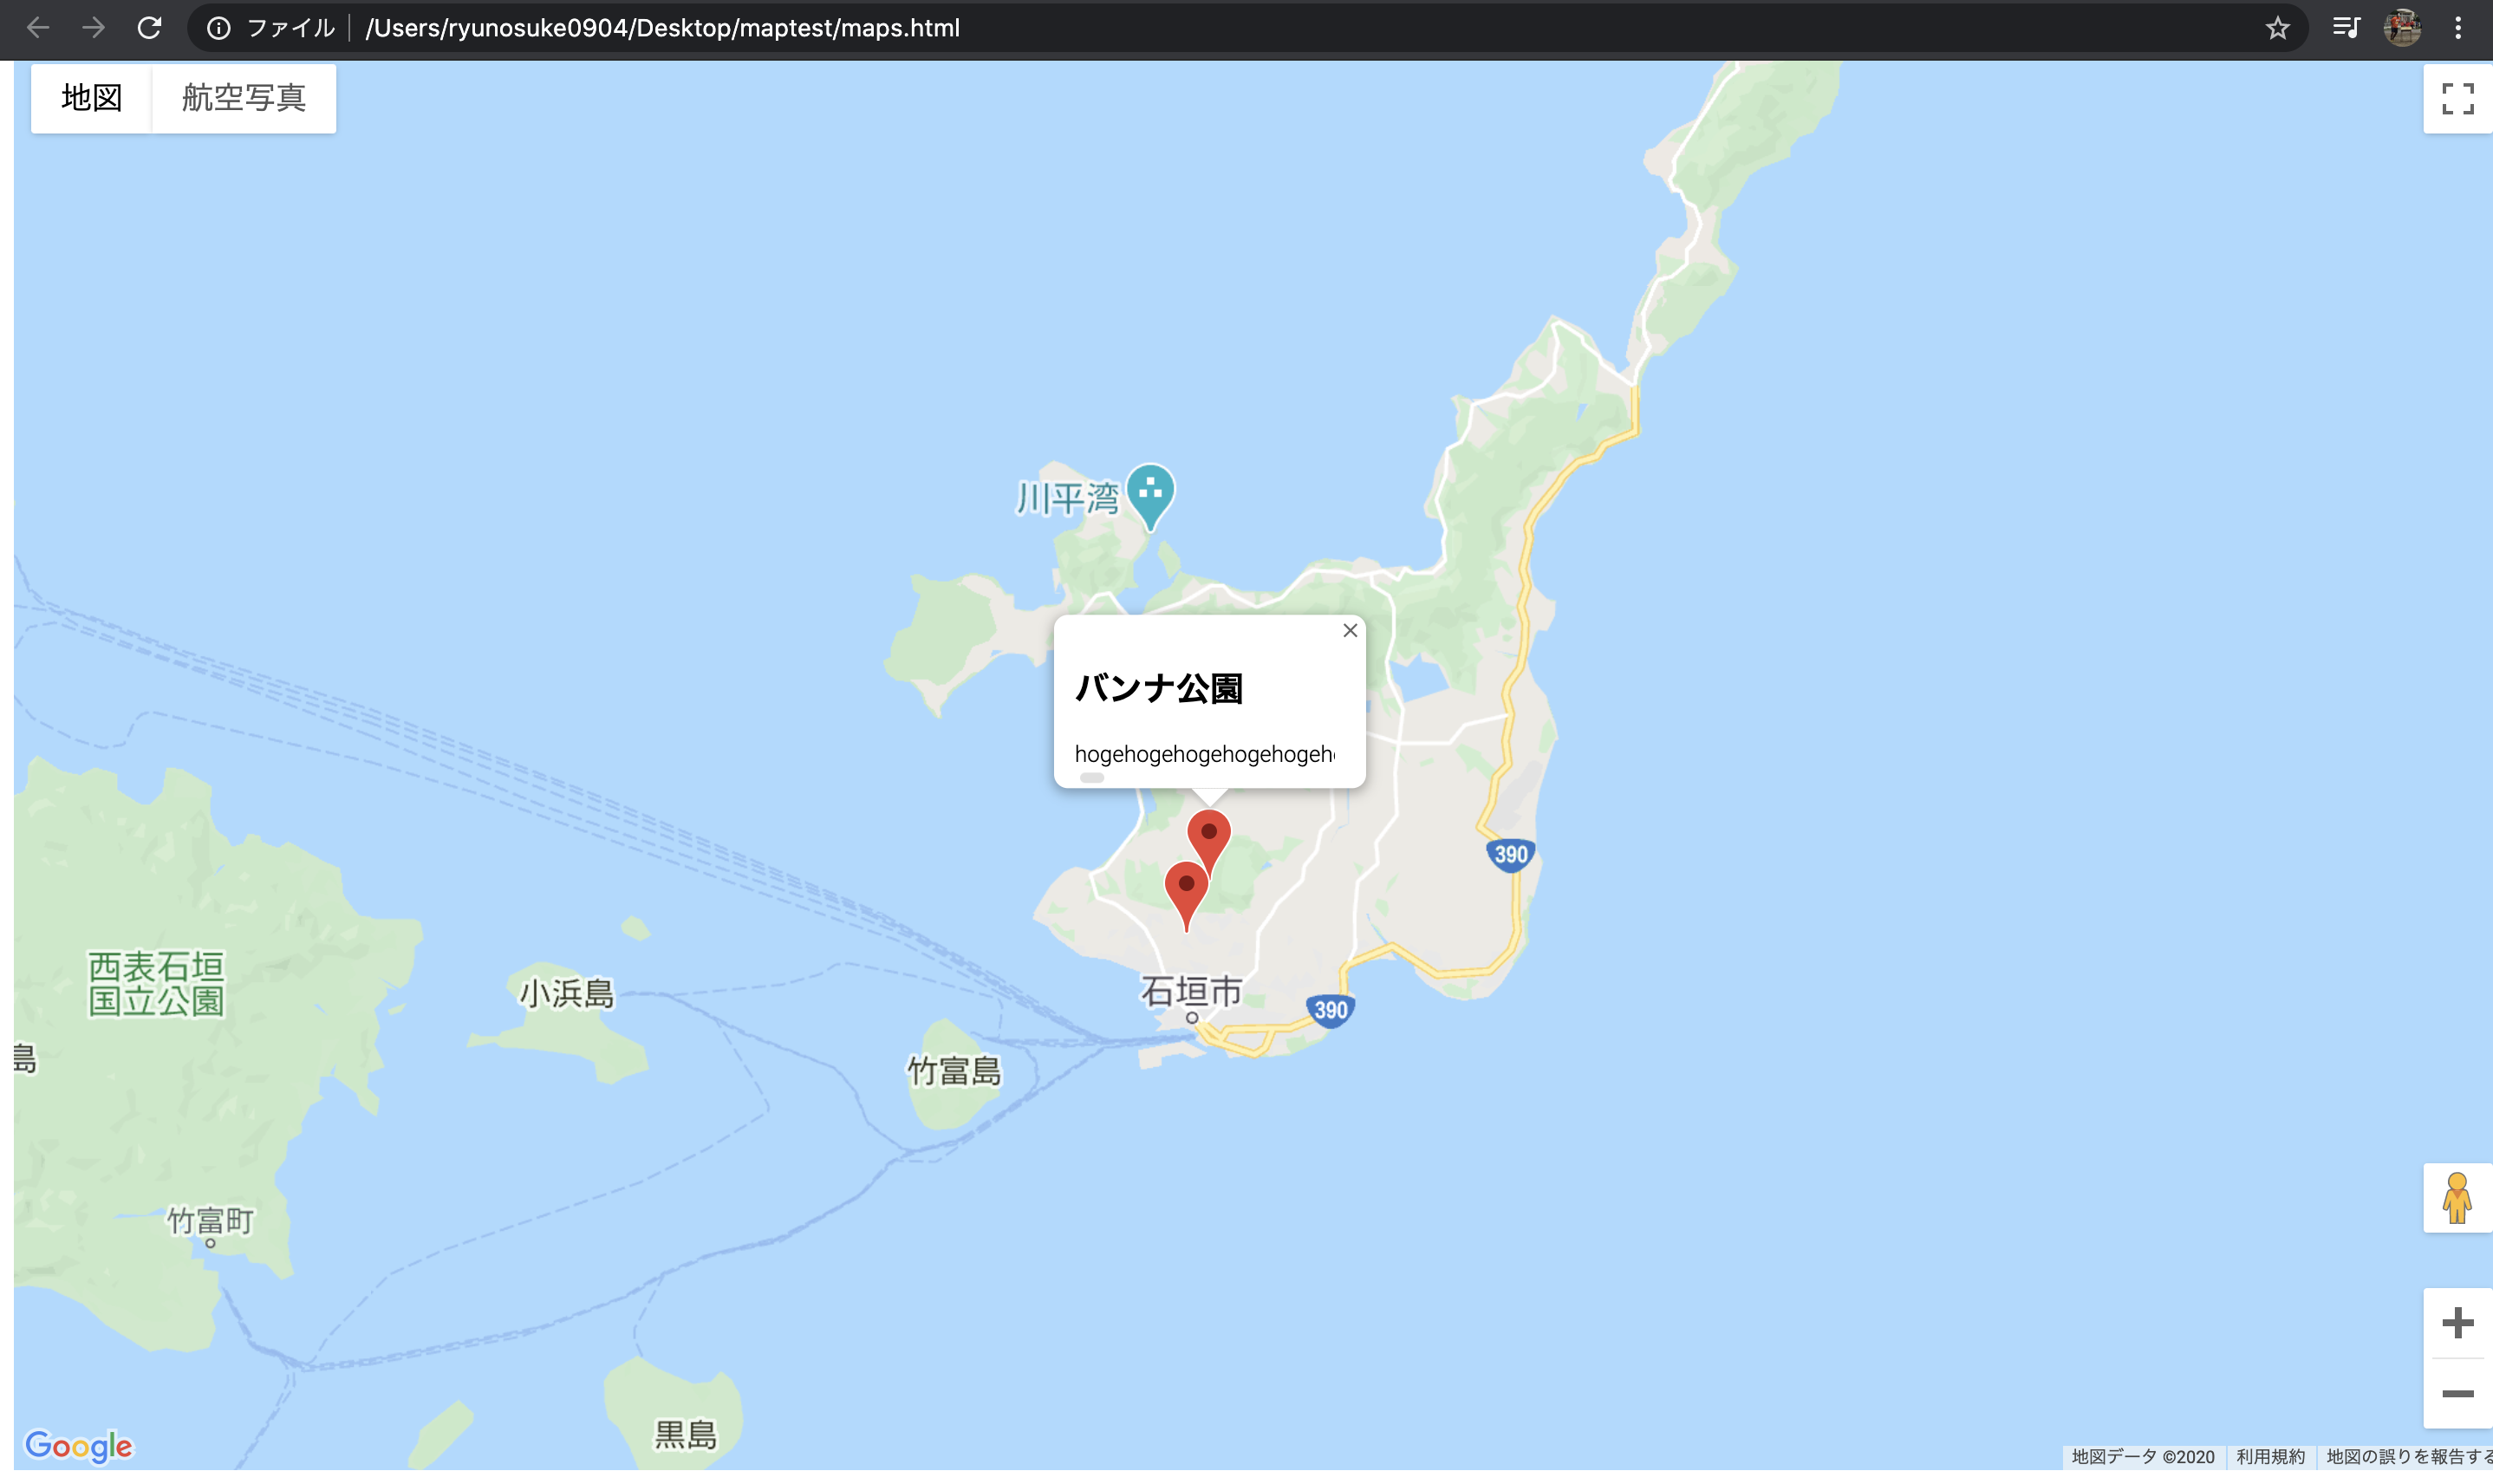
横幅を150pxに指定、高さをautoにしておきました。そうすることで、横長くなることがなくなります。
こんな感じになりました!!
最後に
いかがだったでしょうか?前回の予告通りピンを立てる際の工夫を施しました。次回はgeocoding機能を実装したいと思います。

