概要
Python の画像処理ライブラリ Pillow を使って、画像に見栄えの良いテキストを追加する方法を紹介します。
単純にテキストを載せるだけでなく、半透明の背景や影をつけることで、可読性の高い仕上がりを実現します。
やりたいこと
観光地などの写真に対して、以下の特徴を持つテキストを追加します。
- 画像の下部中央に配置
- 半透明の黒背景を追加して、背景画像の色に左右されずに読みやすくする
- テキストに影(シャドウ)をつけて立体感を出す
- 日本語フォントを使用
使用する画像
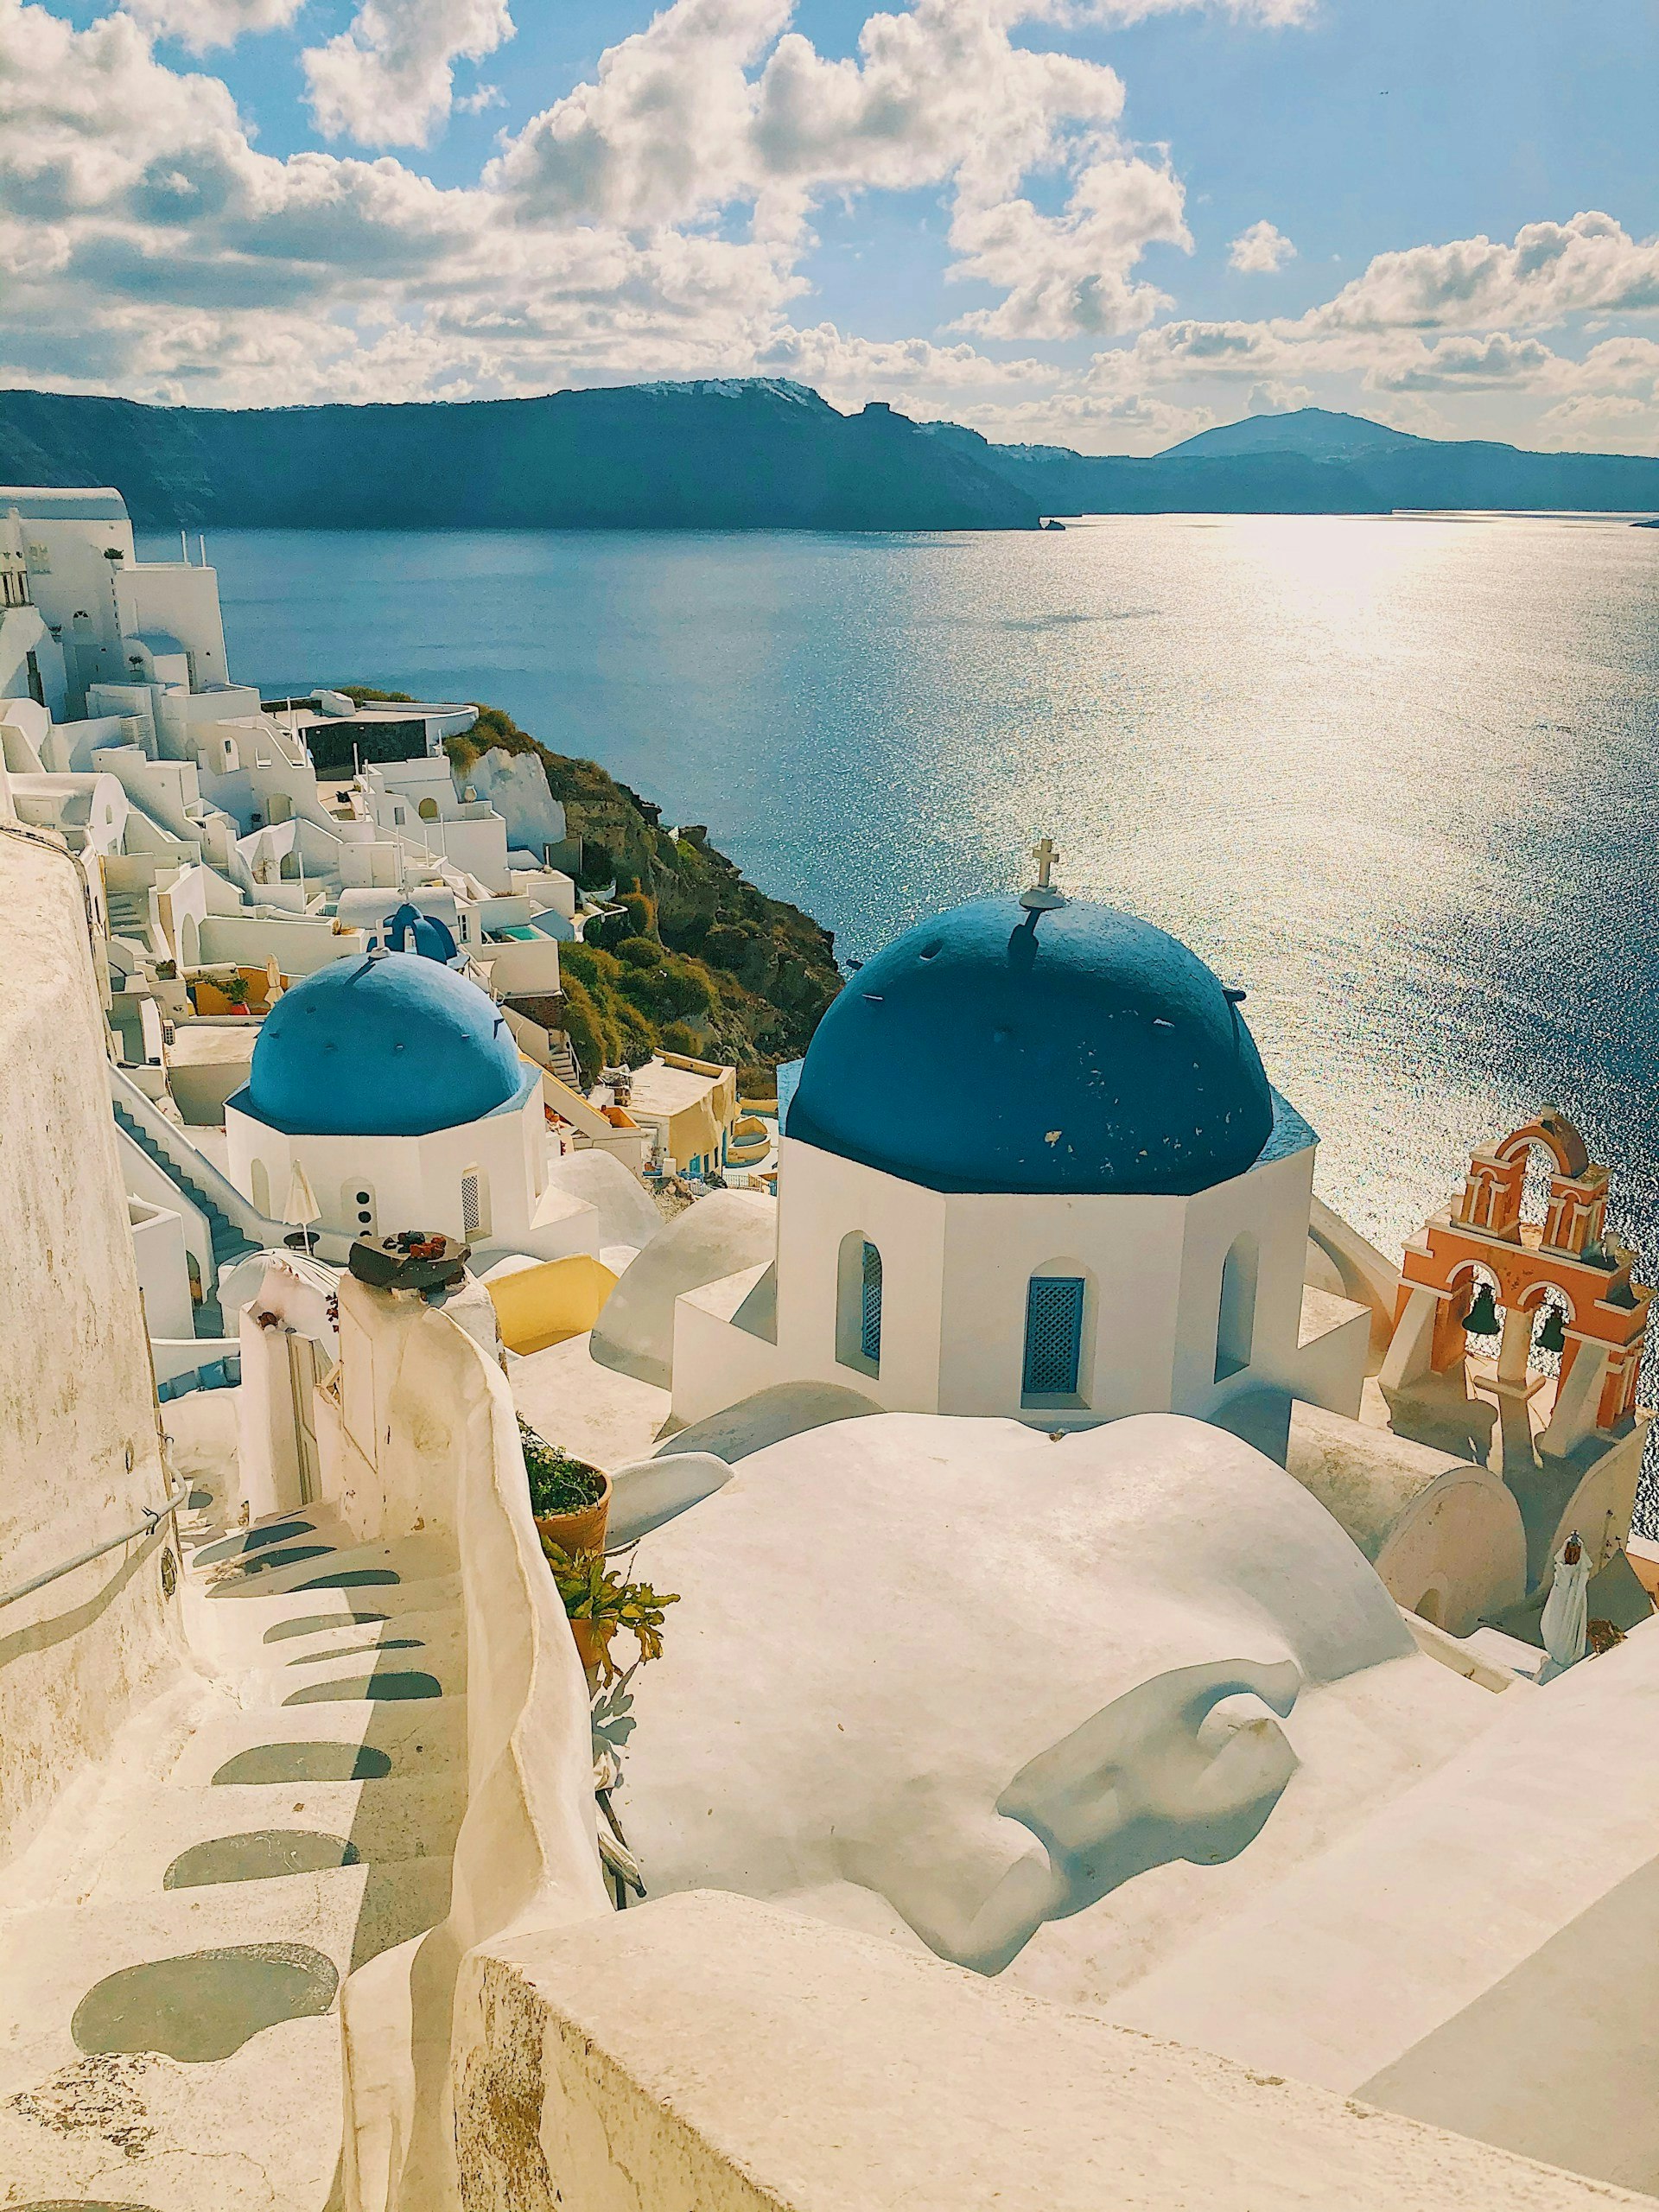
今回は 画像/Santorini.jpg というギリシャのサントリーニ島の写真を使用します。
(任意の画像ファイルに置き換えて使用できます)
事前準備
Pillowをインストールしておきます。
venvを使う、などは適宜ご判断ください。
pip install Pillow
実装内容
サンプルコード
# -*- coding: utf-8 -*-
from PIL import Image, ImageDraw, ImageFont

# 画像を開く
img = Image.open("画像/Santorini.jpg")

# フォントを設定
font_path = "/System/Library/Fonts/ヒラギノ丸ゴ ProN W4.ttc"
font_size = 120
font = ImageFont.truetype(font_path, font_size)

# テキストを追加
text = "ギリシャ サントリー二島"
text_color = (255, 255, 255)  # 白色

# 半透明レイヤーを作成
overlay = Image.new('RGBA', img.size, (255, 255, 255, 0))
draw_overlay = ImageDraw.Draw(overlay)

# テキストサイズの計算と配置位置の決定
bbox = draw_overlay.textbbox((0, 0), text, font=font)
text_width = bbox[2] - bbox[0]
text_height = bbox[3] - bbox[1]

img_width, img_height = img.size
position = (
    (img_width - text_width) // 2,  # 左右中央
    img_height - text_height - 50
)

# テキストの背景矩形を描画(半透明)
padding = 20
bg_rect = [
    position[0] - padding,
    position[1] - padding,
    position[0] + text_width + padding,
    position[1] + text_height + padding
]
# 半透明の背景矩形を描画
draw_overlay.rectangle(bg_rect, fill=(0, 0, 0, 150))

img = img.convert('RGBA')
img = Image.alpha_composite(img, overlay)
img = img.convert('RGB')

# 通常の描画オブジェクトを作成
draw = ImageDraw.Draw(img)

# テキストに影をつけて見やすくする
for offset_x in range(-3, 4):
    for offset_y in range(-3, 4):
        if offset_x != 0 or offset_y != 0:
            draw.text((position[0]+offset_x, position[1]+offset_y), text, font=font, fill=(0, 0, 0))
# 白いテキスト
draw.text(position, text, font=font, fill=text_color)

# 保存
output_path = "画像/Santorini_with_text.jpg"
img.save(output_path)

print(f"画像を保存しました: {output_path}")
コード補足
フォントパスについて
私のホストマシン(macOS)の場合、システムフォントは /System/Library/Fonts/ にありますので、そのように定義しています。
好きなフォントにしたりすることも可能と思います。
配置について
textbbox() メソッドでテキストの幅と高さを取得し、画像の下部中央に配置する座標を計算します。
半透明の黒背景について
RGBA モードの透明なレイヤーを作成し、そこに半透明の黒背景(アルファ値150)を描画します。
※ fill=(0, 0, 0, 150) のアルファ値(4番目の値)を変更すれば調整可能です
その後、alpha_composite() で元の画像と合成することで、きれいな半透明効果を実現しています。
実行結果
スクリプトを実行すると、画像/Santorini_with_text.jpg として加工後の画像が保存されます。
こんな感じです。

まとめ
以上!
Pillow を使用することで、簡単に画像に綺麗な見た目のテキストを追加できました。
半透明背景と影を組み合わせることで、読みやすいテキスト表示が実現できそうですね。