pythonならデフォルトで入っているtkinterを使ってUIを作る
操作画面上での行動を受け取って処理につなげる
深層学習のハイパーパラメータを選択式にして詳しくない人でも弄れるようにできたりしたい
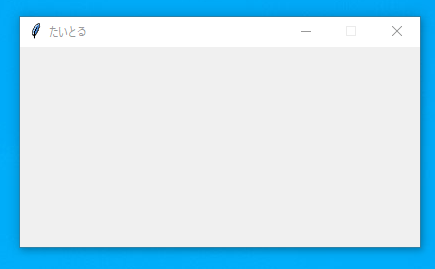
一番シンプルなコード:ウインドウの立ち上げ
import tkinter

root = tkinter.Tk()
root.title("たいとる")
root.resizable(False, False)
root.geometry("400x200")


# ここに付け足していく

root.mainloop()
以上でウインドウが立ち上がる
resizableでサイズ変更の可不可を操作
geometryで描画サイズを調整
mainloopでrootに設定した内容を実行する
これを基礎としてガチャガチャ付け足していく
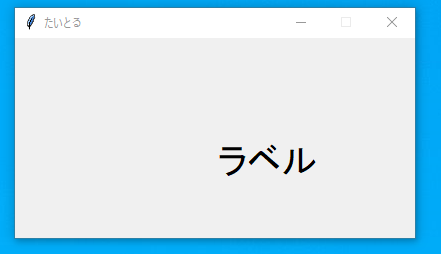
文字の配置
label = tkinter.Label(root, text="ラベル", font=("System",24))
label.place(x=200, y=100)
チェックボタンの配置とチェックされているかを確認する
import tkinter


def check():
    if cval.get() == True:
        print("yes")
    else:
        print("no")


root = tkinter.Tk()
root.geometry("400x200")


cval = tkinter.BooleanVar()
cval.set(False)

cbtn = tkinter.Checkbutton(text="ボタン", variabl=cval, command = check)
cbtn.pack()


root.mainloop()
BooleanVarで最初はチェック無しの状態に設定しておく
get()でチェックされているか調べる事ができる。
ボタンが押されたときに任意の関数を動かしたいならばcommandで関数を指定する
このコードだとコマンドライン上、もしくはnotebook上でチェックするたびにyesとnoが返ってくる
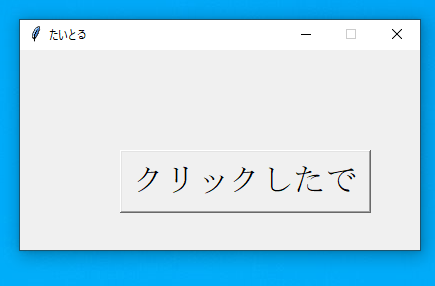
押しボタンの配置と押したとき反応する関数の定義
import tkinter
import tkinter.font

def click_btn():
    button["text"] = "クリックしたで"

root = tkinter.Tk()
root.title("title")
root.geometry("400x200")


button = tkinter.Button(root, text="ボタン", font=("Times New Roman", 24), command=click_btn)
button.place(x=100,y=100)

root.mainloop()
Buttonで押しボタンの配置
button内のtext引数へ値を入れる関数を定義しておく
fontも指定できる
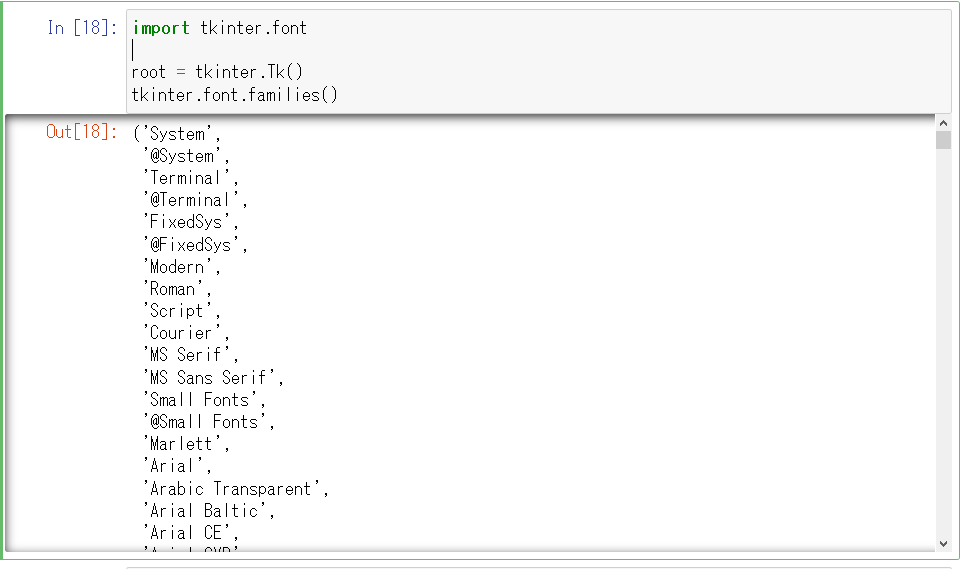
指定できるフォントを確認したければ以下
import tkinter.font

root = tkinter.Tk()
tkinter.font.families()
ボタンを押すと表示される文字が変化する
import tkinter
import random

def click_btn():
    label["text"] = random.choice(["おはよう","こんにちは","こんばんは"])
    label.update()

root = tkinter.Tk()
root.title("title")
root.geometry("400x200")
root.resizable(False, False)

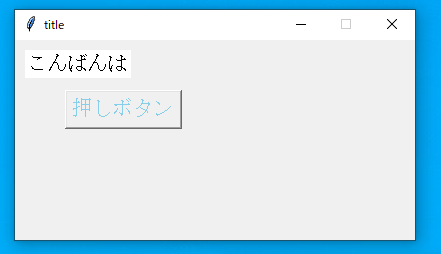
label = tkinter.Label(root, text="押すとここに表示", font=("Times New Roman", 15), bg = "white")
label.place(x=10, y=10)

button = tkinter.Button(root, text="押しボタン", font=("Times New Roman", 15),command = click_btn, fg = "skyblue")
button.place(x = 50, y = 50)

root.mainloop()
labelの中に「押すとここに表示」が入っている。
ボタンを押すことでtext引数をアップデートする関数を実行したいのでcommandに指定して実行してもらう
ボタンを押すとメッセージボックスが出る
import tkinter
import tkinter.messagebox

def click_btn():
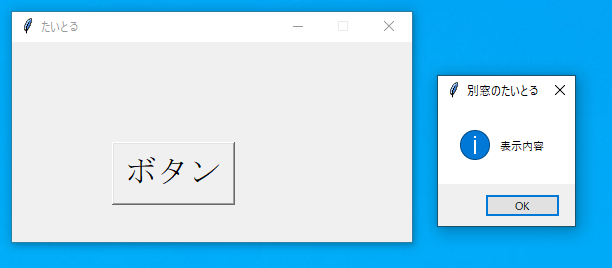
    tkinter.messagebox.showinfo("別窓のたいとる", "表示内容")

root = tkinter.Tk()
root.title("たいとる")
root.resizable(False, False)
root.geometry("400x200")

button = tkinter.Button(root, text="ボタン", font=("Times New Roman", 24), command=click_btn)
button.place(x=100,y=100)

root.mainloop()
手入力枠の設置と、手入力内容をgetで取得する
import tkinter

def click_btn():
    txt = entry.get()
    button["text"] = txt

root = tkinter.Tk()
root.resizable(False, False)
root.geometry("400x200")


entry = tkinter.Entry(width=20)
entry.place(x=20,y=20)

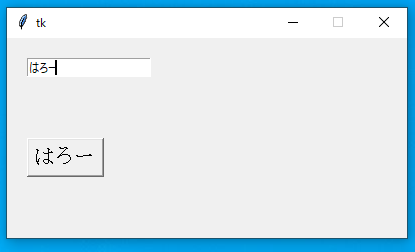
button = tkinter.Button(root, text="書いた内容をボタンの名前として吸い取るで", font=("Times New Roman", 15),command = click_btn)
button.place(x = 20, y = 100)

root.mainloop()
入力枠はEntryで設置できる
複数行は別の関数がある
Entryに入力された内容はget関数で取得できるので、取得した後にボタンの表示に反映する
画像描画エリアを作り、画像を表示する
import tkinter
import tkinter.font
from PIL import ImageTk, Image

root = tkinter.Tk()
root.title("title")
root.geometry("600x500")


image = Image.open("アヴォカド.png")

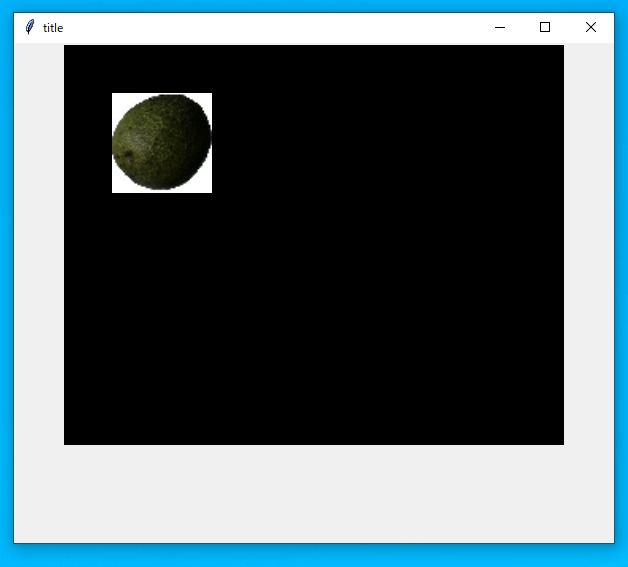
canvas = tkinter.Canvas(root, width=500, height=400, bg="black")
canvas.pack()

photo = ImageTk.PhotoImage(image, master=root)
canvas.create_image(100, 100, image=photo)

root.mainloop()
ウインドウの中心から指定したサイズの描画エリアをつくる
描画エリアの左上を0,0として、create_imageの位置を指定する
画像の中心が指定される
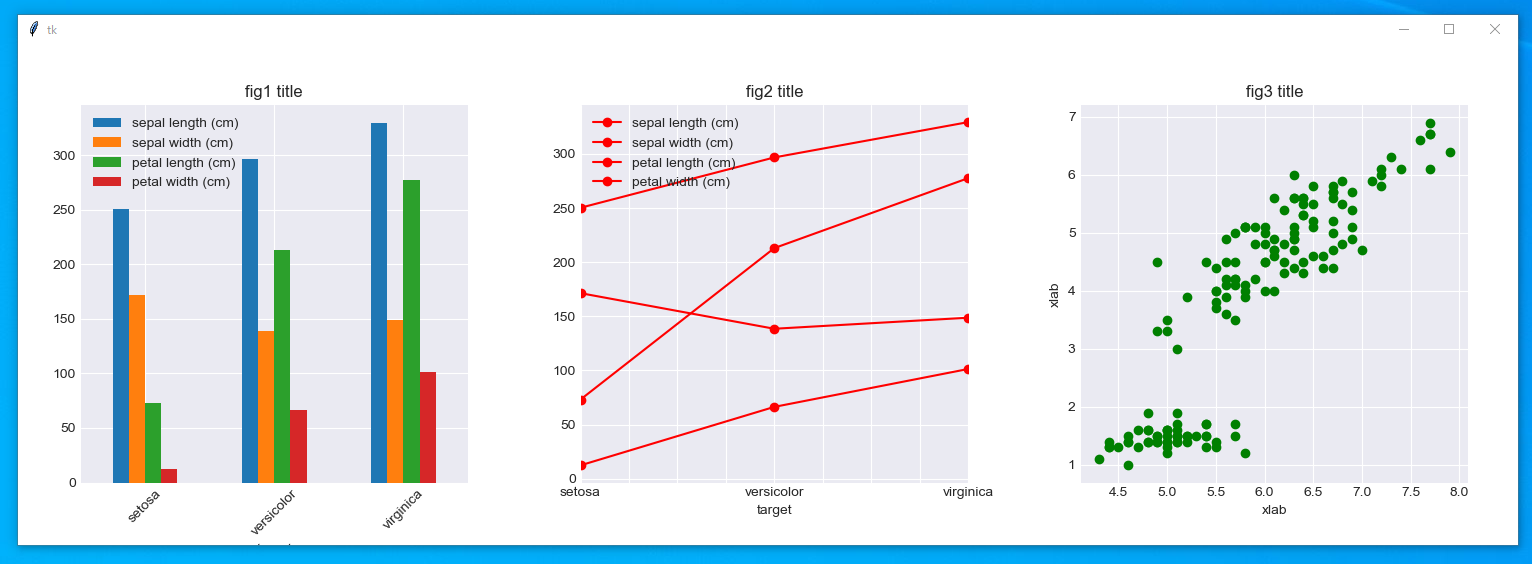
複数の描画エリアに分けてmatplotを表示する
matplotからFigureCanvasTkAggを使ってtkinterに描画する
順番に表示される
20201120追記-描画データの準備
import pandas as pd
from sklearn.datasets import load_iris

iris = load_iris()

df = pd.DataFrame(iris.data, columns=iris.feature_names)
df['target'] = iris['target']
import tkinter as tk
from pandas import DataFrame
import matplotlib.pyplot as plt
from matplotlib.backends.backend_tkagg import FigureCanvasTkAgg

root= tk.Tk()
root.geometry("1500x500")

figure1 = plt.Figure(figsize=(5,5), dpi=100)
ax1 = figure1.add_subplot(1,1,1)
bar1 = FigureCanvasTkAgg(figure1, root)
bar1.get_tk_widget().pack(side=tk.LEFT, fill=tk.BOTH)
df1 = df.groupby('target').sum()
df1.plot(kind='bar', legend=True, ax=ax1)
ax1.set_xticklabels(labels=df1.index,rotation=45)
ax1.set_title('fig1 title')

figure2 = plt.Figure(figsize=(5,5), dpi=100)
ax2 = figure2.add_subplot(1,1,1)
line2 = FigureCanvasTkAgg(figure2, root)
line2.get_tk_widget().pack(side=tk.LEFT, fill=tk.BOTH)
df2 = df.groupby('target').sum()
df2.plot(kind='line', legend=True, ax=ax2, color='r',marker='o', fontsize=10)
ax2.set_title('fig2 title')

figure3 = plt.Figure(figsize=(5,5), dpi=100)
ax3 = figure3.add_subplot(1,1,1)
ax3.scatter(df['sepal length (cm)'],df['petal length (cm)'], color = 'g')
scatter3 = FigureCanvasTkAgg(figure3, root)
scatter3.get_tk_widget().pack(side=tk.LEFT, fill=tk.BOTH)
ax3.set_ylabel('xlab')
ax3.set_xlabel('xlab')
ax3.set_title('fig3 title')

root.mainloop()
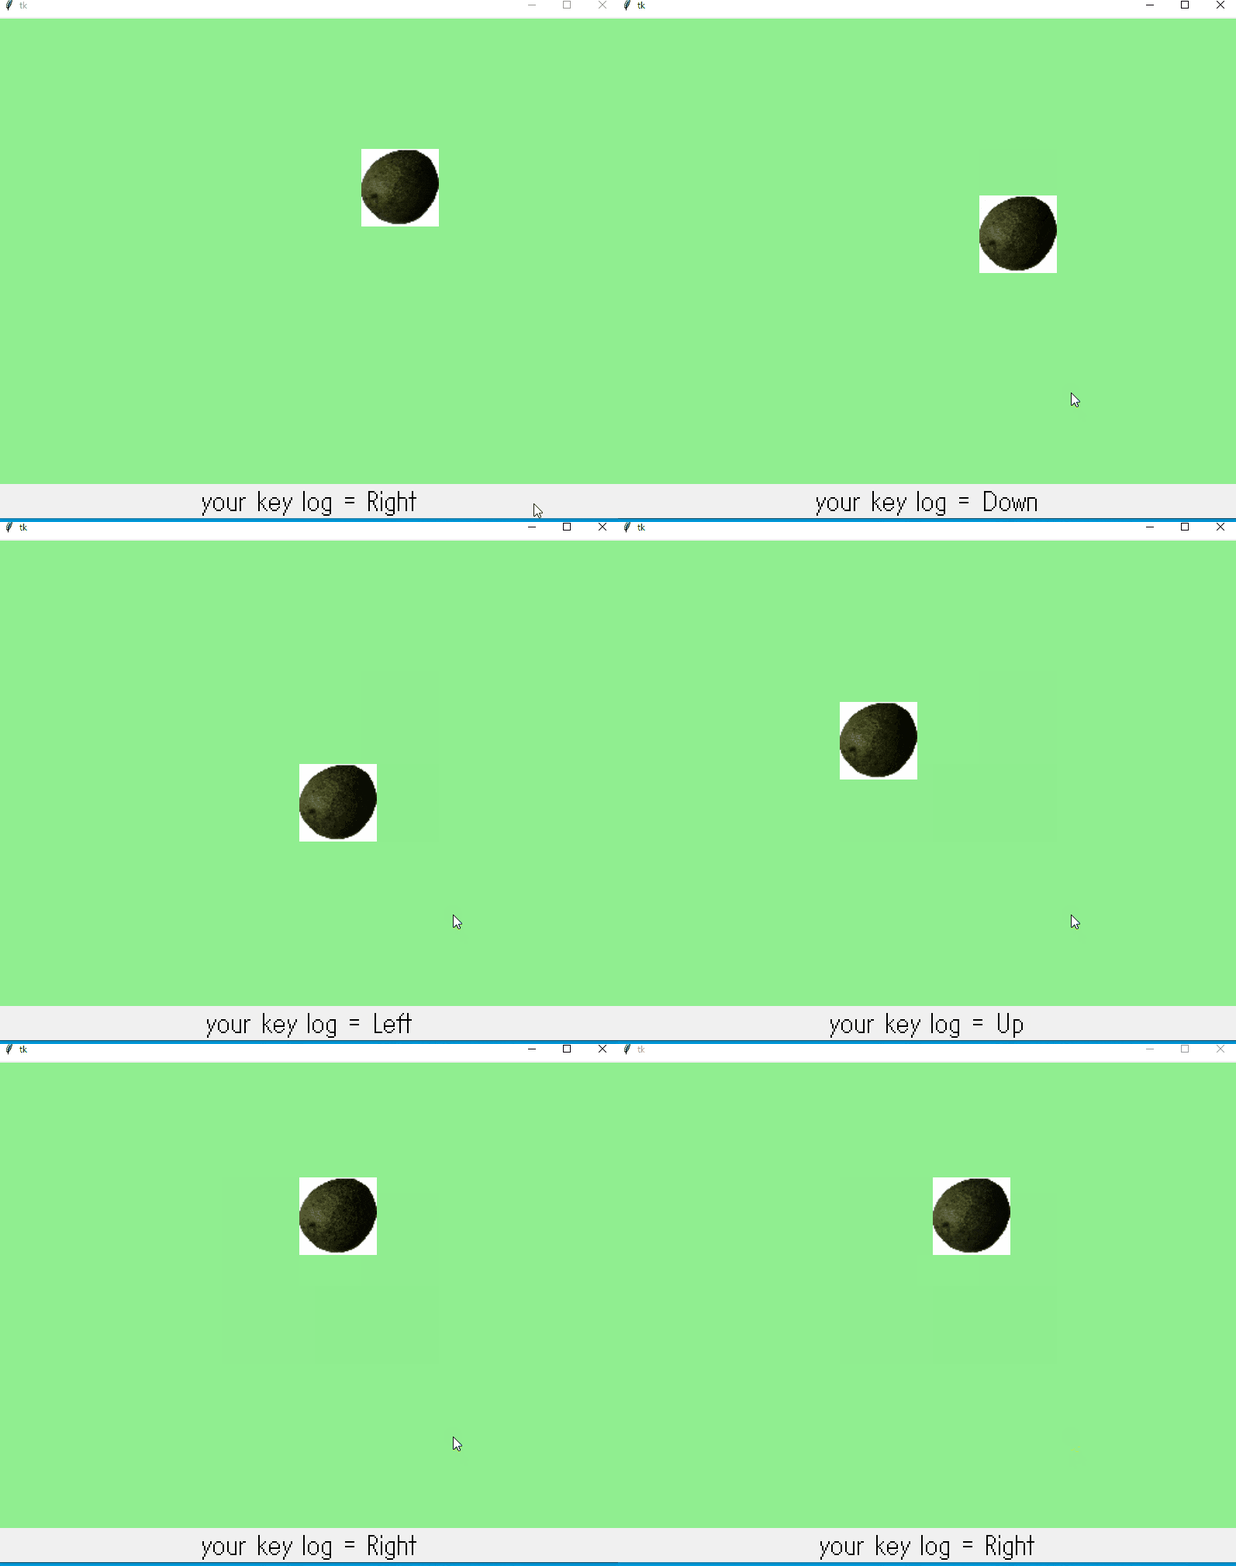
表示させた画像をキーボード操作から動かす
キーボード操作を受け取るにはKeyPress等を使用する
キーボード操作の内容もついでに取得してみる
動かしたい画像にtagを付けて画像位置を指定する
after関数は1000=1秒の遅れを使いつつ後ろに指定した関数を反映する
import tkinter
from PIL import ImageTk, Image

key = ""

def key_down(e):
    global key
    key = e.keysym
    label["text"] = ("your key log = "+ key)

def key_up(e):
    global key
    key = ""

cx = 400
cy = 300

def main_proc():
    global cx, cy
    if key == "Up":
        cy = cy -20
    if key == "Down":
        cy = cy + 20
    if key == "Left":
        cx = cx - 20
    if key =="Right":
        cx = cx + 20
    canvas.coords("MYpicture", cx,cy)
    root.after(100, main_proc)

log=""

def puss(e):
    global log
    log = e.keysym


root = tkinter.Tk()

root.bind("<KeyPress>", key_down)
root.bind("<KeyRelease>", key_up)

canvas = tkinter.Canvas(width=800, height=600,bg="lightgreen")
canvas.pack()

image = Image.open("アヴォカド.png")
photo = ImageTk.PhotoImage(image, master=root)
canvas.create_image(cx, cy, image=photo, tag="MYpicture")

label = tkinter.Label(font=("System",24))
label.pack()

main_proc()

root.mainloop()
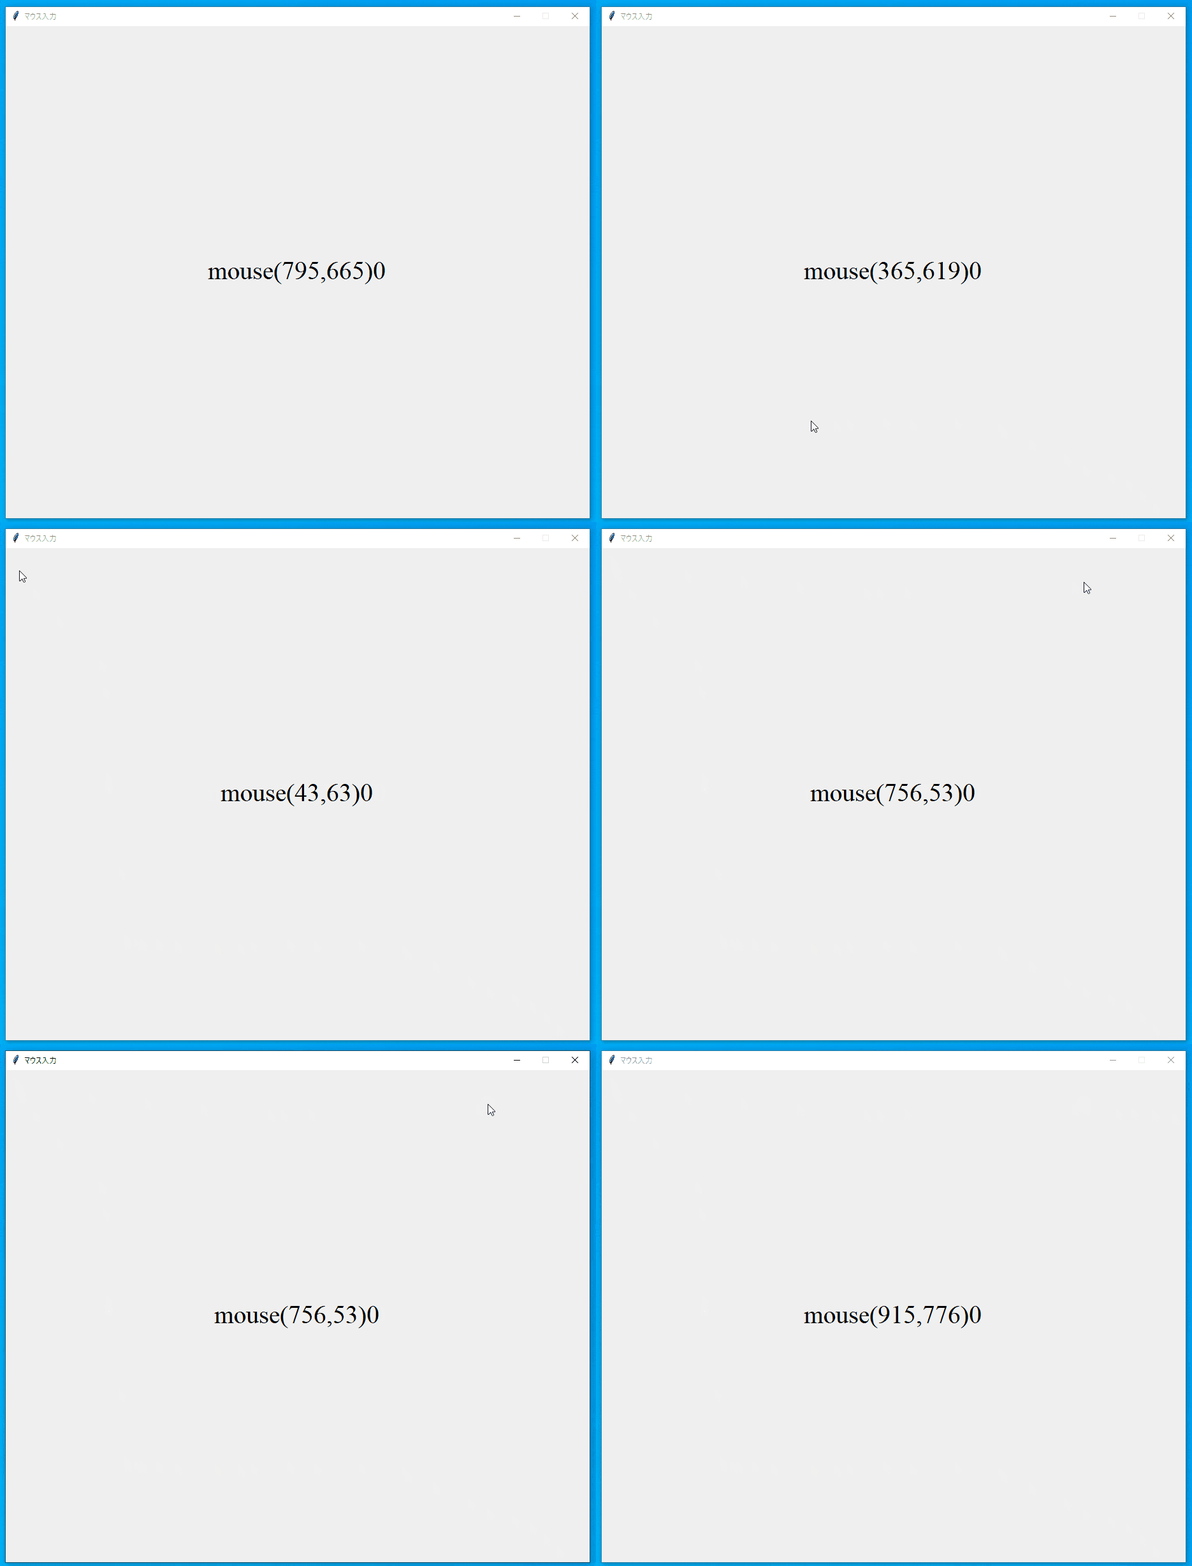
マウス位置を取得するコード
import tkinter

mouse_x = 0
mouse_y = 0
mouse_c = 0

def mouse_move(e):
    global mouse_x, mouse_y
    mouse_x = e.x
    mouse_y = e.y

def mouse_press(e):
    global mouse_c
    mouse_c = 1

def mouse_release(e):
    global mouse_c
    mouse_c = 0

def game_main():
    fnt = ("Times New Roman", 30)
    txt = "mouse({},{}){}".format(mouse_x, mouse_y, mouse_c)
    cvs.delete("TEST")
    cvs.create_text(456, 384, text=txt, fill="black", font=fnt, tag="TEST")
    root.after(100, game_main)

root = tkinter.Tk()
root.title("マウス入力")
root.resizable(False, False)
root.bind("<Motion>", mouse_move)
root.bind("<ButtonPress>", mouse_press)
root.bind("<ButtonRelease>", mouse_release)
cvs = tkinter.Canvas(root, width=912, height=768)
cvs.pack()
game_main()
root.mainloop()
以上
buttonやentryと組み合わせれば入力内容を描画したり、commandを使えばパッケージ内の関数を引っ張ってくることができるようになったと思う
