みなさん、こんにちは!
近頃はCLIベースのAIツールが流行しており、気になっている方も多いのではないでしょうか。 本記事ではGemini CLIのインストール手順をはじめとし、オプトアウト等各種初期設定の手順について記載します。
環境
Windows 11
Google Workspaceユーザー
1. インストール
以下のコマンドでインストールします。
npx https://github.com/google-gemini/gemini-cli
もしくは以下でもインストール可能です。
npm install -g @google/gemini-cli
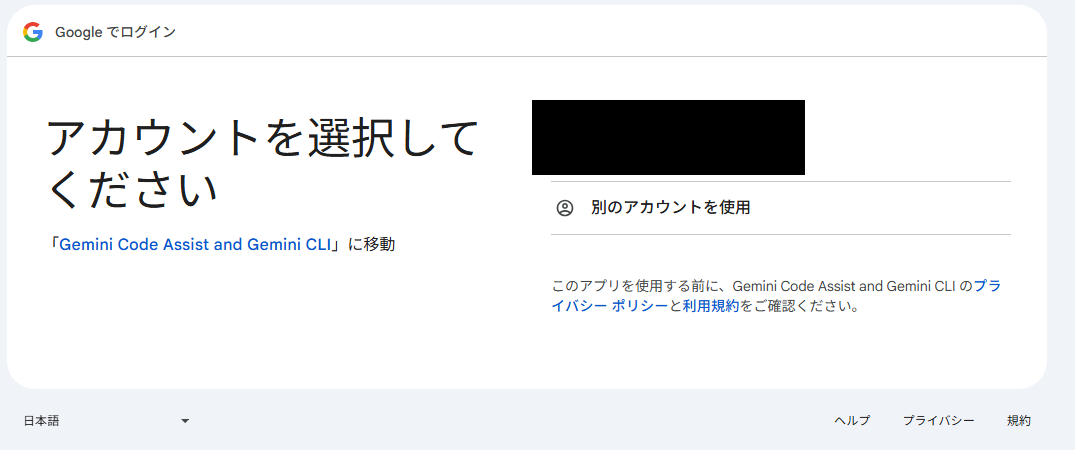
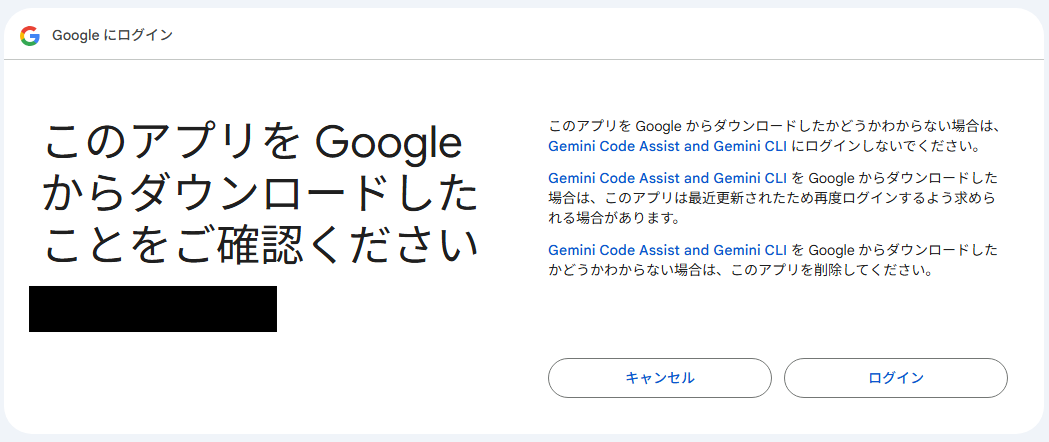
2. 初回ログイン
Login With Googleをクリック
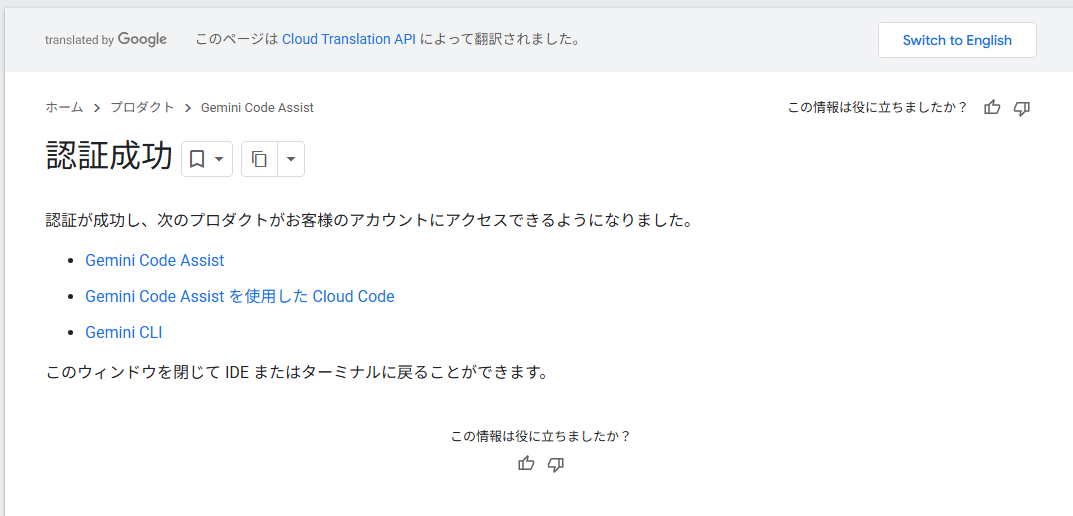
Google Workspaceのユーザーでログインすると、認証成功の画面が表示されます。

3. オプトアウト設定
グローバル設定でオプトアウトしたいと思います。
gemini cliが使えるようになったかの確認も兼ねて、geminiに聞いてみましょう。
聞いてみた結果、以下のパスのファイルに追記してくれました。
~/.gemini/settings.json


{
  "security": {
    "auth": {
      "selectedType": "oauth-personal"
    }
  ## 以下からgeminiが追記してくれた情報
  },
  "privacy": {
    "usageStatisticsEnabled": false
  }
}
念のため、ドキュメントを確認して該当の設定が正しいか確認してみましょう。
Usage Statistics
以下の記載が見つかりましたので、設定上は正しいようですね。
You can opt out of usage statistics collection at any time by setting the usageStatisticsEnabled property to false in your settings.json file:
さいごに
本記事では初期インストールからオプトアウトまでの設定手順を記載しました。
Gemini CLIは個人利用であれば無料で気軽にお試しできますので、気になる方はこの機会にご利用してみてはいかがでしょうか! ※2025/11/13 記事執筆時の情報となります。