作成:2023年1月16日
・React Native + Expo + Amplify + NativeBase + React Navigation でアプリ試作してます。
今回はプロフ編集画面を追加します: React Navigation, NativeBase
・本記事は次の記事の続きです:GraphQL でユーザを選択してデータ取得
プロフ画面追加
ProfileEditScreen を追加します。
App.js
function App() {
  return (
    <Authenticator.Provider>
      <Authenticator>
        <NavigationContainer>
          <Stack2.Navigator initialRouteName="Home">
            <Stack2.Screen name="Home" component={HomeScreen} />
            <Stack2.Screen name="Profile" component={ProfileScreen} />
            <Stack2.Screen name="Profile Edit" component={ProfileEditScreen} />
          </Stack2.Navigator>
        </NavigationContainer>
      </Authenticator>
    </Authenticator.Provider>
  );
}
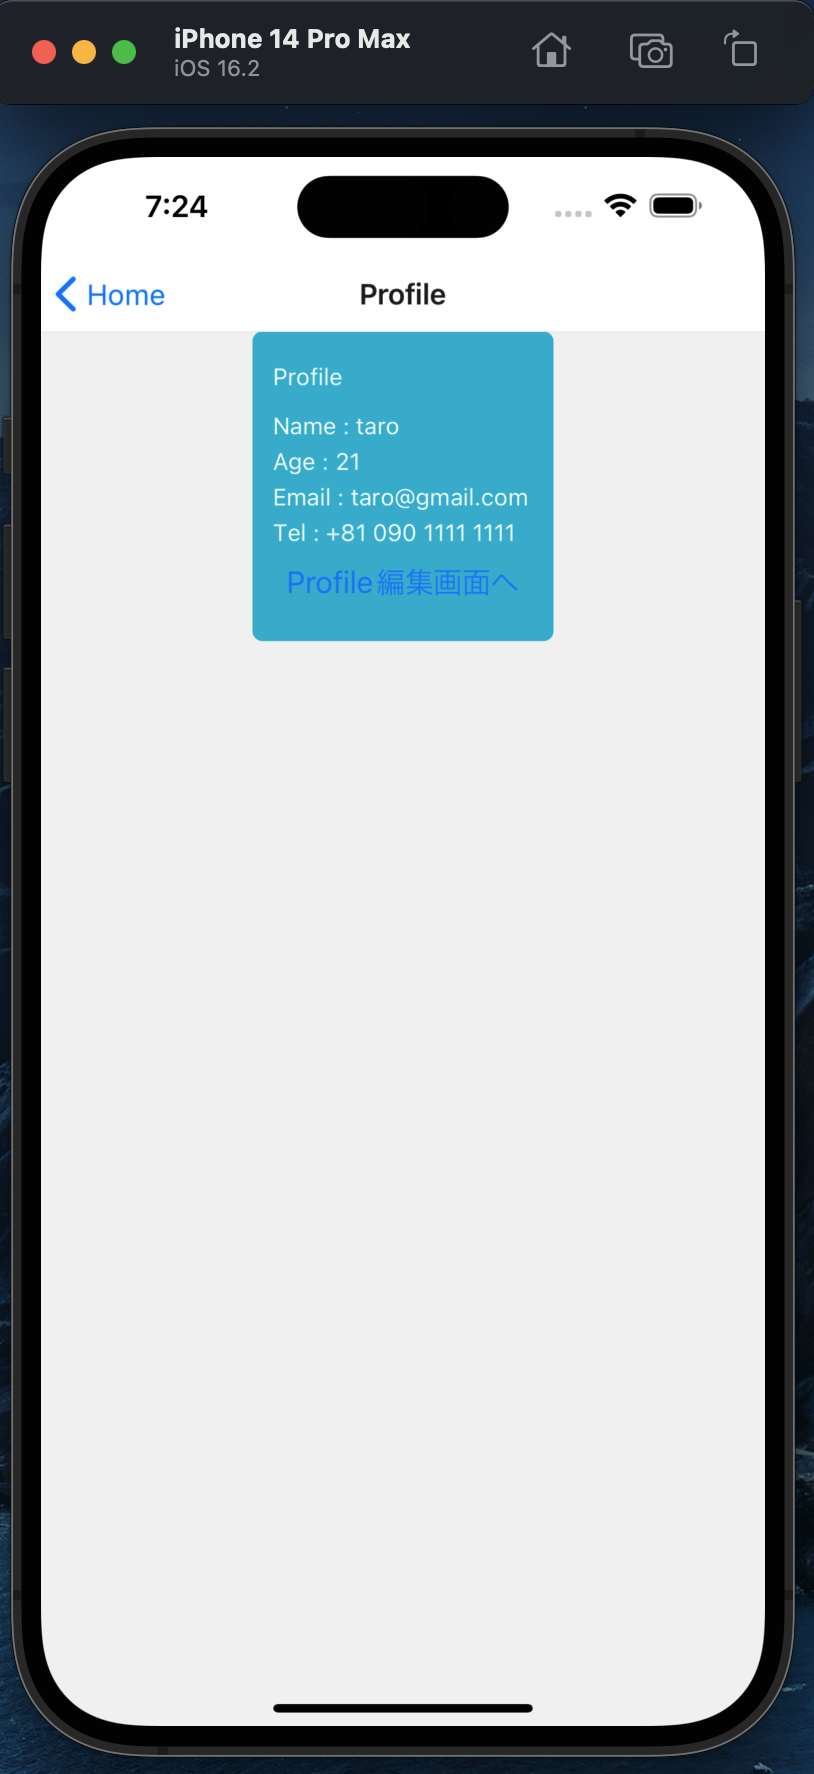
Profile画面からProfileEdit画面へのリンク追加
App.js
...
function ProfileScreen() {
  const navigation = useNavigation();
...
          <Button
            title="Profile編集画面へ"
            onPress={() => navigation.navigate("ProfileEdit")}
...
ButtonをNativeBaseへ変更
これまで Button は react-native を使っていましたが、native-base に変更しました(参考リンク)
App.js
import { Button } from "native-base";
...
<Button onPress={() => navigation.navigate("ProfileEdit")}>Profile編集画面へ</Button>

ProfileEdit関数の追加
まず手始めにEmailを入力できる様にします。
react-native-paperを導入します
yarn add react-native-paper
/src/screens/ProfileEditScreen.js を追加します(コードのgithub置き場:qiita20230116)
TextInput に苦労しました。
ProfileEditScreen.js
import React, { useState } from "react";
import { StyleSheet, KeyboardAvoidingView, platform } from "react-native";
import { TextInput, Button } from "react-native-paper";

export const ProfileEditScreen = () => {
  const [text, setText] = useState("");

  const onPressSave = () => {
    alert(text);
  };

  return (
    <KeyboardAvoidingView style={styles.container}>
      <TextInput
        style={{ marginBottom: 16 }}
        mode="outlined"
        placeholder="登録するメールアドレスを入力してください"
        multiline
        onChangeText={(text) => setText(text)}
      />
      <Button mode="contained" onPress={onPressSave} Ï>
        登録
      </Button>
    </KeyboardAvoidingView>
  );
};

const styles = StyleSheet.create({
  container: {
    flex: 1,
    padding: 16,
  },
});
実行します。
% yarn ios


入力したメールアドレスの値を取得して、まずはアラート表示しました。次は、取得した値を GraphQL で Amplify(DynamoDB) に登録してみたいと思います。