はじめに
Rails7系にはWebpackerが非推奨なのでいままでのようにインストールことができません。そのため備忘録としてRails7にviteを使ってVue3を入れる方法をまとめてみました。
実行環境
- Ubuntu:22.04.4 LTS
- Ruby:3.1.2p20
- Rails:7.1.3.4
- Vue:3.4.27
Railsプロジェクトの新規作成
Railsプロジェクトを作成するために以下のコマンドを実行します。
rails new rails_vue_app
cd rails_vue_app
サーバーを起動するため以下コマンドを実行します。
rails s
以下の画面が表示されれば次へ進みます。
viteのインストール
Gemfileに以下を追記します。
# 追加
gem 'jsbundling-rails'
gem 'vite_rails'
viteをインストールするため以下のコマンドを実行します。
bundle install
bundle exec vite install
Vue3のインストール
Vue3をインストールするため以下のコマンドを実行します。
もしnpmが存在しないときはnpmをインストールしてください。
npm install --save-dev @vitejs/plugin-vue
vite.config.tsを以下のように設定します。
import { defineConfig } from 'vite'
import RubyPlugin from 'vite-plugin-ruby'
import vue from '@vitejs/plugin-vue'

export default defineConfig({
    plugins: [
        RubyPlugin(),
        vue(),
    ],
})
Vue/indexの新規作成
Vue/indexを新規するため以下を実行
rails g controller Vue index
routeに以下を追加する。
Rails.application.routes.draw do
    root to: 'vue#index' #追加
    get 'vue/index'
    # Define your application routes per the DSL in https://guides.rubyonrails.org/routing.html

    # Reveal health status on /up that returns 200 if the app boots with no exceptions, otherwise 500.
    # Can be used by load balancers and uptime monitors to verify that the app is live.
    get "up" => "rails/health#show", as: :rails_health_check

    # Defines the root path route ("/")
    # root "posts#index"
end
画面をリロードして以下の画面が表示されれば次へ進みます。
Vueファイルの作成
index.html.erbファイルに以下を追加する。
<div id="app"></div>
app/javascript/entrypoints/application.jsに以下を追加する。
// 以下を追加
import { createApp } from 'vue'
import App from '../app.vue'

document.addEventListener('DOMContentLoaded', () => {
  createApp(App).mount('#app')
})
app/javascript/app.vueを新規作成し、以下を追加する。
<template>
    <p>{{ state.message }}</p>
</template>

<script lang="ts">
import { defineComponent } from 'vue'

export default defineComponent({
    name: 'App',
    setup() {
        return {
            state: {
                message: "Ruby on Rails + vite + Vue3!"
            }
        }
    }
})
</script>

<style scoped>
p {
    font-size: 2em;
    text-align: center;
}
</style>
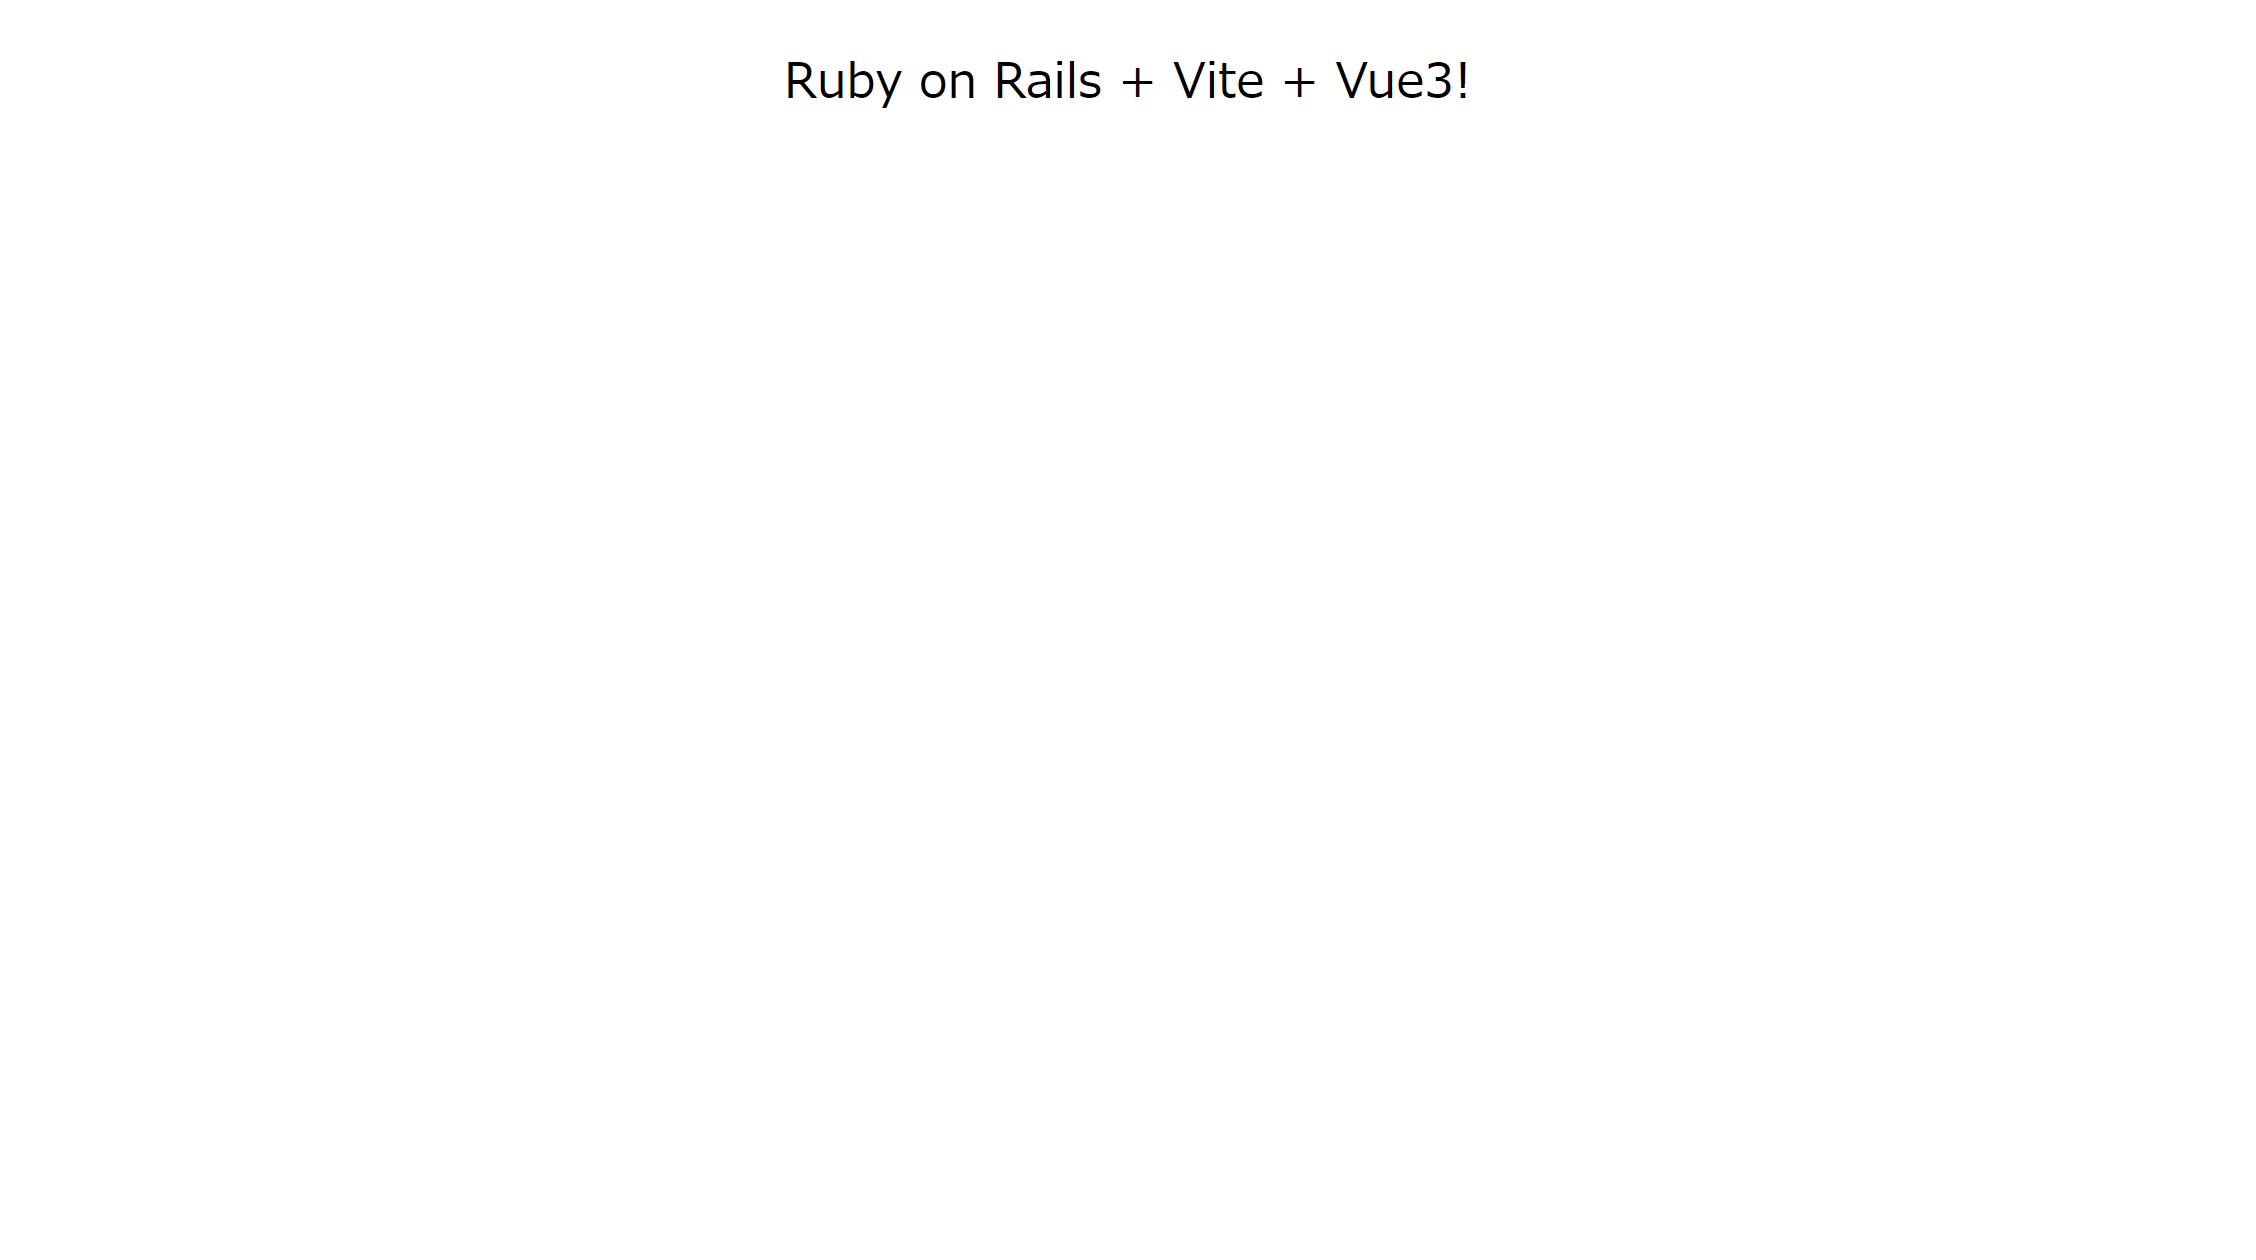
画面をリロードして以下の画面が表示されれば完了です。
おわりに
Rails7系にviteを使ってVue3を入れる方法を紹介しました。ディレクトリ構成などがベストとは程遠いですが、これから勉強していこうと思います。
参考記事
Vue3、Rails7系を使って「Hello Vue」を表示させるまで


