Google Assistant + Raspberry Piを使って深層学習ライブラリ「Keras」を動作させてみました。まずは深層学習のHelloWorld、「赤りんごと青りんごを見分ける」のを人工知能にさせてみました。こんな感じです。
グーグル・アシスタントさんがりんごを見分けるよ。
— ポンダッド (@pon_dad) 2017年5月30日
Google assistant classifies apples.#GoogleAssistant #RaspberryPi #TensorFlow #keras pic.twitter.com/lmk9cyklZH
GoogleAssistantから「アクション(ここではSamantha)」を呼び出し、「インテント(意図)」によりりんごの写真を撮影します。「Say Cheese」で写真を撮影し、保存します。
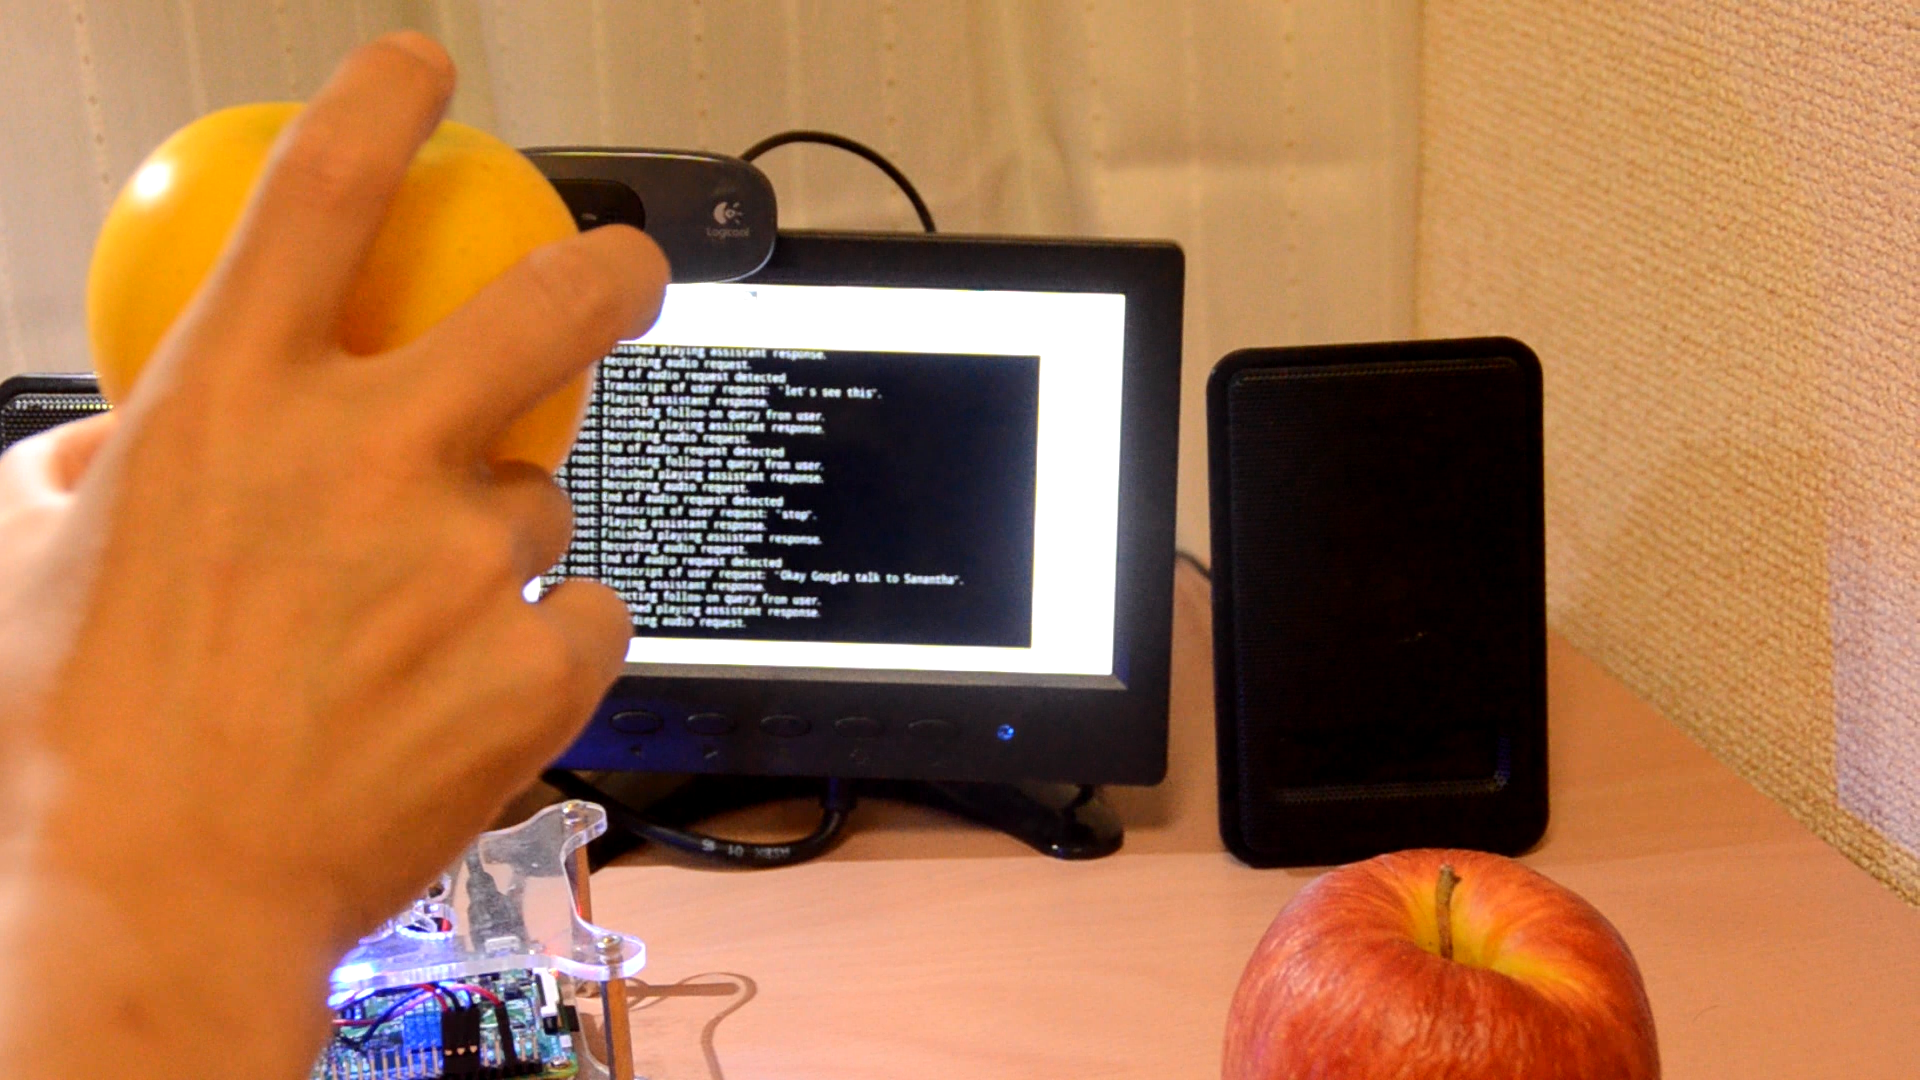
「インテント」「What is this?」の呼びかけで画像認識を開始します。
今回はここからりんごを深層学習ライブラリ「Keras」を利用して「赤りんご」か「青りんご」かを判別させます。ここでは認識率90%以上で正と判断させました。
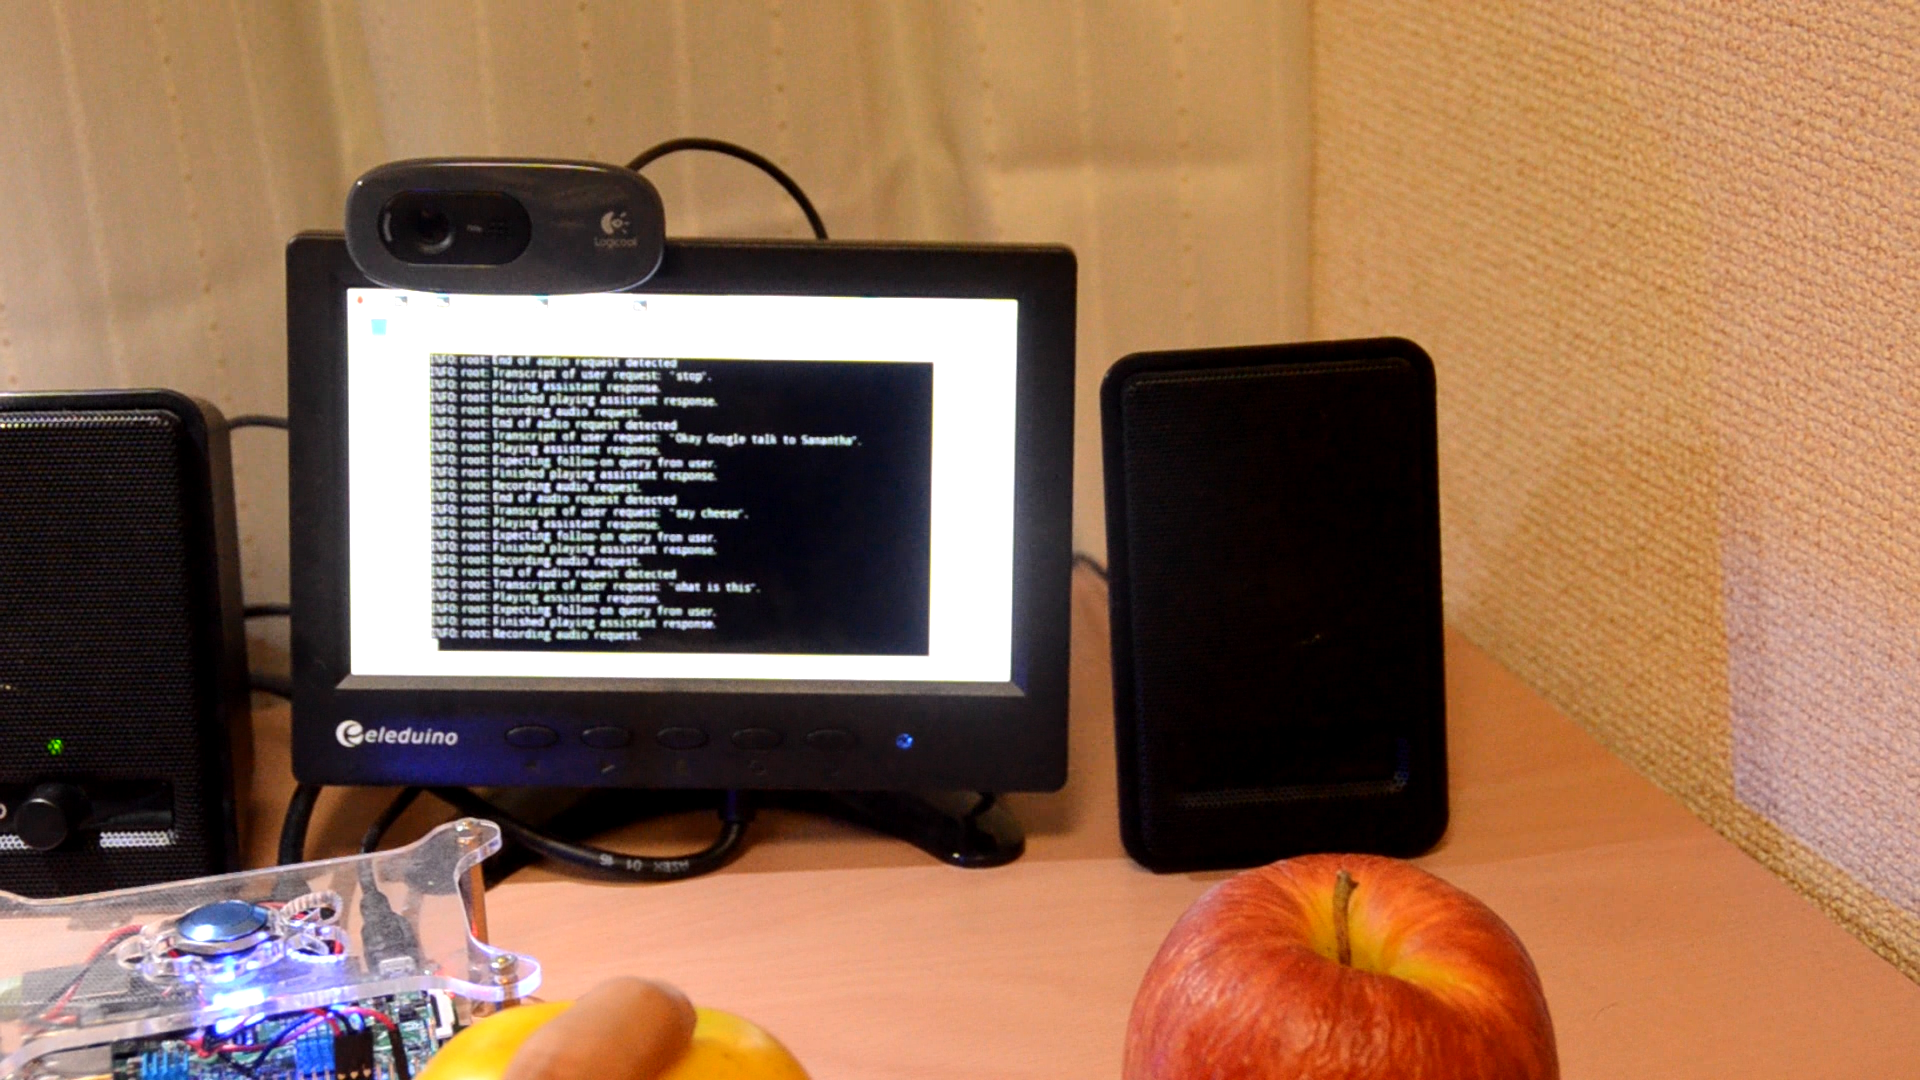
「Green Apple」と正しく判定しました。
環境
環境は前回記事と同じです。
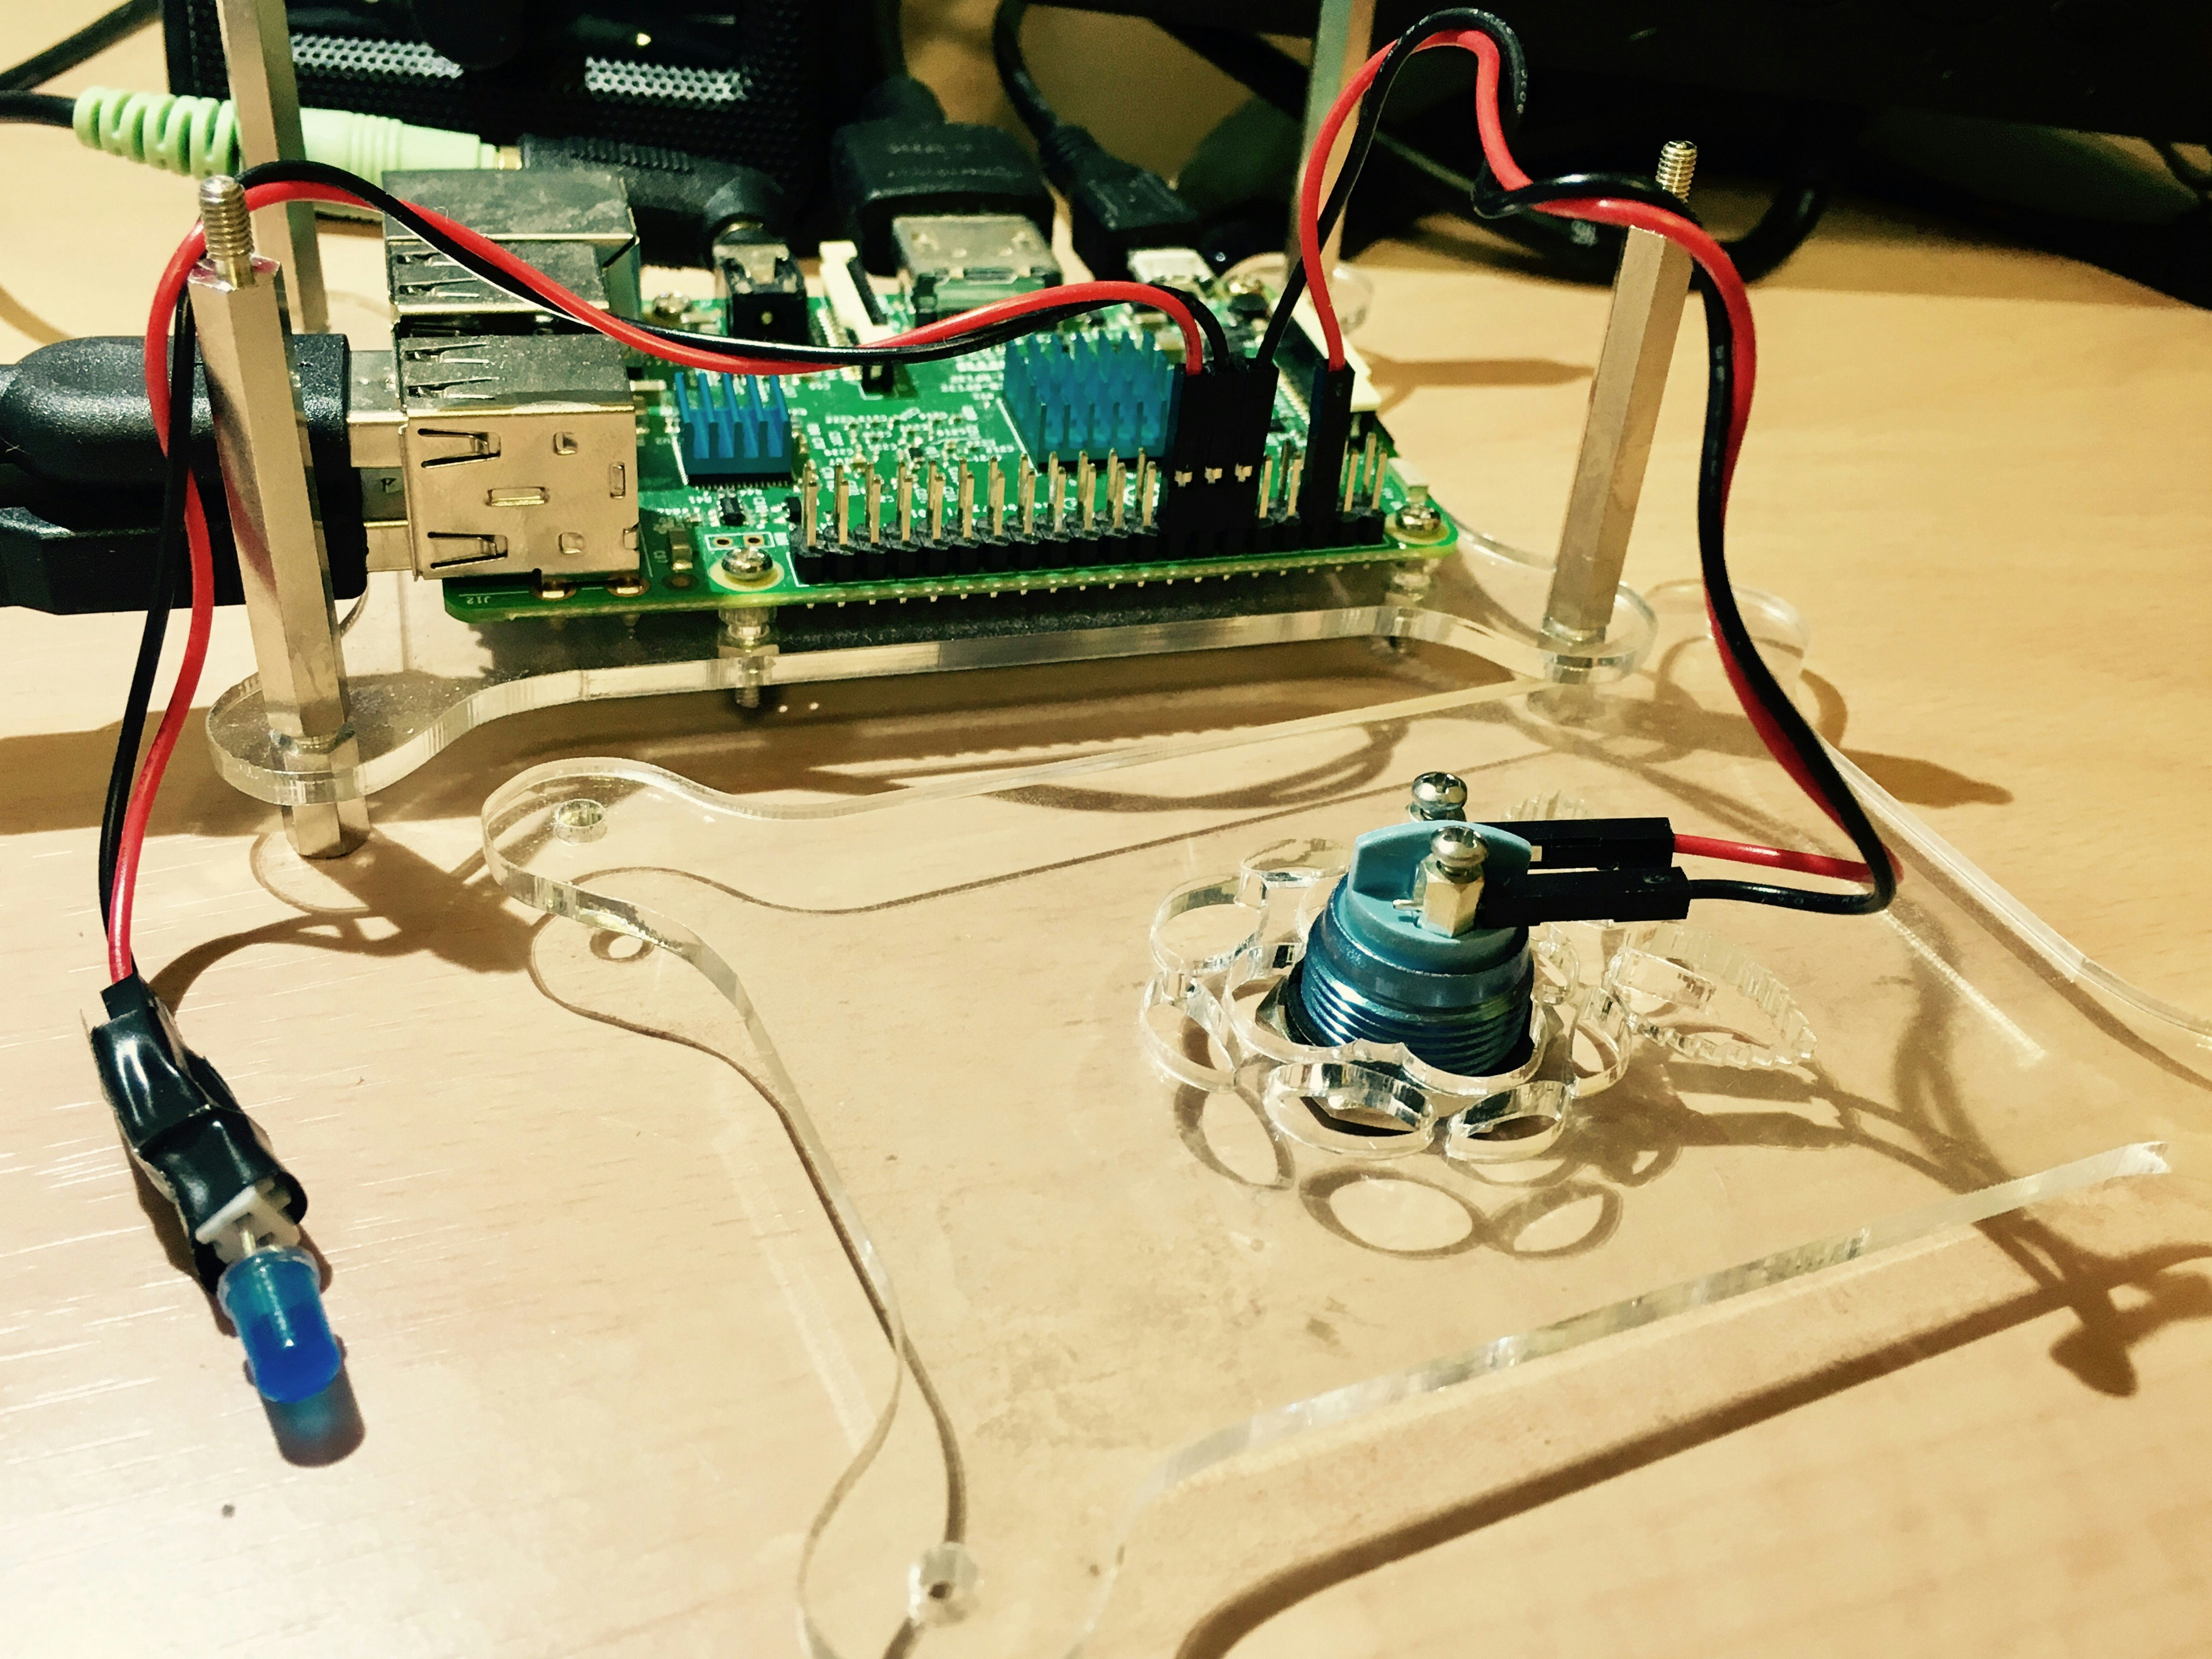
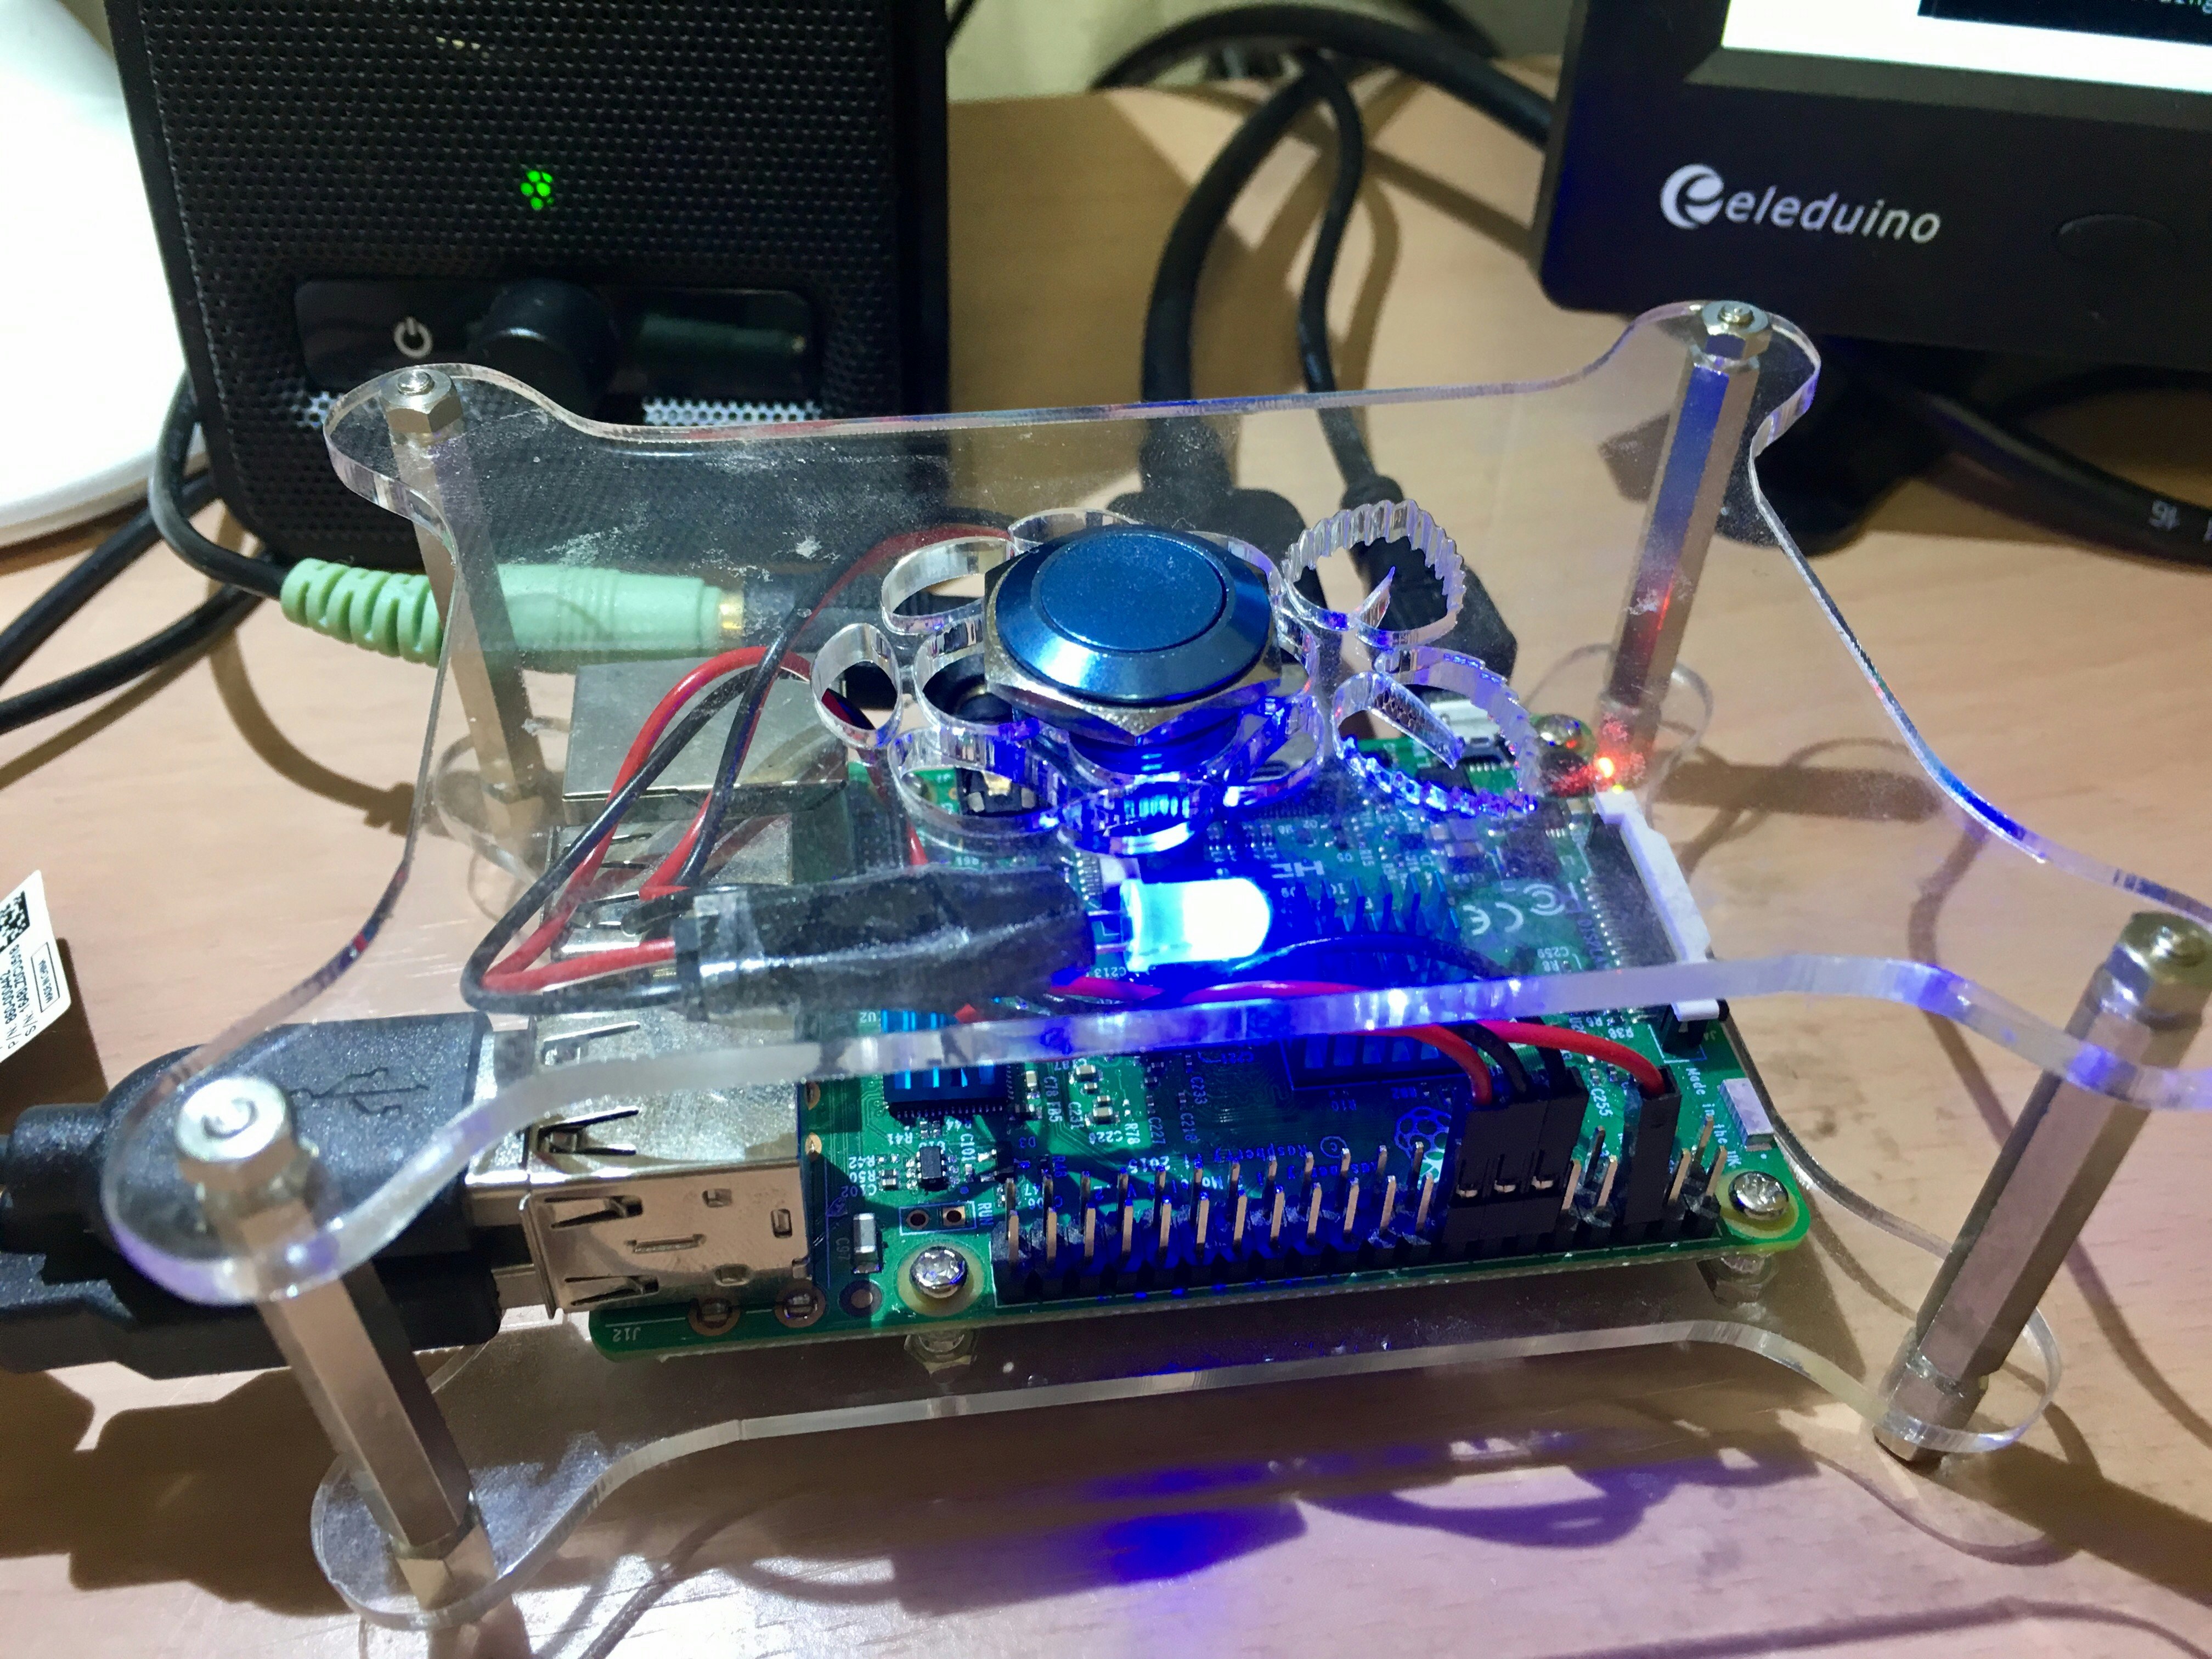
ちょこちょこと改造しているのですが、今回はプッシュボタンと合わせてLEDをGPIOに取り付けています。興味のある方はこちらの動画 Button Trigger for Google Assistant on Raspberry Pi ーYouTube で詳しく取り付け方やコードを紹介しているのご覧になると良いでしょう。
これでモニターが無い環境でも、LEDが点灯するので音声待受状態を確認することが出来ます。
大まかな仕組み
Google Cloud Platform
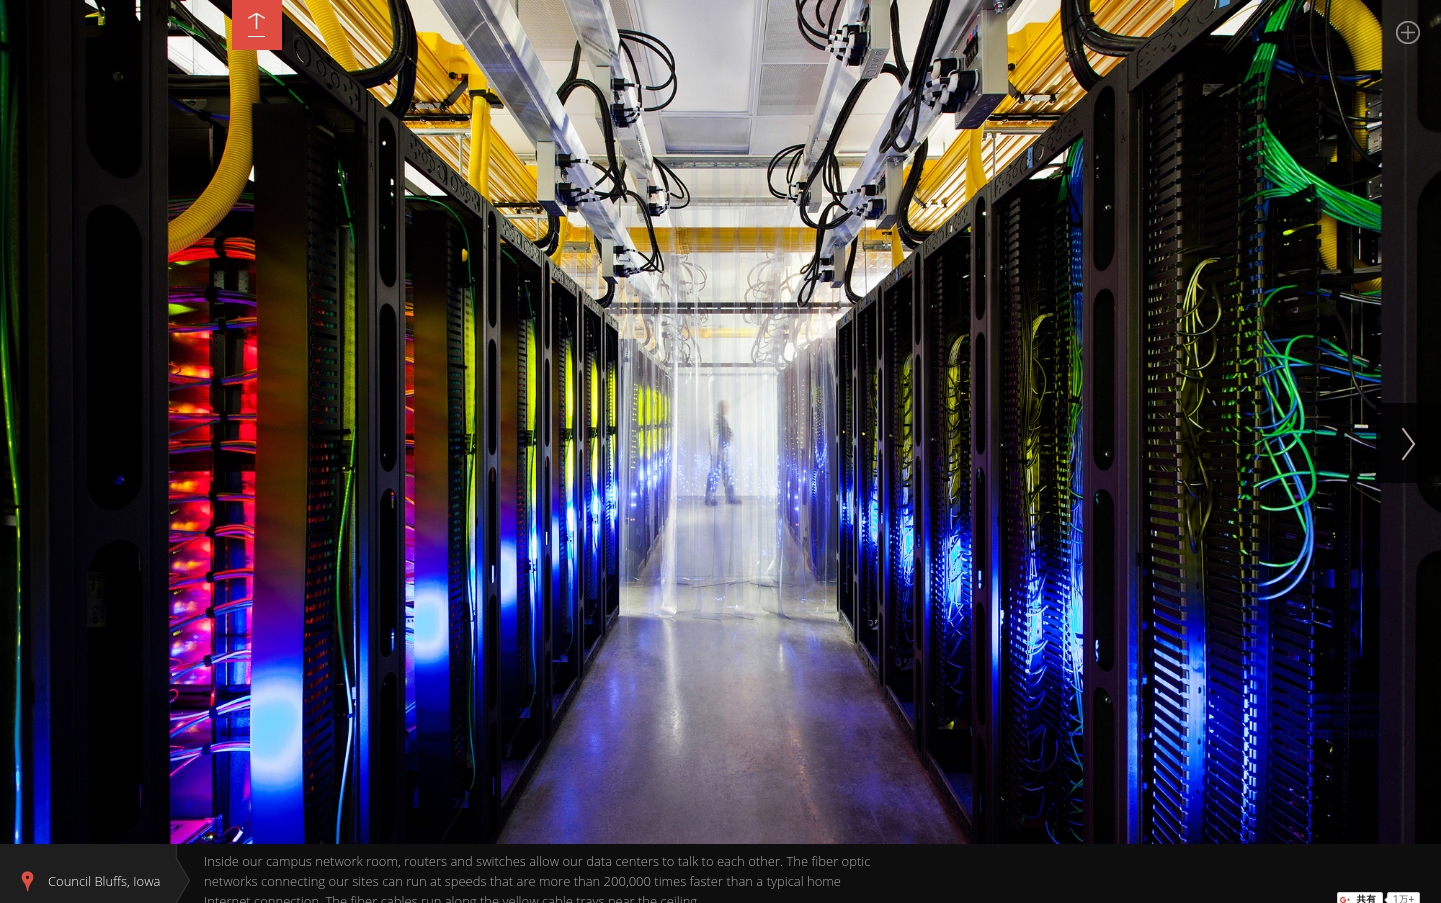
画像はGoogle Data Centers より引用
Google Cloud Platformに設置したGoogle Assistantを呼び出して会話を行います。
API.aiキーワードの設定し、「Google Cloud Functions」で実際のアクションを設定します。
「Google Cloud Functions」はNode.jsを利用して、リクエストを受ける度にイベントを駆動させます。
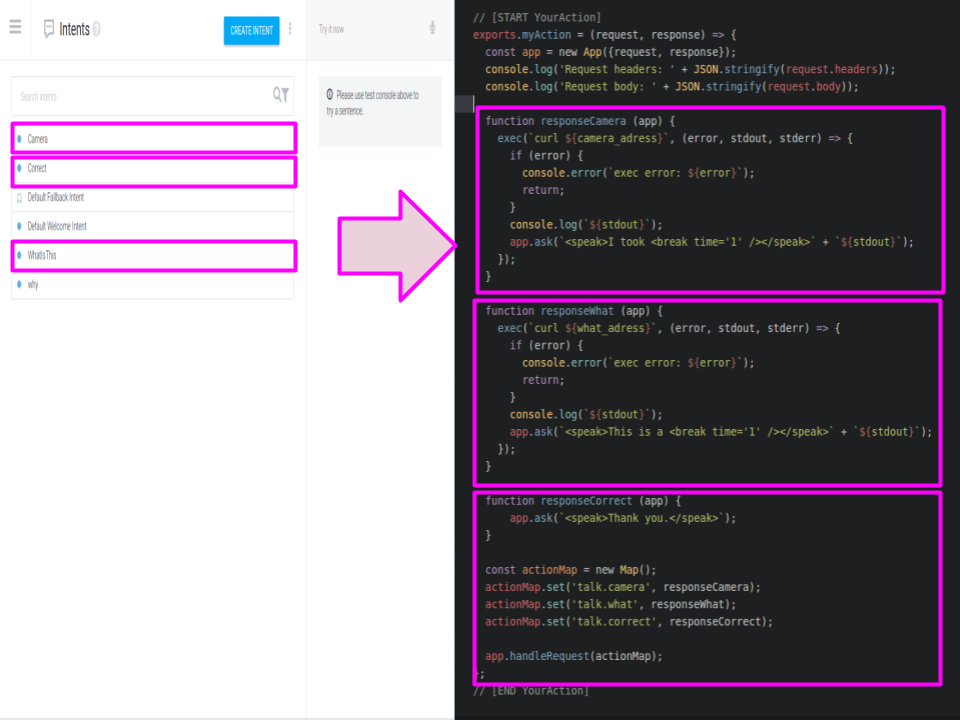
'use strict';

process.env.DEBUG = 'actions-on-google:*';
const App = require('actions-on-google').ApiAiApp;

const exec = require('child_process').exec;
const camera_adress = "https://xxxxxxx.ap.ngrok.io/camera"
const what_adress = "https://xxxxxxx.ap.ngrok.io/what"

// [START YourAction]
exports.myAction = (request, response) => {
  const app = new App({request, response});
  console.log('Request headers: ' + JSON.stringify(request.headers));
  console.log('Request body: ' + JSON.stringify(request.body));

  function responseCamera (app) {
    exec(`curl ${camera_adress}`, (error, stdout, stderr) => {
      if (error) {
        console.error(`exec error: ${error}`);
        return;
      }
      console.log(`${stdout}`);
      app.ask(`<speak>I took <break time='1' /></speak>` + `${stdout}`);
    });
  }

  function responseWhat (app) {
    exec(`curl ${what_adress}`, (error, stdout, stderr) => {
      if (error) {
        console.error(`exec error: ${error}`);
        return;
      }
      console.log(`${stdout}`);
      app.ask(`<speak>This is a <break time='1' /></speak>` + `${stdout}`);
    });
  }

  function responseCorrect (app) {
      app.ask(`<speak>Thank you.</speak>`);
  }

  const actionMap = new Map();
  actionMap.set('talk.camera', responseCamera);
  actionMap.set('talk.what', responseWhat);
  actionMap.set('talk.correct', responseCorrect);

  app.handleRequest(actionMap);
};
// [END YourAction]
「Google Cloud Functions」を利用して、RaspberryPiにたてたローカルサーバーWebhookを送信します。ファイアウォールを超えるためにここではngrokを利用してアクセスします。
Raspberry Pi
以前作成した(Raspberry Pi 深層学習で「赤りんご」と「青りんご」を見分ける(Keras・Open CV))学習用のapple.npyファイルを利用して再度学習させました。
Kerasが2.0にアップデートし、一部APIが変更になったので以下のようにモデル作成用のファイルを書き換えました。
import numpy as np
from keras.models import Sequential
from keras.layers import Dense, Dropout, Activation, Flatten
from keras.layers import Conv2D, MaxPooling2D
from keras.utils import np_utils

root_dir = "./image/"
categories = ["red_apple", "green_apple"]
nb_classes = len(categories)
image_size = 32

def main():
    X_train, X_test, y_train, y_test = np.load("./image/apple.npy")
    X_train = X_train.astype("float") / 256
    X_test  = X_test.astype("float")  / 256
    y_train = np_utils.to_categorical(y_train, nb_classes)
    y_test  = np_utils.to_categorical(y_test, nb_classes)
    model = model_train(X_train, y_train)
    model_eval(model, X_test, y_test)

def build_model(in_shape):
    model = Sequential()
    model.add(Conv2D(32, 3, 3,
	border_mode='same',
	input_shape=in_shape))
    model.add(Activation('relu'))
    model.add(MaxPooling2D(pool_size=(2, 2)))
    model.add(Dropout(0.25))
    model.add(Conv2D(64, 3, 3, border_mode='same'))
    model.add(Activation('relu'))
    model.add(Conv2D(64, 3, 3))
    model.add(MaxPooling2D(pool_size=(2, 2)))
    model.add(Dropout(0.25))
    model.add(Flatten())
    model.add(Dense(512))
    model.add(Activation('relu'))
    model.add(Dropout(0.5))
    model.add(Dense(nb_classes))
    model.add(Activation('softmax'))
    #model.compile(loss='binary_crossentropy',
	#optimizer='rmsprop',
    #metrics=['accuracy'])
    return model

def model_train(X, y):
    model = build_model(X.shape[1:])
    print(X.shape[1:])
    history = model.fit(X, y, batch_size=32, nb_epoch=10, validation_split=0.1)
    hdf5_file = "./image/apple-model.h5"
    model.save_weights(hdf5_file)
    return model

def model_eval(model, X, y):
    score = model.evaluate(X, y)
    print('loss=', score[0])
    print('accuracy=', score[1])

if __name__ == "__main__":
    main()
再度学習したモデルを使いカメラで読み込んだ画像をpredict()メソッドを利用して推測させます。
from flask import Flask
from flask import request, jsonify
import json
import numpy as np
import cv2
import subprocess
import time
import apple_keras as apple
import sys, os
import cv2
from keras.preprocessing.image import load_img, img_to_array
from keras import backend as K

app = Flask(__name__)

image_size = 32
categories = ["red apple", "green apple"]

@app.route('/camera')
def camera():
    cap = cv2.VideoCapture(0)
    cap.set(3, 760)
    cap.set(4, 480)
    while(True):
        ret, frame = cap.read()
        cv2.imshow('frame', frame)
        subprocess.call( ["aplay", "camera.wav"] )
        time.sleep(0.5)
        cv2.imwrite("apple.png", frame)
        text = "picture"
        break

    cap.release()
    cv2.destroyAllWindows()

    return text

@app.route('/what')
def whatisthis():
    X = []
    img = load_img("./apple.png", target_size=(image_size,image_size))
    in_data = img_to_array(img)
    X.append(in_data)
    X = np.array(X)
    X  = X.astype("float")  / 256

    model = apple.build_model(X.shape[1:])
    model.load_weights("./image/apple-model.h5")

    pre = model.predict(X)
    print(pre)
    if pre[0][0] > 0.9:
        print(categories[0])
        text = categories[0]
        text = text.encode('utf-8')
        return text
    elif pre[0][1] > 0.9:
        print(categories[1])
        text = categories[1]
        text = text.encode('utf-8')
        return text

if __name__ == '__main__':
    app.run(host="127.0.0.1", port=8080)
Raspberry側ではローカルサーバーをFlaskで立て、エンドポイントにWebhookでリクエストを受けた際に実行を行い戻り値をreturnで返します。
ここでは「青りんご」の推測値が90%以上のため、「GreenApple」を返しています。
まとめ
Googele Assistantは音声認識からアクション実行まで5秒以上経過するとエラー処理を起こすようです。今回は比較的簡単なモデルですので推測実行がRaspberryPiでもなんとか行えました。(動画をご覧になれば分かるのですがそれでも結構時間が掛かってしましまいます。)
もう少し複雑な深層学習モデルを利用する際は、RaspberryPiで処理を行うよりもクラウドにKerasの実行環境を作ったほうが良いかも知れません。
GCPでKerasを行う方法はこんな感じでまとめられています。
Deep Learning with Keras on Google Compute Engine - Medium
GCPの使い方を覚えたら今度やってみたいと思います。ではまた。
ご参考
興味のある方は過去記事も合わせてご参照下さい。
- Raspberry Pi 深層学習ライブラリで物体認識(Keras with TensorFlow・Open CV)
- Raspberry Pi 深層学習で「赤りんご」と「青りんご」を見分ける(Keras・Open CV)
- Raspberry Pi 人工知能ツールをインストール【Python3】
- Raspberry Pi にGoogle Assistant SDKを搭載して「OK Google」してみる。
- Raspberry Pi に Actions on Google で会話アプリをつくる 【Google Assistant SDK/API.ai】
- Raspberry Pi で音声カメラ 【Actions on Google/Google Assistant SDK/API.ai】