Raspberry Pi のカメラモジュールを使って顔認識をしてみた忘備録です。
環境
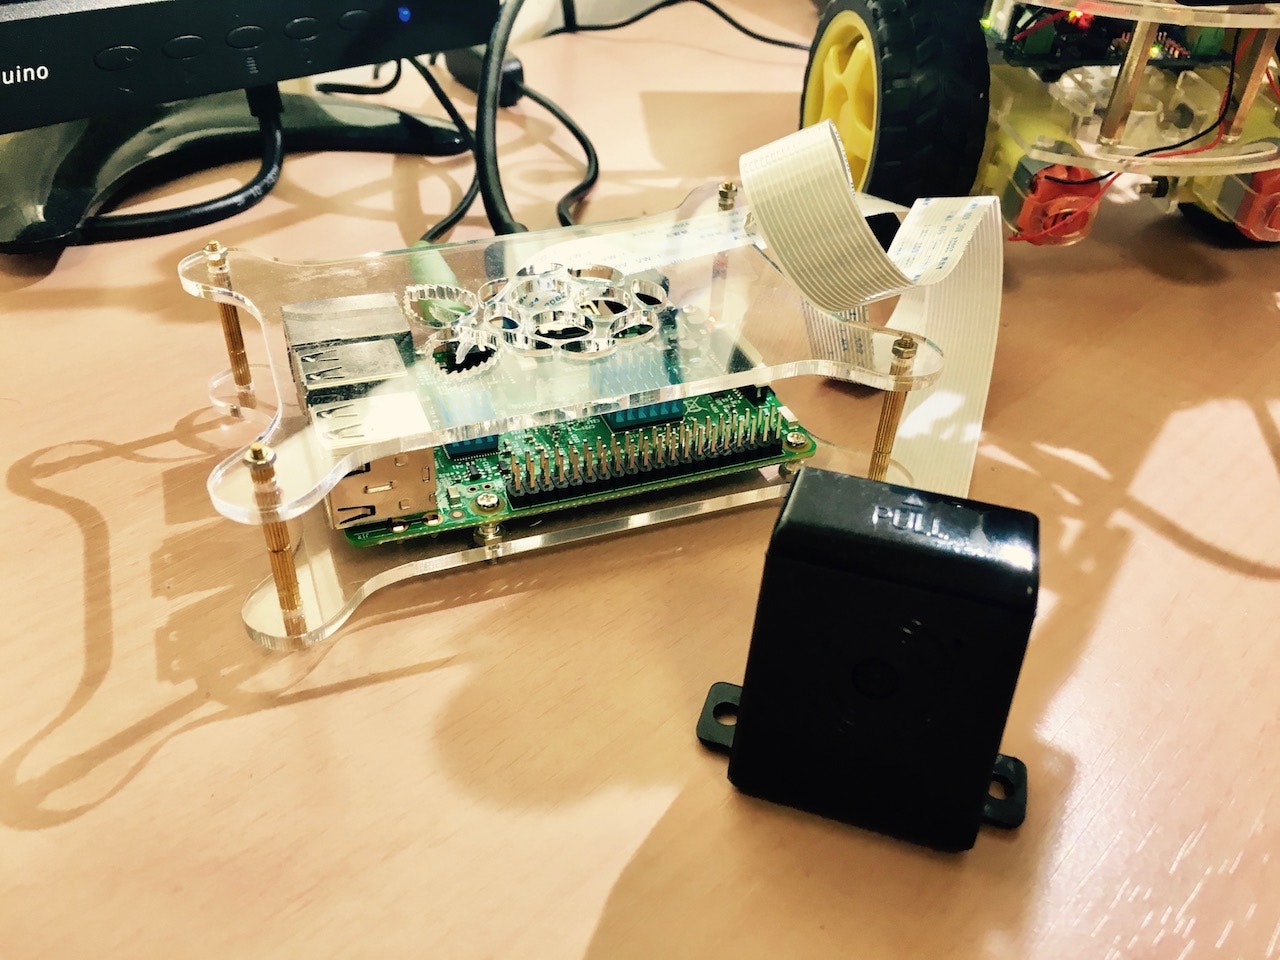
- Raspberry Pi3 (RASPBIAN JESSIE WITH PIXEL 4.4 / node.js v6.8.1)
- Raspberry Pi カメラモジュール Raspberry Pi Camera Board
- Raspberry Pi カメラモジュール専用 Blackケース
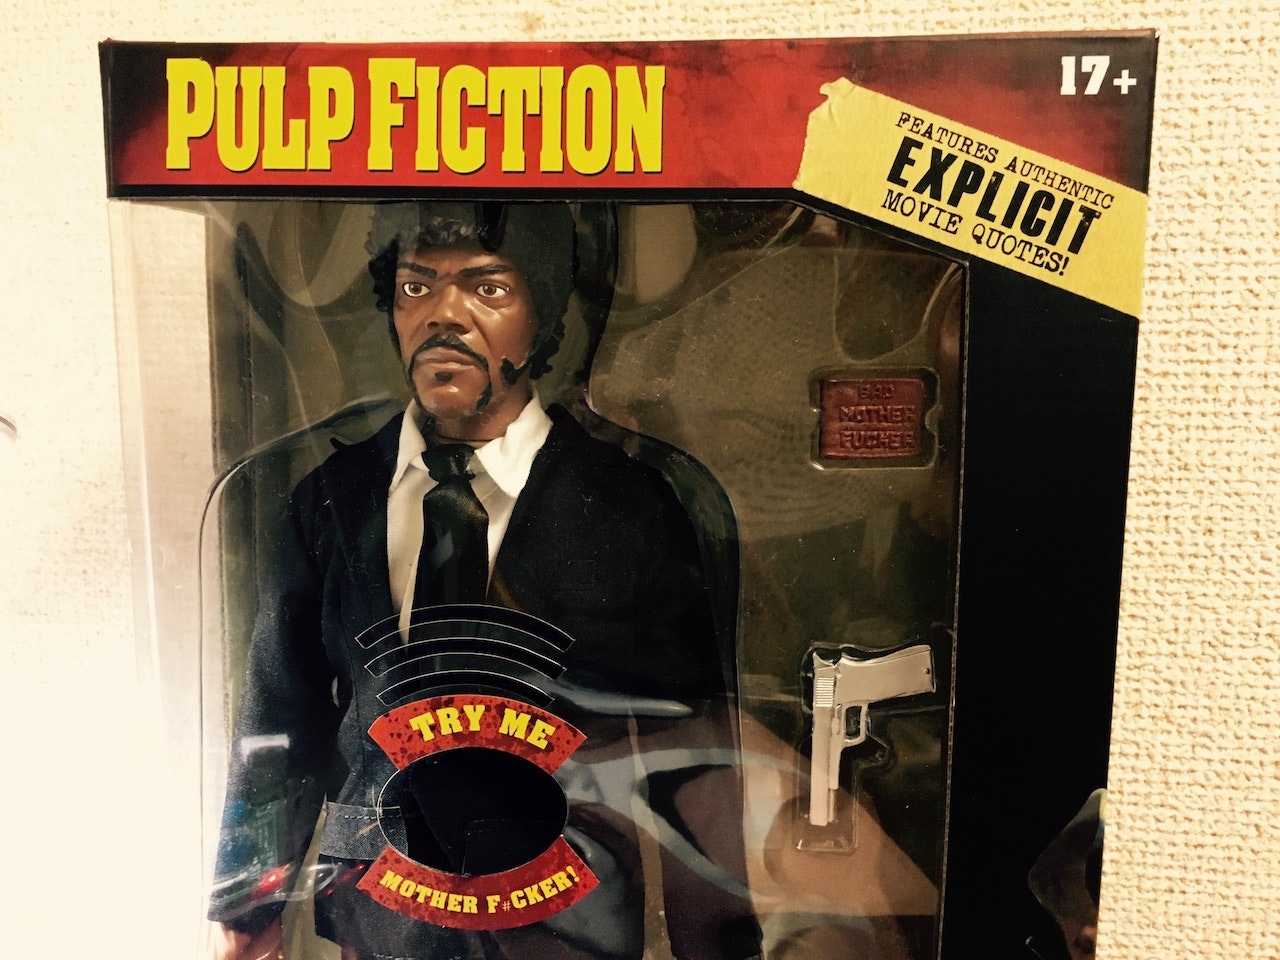
- パルプ・フィクション/ サミュエル・L・ジャクソン ジュールス・ウィンフィールド 13インチ トーキングフィギュア
カメラモジュールの写真をsocket.ioで送信する
以前こんな風に試してみました。
Raspberry Pi のカメラモジュールとNode.jsで写真を撮る - Qiita
Raspberry Pi のカメラモジュールとNode.jsでストリーミング - Qiita
どちらも撮影した画像をクライアントサイドで更新していたのですが、これをサーバーサイドで更新してみたいと思います。
var express = require("express"),
    app = express(),
    server = require('http').Server(app),
    io = require('socket.io')(server),
    fs = require('fs'),
    exec = require('child_process').exec;

app.use(express.static(__dirname + '/public'));

app.get('/', function (req, res) {
    res.sendFile(__dirname + '/index.html');
});

server.listen(8080, function () {
  console.log('listening on *:8080');
});

io.sockets.on('connection', function (socket) {

socket.on('shutter', function () {

  var raspistill = exec('raspistill -o ./public/images/output.jpg -h 480 -w 640 -t 100 -n');

  raspistill.on('close', function () {
    console.log('写真を撮りました');
  });

  setTimeout(function () {
  fs.readFile('./public/images/output.jpg', function(err, buf){
    socket.emit('image', { image: true, buffer: buf.toString('base64')});
    console.log('画像を送信します…');
  });
}, 800);
});
});
expressでサーバーを立て、socket.ioを利用して画像を送信します。画像はpublicフォルダに格納します。(Express での静的ファイルの提供)
ラズパイのカメラモジュールでchild_process execコマンドで写真を撮影し、写真は/public/imagesフォルダに保存します。(child_process.exec(command[, options][, callback]) - Node.js)
保存した写真をBase64にエンコードし、クライアントサイドに送信します。(socket io, node js, Simple example to send image/files from server to client - Stack Overflow)
Base64にすることで画像の名前を更新しなくても良い(例えばimage_20161112_01.jpg、image_20161112_02.jpg…など)と言うわけです。
<!DOCTYPE html>
<html>
<head lang="ja">
<meta charset="utf-8">
<title>PonCam</title>
<meta name="viewport" content="width=device-width, initial-scale=1">
<link rel="stylesheet" href="https://maxcdn.bootstrapcdn.com/bootstrap/3.3.7/css/bootstrap.min.css" integrity="sha384-BVYiiSIFeK1dGmJRAkycuHAHRg32OmUcww7on3RYdg4Va+PmSTsz/K68vbdEjh4u" crossorigin="anonymous">
<link href="https://maxcdn.bootstrapcdn.com/font-awesome/4.6.3/css/font-awesome.min.css" rel="stylesheet" integrity="sha384-T8Gy5hrqNKT+hzMclPo118YTQO6cYprQmhrYwIiQ/3axmI1hQomh7Ud2hPOy8SP1" crossorigin="anonymous">
<link href="https://cdnjs.cloudflare.com/ajax/libs/bootstrap-slider/9.2.0/css/bootstrap-slider.css" rel="stylesheet">
<link href="https://fonts.googleapis.com/css?family=Orbitron" rel="stylesheet">
<link href="/css/style.css" rel="stylesheet">
</head>
<body>
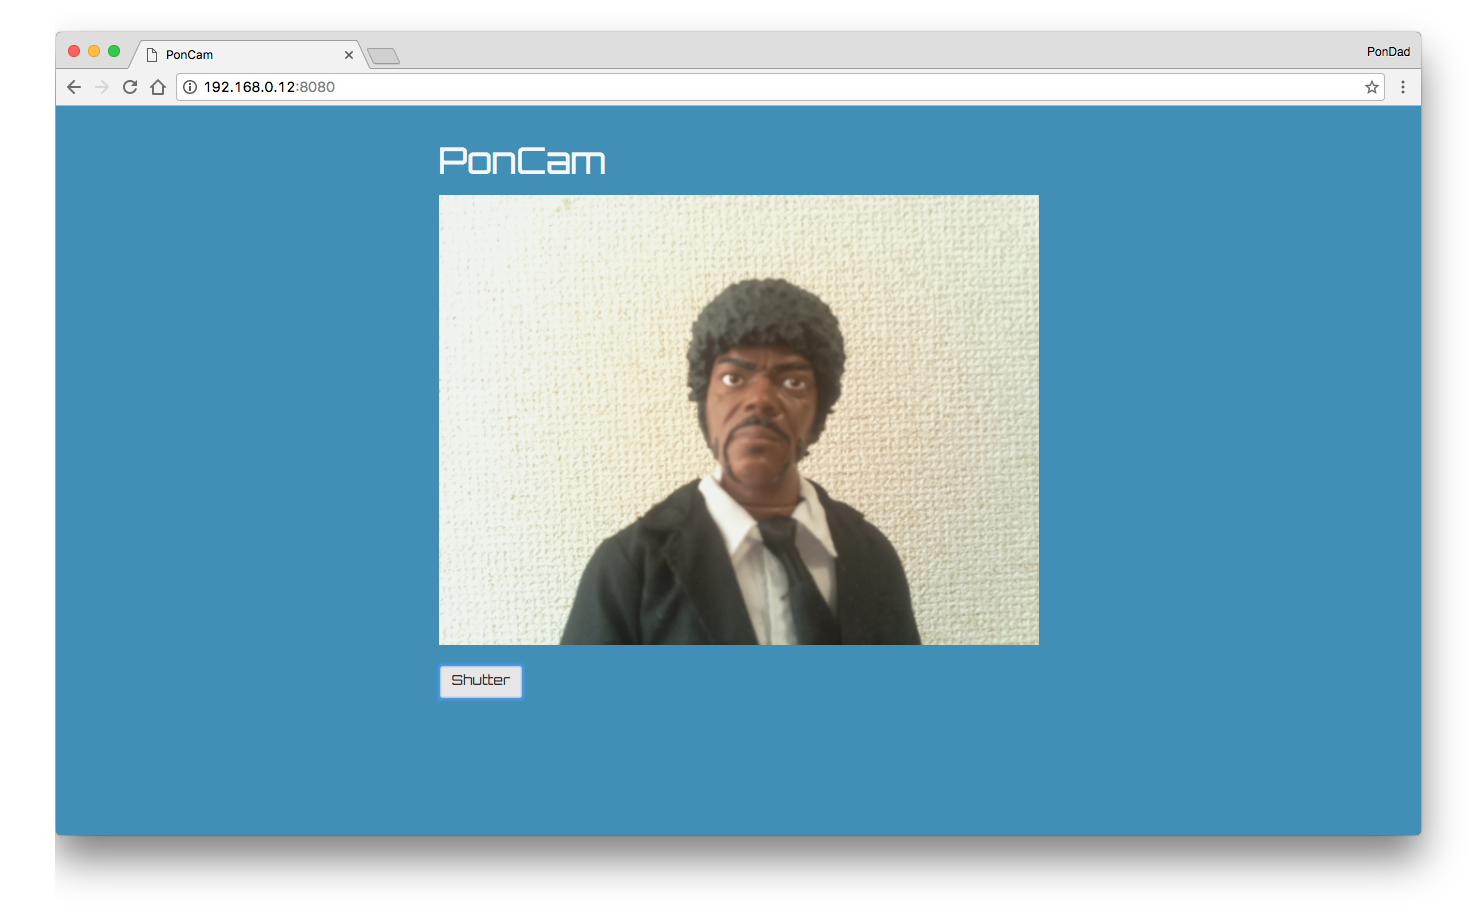
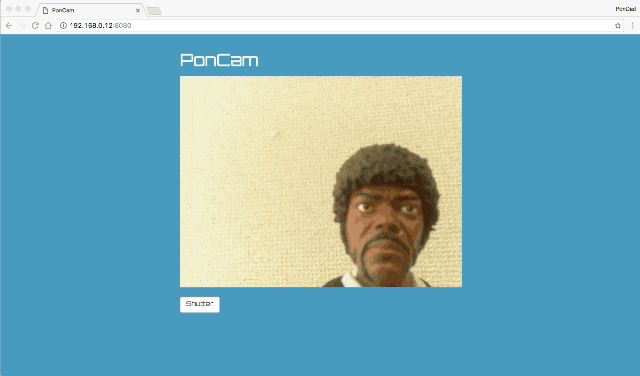
<h1>PonCam</h1>
<div id="container">
<img class="img-responsive" id="image">
<br>
<button class="btn btn-default" id="shutter">Shutter</button>
</div>
<script src="https://cdn.socket.io/socket.io-1.2.0.js"></script>
<script src="http://code.jquery.com/jquery-3.0.0.js"></script>
<script src="/js/main.js"></script>
</body>
</html>
body{
  font-family: 'Orbitron', sans-serif;
  background-color: #3D8EB9;
  color: #f6f6f6;
  max-width: 640px;
  margin: 0 auto;;
  padding: 20px;
}
$(document).ready(function() {
  var socket = io();
  $("#shutter").click(function() {
    socket.emit('shutter');
  });
  socket.on('image', function(face) {
     $("#image").attr('src', 'data:image/jpg;base64,' + face.buffer );
  });
});
クライアントサイドの/js/main.jsと/css/style.cssは画像の保存用に作ったpublicフォルダに格納しました。
socket.ioで送信されたBase64に変換された画像データをクライアントサイドで受け取り、img要素のsrc属性に指定します。
socket.ioで接続されているので、window.onloadなどを使わなくても画像は自動的に更新されます。
ストリーミングする
ストリーミングする際は、写真撮影・送信をセットにしてsetIntervalを使いループ処理をします。
//略

io.sockets.on('connection', function (socket) {

socket.on('shutter', function () {

  setInterval(function () {

  var raspistill = exec('raspistill -o ./public/images/output.jpg -h 480 -w 640 -t 100 -n');

  raspistill.on('close', function () {
    console.log('写真を撮りました');
  });

  setTimeout(function () {
  fs.readFile('./public/images/output.jpg', function(err, buf){
    socket.emit('image', { image: true, buffer: buf.toString('base64')});
    console.log('画像を送信します…');
  });
}, 800);
}, 1000);
});
});
この場合もsocke.ioで接続されているので自動的に画像が更新されます。
Open CV3のインストール
RasPiにOpen CV3をインストールする方法はこちらの海外記事に詳しく解説されています。
Install guide: Raspberry Pi 3 + Raspbian Jessie + OpenCV 3 - pyimageserch
日本語の解説記事はこちらが参考になりました。
Raspberry Pi 3にOpenCV 3.1のインストール - TomoSoft
今回はNode.jsで利用しますので、以下のモジュールをインストールします。
peterbraden/node-opencv - GitHub
顔認識する
node-opencvのサンプルプログラムを利用して顔認識した画像を表示させてみます。
顔認識
まずは顔認識をしてみます。
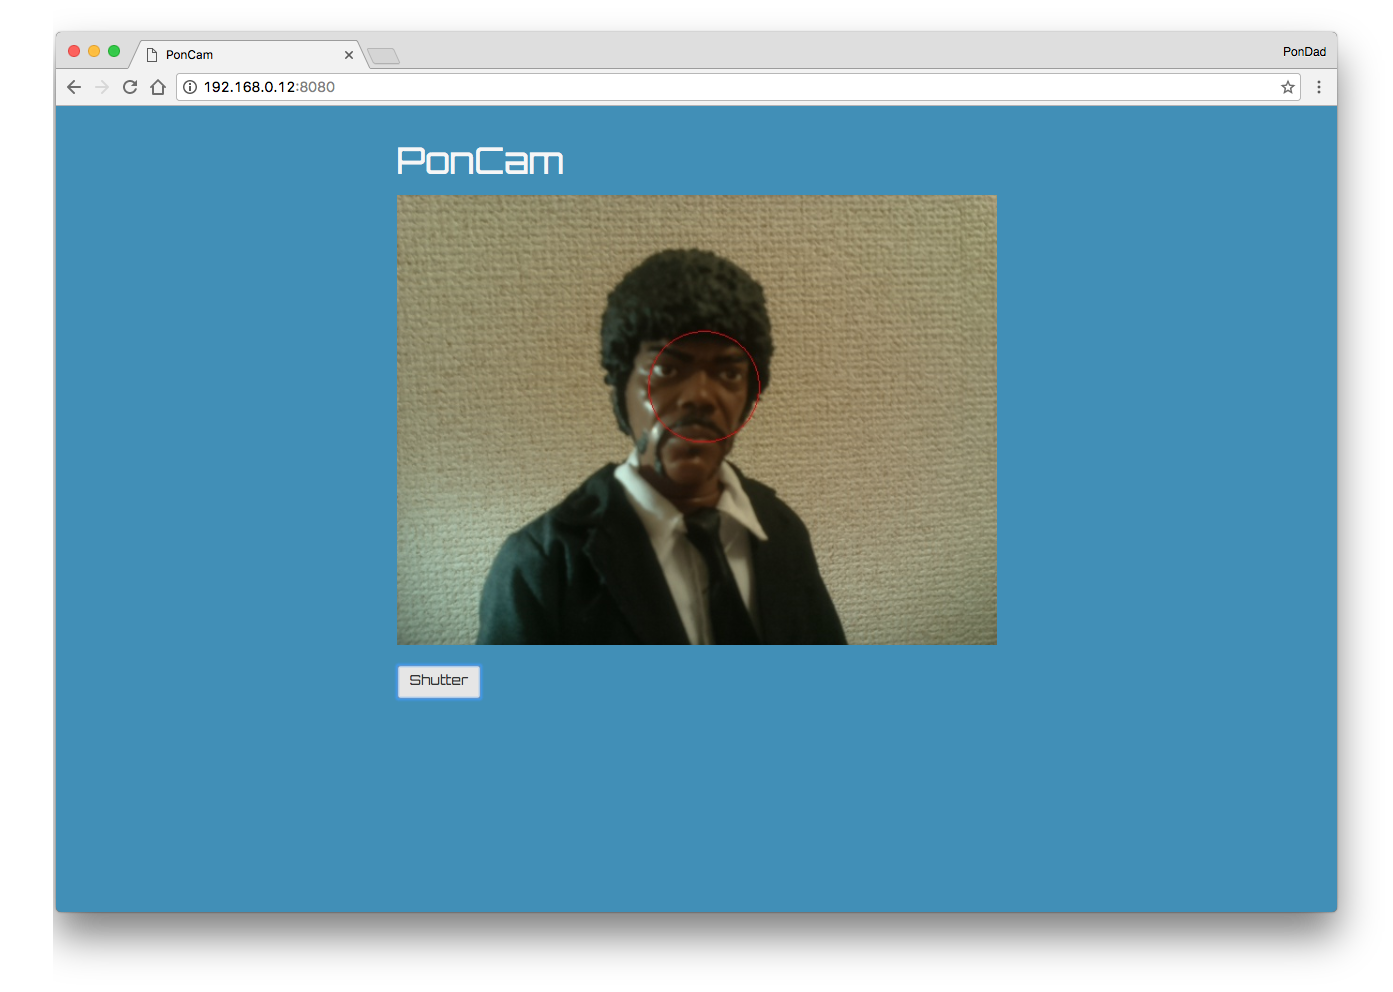
node-opencvのサンプルface-detection.jsをそのまま利用します。
var cv = require('opencv');

cv.readImage("./public/images/output.jpg", function(err, im){
  im.detectObject(cv.FACE_CASCADE, {}, function(err, faces){
    for (var i=0;i<faces.length; i++){
      var x = faces[i]
      im.ellipse(x.x + x.width/2, x.y + x.height/2, x.width/2, x.height/2);
    }
  im.save('./public/images/face.jpg');
  console.log('顔認証をしました');
      fs.readFile('./public/images/face.jpg', function(err, buf){
      socket.emit('image', { image: true, buffer: buf.toString('base64')});
      console.log('画像を送信します…');
    });
  });
});
}, 3000);
先程の写真撮影、送信の間にこの顔認識スクリプトを挿入します。
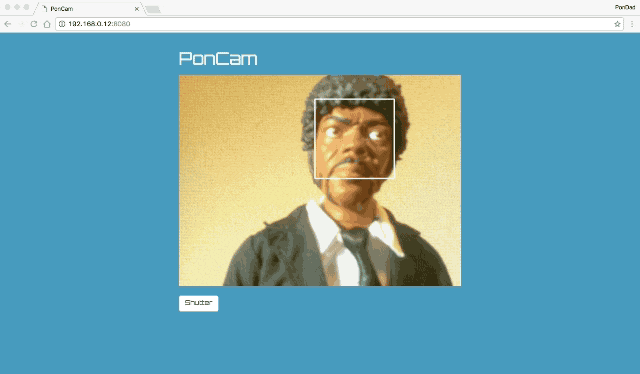
顔認識(長方形)
レクタンダル(長方形)で顔認識する際はface-detection-rectangle.jsこちらのコードを利用します。
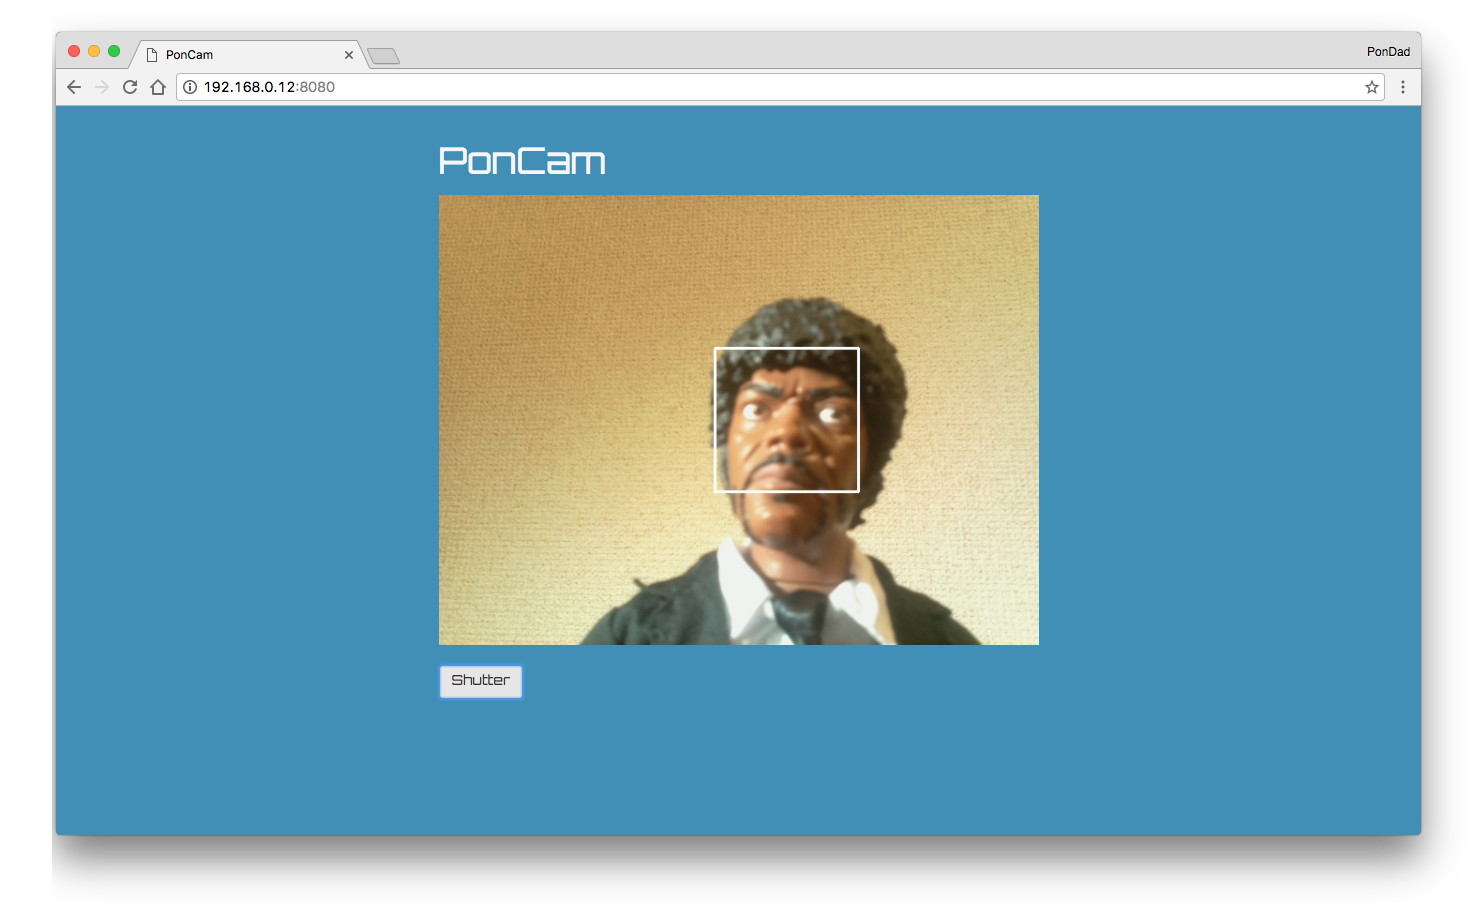
var cv = require('opencv');

var COLOR = [255, 255, 255]; // default red
var thickness = 2; // default 1

setTimeout(function () {
  cv.readImage('./public/images/output.jpg', function(err, im) {
  if (err) throw err;
  if (im.width() < 1 || im.height() < 1) throw new Error('Image has no size');

  im.detectObject('./node_modules/opencv/data/haarcascade_frontalface_alt2.xml', {}, function(err, faces) {
    if (err) throw err;

    for (var i = 0; i < faces.length; i++) {
      face = faces[i];
      im.rectangle([face.x, face.y], [face.width, face.height], COLOR, 2);
    }

    im.save('./public/images/face.jpg');
    console.log('顔認識しました');
    fs.readFile('./public/images/face.jpg', function(err, buf){
      socket.emit('image', { image: true, buffer: buf.toString('base64')});
      console.log('画像を送信します…');
    });
  });
});
}, 3000);
顔認識(長方形)のストリーミング
先程行ったように、写真撮影・送信をセットにしてsetIntervalを使いループ処理をすればストリーミングした画像の顔認識が出来ます。
顔認識した画像を切り出す
顔を切り出す場合はtake-face-pics.jsを利用します。

var cv = require('opencv');

cv.readImage('./public/images/output.jpg', function(err, im) {
  if (err) throw err;
    if (im.size()[0] > 0 && im.size()[1] > 0){

      im.detectObject(cv.FACE_CASCADE, {}, function(err, faces){
        if (err) throw err;
        if (!faces.length) return console.log("No Faces");

        var face = faces[0];
        var ims = im.size();
        var im2 = im.roi(face.x, face.y, face.width, face.height)

        im.adjustROI(
             -face.y
           , (face.y + face.height) - ims[0]
           , -face.x
           , (face.x + face.width) - ims[1])

        im2.save('./public/images/face_2.jpg')
        console.log('顔認証を切り出しました');
      })
    } else {
      console.log("Camera didn't return image")
    }
  });
サンプルコードはWebカメラの動画を切り出すようになっている為、cv.readImageを利用して画像を読み込むように変更しています。
まとめ
今回はカメラモジュールを利用する為少々面倒な記述になってしまいましたが、RasPiにWebカメラを接続すればもっと簡単にストリーミングしたものを顔認証させることが出来ます。
Real-time face detection using OpenCV, Node.js, and WebSockets - Esther Jun Kim
Open CVはデフォルトでWebカメラを起動できるcv.VideoCapture()と言うコマンドが使えるので、手っ取り早く利用したい方はこちらを使った方が良いかもしれません。
カメラモジュールはかなり画素数を細かく設定出来るので、認識の精度を上げたい場合などに利用すると良いかもしれません。では。