Raspberry Piのカメラモジュールを使った写真撮影の覚え書きです。Node.jsのexpressを利用します。
環境
- Raspberry Pi2 ModelB (raspbian-Jessie・Node.js v4.2.4)
- PLANEX 無線LAN子機 (USBアダプター型) GW-USNANO2A (FFP)
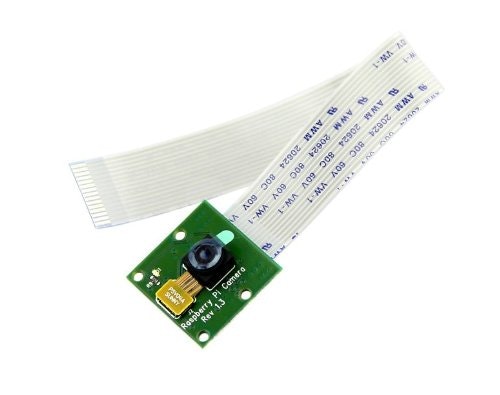
- Raspberry Pi カメラモジュール Raspberry Pi Camera Board
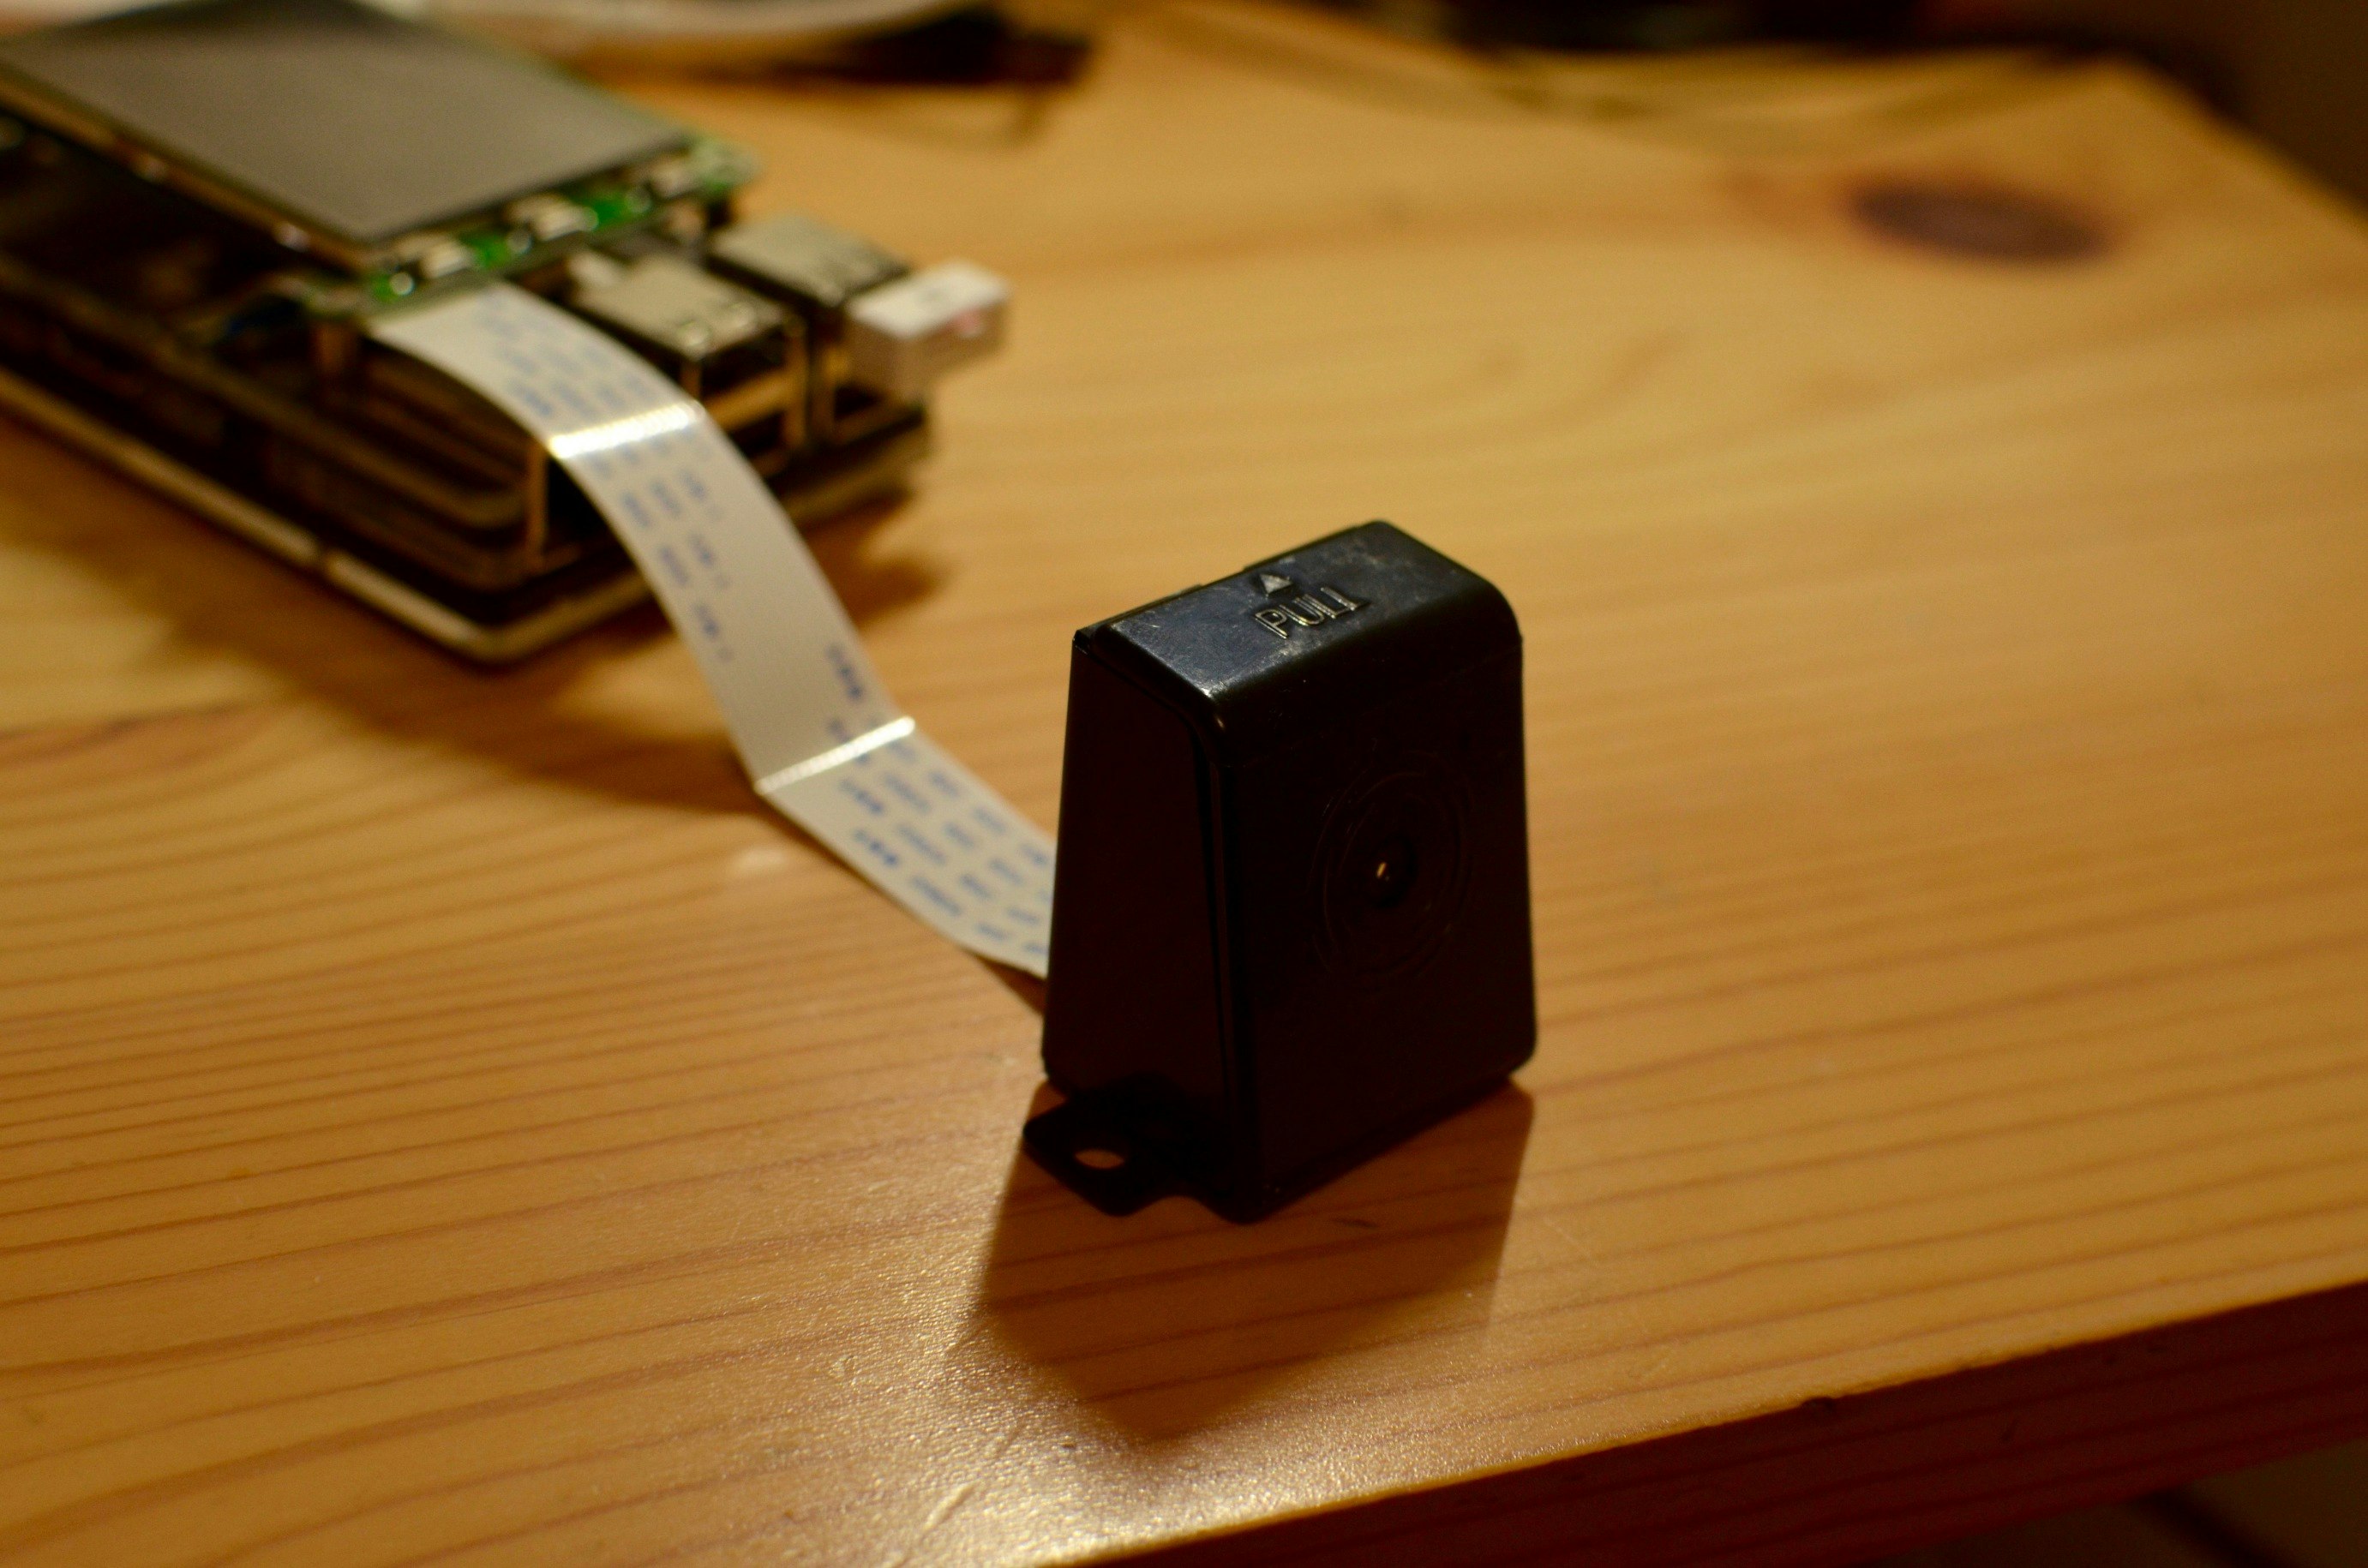
- Raspberry Pi カメラモジュール専用 Blackケース
カメラモジュール用の保護ケースを取り付けるとこのようになります。
基本のコマンドラインツール
Raspberry Piの公式ドキュメントによると、カメラモジュールの静止画は以下のコマンドラインで撮影可能になっています。
raspistill -o cam.jpg
-o cam.jpgでファイル名を指定して撮影、保存まで簡単に行ってくれます。
その他オプション指定により、画像の大きさ、品質などを指定出来ます。タイムラプス撮影も標準で撮影出来る様になっています。
Node.jsで撮影・プレビュー
bashスクリプトを利用した撮影・プレビューは公式ドキュメントに載っています。今回はブラウザから撮影・プレビューをする為Node.jsのexpressを利用しました。
任意のディレクトリで以下コマンドを実施します。(今回はexpress generatorを利用します。モジュールは導入済みとします。)
$ express -e camera
$ cd camera && npm install
$ DEBUG=camera:* npm start
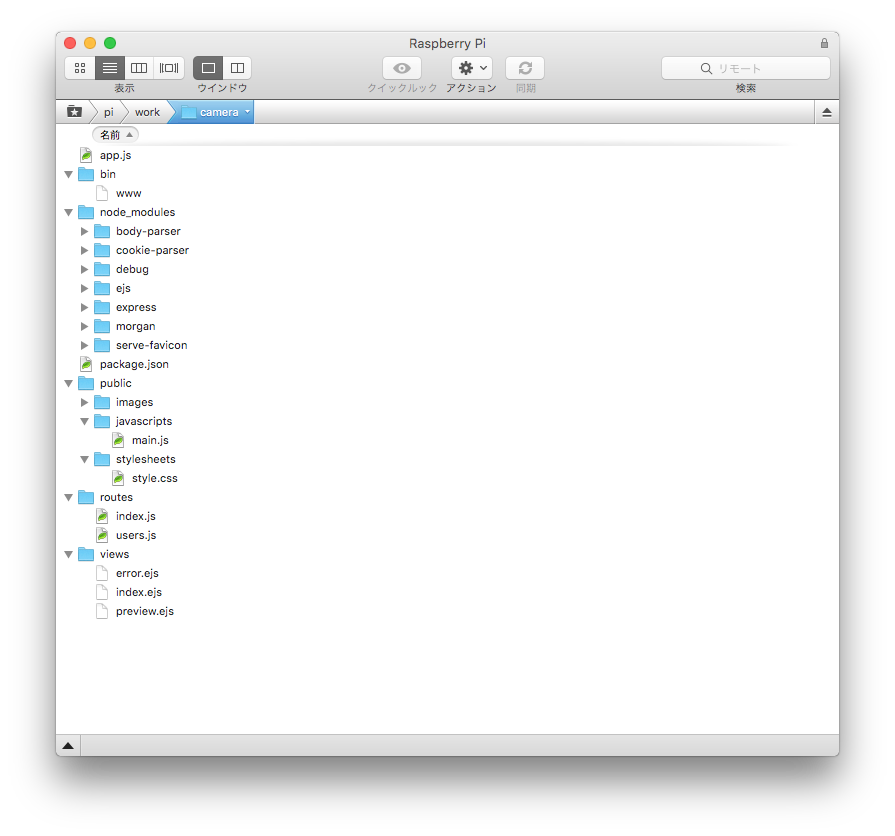
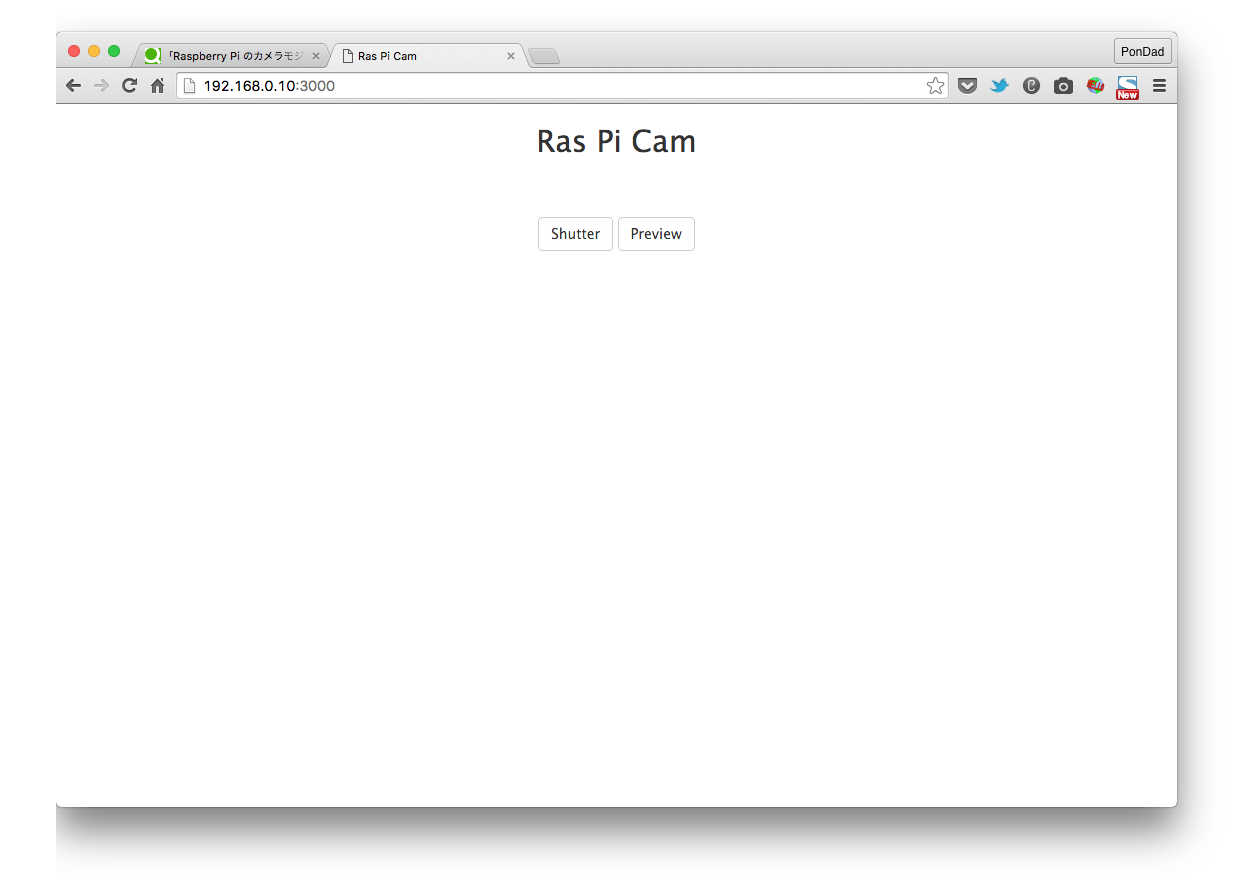
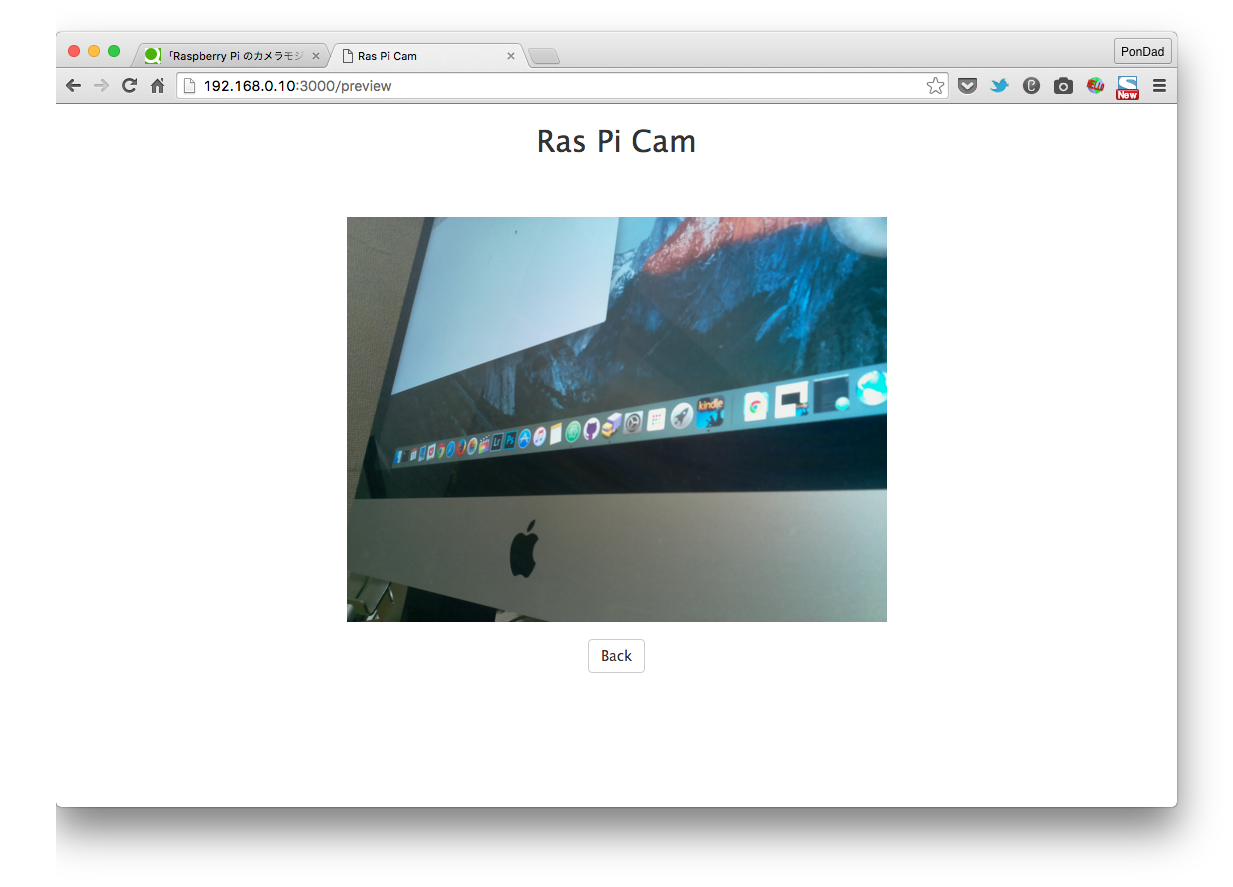
これで標準の雛形が作られます。今回は撮影画面をデフォルトのindex.ejsとして、画像のプレビュー画面をpreview.ejsとして追加しました。
基本のファイル構成はそのまま利用します。
//expressの使用許可
var express = require('express');
var router = express.Router();

//コマンドラインを利用する為child_processの使用許可
var spawn = require('child_process').spawn;

//ホーム画面index.ejsの表示
router.get('/', function(req, res, next) {
  res.render('index', { title: 'Ras Pi Cam' });
});

//シヤッターボタンクリック時の処理
router.get('/shutter', function (req, res) {
  console.log(req.query);
  var id = req.query.id;

var raspistill = spawn('raspistill', [ '-o' , './public/images/raspi.jpg']);

raspistill.stdout.on('data', function (data) {
  console.log('stdout: ' + data);
});

raspistill.stderr.on('data', function (data) {
  console.log('stderr: ' + data);
});

raspistill.on('close', function (code) {
  console.log('child process exited with code ' + code);
});

});


//プレビュー画面preview.ejsの表示
router.get('/preview', function(req, res, next) {
  res.render('preview', { title: 'Ras Pi Cam' });
});

module.exports = router;
express generatorを利用すると、app.jsでクライアント側の面倒な画像ファイル・CSS・jsの読み込み指定をしてくれます。
ここでは撮影用の画面index.jsとプレビュー用の画面preview.ejsの指定と撮影画面でボタンをクリックした際に撮影コマンドraspistillを実行させる処理をこのindex.jsに記述しました。
<!DOCTYPE html>
<html>
  <head>
    <meta http-equiv="content-type"
        content="text/html; charset=UTF-8">
    <meta name="viewport" content="width=device-width, initial-scale=1.0,user-scalable=no">
    <title><%= title %></title>
    <link rel="stylesheet" href="https://maxcdn.bootstrapcdn.com/bootstrap/3.3.6/css/bootstrap.min.css" type="text/css" />
   <link rel="stylesheet" href="https://maxcdn.bootstrapcdn.com/font-awesome/4.5.0/css/font-awesome.min.css">
    <link rel='stylesheet' href='/stylesheets/style.css' />
  </head>
  <body>
    <header>
        <h1 class="text-center h2"><%=title %></h1>
    </header>
    <article class="text-center">
      <button class="btn btn-default" id="shutter">Shutter</button>
      <a class="btn btn-default" role="button" href="/preview">Preview</a>

    </article>
    <script src="http://code.jquery.com/jquery-2.2.1.min.js"></script>
    <script src="/javascripts/main.js"></script>
  </body>
</html>
$("#shutter").click(function() {
        $.get("http://192.168.0.10:3000/shutter", { id: 'shutter' } );
    });
body {
  margin: 0 auto;
  max-width: 640px;
  font: 14px "Lucida Grande", Helvetica, Arial, sans-serif;
}

article{
  padding: 50px;
}

a {
  color: #00B7FF;
}
シャッターボタンをクリックするとindex.jsにGETリクエストを送信します。
プレビューボタンはpreview.ejsにリンクするようにしました。
<!DOCTYPE html>
<html>
  <head>
    <meta http-equiv="content-type"
        content="text/html; charset=UTF-8">
    <meta name="viewport" content="width=device-width, initial-scale=1.0,user-scalable=no">
    <title><%= title %></title>
    <link rel="stylesheet" href="https://maxcdn.bootstrapcdn.com/bootstrap/3.3.6/css/bootstrap.min.css" type="text/css" />
   <link rel="stylesheet" href="https://maxcdn.bootstrapcdn.com/font-awesome/4.5.0/css/font-awesome.min.css">
    <link rel='stylesheet' href='/stylesheets/style.css' />
  </head>
  <body>
    <header>
        <h1 class="text-center h2"><%=title %></h1>
    </header>
    <article class="text-center">
      <img class="img-responsive" src="/images/raspi.jpg">
      <br>
      <a class="btn btn-default" href="/" role="button">Back</a>

    </article>
    <script src="http://ajax.googleapis.com/ajax/libs/jquery/1.4.2/jquery.min.js"></script>
    <script src="/javascripts/main.js"></script>
  </body>
</html>
画像の保存先は./public/images/raspi.jpgとパブリックフォルダに保存します。
表示させる時はexpressのapp.jsでpublicフォルダの読み込み指定をしているので、/images/raspi.jpgで読み込めます。
