iOS10の「ホーム」アプリを利用して家電の操作が出来るようになったのですが、homekitには電源のオン・オフ以外のAPIがいくつか用意されている様です。
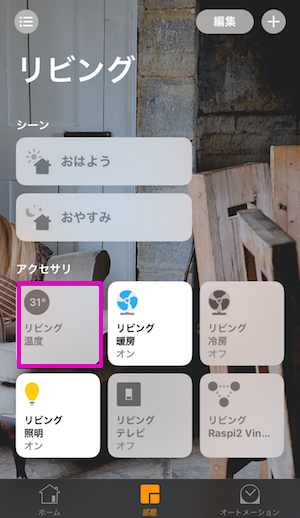
RaspberryPiに取り付けた「irMagician-T」から取得した室温を「ホーム」経由で確認出来る様にしてみましたのでまとめてみます。
こんな感じでAppleTV経由で外出先からリビングの室温を確認する事が出来ます。
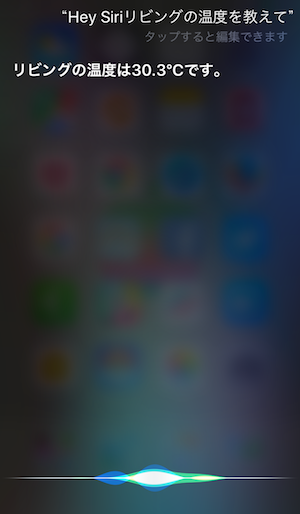
「ホーム」はSiriと連動しているので、登録しているアクセサリの情報は音声で教えてもらえます。
さて、前回記事 iOS10「ホーム」アプリと「Raspberry Pi + irMagician」でお手軽家電操作。 - Qiita
でざっくり説明しましたので、補足的にまとめます。
irMagician-T
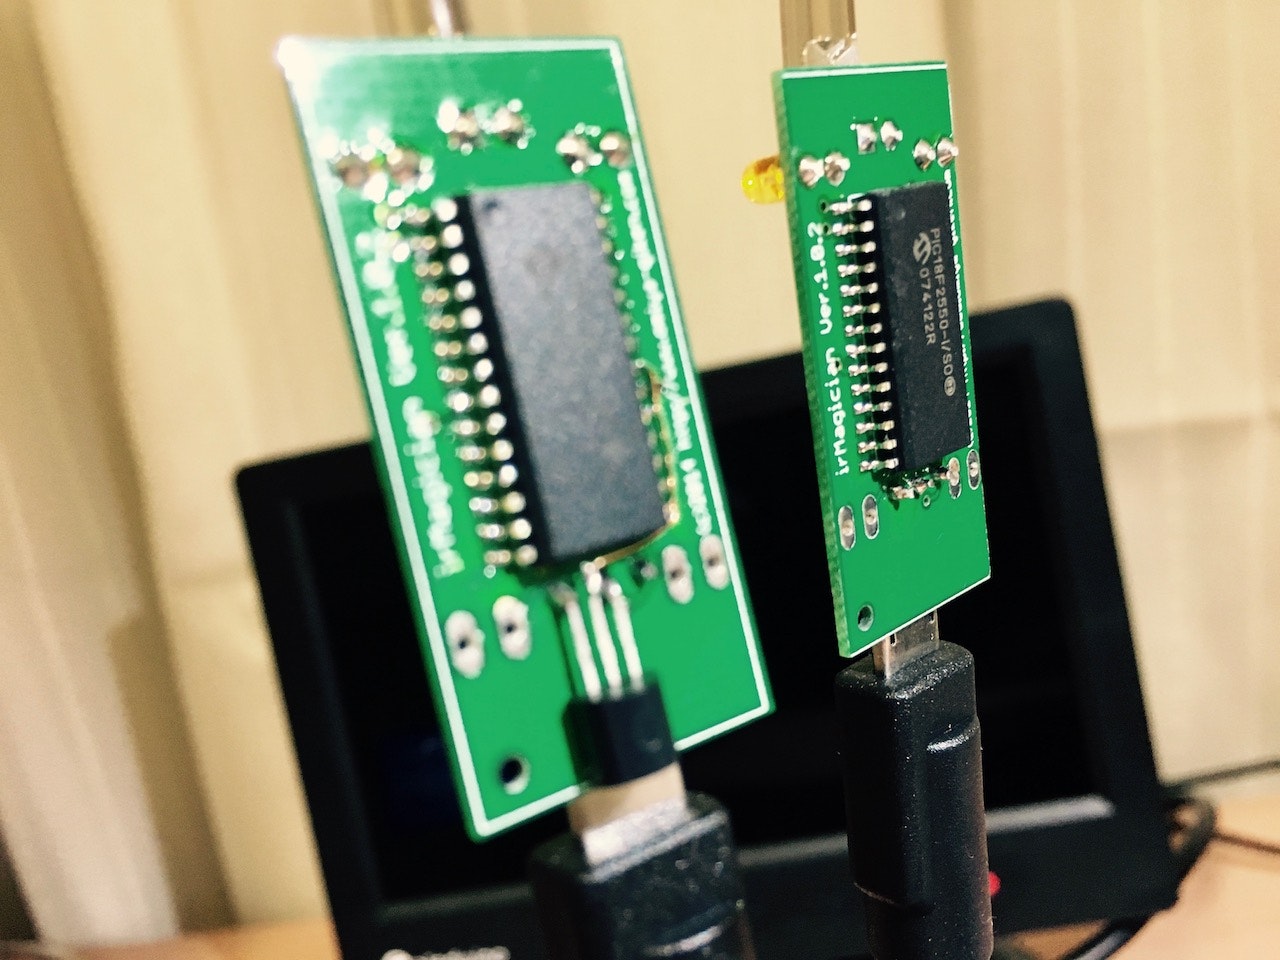
大宮技研さんの赤外線リモコンシステム「irMagician」には温度センサーを追加した「irMagician-T」という型のものが発売されています。
画像の向かって左が「T」です。コネクタ付近に温度センサが見えますね。前回紹介したライブラリ
こちらは「T」に対応していますので、コマンドラインから簡単に温度を測定する事が出来ます。
$ sudo python irmcli.py -t
Temperature: 30.3
こんな感じで簡単に気温を取得する事が出来ます。この温度をHomebridgeを通じて「ホーム」アプリに教えるという形です。(「Temperature:」は今回不要なので、Pythonライブラリより削除しています。)
気温をテキストで保存する
後述しますが、homebridgeのプラグインで、気温のテキストファイルを「ホーム」へと送れるものがあります。
homebridgeとは別にNode.js+Expressでサーバーを立て、取得した温度をテキストで保管するようにします。
var express = require("express");
var app     = express();
var exec = require('child_process').exec,
    child;
var fs = require('fs');

//略

setInterval(function() {
child = exec('sudo python /home/pi/irm/irm.py -t',
  function (error, stdout, stderr) {
    console.log(stdout);
    fs.writeFile('./temp_file.txt', stdout);
    if (error !== null) {
      console.log('exec error: ' + error);
    }
 });
}, 30000);


//略
定期的に上記のPythonスクリプトを実行する為に、ここではsetIntervalで30秒毎にchild_processで気温を取得しました。
取得した気温はfsを利用してテキストを上書き保存し続けます。
homebridge-temperature-file
前回作成したhomebridgeのコマンドを実行するプラグイン「homebridge-cmd」に追加して、新たにプラグインを導入します。
bahlo/homebridge-temperature-file - GitHub
$ sudo npm i homebridge-temperature-file -g
プラグインもグローバル領域にインストールします。ドキュメントに沿って入力すれば「ホーム」側でアクセサリとして認識してくれます・
{
   "accessory": "TemperatureFile",
   "name": "温度",
   "description": "The temperature sensor in the livingroom",
   "file_path": "/home/pi/irm-t/temp_file.txt"
}
"file_path"は先ほどfsを利用して保存した温度を書き込んだファイルへのパスを指定します。
iOSの「ホーム」を立ち上げると新たにアクセサリが認識されていると思います。
おまけ
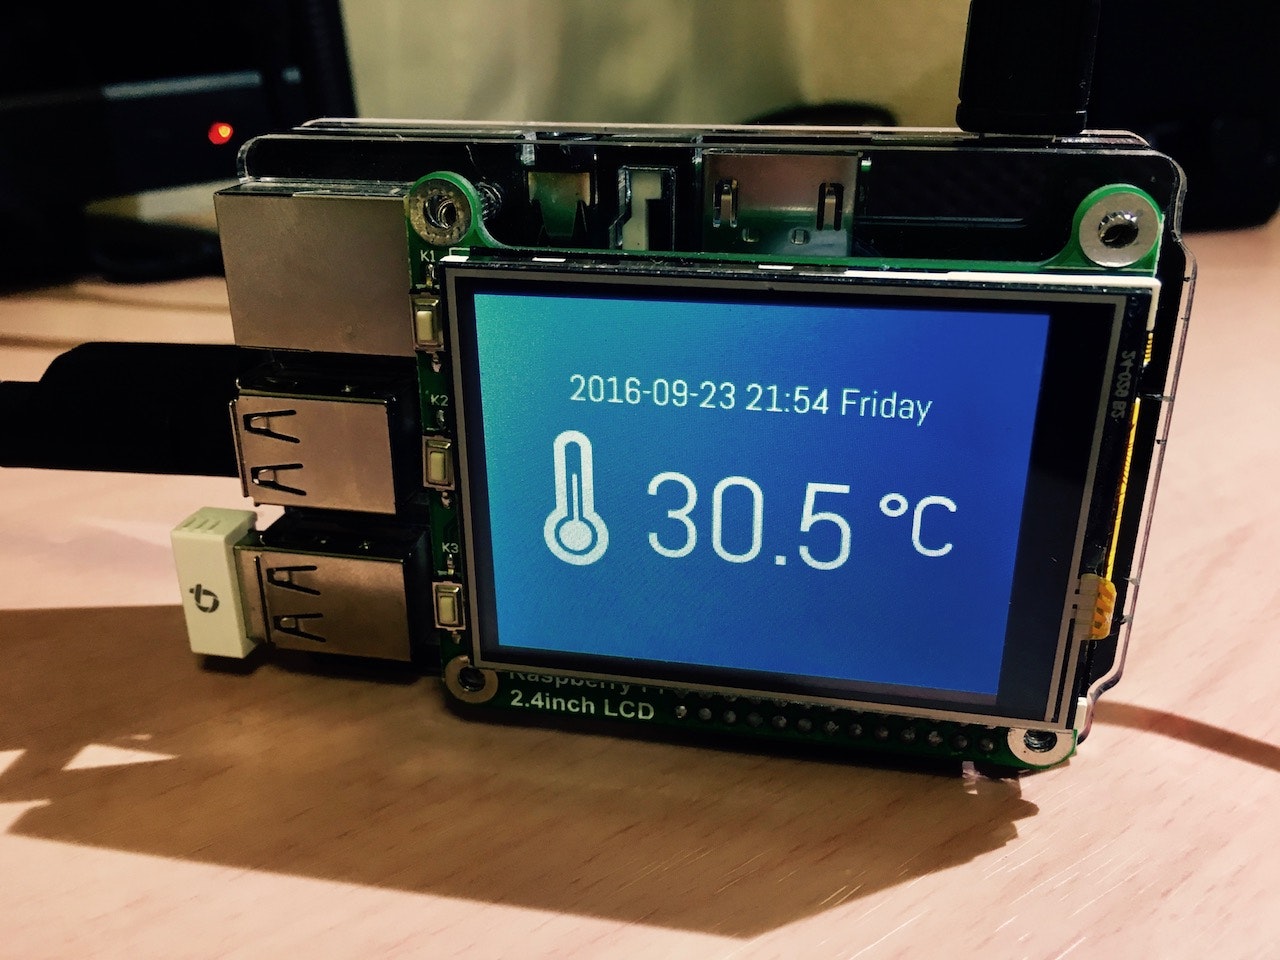
RaspberriPiが2台になり、以前購入した小型液晶が余ったので温度計を表示させてみました。
やり出したら結構ハマってしまい、こっちの方が時間が掛かってしまいました。。せっかくなのでコードを残しておきます。
<!DOCTYPE html>
<html>

<head>
    <meta charset="utf-8">
    <title>irMagician-t</title>
    <meta name="description" content="">
    <meta name="author" content="">
    <meta name="viewport" content="width=device-width, initial-scale=1">
    <link href="https://fonts.googleapis.com/css?family=Abel" rel="stylesheet">
    <link href="https://cdnjs.cloudflare.com/ajax/libs/weather-icons/2.0.9/css/weather-icons.css" rel="stylesheet">
    <link href="https://cdnjs.cloudflare.com/ajax/libs/weather-icons/2.0.9/css/weather-icons-wind.css" rel="stylesheet">
    <link rel="stylesheet" href="/stylesheets/style.css">
</head>

<body>
    <article>
        <div id="day"></div>
        <div id="box">
            <section id="wit"><i class="wi wi-thermometer"></i> </section>
            <section id="temp"><i class="wi wi-na"></i>
            </section>
            <section id="wic"><i class="wi wi-celsius"></i>
            </section>
        </div>
        <div></div>
    </article>
    <script src="https://cdn.socket.io/socket.io-1.2.0.js"></script>
    <script src="http://code.jquery.com/jquery-1.11.1.js"></script>
    <script>
        var socket = io();
        socket.on('tempmsg', function(data) {
          $('#temp').text(data);
        });
        socket.on('daymsg', function(data) {
          $('#day').text(data);
        });
    </script>
</body>

</html>
body{
  font-family: 'Abel', sans-serif;
  opacity: 1;
  animation-duration: 3s;
  animation-name: fade-in;
  -webkit-animation-duration: 3s;
  -webkit-animation-name: fade-in;
  background-color: #3D8EB9;
  color: #f6f6f6;
  text-align: center;
}
#day {
  margin-top: 40px;
  font-size: 140%;
 }
#box{
  margin-top: 15px;
  font-size: 500%;
 }
#box section{
  display: inline-block;
}
#box #wit{
  margin-right: 20px;
}
#box #wic{
  margin-left: 10px;
}
@keyframes fade-in {
  0% {display: none; opacity: 0;}
  1% {display: block; opacity: 0;}
  100% {display: block; opacity: 1;}
  }
@-webkit-keyframes fade-in {
  0% {display: none; opacity: 0;}
  1% {display: block; opacity: 0;}
  100% {display: block; opacity: 1;}
  }
//sudo apt-get install unclutter

var express = require("express");
var app = express();
var path = require("path");
var http = require('http').Server(app);
var io = require('socket.io')(http);
var exec = require('child_process').exec,
    child;
var fs = require('fs');
var moment = require('moment');

app.use(express.static(__dirname + '/Script'));

app.get('/', function(req, res) {
    res.sendFile(path.join(__dirname + '/index.html'));
});

child = exec('DISPLAY=:0 chromium-browser --noerrdialogs --disable-session-crashed-bubble --disable-infobars --kiosk http://192.168.0.0:4000 unclutter',
    function(error, stdout, stderr) {
        console.log(stdout);
        if (error !== null) {
            console.log('exec error: ' + error);
        }
    });

io.on('connection', function(socket) {
    setInterval(function() {
        child = exec('sudo python /home/pi/irm/irm.py -t',
            function(error, stdout, stderr) {
                console.log(stdout);
                fs.writeFile('./temp_file.txt', stdout);
                io.emit('tempmsg', stdout);
                var m = moment();
                var output = m.format("MM/DD HH:mm ddd");
                io.emit('daymsg', output);
                if (error !== null) {
                    console.log('exec error: ' + error);
                }
            });
    }, 30000);
});


http.listen(process.env.PORT || 4000, function() {
    console.log('listening on *:4000');
});
Chromiumのキオスクモードが上手くいかなかったり、CSSのパス設定が分からなくなったりと細々したところでハマったのですが、まあ、意図した通りに表示させる事が出来ました。
socket.ioを利用する事で、取得した気温をスムーズに表示させる事が出来ました。非同期通信って今ひとつ使い方が分からなかったのですが、こんな風に取得したデータをリアルタイムで表示させたりするのに向いているんですね。
まとめ
せっかく作ったのは良いのですが、居間に良い設置場所が見つかりません。やっぱり壁掛けかなあ、けど子供がすぐコードを引っ掛けそうだなあ。などとあれこれ思案中です。


