Raspberry Piのカメラモジュールを使った動画撮影の覚え書きです。Node.jsのexpressを利用します。
Raspberry Pi のカメラモジュールとNode.jsで写真を撮ると基本同じですが、少々動画コーデックの変換で面倒があります。
環境
- Raspberry Pi2 ModelB (raspbian-Jessie・Node.js v4.2.4)
- PLANEX 無線LAN子機 (USBアダプター型) GW-USNANO2A (FFP)
- Raspberry Pi カメラモジュール Raspberry Pi Camera Board
- Raspberry Pi カメラモジュール専用 Blackケース
基本のコマンドラインツール
Raspberry Piの公式ドキュメントによると、カメラモジュールの動画は以下のコマンドラインで撮影可能です。
ssh
raspivid -o vid.h264
-o vid.h264でファイル名を指定して撮影、保存まで簡単に行ってくれます。
その他オプション指定により、画像の大きさ、録画時間などを指定出来ます。
mp4への変換
Raspberry Piで撮影した動画はh264コーデックで書き出され、デフォルトプレーヤーのOMXplayerを利用すれば再生することが出来ます。
ブラウザで動画を見るためにはHTML5で指定された拡張子への変換が必要になります。(ここではmp4に変換することにします)
linuxのパッケージソフトでMP4box(gpac)という拡張子の変換ソフトがあるのでそれを利用する事で比較的簡単に拡張子を書き換え出来るようです。
ssh
$ sudo apt-get update
$ sudo apt-get install -y gpac
$ MP4Box -fps 30 -add vid.h264 vid.mp4
これでコマンドラインから動画変換が可能になります。
Node.jsで撮影・プレビュー
写真を撮影、プレビューするのと基本同じです。express generatorを利用しました。
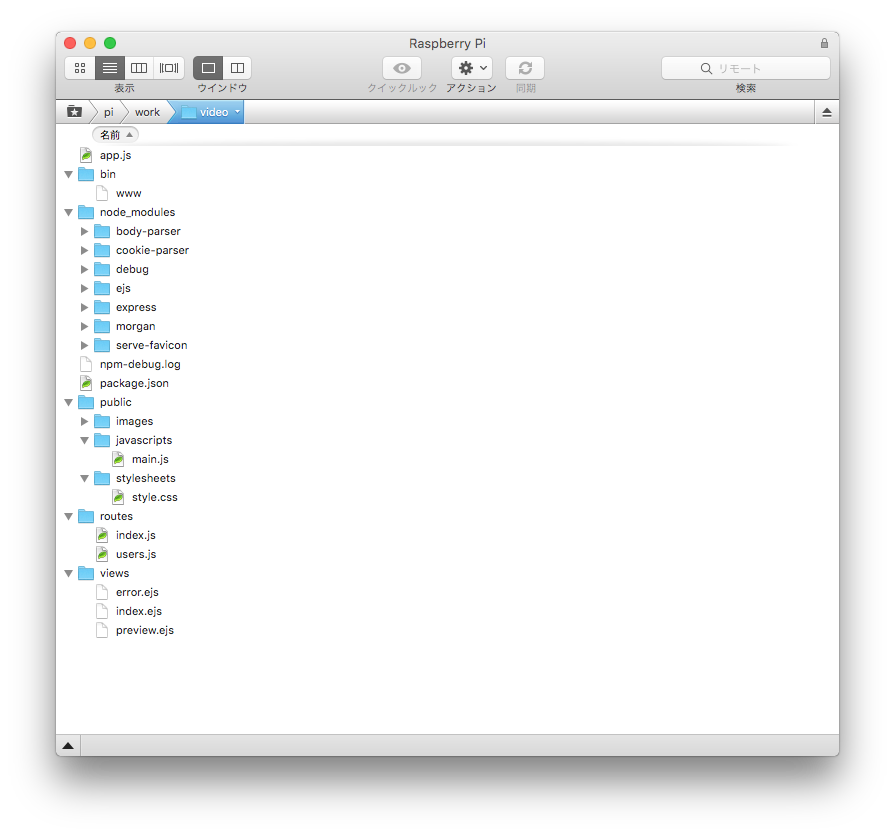
routes/index.js
//expressとchild_processの使用許可
var express = require('express');
var router = express.Router();
var spawn = require('child_process').spawn;

//撮影ページ表示
router.get('/', function(req, res, next) {
  res.render('index', { title: 'Ras Pi Video' });
});

//撮影コマンド 上書きがされないのでrmで一度削除する
router.get('/shutter', function (req, res) {
  console.log(req.query);
  var id = req.query.id;

var rm = spawn('rm', [ '-r', './public/images/raspi.h264' ]);

rm.stdout.on('data', function (data) {
  console.log('stdout: ' + data);
});

rm.stderr.on('data', function (data) {
  console.log('stderr: ' + data);
});

rm.on('close', function (code) {
  console.log('child process exited with code ' + code);
});

var raspivid = spawn('raspivid', [ '-o' , './public/images/raspi.h264', '-w', '640', '-h', '480','-t' ,'10000', '-v']);

raspivid.stdout.on('data', function (data) {
  console.log('stdout: ' + data);
});

raspivid.stderr.on('data', function (data) {
  console.log('stderr: ' + data);
});

raspivid.on('close', function (code) {
  console.log('child process exited with code ' + code);

//動画撮影raspividコマンドが終了した時点で拡張子変換開始 rmで一旦削除
  var  rm    = spawn('rm', ['-r','./public/images/raspi.mp4' ]);

rm.stdout.on('data', function (data) {
  console.log('stdout: ' + data);
});

rm.stderr.on('data', function (data) {
  console.log('stderr: ' + data);
});

rm.on('close', function (code) {
  console.log('child process exited with code ' + code);
});

var gpac    = spawn('MP4Box', [ '-fps', '30', '-add', './public/images/raspi.h264' , './public/images/raspi.mp4' ]);

gpac.stdout.on('data', function (data) {
  console.log('stdout: ' + data);
});

gpac.stderr.on('data', function (data) {
  console.log('stderr: ' + data);
});

gpac.on('close', function (code) {
  console.log('child process exited with code ' + code);
});

//拡張子変換終わり

});

});

router.get('/preview', function(req, res, next) {
  res.render('preview', { title: 'Ras Pi Video' });
});

module.exports = router;
写真と違い撮影したものが上書きされないので一旦rmで削除しています。動画が無い時点でこのコマンド実行を入れるとエラーになるのでご注意ください。
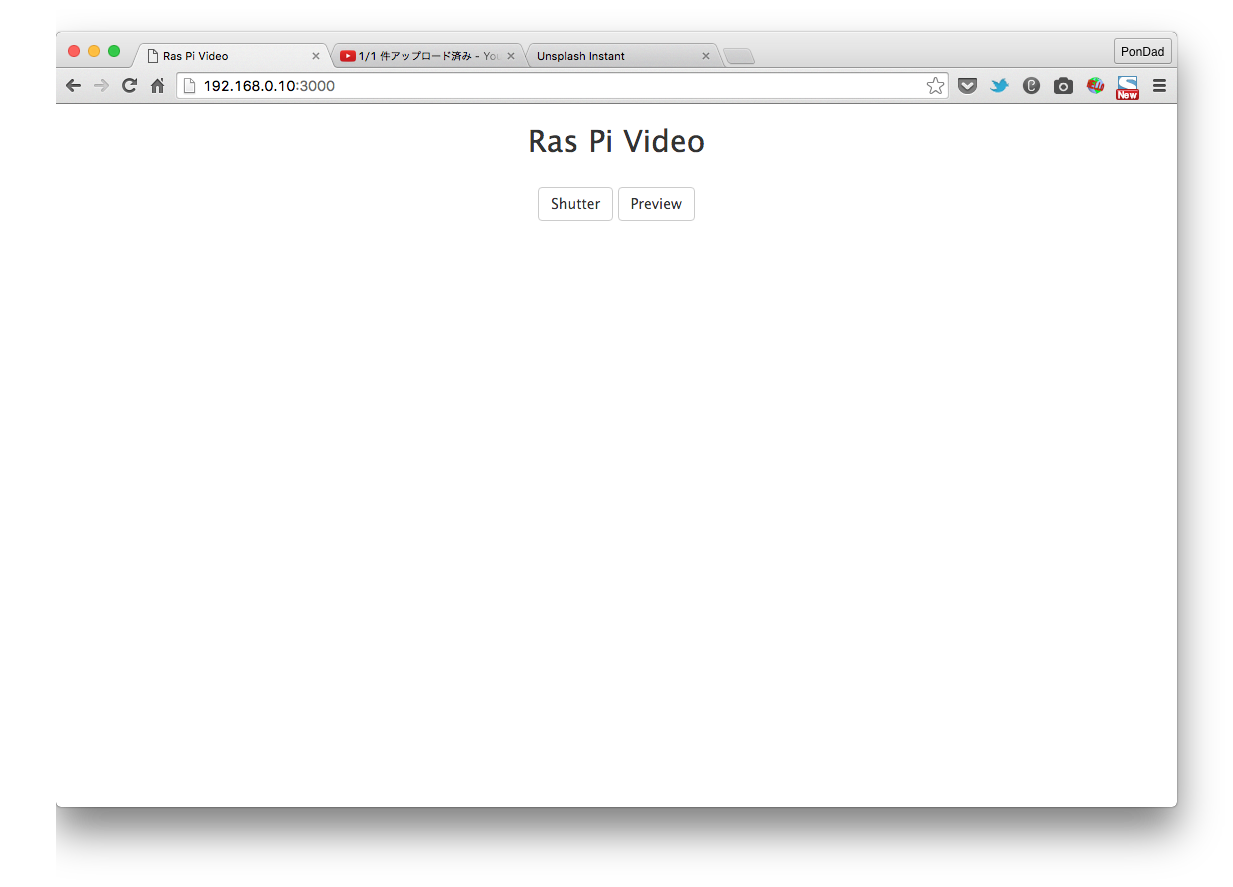
views/index.ejs
<!DOCTYPE html>
<html>
  <head>
    <meta http-equiv="content-type"
        content="text/html; charset=UTF-8">
    <meta name="viewport" content="width=device-width, initial-scale=1.0,user-scalable=no">
    <title><%=title %></title>
    <title><%= title %></title>
    <link rel="stylesheet" href="https://maxcdn.bootstrapcdn.com/bootstrap/3.3.6/css/bootstrap.min.css" type="text/css" />
   <link rel="stylesheet" href="https://maxcdn.bootstrapcdn.com/font-awesome/4.5.0/css/font-awesome.min.css">
    <link rel='stylesheet' href='/stylesheets/style.css' />
  </head>
  <body>
    <header>
        <h1 class="text-center h2"><%=title %></h1>
    </header>
    <article class="text-center">

      <button class="btn btn-default" id="shutter">Shutter</button>
      <a class="btn btn-default" role="button" href="/preview">Preview</a>

    </article>
    <script src="http://ajax.googleapis.com/ajax/libs/jquery/1.4.2/jquery.min.js"></script>
    <script src="/javascripts/main.js"></script>
  </body>
</html>
public/javascripts/main.js
$("#shutter").click(function() {
        $.get("http://192.168.0.10:3000/shutter", { id: 'shutter' } );
    });
public/stylesheets/style.css
body {
  margin: 0 auto;
  max-width: 640px;
  width: 100%;
  font: 14px "Lucida Grande", Helvetica, Arial, sans-serif;
}

article{
  padding: 20px;
}

a {
  color: #00B7FF;
}

video{
  max-widh: 640px;
  width: 100%;
  margin-bottom: 20px;
}
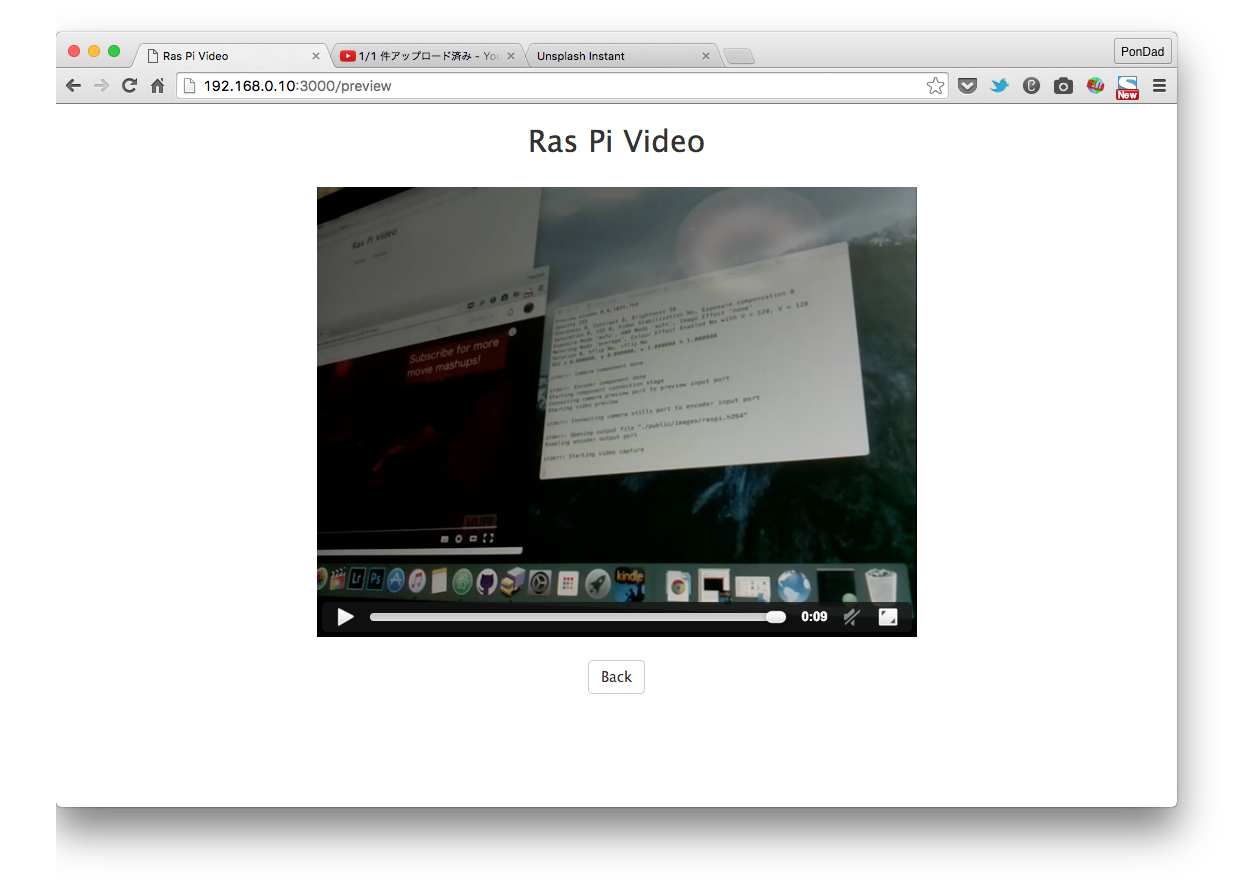
views/preview.ejs
<!DOCTYPE html>
<html>
  <head>
    <meta http-equiv="content-type"
        content="text/html; charset=UTF-8">
    <meta name="viewport" content="width=device-width, initial-scale=1.0,user-scalable=no">
    <title><%=title %></title>
    <title><%= title %></title>
    <link rel="stylesheet" href="https://maxcdn.bootstrapcdn.com/bootstrap/3.3.6/css/bootstrap.min.css" type="text/css" />
   <link rel="stylesheet" href="https://maxcdn.bootstrapcdn.com/font-awesome/4.5.0/css/font-awesome.min.css">
    <link rel='stylesheet' href='/stylesheets/style.css' />
  </head>
  <body>
    <header>
        <h1 class="text-center h2"><%=title %></h1>
    </header>
    <article class="text-center">
      <video controls autoplay src="/images/raspi.mp4"></video>
      <br>
      <a class="btn btn-default" href="/" role="button">Back</a>

    </article>
    <script src="http://ajax.googleapis.com/ajax/libs/jquery/1.4.2/jquery.min.js"></script>
    <script src="/javascripts/main.js"></script>
  </body>
</html>
サンプル動画
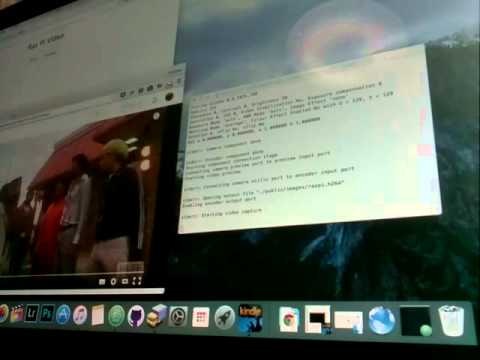
480×360 fps30 で撮影しました。mp4に変換しているのでiPhoneのブラウザから撮影、再生も可能です。