3
1

Delete article

Deleted articles cannot be recovered.

Draft of this article would be also deleted.

Are you sure you want to delete this article?

【AWS】爆速!AWSでWebサイトを公開する!

Last updated at Posted at 2025-05-23

1. HTMLを作成する

HTMLファイルの名前はindex.htmlとしてください。

<!DOCTYPE html>
<html lang="ja">
<head>
  <meta charset="UTF-8">
  <meta name="viewport" content="width=device-width, initial-scale=1.0">
  <title>Document</title>
</head>
<body>
  <div>
    <p>もうね、適当に作っちゃってくださいな!</p>
  </div>
</body>
</html>

2. S3に公開する

2-1. S3バケットを作成する

S3の汎用バケットのページから、「バケットを作成」をクリックします。

スクリーンショット 2025-05-22 18.07.54.png

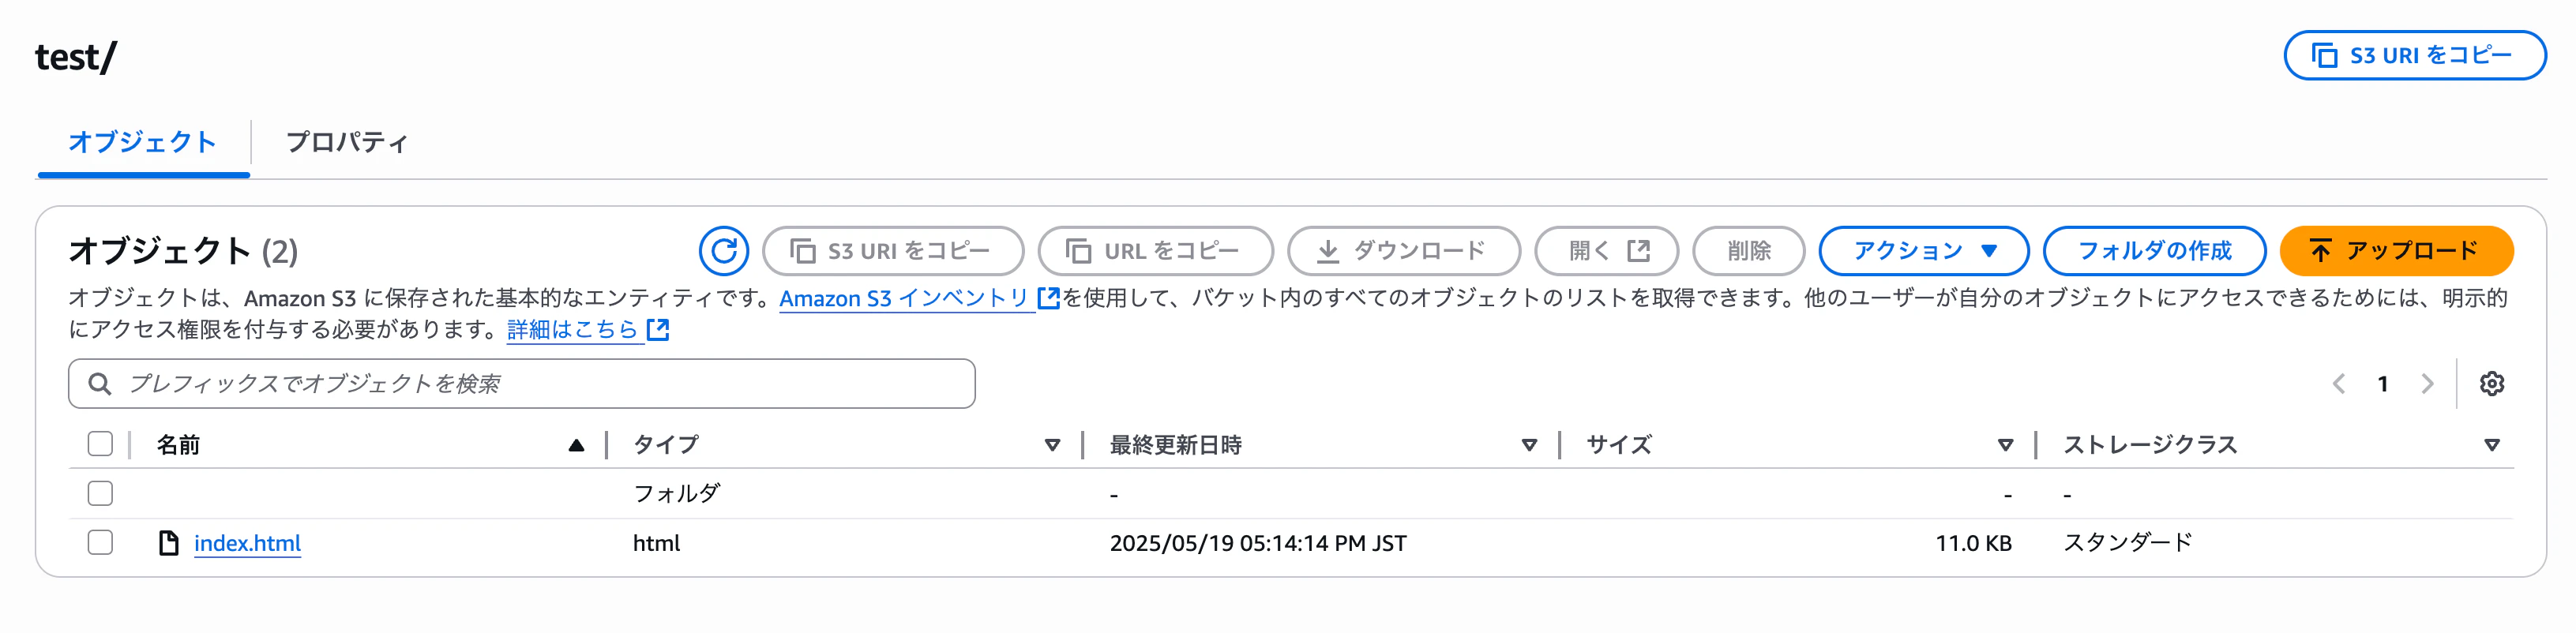
2-2. S3バケットの中にフォルダを作成します。

今回は、「test」というフィルダを作成しました。

スクリーンショット 2025-05-22 18.10.06.png

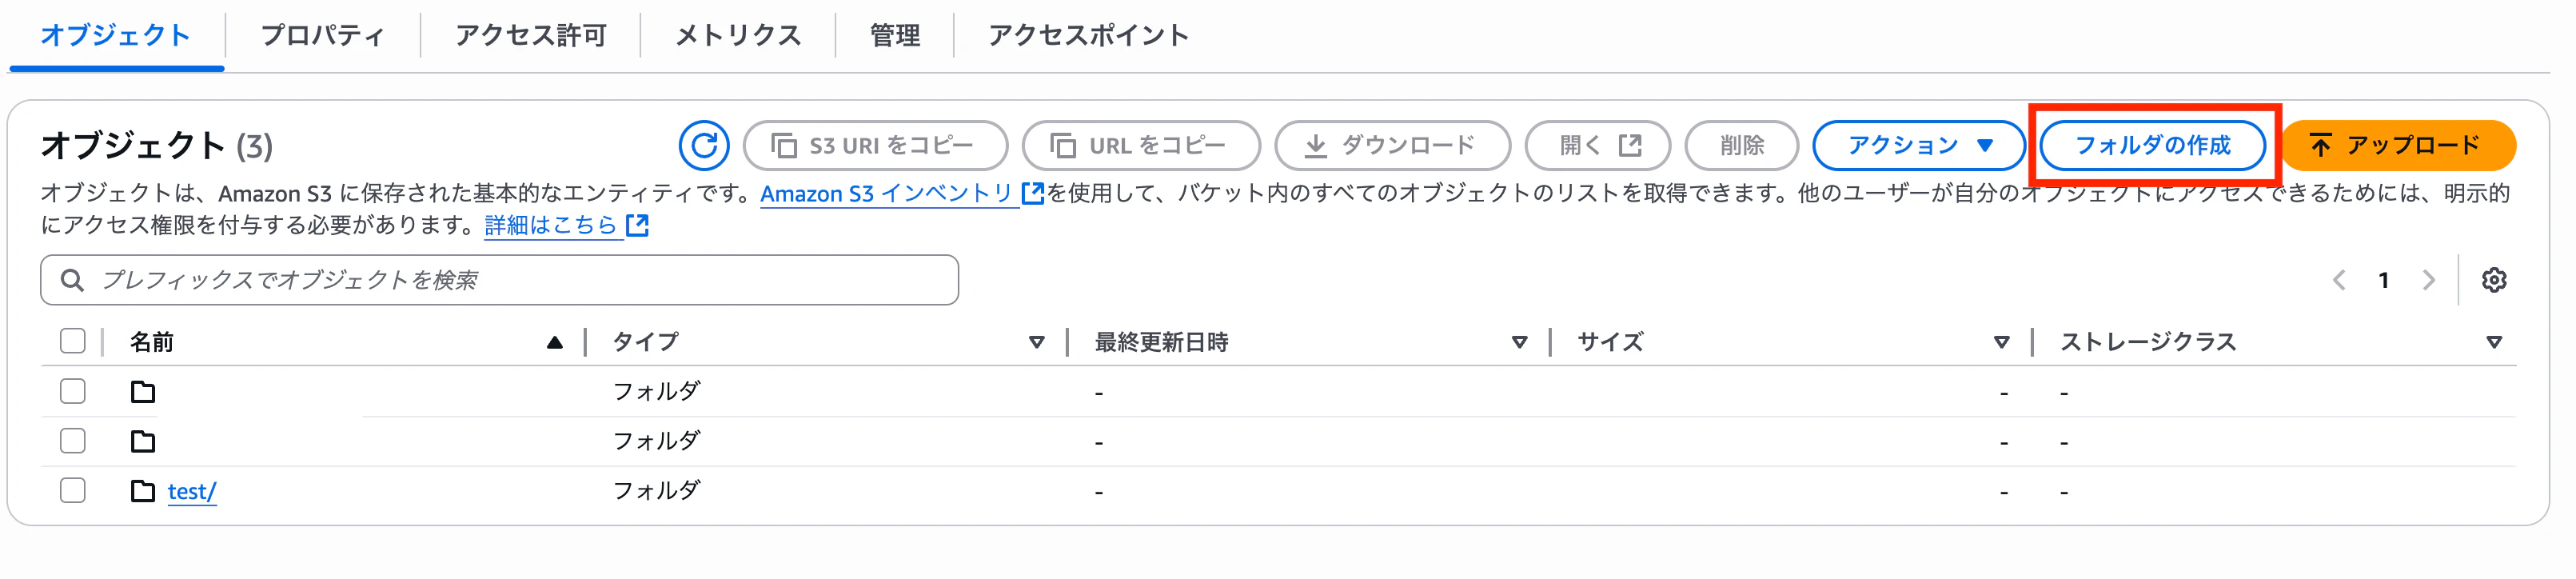
2-3. 作成したフォルダにindex.htmlをアップロードする。

スクリーンショット 2025-05-22 18.13.02.png

3. Amplifyで公開する

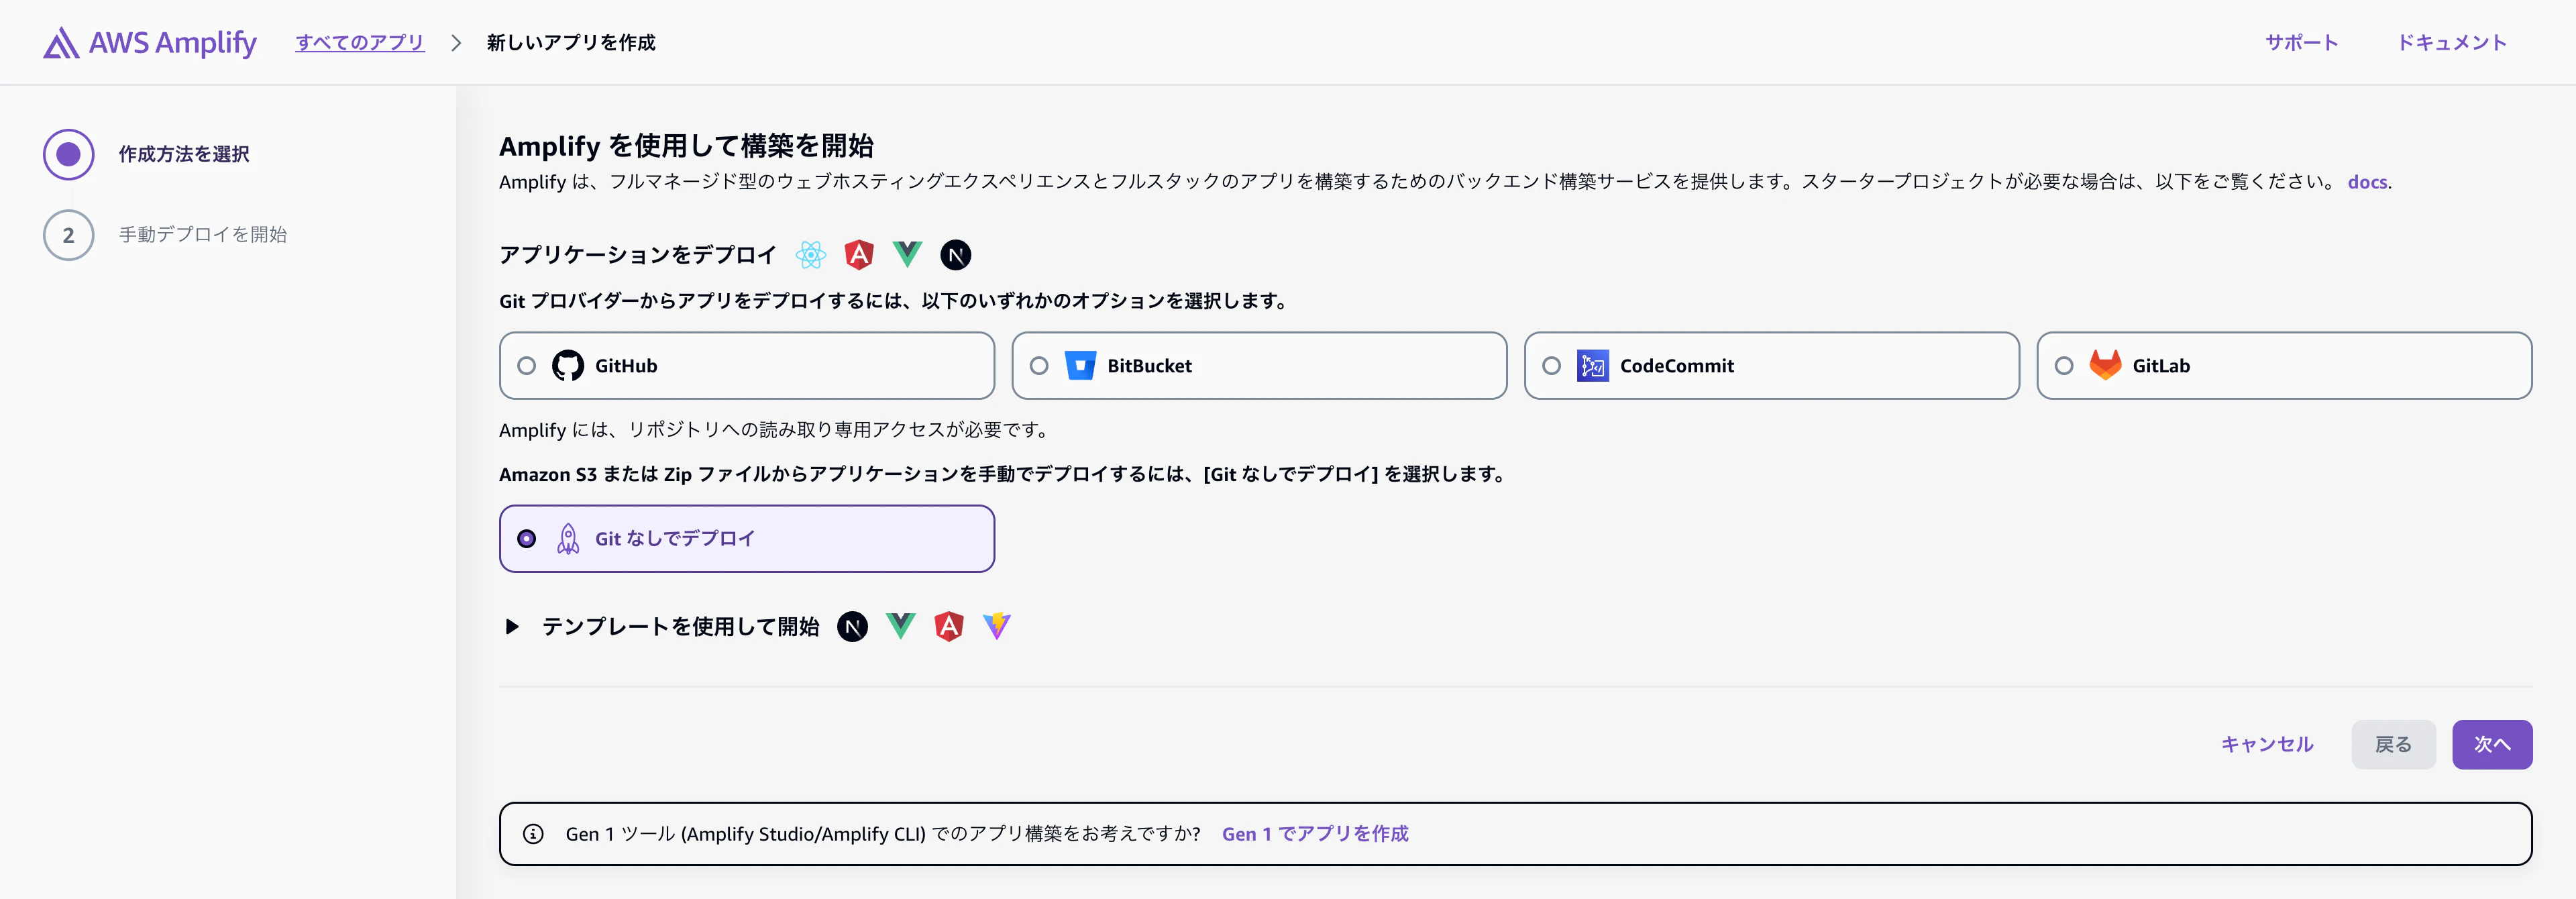
3-1. 「新しいアプリを作成」をクリックする

スクリーンショット 2025-05-22 18.11.59.png

3-2. ファイルの指定方法を選択

「Gitなしでデプロイ」を選択して、「次へ」をクリックします。

スクリーンショット 2025-05-22 18.16.23.png

3-3. 各項目を入力して、ファイルの場所を指定

「Amazon S3」を選択して、2-2で作成したフォルダを指定します。

例: s3://test-bucket/test/
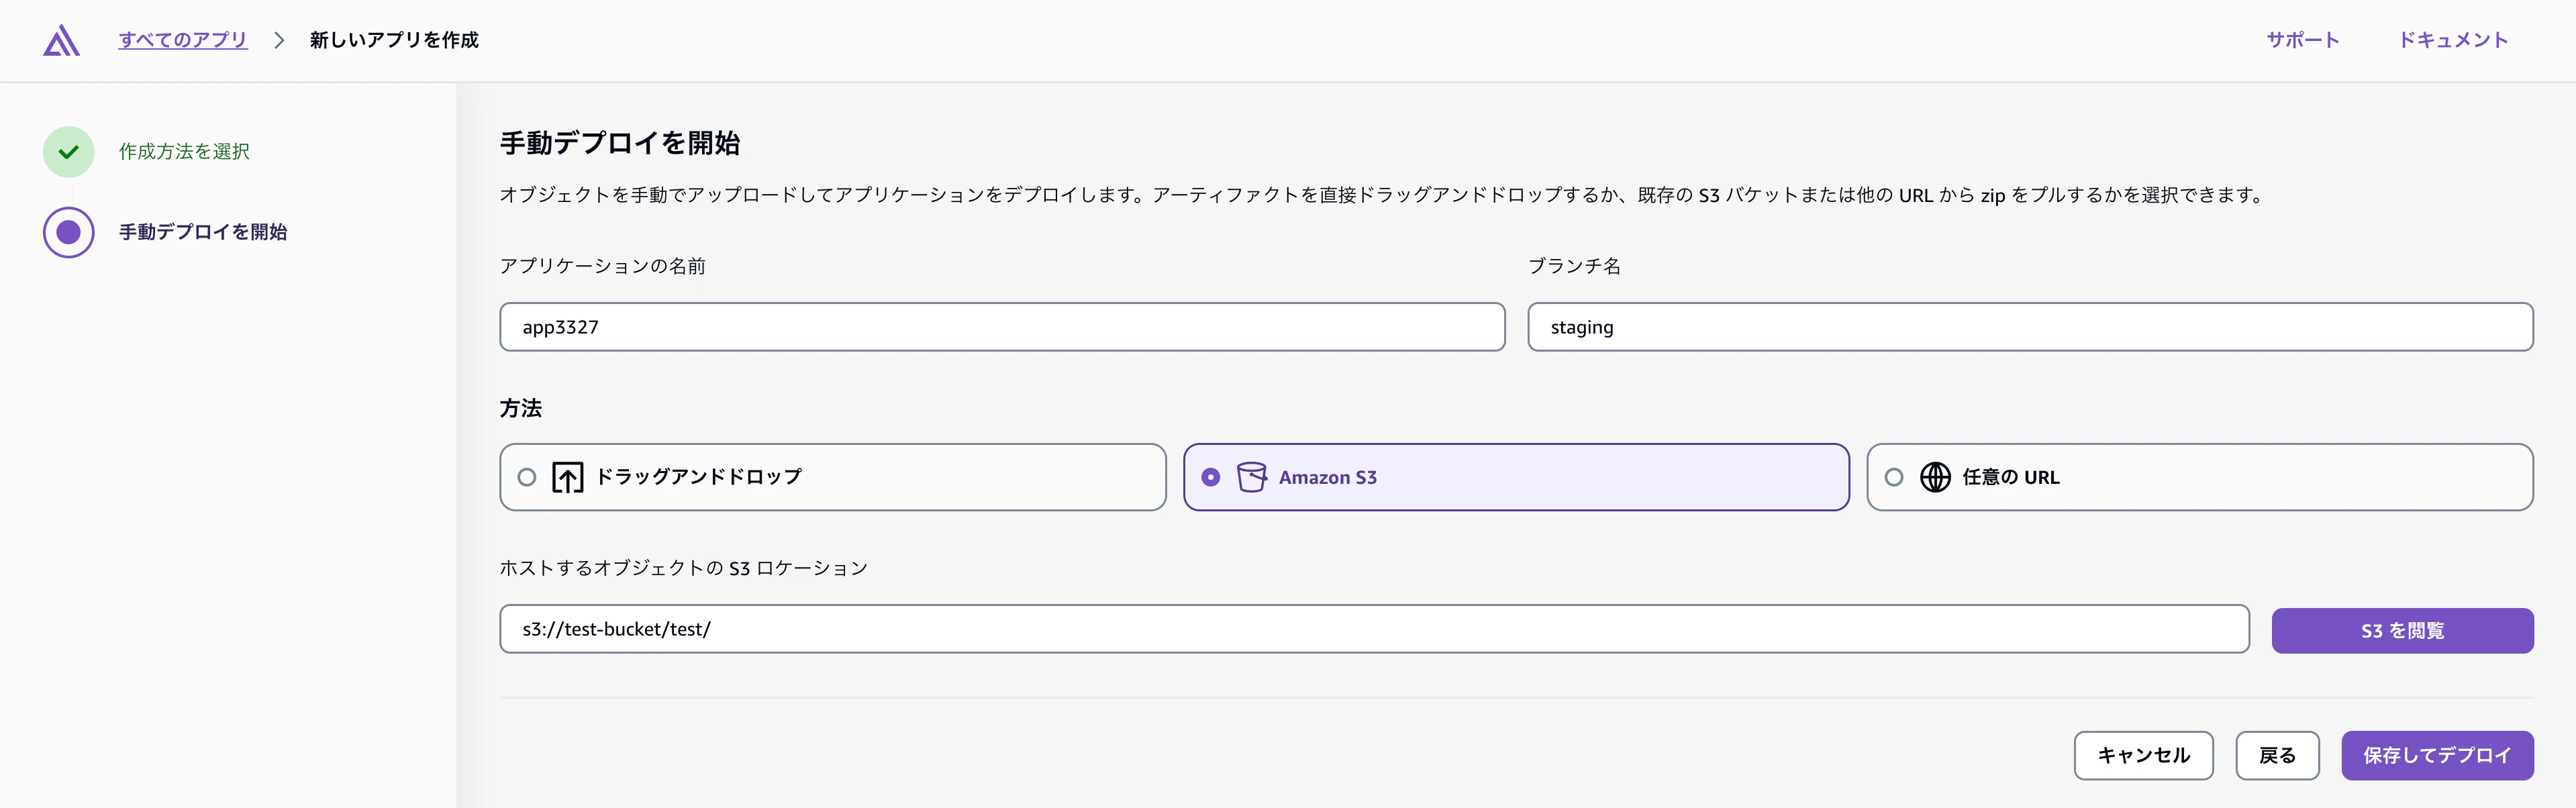
スクリーンショット 2025-05-22 18.18.40.png

3-4. デプロイ実行

「保存してデプロイ」をクリックします。少し待つとデプロイが完了します。

スクリーンショット 2025-05-22 18.25.48.png

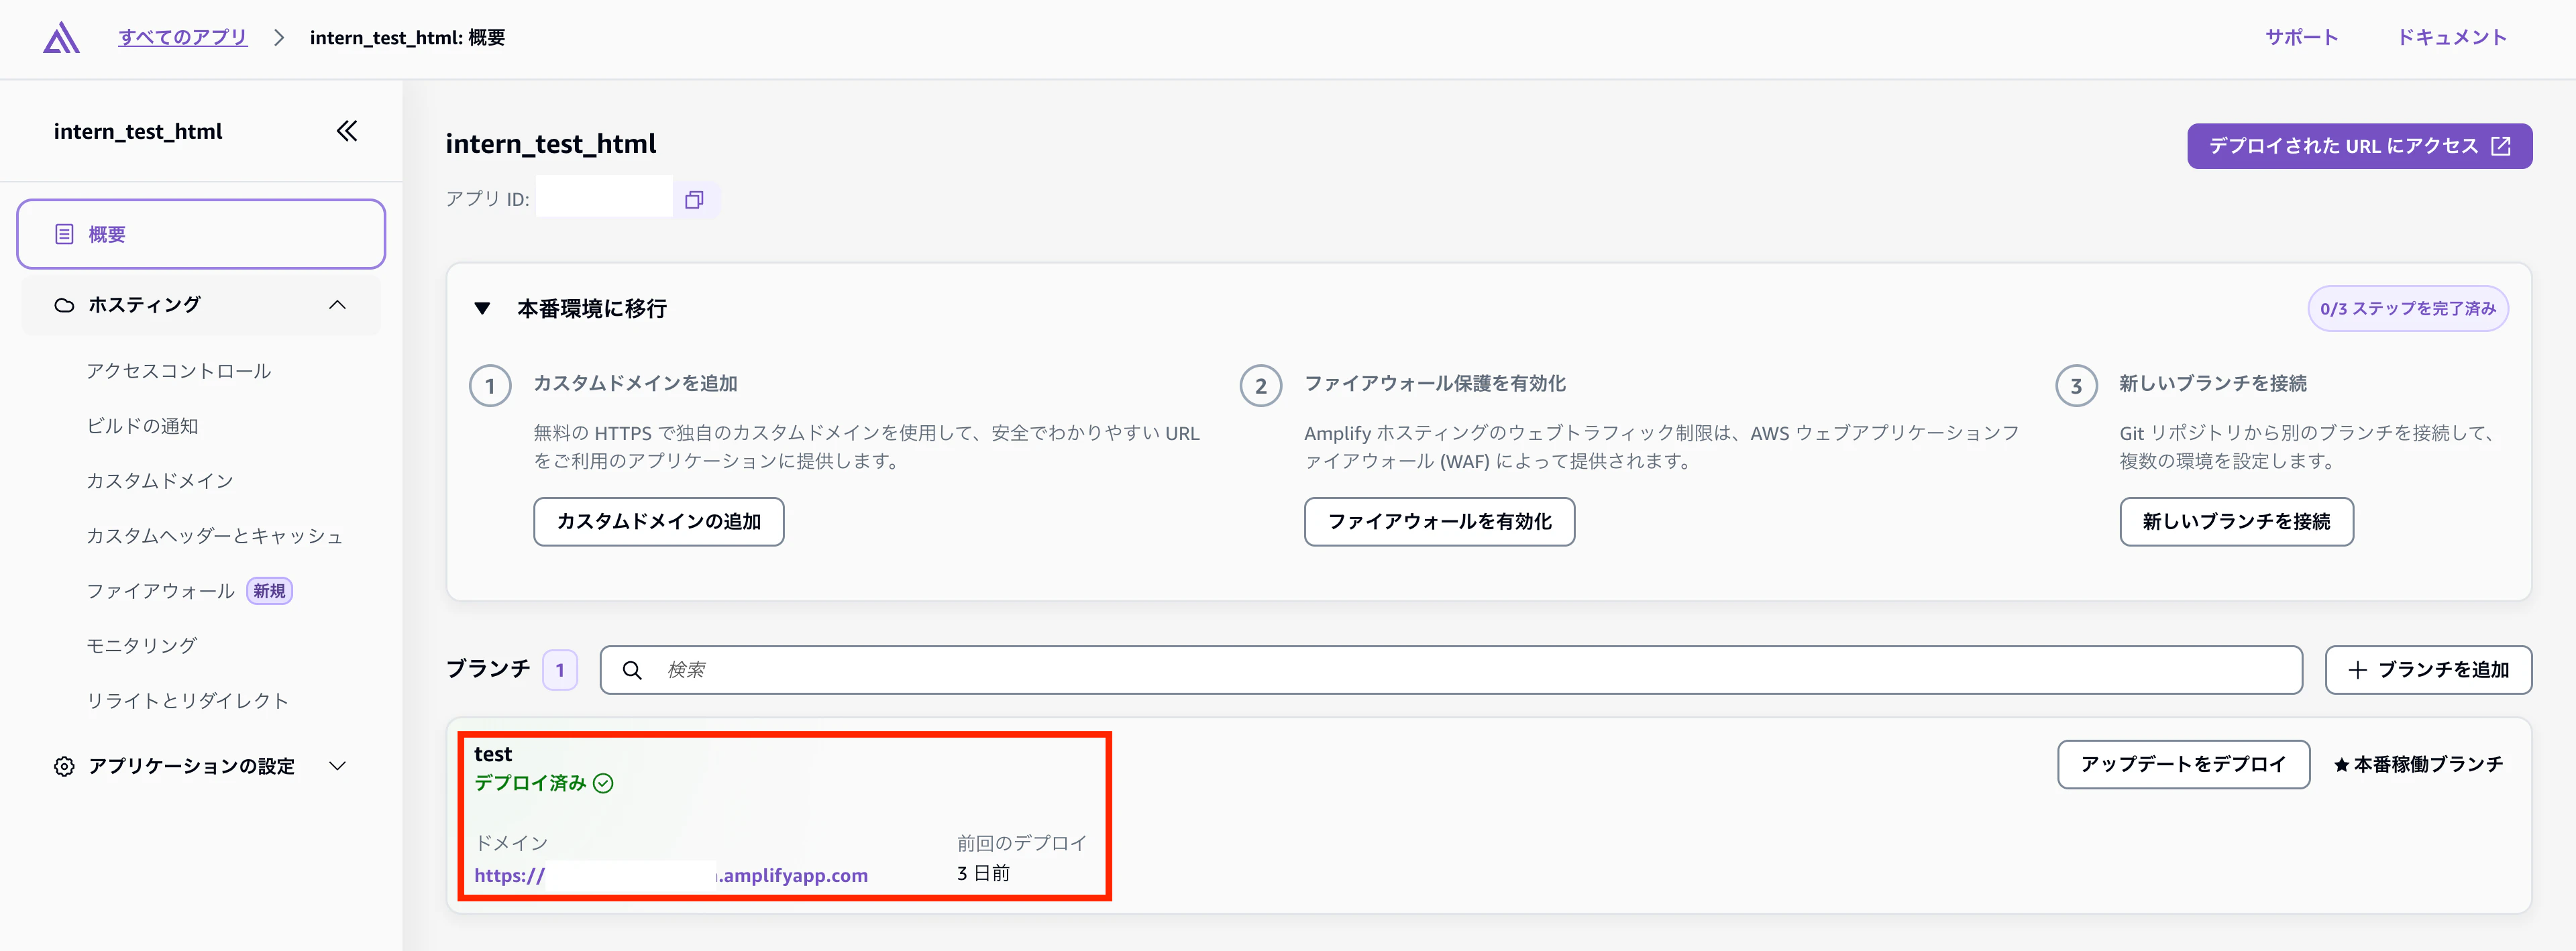
3-5. デプロイされたURLにアクセス

「デプロイされたURLにアクセス」をクリックします。

スクリーンショット 2025-05-22 18.29.17.png

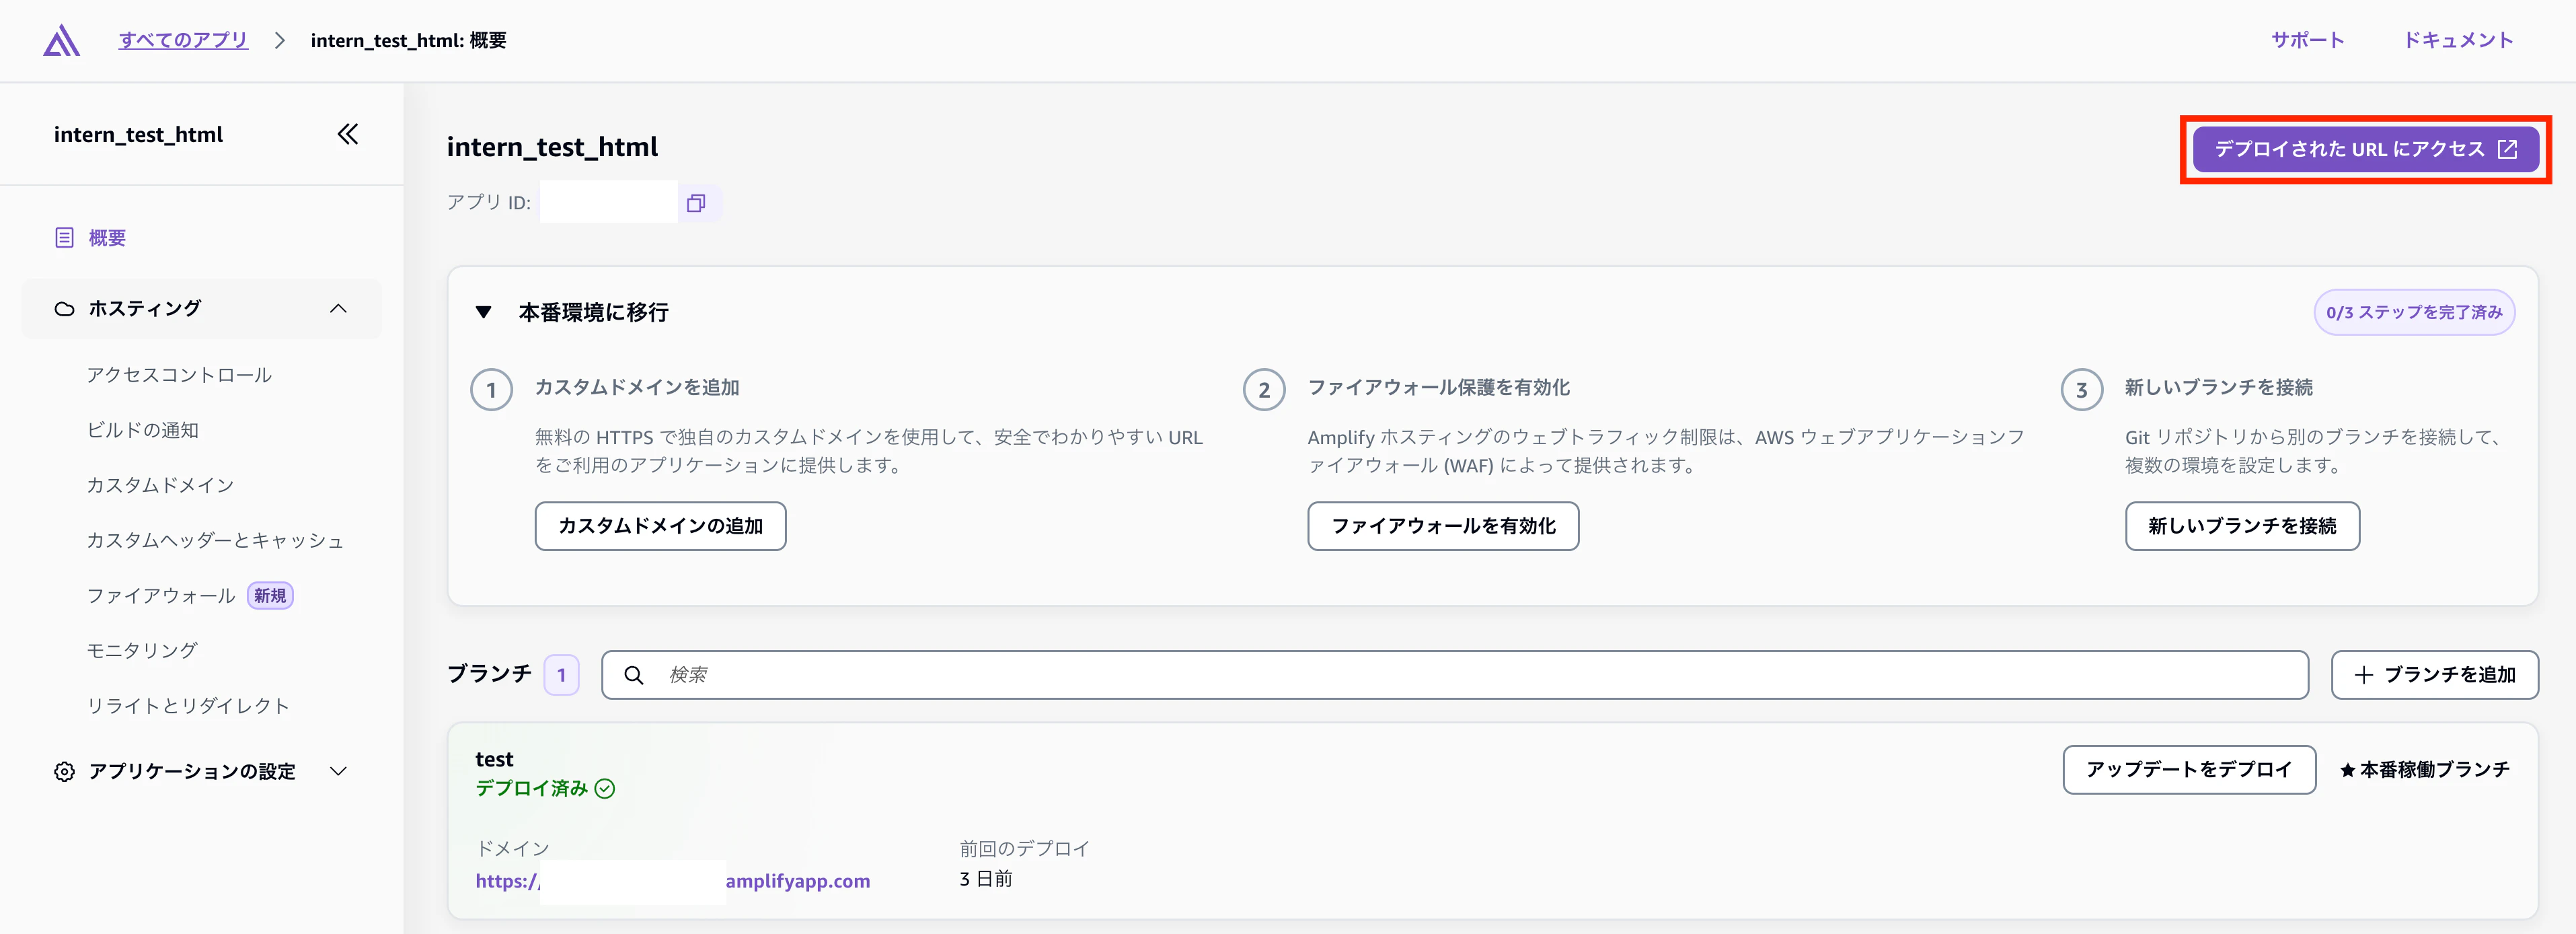
これでWEBサイトが見れるようになります!

おまけ

「カスタムドメインの追加」からRoute53に設定されているドメインを使用してURLを設定することができます。

以上

3
1
0

Register as a new user and use Qiita more conveniently

  1. You get articles that match your needs
  2. You can efficiently read back useful information
  3. You can use dark theme
What you can do with signing up
3
1

Delete article

Deleted articles cannot be recovered.

Draft of this article would be also deleted.

Are you sure you want to delete this article?