0
0

Delete article

Deleted articles cannot be recovered.

Draft of this article would be also deleted.

Are you sure you want to delete this article?

More than 1 year has passed since last update.

【Ruby】GemをGitHub Packagesに公開する

Last updated at Posted at 2022-07-30

前提条件

  • RubyGems v2.4.1 以降である
ターミナル
  $ gem --version 
  • bundler v1.6.4 以降である
ターミナル
  $ bundle --version

パーソナルアクセストークンの設定

GitHub Packagesに公開などをするには認証が必要です。
以下の手順でパーソナルアクセストークンの設定をします。

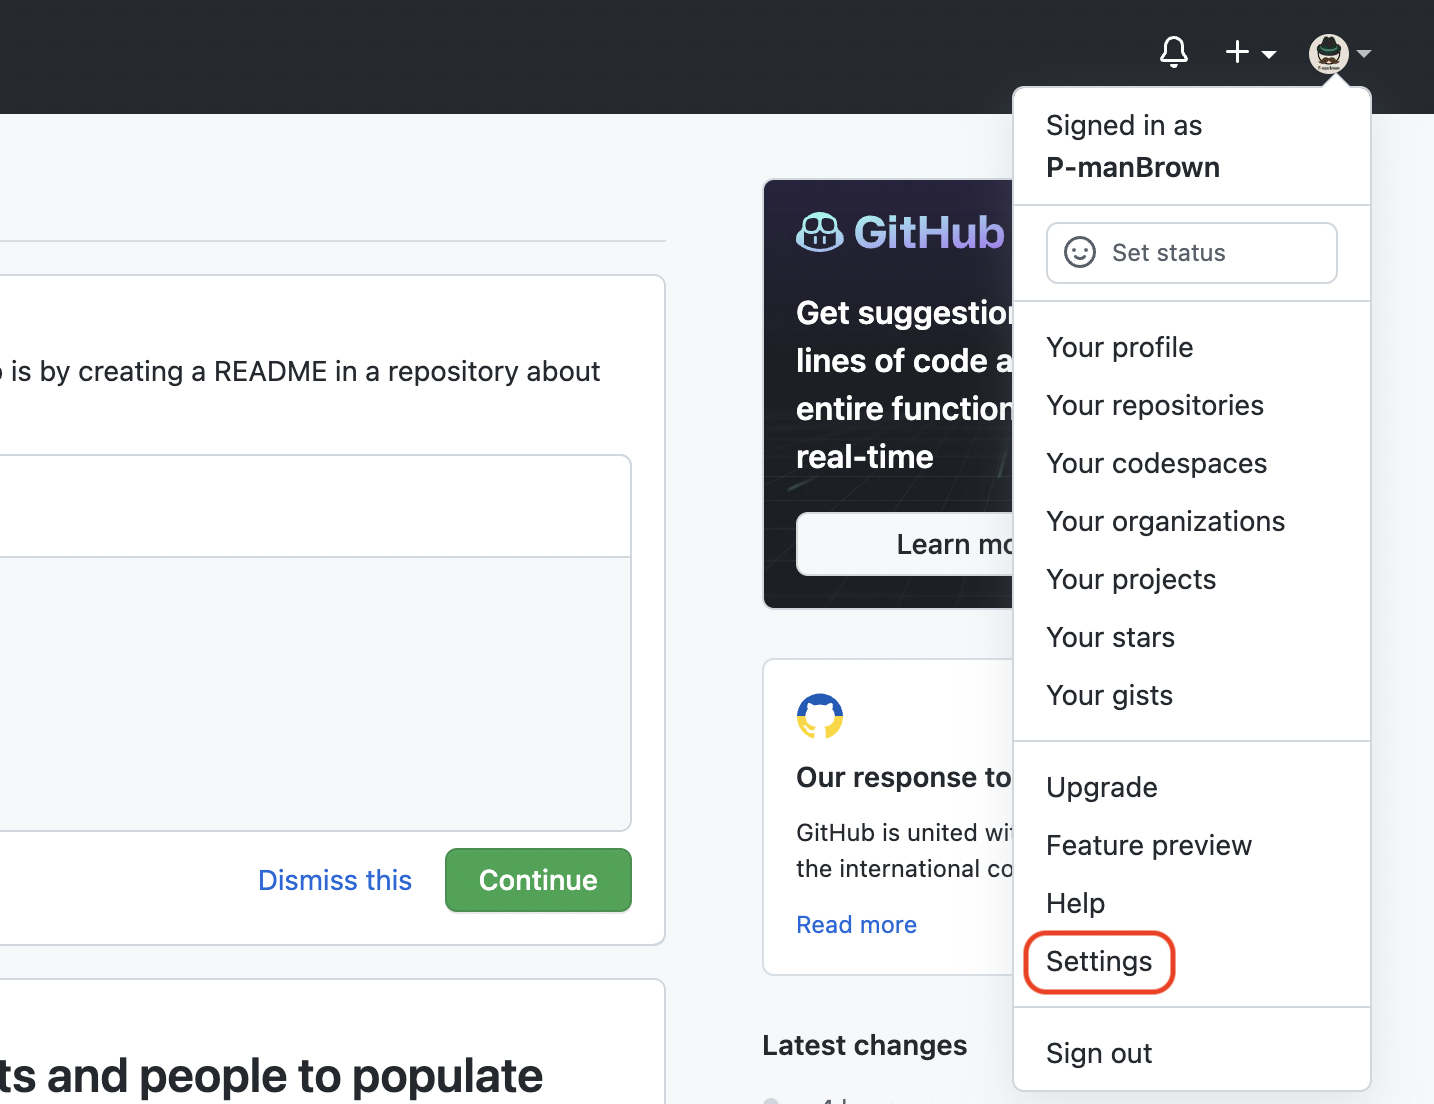
GitHubのSettingsページを開きます。
image220730_080233.png

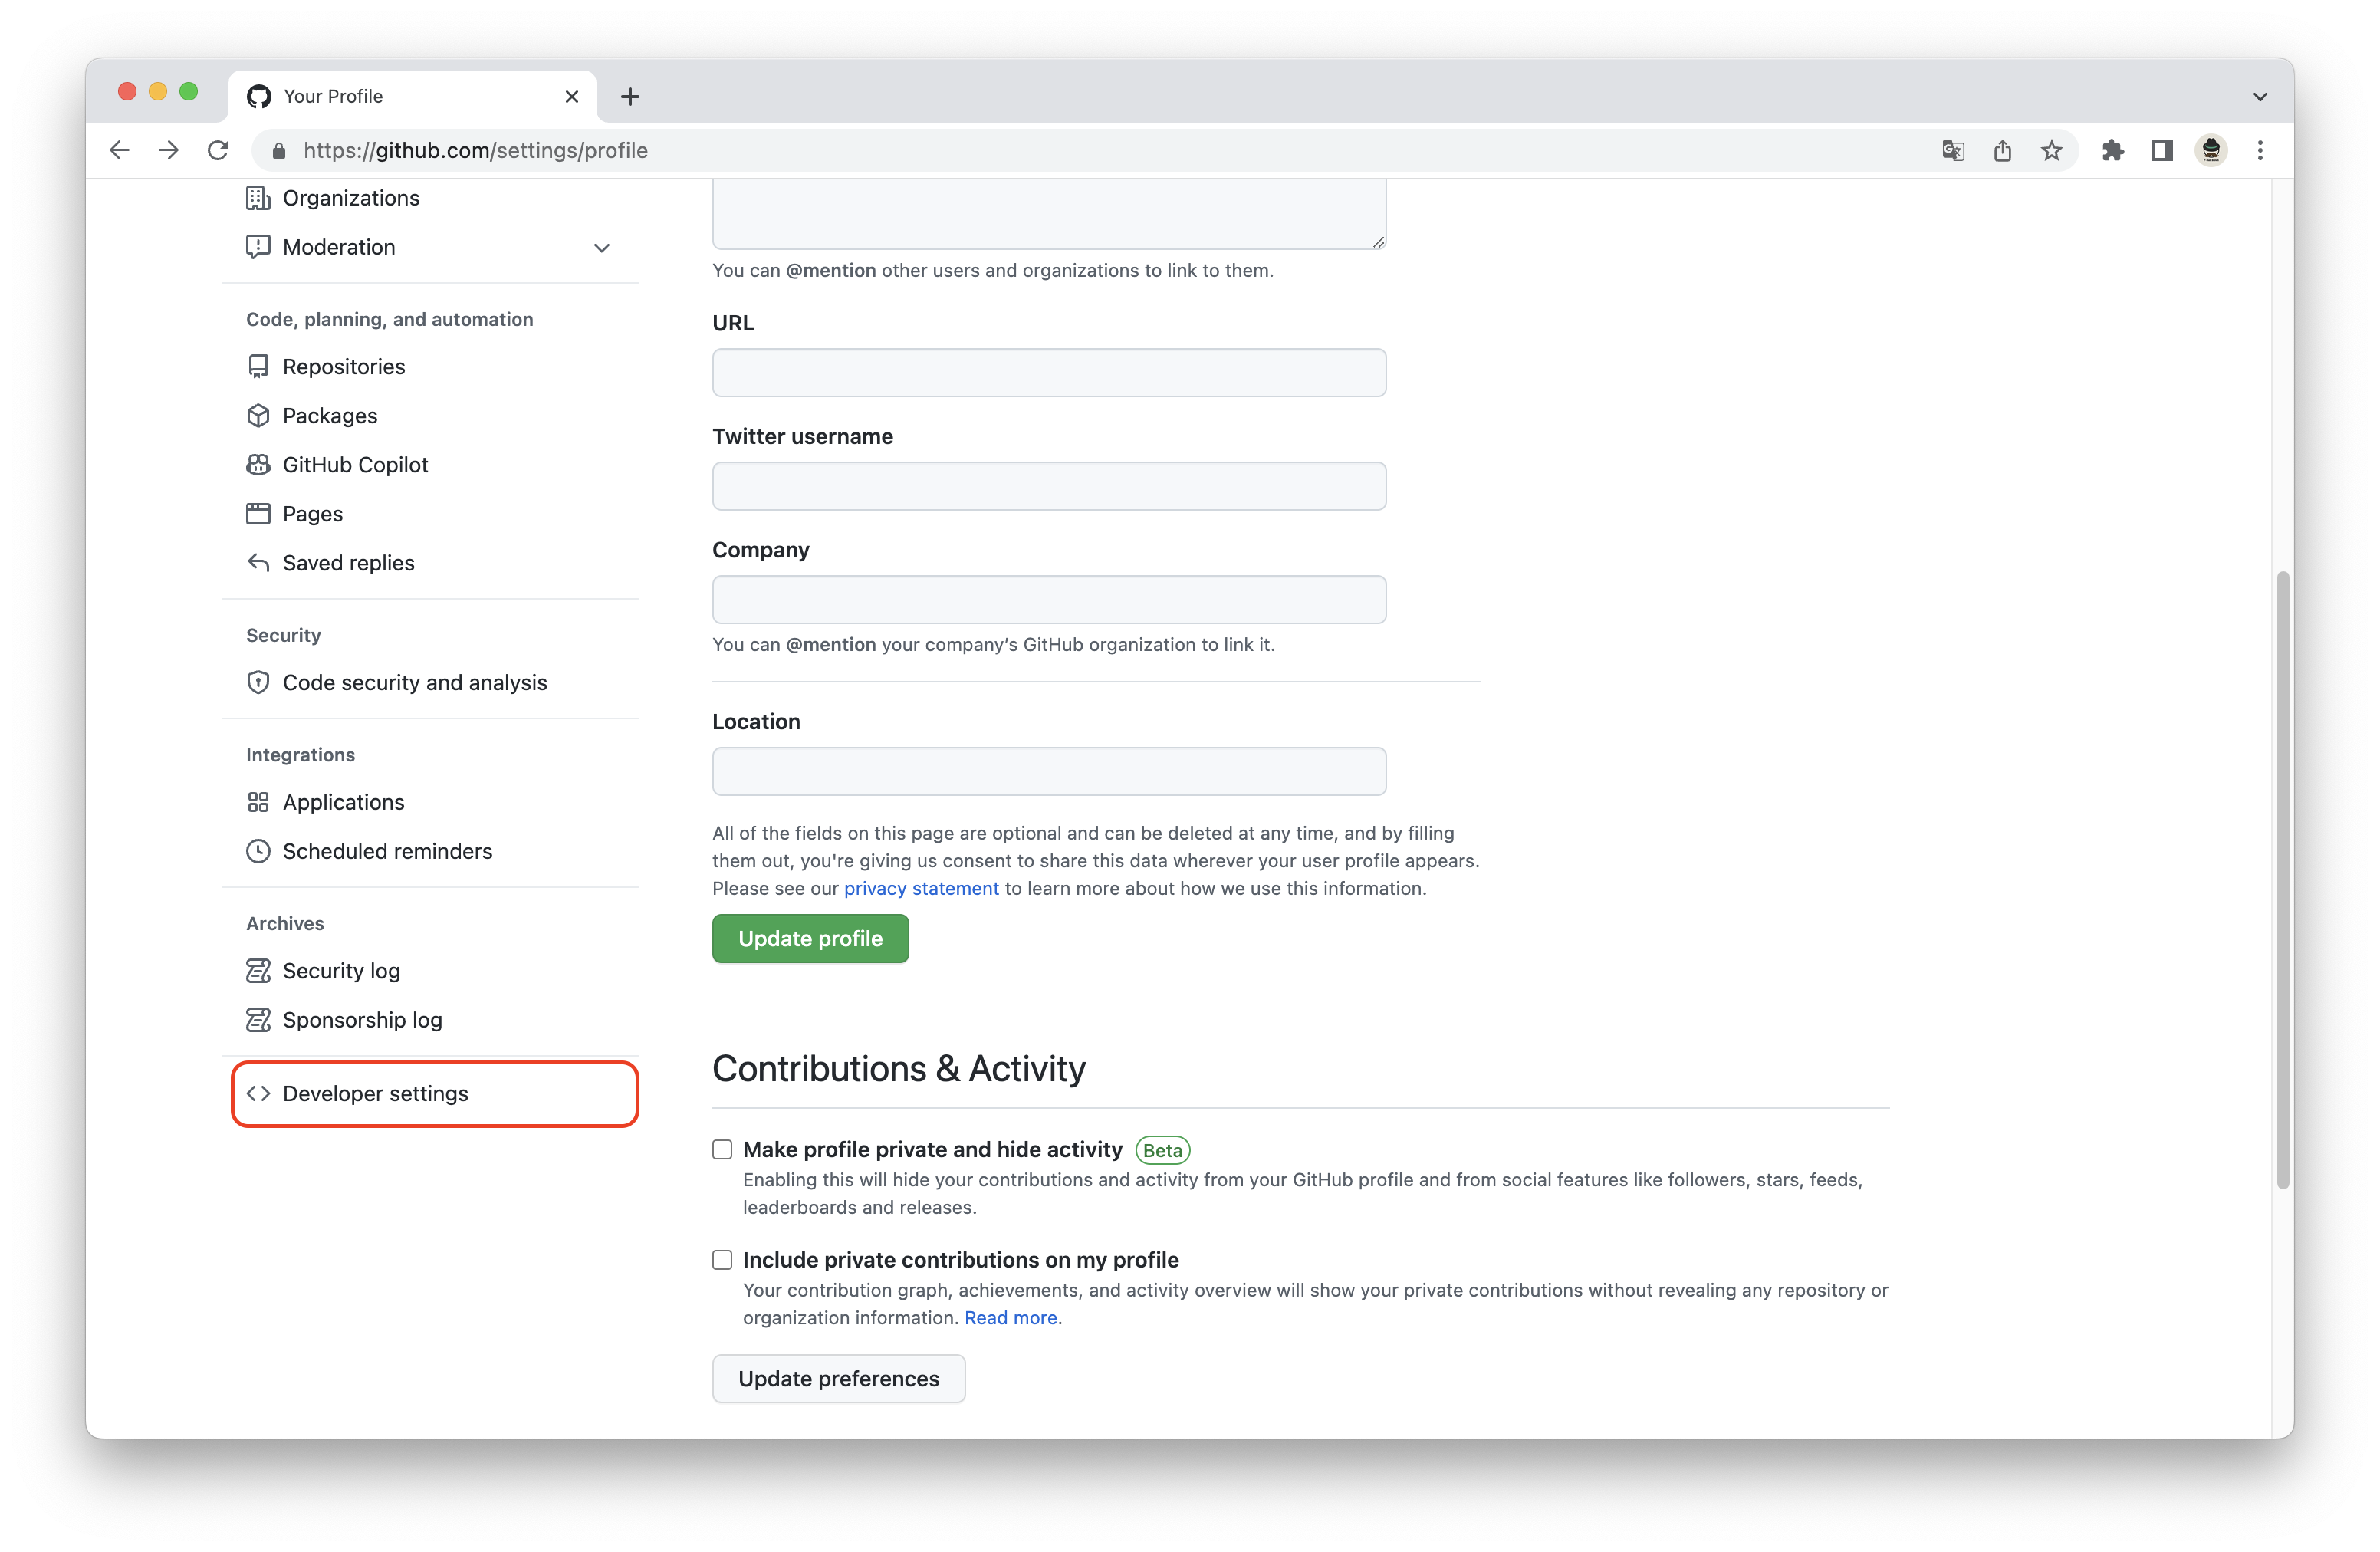
左サイドバー一番下の「Developer settings」を選択します。
image220730_080909.png

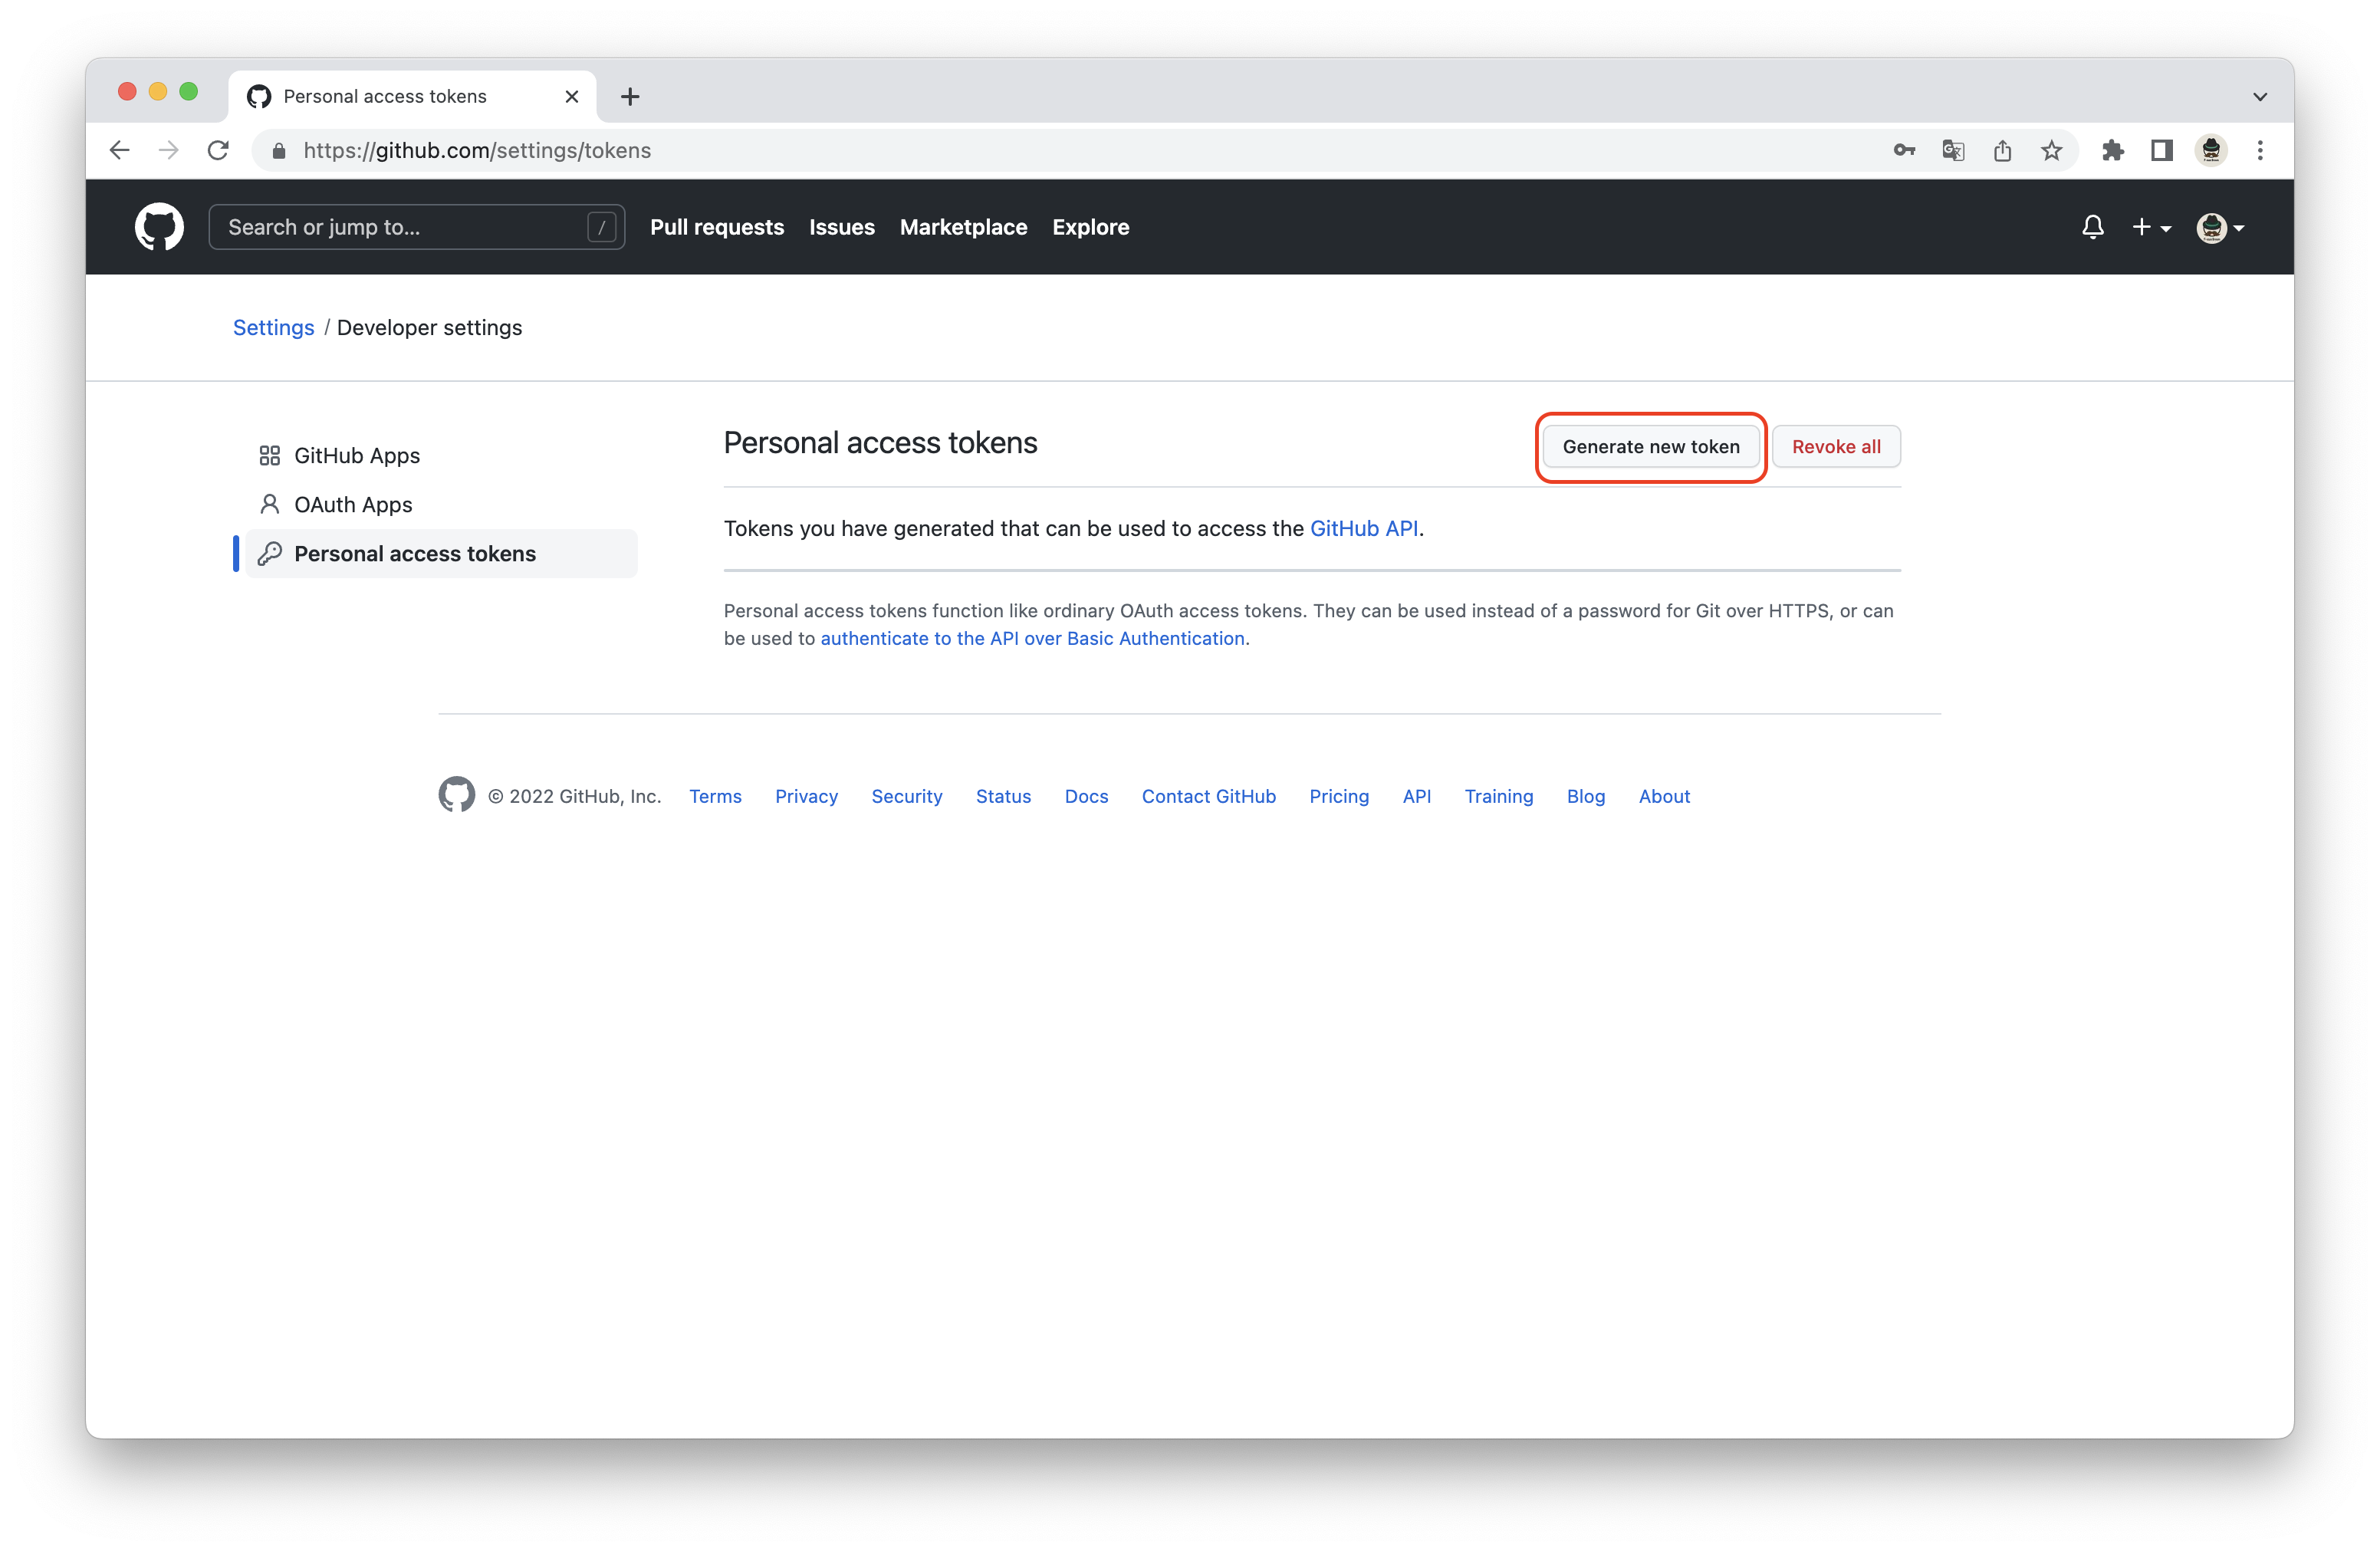
左サイドバーの「Personal access tokens」を選択します。
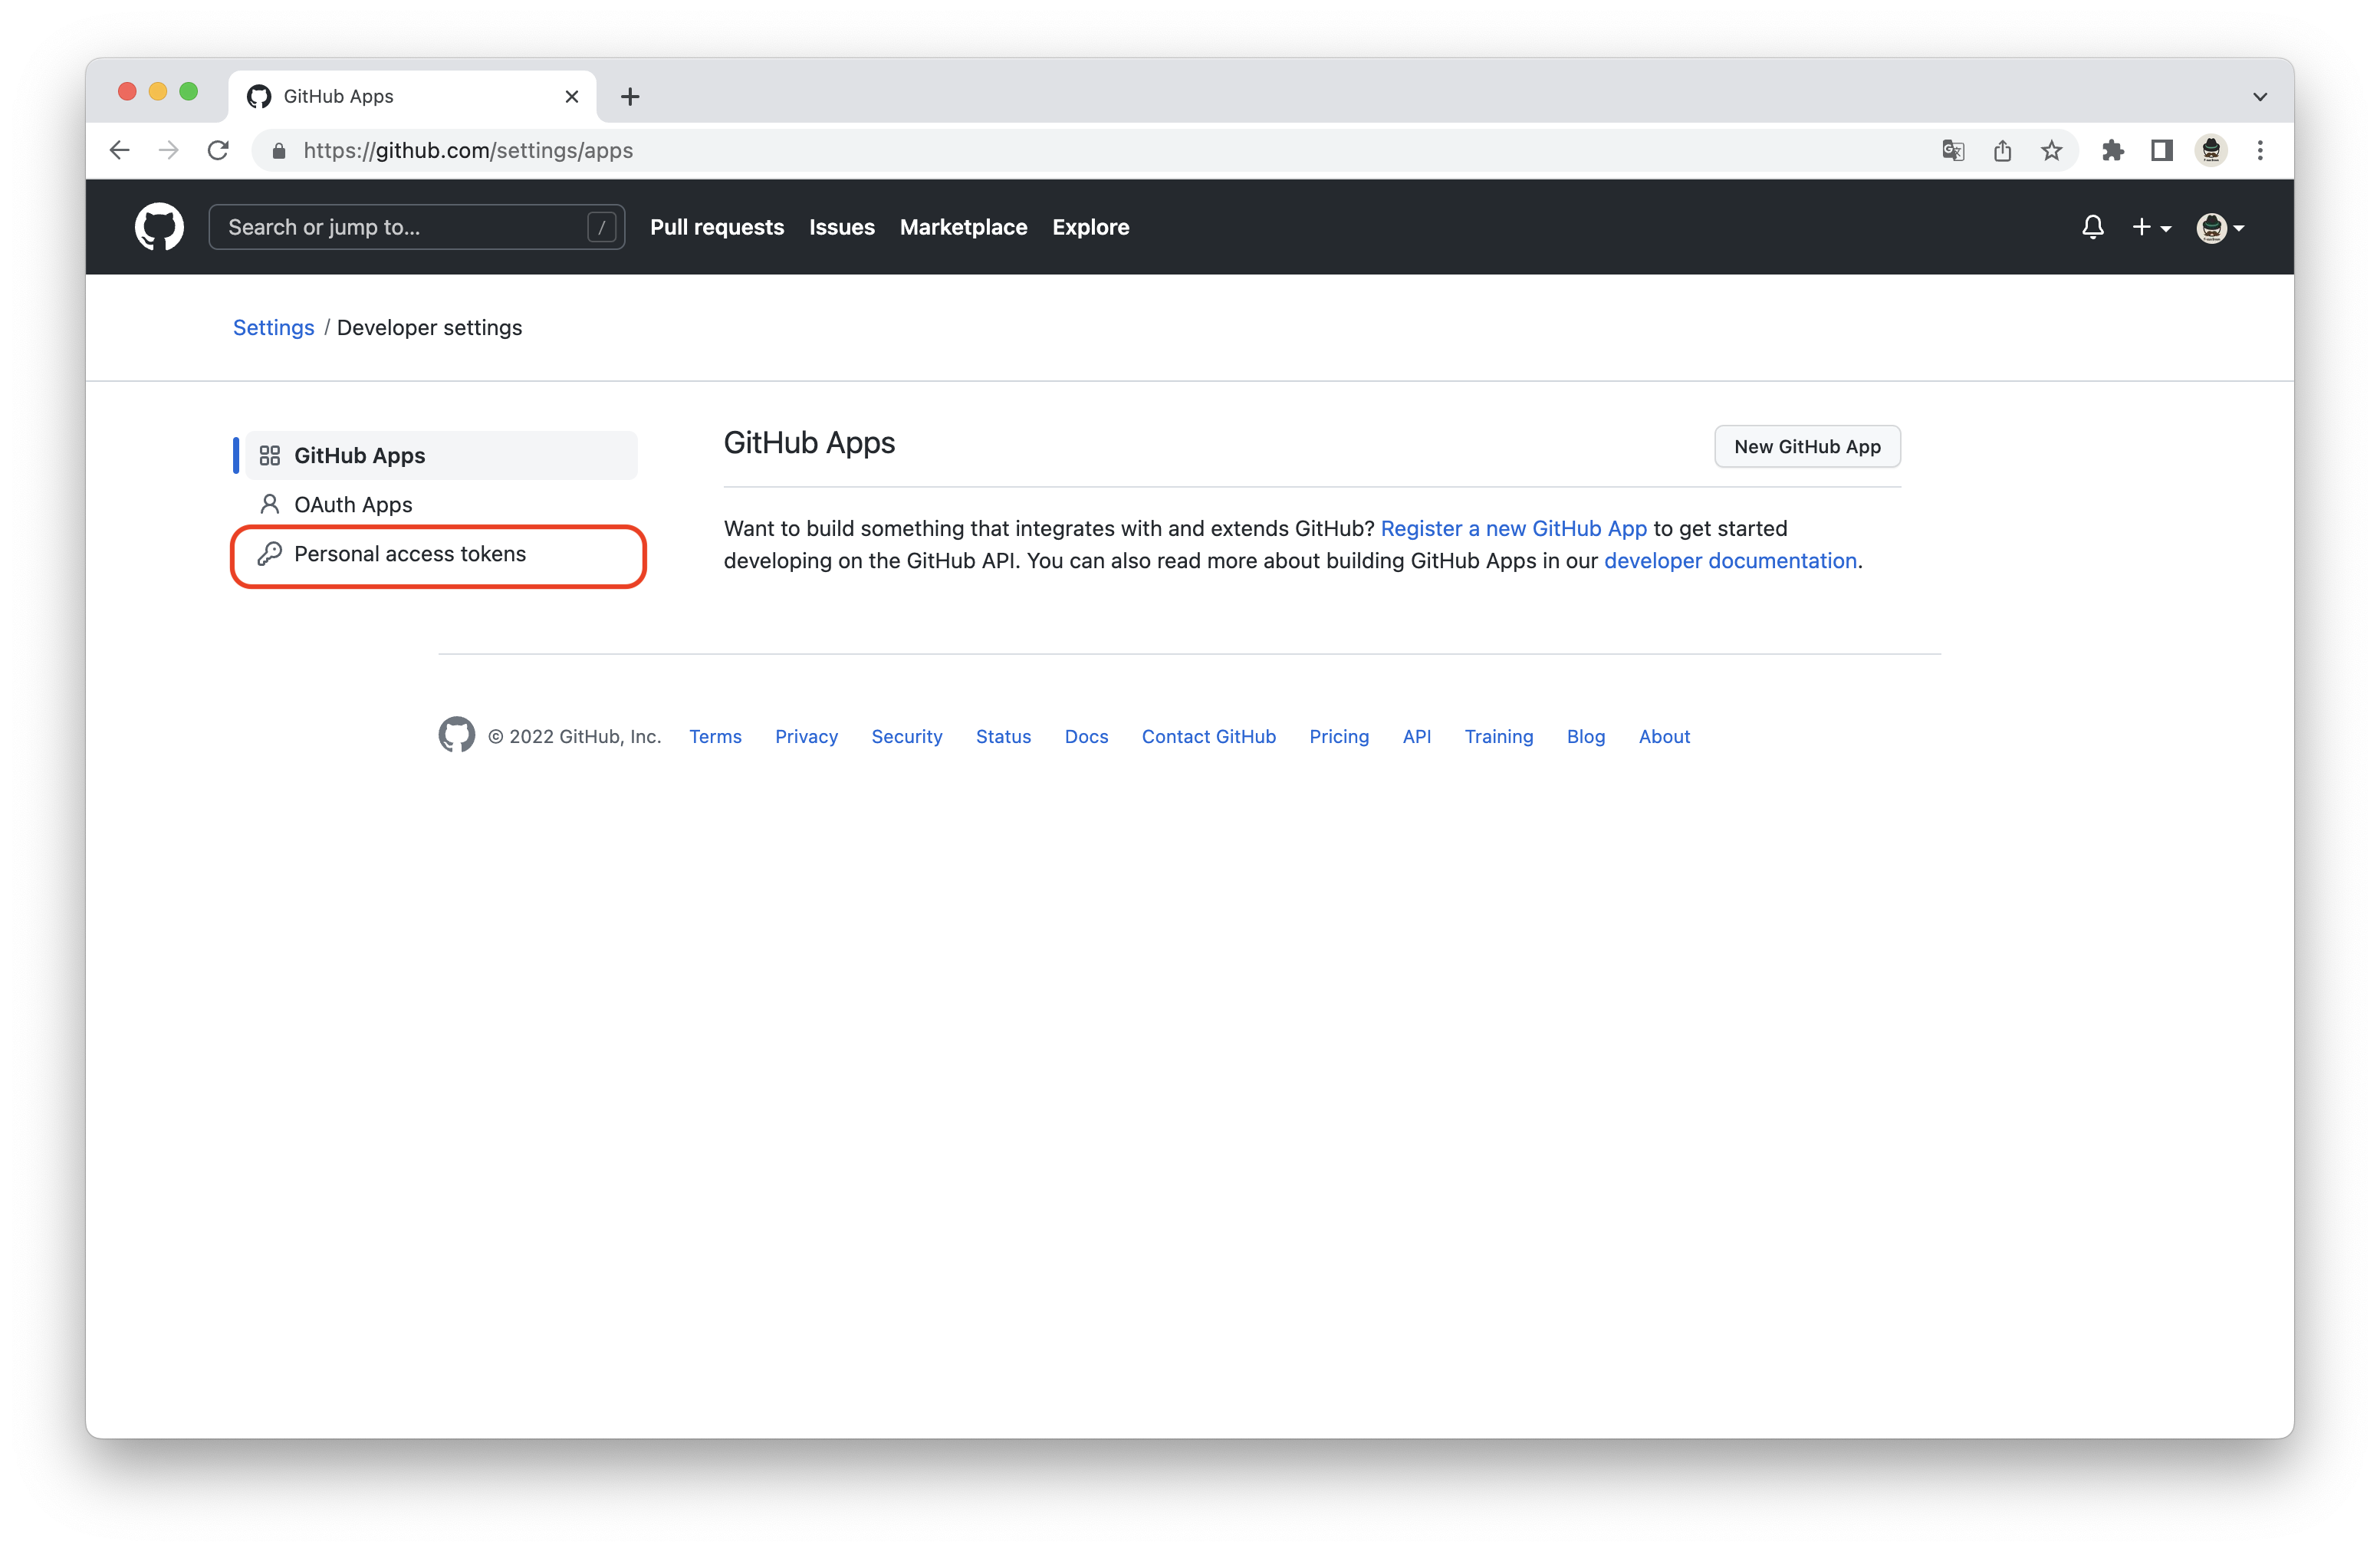
image220730_081141.png

「Generate new token」を選択します。
image220730_081329.png

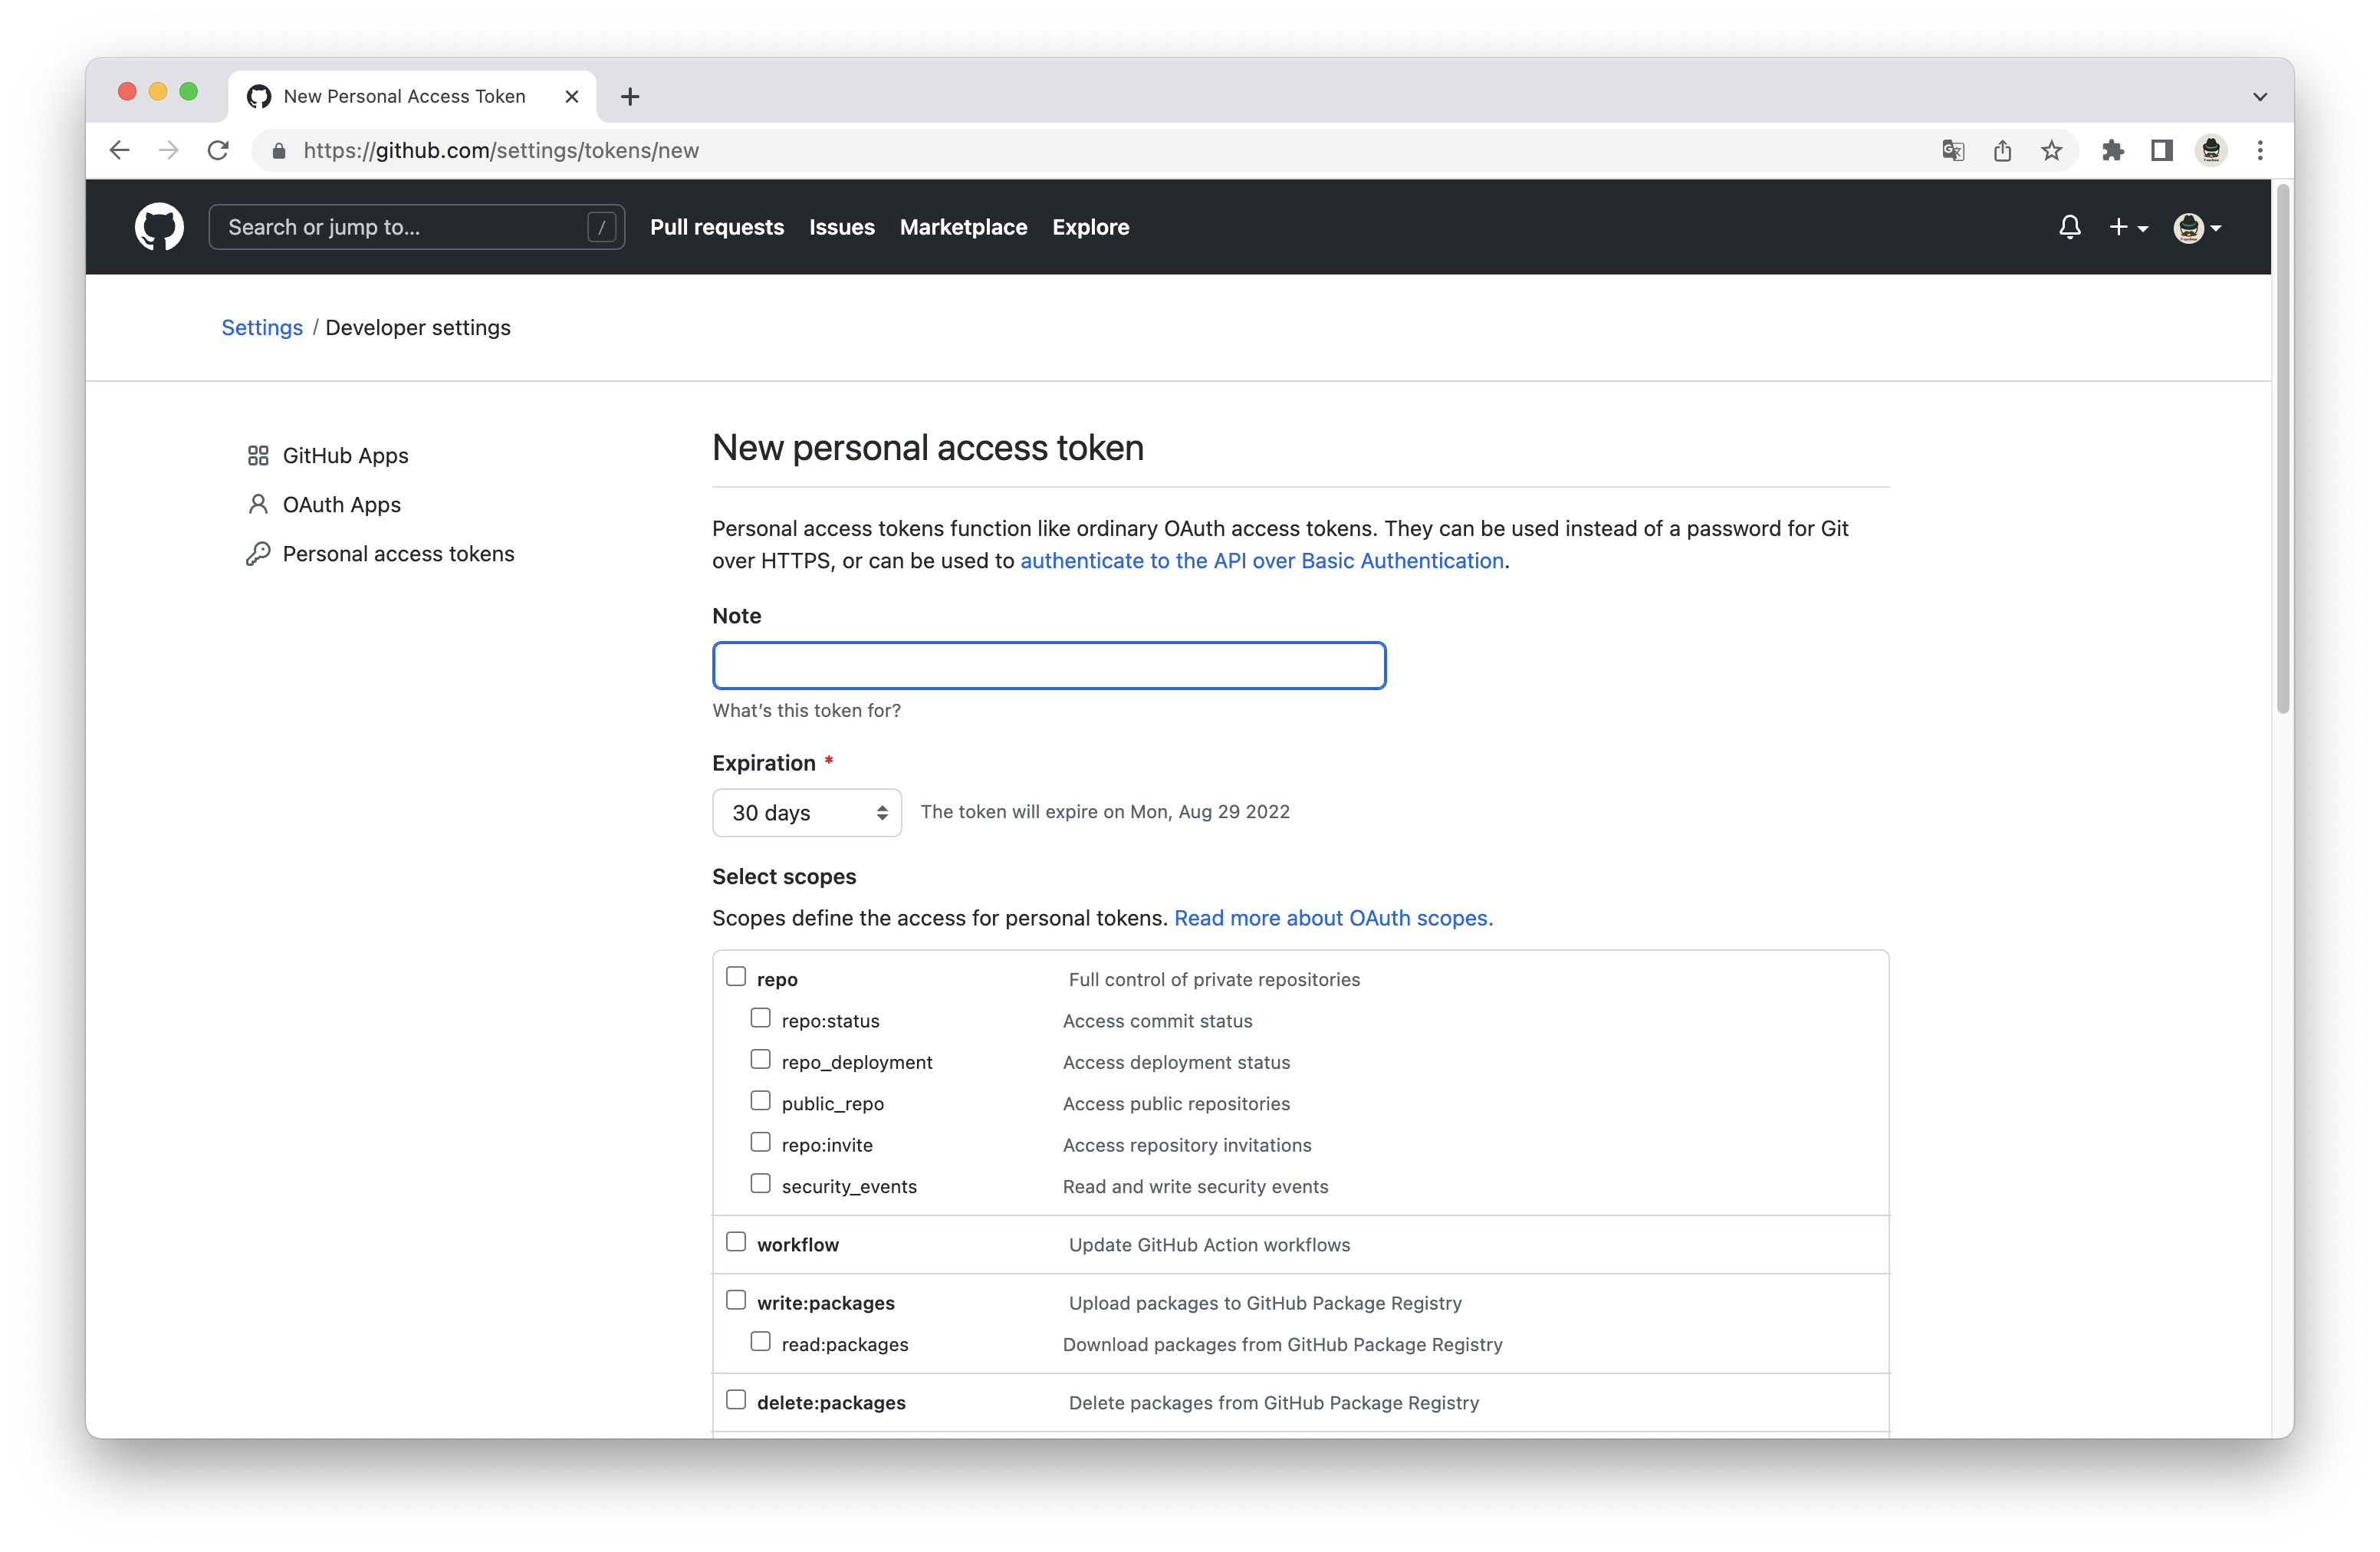
「Note」にわかりやすい名称を入力します。
image220730_081453.png

「Select scopes」で「repo」と「write:packages」を選択します。
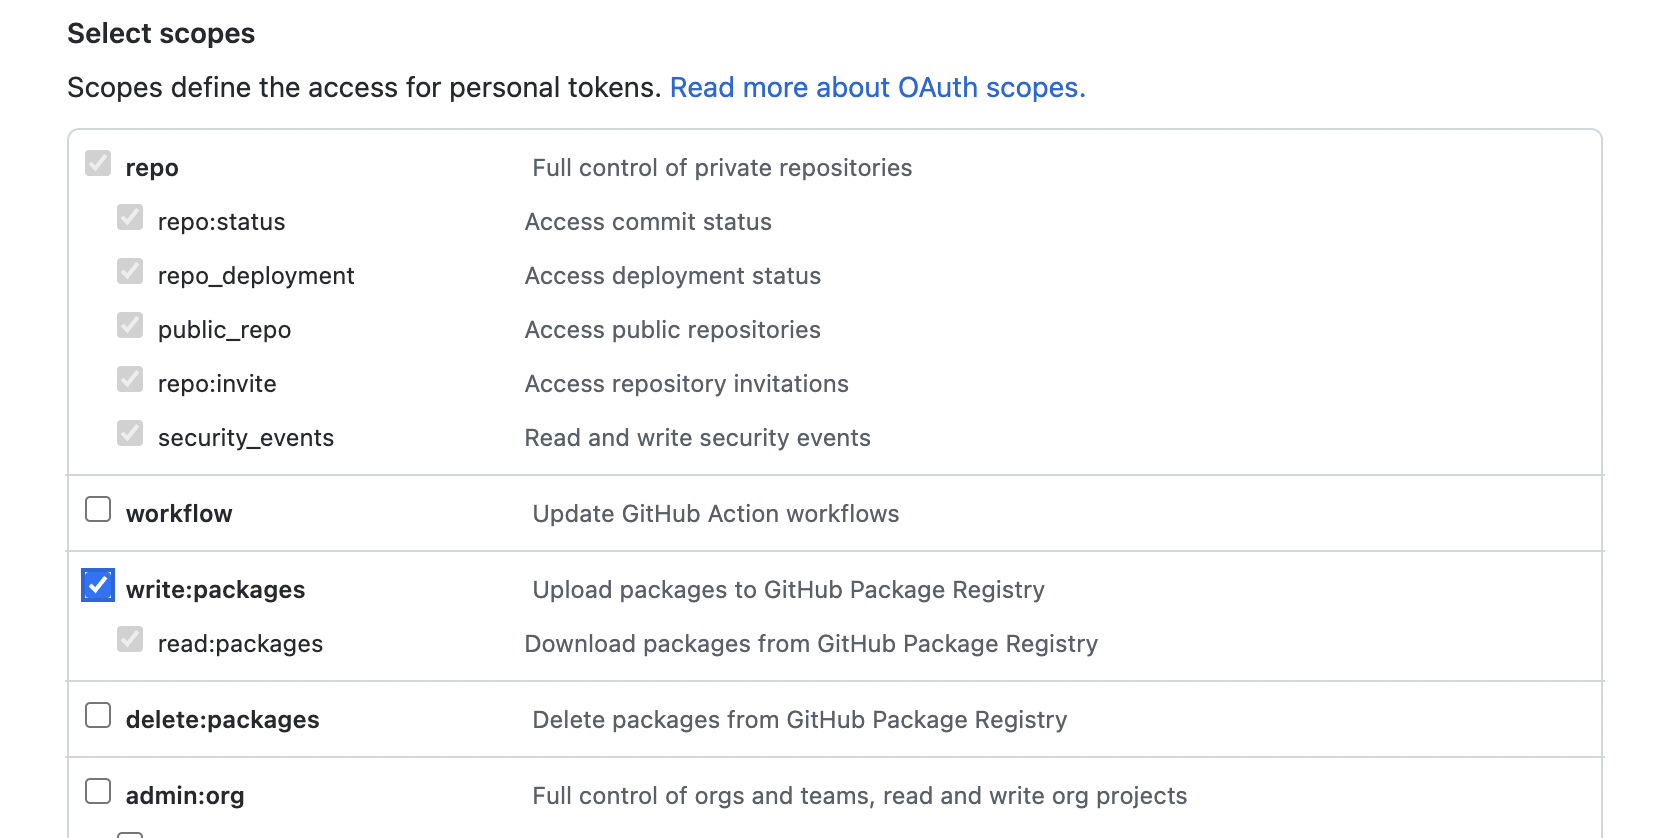
image220730_081711.png

「Generate token」をクリックします。
image220730_081643.png

パーソナルアクセストークンが作成できました。

~/.gem/credentialsを以下の内容で作成します。

~/.gem/credentials
:github: Bearer 作成したトークン
ターミナル
$ chmod 0600 ~/.gem/credentials

Gemを公開する

以下のコマンドを実行してGemをGitHub Packagesに公開します。
パッケージをビルドします。

ターミナル
$ gem build sample-gem.gemspec

GitHub Packagesに公開します。

ターミナル
$ gem push --key github \
--host https://rubygems.pkg.github.com/リポジトリを所有するユーザー名 \
sample-gem-0.0.1.gem

上記sample-gem-0.0.1.gemは実際の.gemファイル名に置き換えてください。

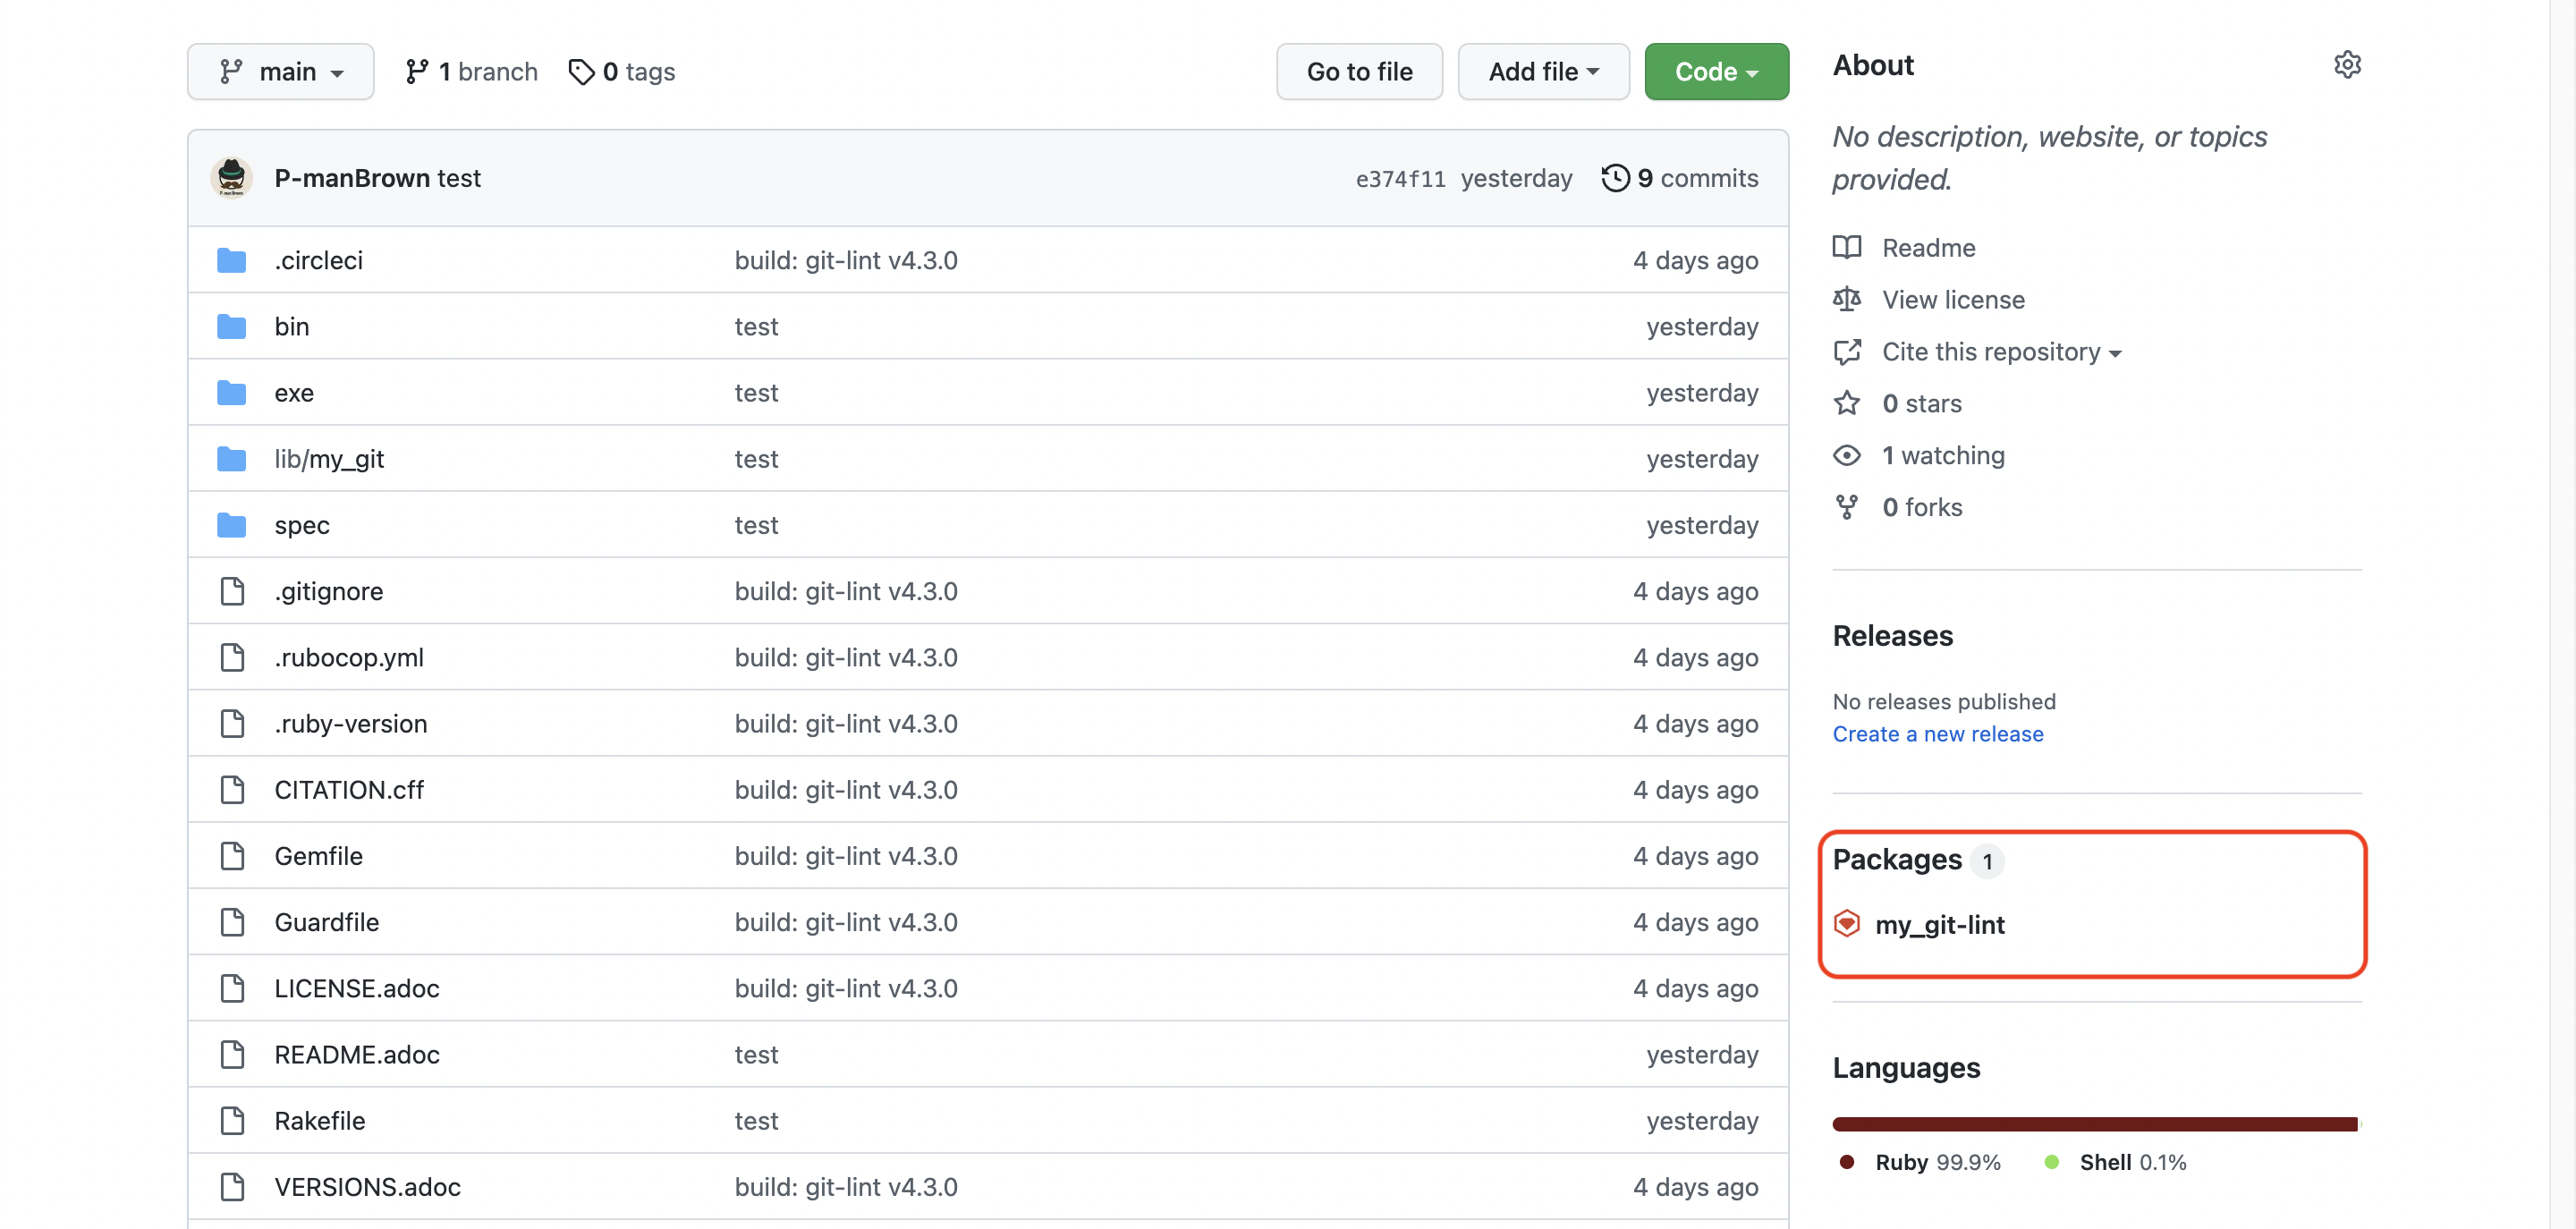
公開されているかGitHubで確認します。

image220730_084651.png

Gemをインストールする

上画像のパッケージ名をクリックするとインストール方法の記載されたページが表示されます。
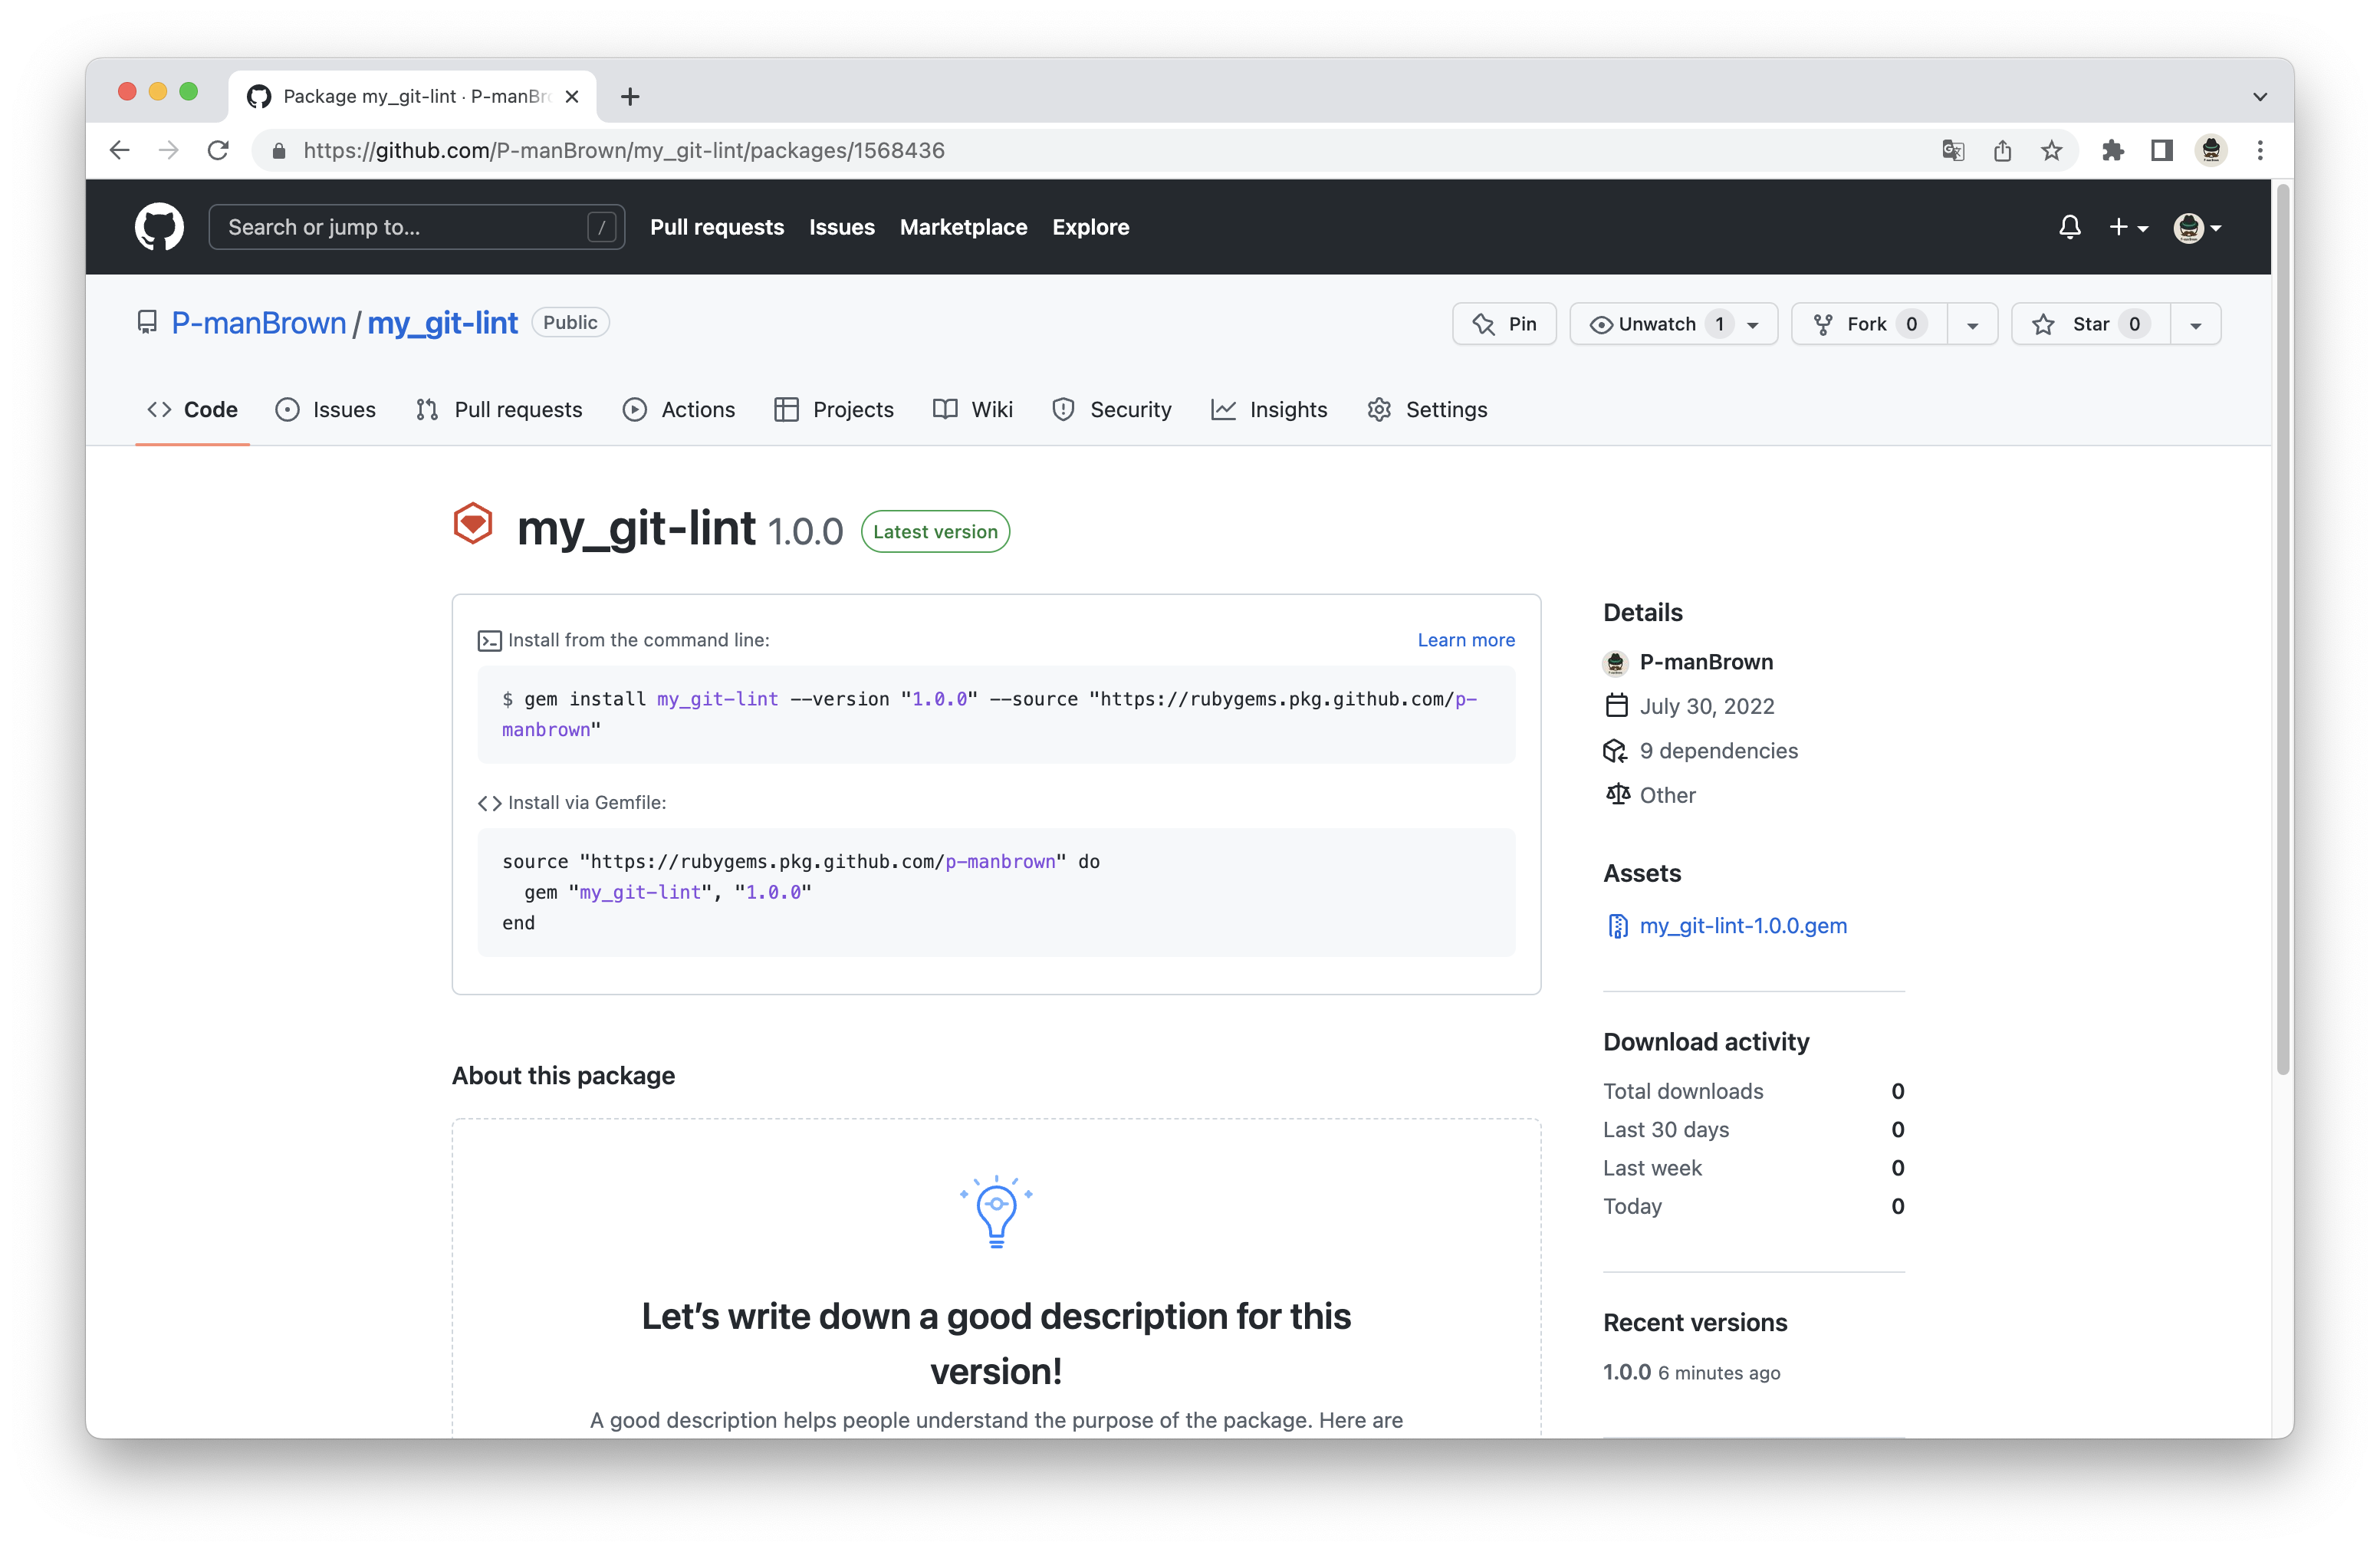
image220730_084831.png

このページの説明に従いインストールします。

0
0
0

Register as a new user and use Qiita more conveniently

  1. You get articles that match your needs
  2. You can efficiently read back useful information
  3. You can use dark theme
What you can do with signing up
0
0

Delete article

Deleted articles cannot be recovered.

Draft of this article would be also deleted.

Are you sure you want to delete this article?