Docker公式リファレンス
バージョン指定について
RailsもRubyもMySQLも基本「これから開発するよ!」って時はその時の最新版を指定すればokです。
・既存コードに関して改修をする
・保守する場合
時には、バージョンの変更はリスクなので、固定する方がよいらしいです。
・DockerhubにあるMySQLのimageはこちら
・DockerhubにあるRubyのimageはこちら
私の環境
% sw_vers
ProductName:    Mac OS X
ProductVersion: 10.15.7
BuildVersion:   19H524
作業の流れ
STEP1. 各種ファイルの用意
STEP2. rails new でアプリ作成
STEP3. イメージのビルド
STEP4. database.yml の設定と DB 接続
STEP5. コンテナ起動
STEP1. まずは必要ファイルを作っていきます。
プロジェクトファイルを新規作成 & その下に移動
mkdir projectfile && cd projectfile
必須6ファイルを一気に新規作成
touch Dockerfile docker-compose.yml Gemfile Gemfile.lock entrypoint.sh .env
※ここでターミナルで%lsで見てみても、.envファイルが見当たらないと思いますが、ちゃんと作られてるのでご安心を。
Dockerfileの編集
ここまでできたらvimでDockerfileを開いて以下をコピペ
vi Dockerfileで開けます。
※Dockerfile=Docker imageを作るための設計書
※Dockerfileのコマンドについては公式リファレンスのこちらを参照してください。
FROM ruby:3.0.1

ENV LANG C.UTF-8
ENV APP_ROOT /app

# install required libraries
RUN curl -sS https://dl.yarnpkg.com/debian/pubkey.gpg | apt-key add - && \
  echo "deb https://dl.yarnpkg.com/debian/ stable main" | tee /etc/apt/sources.list.d/yarn.list && \
  apt-get update -qq && \
  apt-get install -y --no-install-recommends \
  build-essential \
  nodejs \
  yarn && \
  apt-get clean && \
  rm --recursive --force /var/lib/apt/lists/*

# create working directory
RUN mkdir $APP_ROOT
WORKDIR $APP_ROOT

# bundle install
COPY Gemfile $APP_ROOT/Gemfile
COPY Gemfile.lock $APP_ROOT/Gemfile.lock
RUN bundle install --jobs 4 --retry 3

# create app in container
COPY . $APP_ROOT

# script to be executed every time the container starts
COPY entrypoint.sh /usr/bin/
RUN chmod +x /usr/bin/entrypoint.sh
ENTRYPOINT ["entrypoint.sh"]
EXPOSE 3000

# Start the main process
CMD ["rails", "server", "-b", "0.0.0.0"]
・curlコマンド=サーバから、もしくはサーバへデータ転送を行うコマンド
docker-compose.ymlの編集
version: '3.7'
services:
  db:
    image: mysql:8.0.20
    volumes:
      - mysql:/var/lib/mysql:delegated
    ports:
      - '3307:3306'
    command: --default-authentication-plugin=mysql_native_password
    env_file: .env

  web:
    build:
      context: .
      dockerfile: Dockerfile
    command: bash -c "rm -f tmp/pids/server.pid && bundle exec rails s -p 3000 -b '0.0.0.0'"
    tty: true
    stdin_open: true
    env_file: .env
    depends_on:
      - db
    ports:
      - '3000:3000'
    volumes:
      - .:/app:cached
      - bundle:/usr/local/bundle:delegated
      - node_modules:/app/node_modules
      - tmp-data:/app/tmp/sockets

volumes:
  mysql:
  bundle:
  node_modules:
  tmp-data:
Gemfileの編集
source 'https://rubygems.org'
gem 'rails', '6.1.3.1'
少なって感じだけど、
source 'https://rubygems.org'で大体必要なgem達は引っ張ってきてくれるみたいなので大丈夫。
.envファイルの編集
.envファイル=秘密鍵などを隠しておくためのファイルです。
MYSQL_ROOT_PASSWORD=password
TZ=Japan
entrypoint.shの編集
普通にdockerを立てると、pidsファイルになんらかの数字が書き込まれてしまってエラーの原因(この記事みたいな)になります。
なので、それを事前に防いでおくためのコードをこのentrypoint.shに記述しておきます。
# !/bin/bash
set -e

# Remove a potentially pre-existing server.pid for Rails.
rm -f /myapp/tmp/pids/server.pid

# Then exec the container's main process (what's set as CMD in the Dockerfile).
exec "$@"
STEP2. Docker上でrails new
docker-compose run --rm web rails new . --force --no-deps --database=mysql --skip-turbolinks --skip-test
docker-compose run --rm web bin/rails webpacker:install
(↑のコマンドdocker-compose run --rm web rails new . --force --no-deps --database=mysql --skip-turbolinks --skip-test --webpackerだけでできる気がする)
たくさんファイルができました!
 % ls
Dockerfile		config			package.json
Gemfile			config.ru		postcss.config.js
Gemfile.lock		db			public
README.md		docker-compose.yml	storage
Rakefile		entrypoint.sh		tmp
app			lib			vendor
babel.config.js		log			yarn.lock
bin			node_modules
STEP3. config/database.ymlを編集
↓のpasswordなどは任意で登録。
default: &default
  adapter: mysql2
  encoding: utf8mb4
  pool: <%= ENV.fetch("RAILS_MAX_THREADS") { 5 } %>
  username: <%= ENV.fetch('MYSQL_USERNAME') { 'root' } %>
  password: <%= ENV.fetch('MYSQL_PASSWORD') { 'password' } %>
  host: <%= ENV.fetch('MYSQL_HOST') { 'db' } %>

development:
  <<: *default
  database: rails_app_dev

test:
  <<: *default
  database: rails_app_test

production:
  <<: *default
  database: rails_app_prd
  username: app
  password: hoge
↑ここでusernameをappじゃなく、サービス名にしておくと吉。
なぜ修正するのか?
password : 後の手順で、DBを作成するがその時のrootユーザーのパスワードが必要
host : Dockerで作ったMySQLとのDBコンテナとWebコンテナが通信する必要があるため、docker-compose.ymlのservice名「db」で指定する
参照: 超丁寧なrails6 + MySQL on Dockerの環境構築 @zenn
Dockerイメージをビルドし、DB作成
docker-compose build
docker-compose run web bin/rails db:create
コンテナを起動
docker-compose up -d
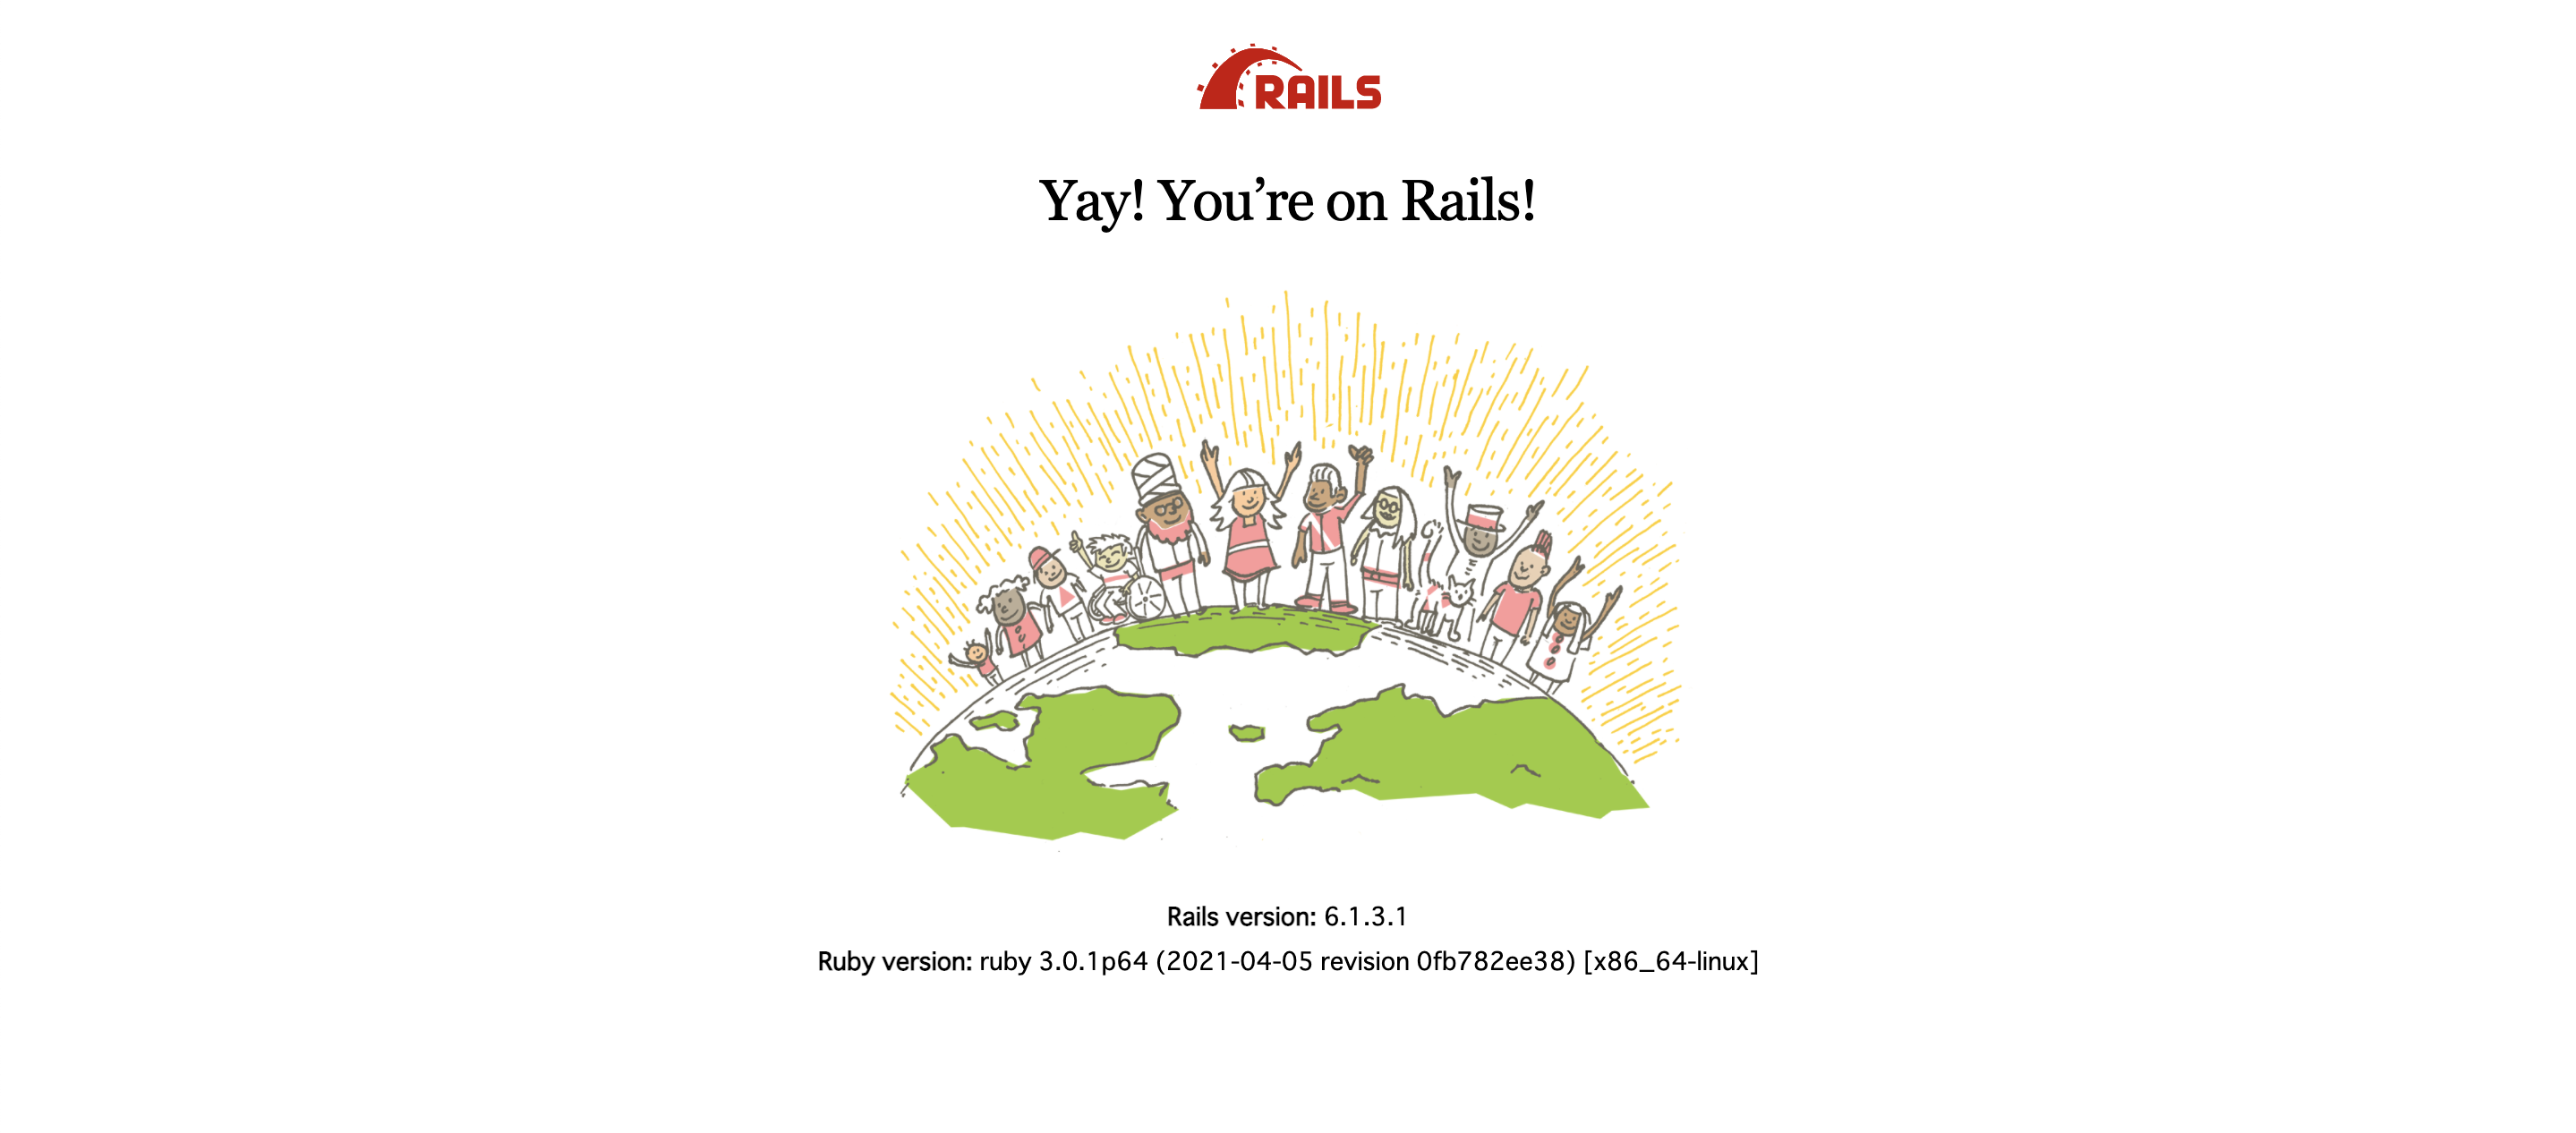
Your're on Rails!が出たら成功!
補足
docker上でRails開発をする時のコマンドたち
$ docker-compose run web bundle exec rails コマンド
モデルの作成
docker-compose run web bundle exec rails g model User
コントローラの作成
docker-compose run web bundle exec rails g controller Homepages index
docker-compose run web bundle exec rails g rspec:install
Docker上でMySQLに接続する方法
参考記事: 【Docker×MySQL】Docker環境下でMySQLコンテナに接続する方法(テーブル情報を確認)
docker psでdbコンテナの名前を確認。(※以下の場合は、上から2つめのコンテナのproject_file_db_1が名前)
% docker ps
CONTAINER ID   IMAGE               COMMAND                  CREATED          STATUS          PORTS                               NAMES
7de3cc82f8db   project_file_web    "entrypoint.sh bash …"   14 minutes ago   Up 14 minutes   0.0.0.0:3000->3000/tcp              project_file_web_1
026f77ef5f58   mysql:8.0.20        "docker-entrypoint.s…"   2 hours ago      Up 2 hours      33060/tcp, 0.0.0.0:3307->3306/tcp   project_file_db_1
以下のコマンドでMySQLコンテナに接続(project_file_db_1の所は各自のDBコンテナ名にしてください)
前述した
% docker exec -it project_file_db_1 bash
root@026f77ef5f58:/#
接続できたらMySQLにアクセス。
root@026f77ef5f58:/#mysql -u root -p
Enter password:
ERROR 1045 (28000): Access denied for user 'root'@'localhost' (using password: NO)
root@026f77ef5f58:/#
