はじめに
本記事では、Mac(Apple Silicon / Intel)で Flutter の開発環境をゼロからセットアップする手順をclaudeに手伝ってもらいましてまとめています。
実際のセットアップ作業で遭遇したエラーと解決策も合わせて紹介します。
対象環境
- macOS(Apple Silicon 含む)
- iOS・Android 両プラットフォームへの対応
1. 事前準備
Homebrew のインストール
/bin/bash -c "$(curl -fsSL https://raw.githubusercontent.com/Homebrew/install/HEAD/install.sh)"
Xcode のインストール
App Store から Xcode をインストール後、コマンドラインツールを有効化します。
sudo xcode-select --switch /Applications/Xcode.app/Contents/Developer

sudo xcodebuild -runFirstLaunch
2. Flutter のインストール
Homebrew でインストール(推奨)
brew install --cask flutter
パスを通す(手動インストールの場合)
echo 'export PATH="$PATH:/path/to/flutter/bin"' >> ~/.zshrc

source ~/.zshrc
3. 環境チェック
flutter doctor
不足しているものが一覧表示されます。以下の手順で順番に対応します。
4. Android 開発環境のセットアップ
Android Studio のインストール
brew install --cask android-studio
インストール後に Android Studio を起動し、セットアップウィザードで以下をインストールします。
- Android SDK
- Android SDK Platform
- Android Virtual Device
SDK のパスを Flutter に設定
flutter config --android-sdk ~/Library/Android/sdk
SDK Command-line Tools のインストール
flutter doctor で以下のエラーが出た場合:
Android sdkmanager not found. Update to the latest Android SDK and ensure
that the cmdline-tools are installed to resolve this.
Android Studio の SDK Manager から追加インストールします。
- Android Studio を開く
-
Settings→Languages & Frameworks→Android SDK -
SDK Toolsタブに切り替え - 以下にチェックを入れて
Apply- ✅ Android SDK Command-line Tools (latest)
- ✅ Android SDK Build-Tools
- ✅ Android SDK Platform-Tools
ライセンスに同意
flutter doctor --android-licenses
表示される Accept? (y/N) にすべて y で回答します。
5. CocoaPods のインストール
iOS プラグインを利用するために必要です。
brew install cocoapods
確認
pod --version
バージョン番号が表示されれば OK です。
6. 環境チェックの最終確認
flutter doctor
すべての項目が [✓] になれば完了です。
No issues found!
7. プロジェクトの作成と実行
プロジェクト作成
flutter create my_app

cd my_app
利用可能なデバイスを確認
flutter devices
アプリを起動
flutter run
iPhone実機を繋げて起動

無事起動しました!

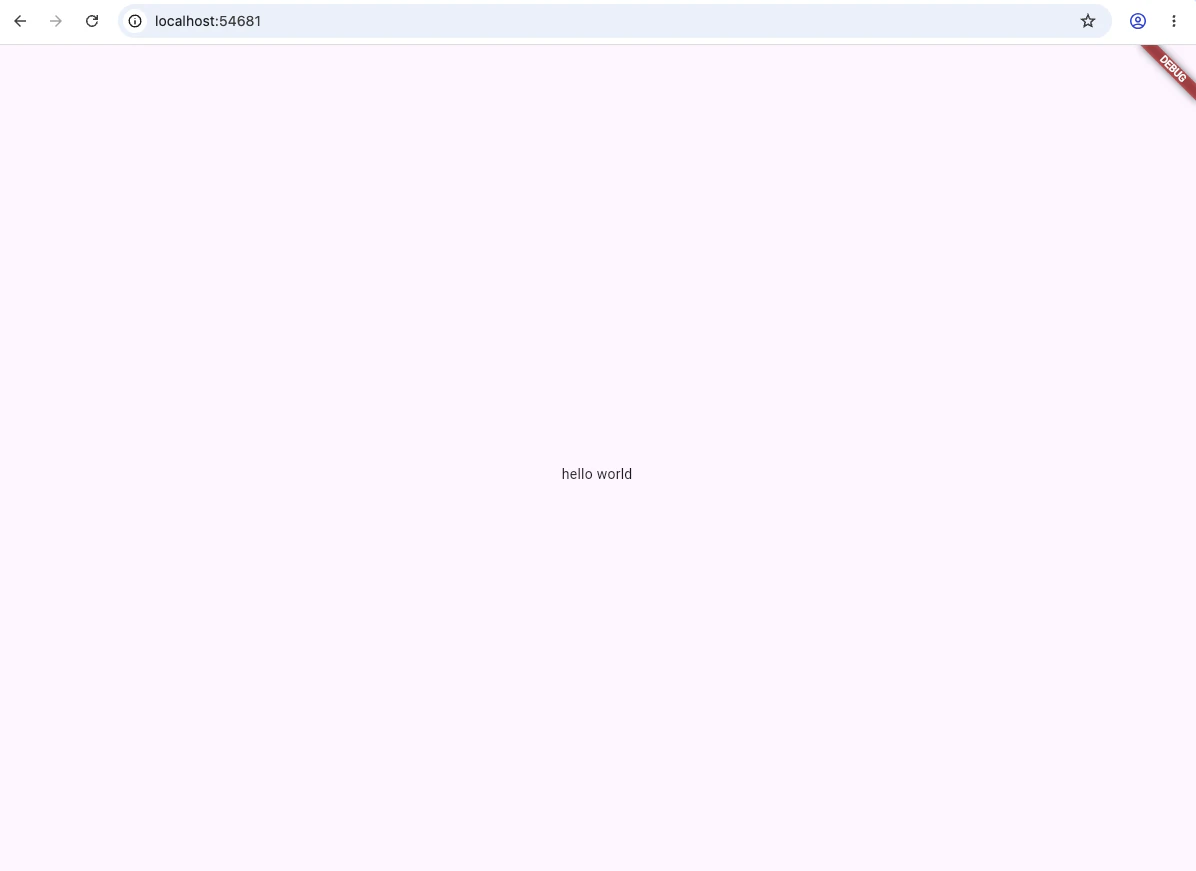
iPhone実機を繋げないで起動
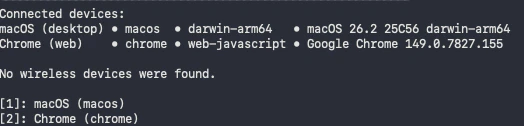
[2]: Chrome をチョイスして、Chromeでも起動できてしまいます!
よくあるエラーと解決策
Bundle Identifier の競合(実機ビルド時)
Error (Xcode): Failed Registering Bundle Identifier
The app identifier "com.example.myApp" cannot be registered to your development team
because it is not available.
デフォルトの com.example.myApp は世界中で使われているため重複しています。 Xcode で一意の Bundle Identifier に変更します。
open ios/Runner.xcworkspace
- 左ペインの
Runnerを選択 -
Signing & Capabilitiesタブをクリック -
Bundle Identifierを変更する(例:jp.yourname.myApp) -
Teamに自分の Apple ID を設定
変更後に flutter run を再実行します。
Rosetta エラー(Apple Silicon Mac)
Error: Flutter failed to run iproxy.
The binary was built with the incorrect architecture to run on this machine.
If you are on an ARM Apple Silicon Mac, Flutter requires the Rosetta translation
environment. Try running:
sudo softwareupdate --install-rosetta --agree-to-license
Apple Silicon Mac では Rosetta が必要な場合があります。
sudo softwareupdate --install-rosetta --agree-to-license
インストール後に flutter run を再実行します。
まとめ
Flutter のセットアップは以下の流れで完了します。
| ステップ | コマンド |
|---|---|
| Flutter インストール | brew install --cask flutter |
| 環境チェック | flutter doctor |
| Android SDK パス設定 | flutter config --android-sdk ~/Library/Android/sdk |
| ライセンス同意 | flutter doctor --android-licenses |
| CocoaPods インストール | brew install cocoapods |
| プロジェクト作成 | flutter create my_app |
| アプリ起動 | flutter run |
flutter doctor で No issues found! が表示されれば、開発を始める準備が整っています。