はじめに
Axmol Engine(Cocos2d-x の後継フォーク)で作成したプロジェクトを、Android Studio のエミュレータで動作確認する手順を解説します。
前提
- Axmol Engine がインストール済みで
AX_ROOT環境変数が設定されている - Android Studio がインストール済み
- Apple Silicon Macを使用
参考記事
1. AX_ROOT 環境変数を通してAndroid Studio でプロジェクトを開く
プロジェクトの settings.gradle は Axmol エンジンの場所を AX_ROOT 環境変数から取得します。
// settings.gradle(抜粋)
def folder = new File("${settingsDir}/../axmol")
if (folder.exists()) {
    System.setProperty("AX_ROOT", folder.path)
} else {
    System.setProperty("AX_ROOT", "${System.env.AX_ROOT}")  // ← 環境変数を参照
}
Android Studio を Dock やランチャーから起動するとシェルの環境変数が引き継がれないため、ターミナルから起動するのが確実です。
open -a "Android Studio" /path/to/EscapeGame/proj.android
2. エミュレータの用意
gradle.properties でビルド対象のアーキテクチャが決まります。
# gradle.properties
__1K_ARCHS=arm64-v8a
arm64-v8a のみ指定しているため、ARM64 のエミュレータが必要です。Apple Silicon Mac では ARM64 エミュレータがネイティブ動作するためパフォーマンスも良好です。
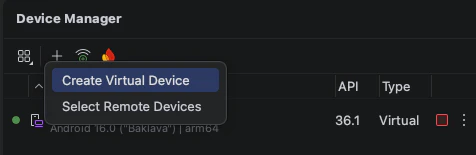
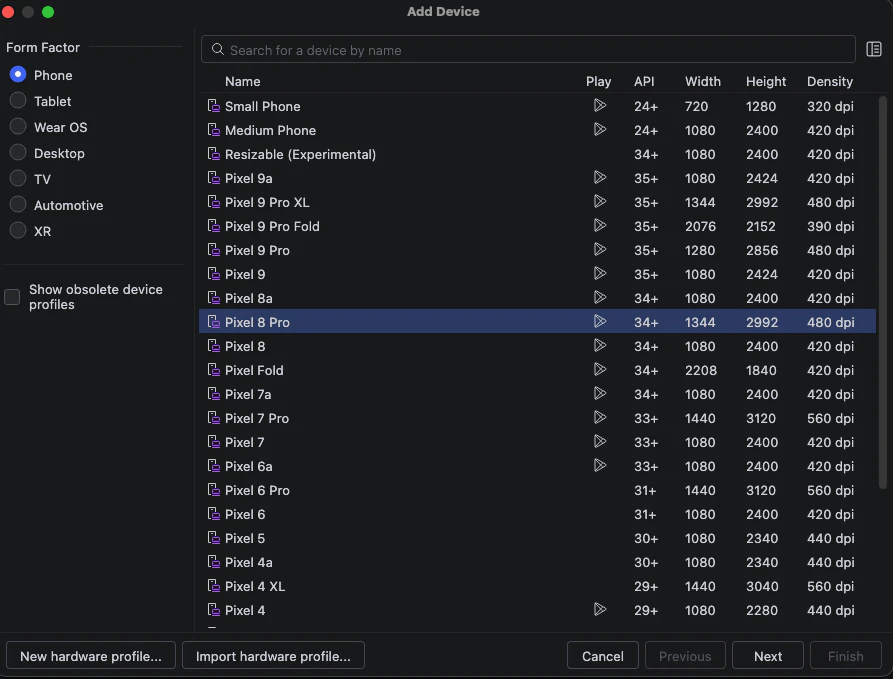
Device Manager → Create Virtual Device で ARM64 のシステムイメージを選択します。
- ハードウェア:Pixel 8 など(任意)
- システムイメージ:API 34 以降の arm64-v8a イメージ
Device Manager

3. ビルドして実行
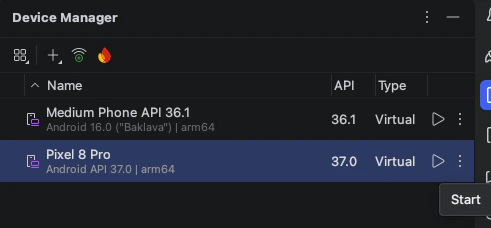
Gradle Sync が完了したら、作成したエミュレータを選択して ▶ Run ボタンを押します。
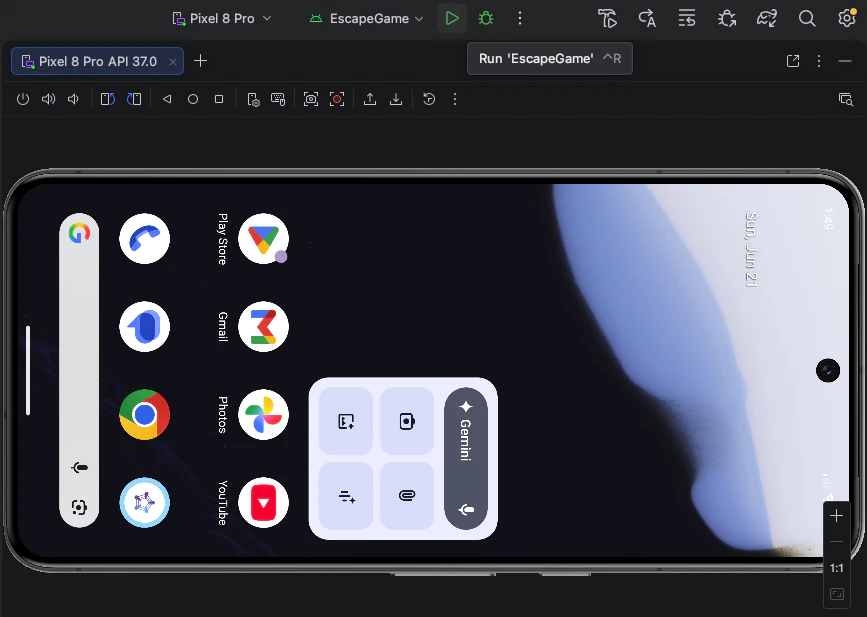
上部の緑線の ▶ をクリック
Content フォルダの画像は Gradle タスクによって自動的に assets にコピーされます。
// app/build.gradle(抜粋)
tasks.register("copy${variantName}ContentToAssets") {
    doLast {
        copy {
            from "${projectDir}/../../Content"   // ← EscapeGame/Content/
            into "${projectDir}/build/assets"
        }
    }
}
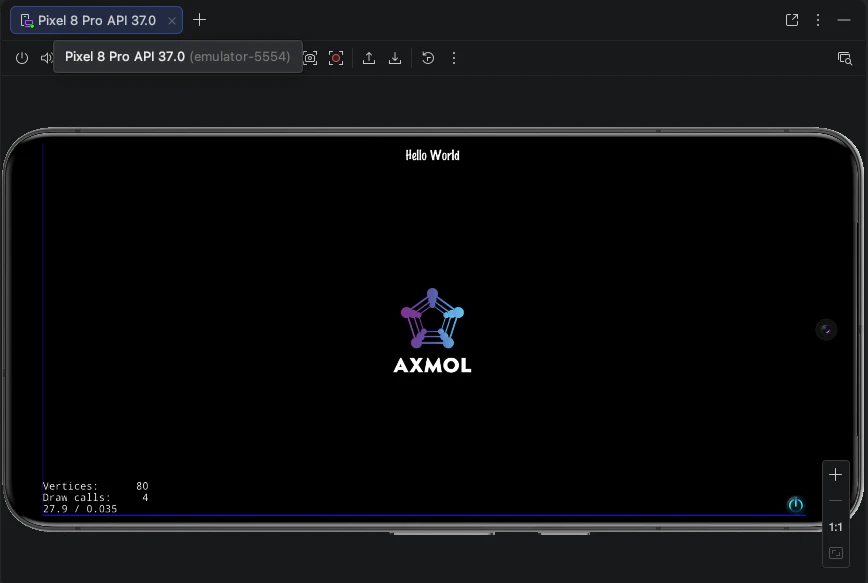
無事エミュレーター上でaxmol engine によるゲームアプリが起動しました!
x86_64 エミュレータを使いたい場合
標準的な x86_64 エミュレータしかない場合は __1K_ARCHS に追加します。
# gradle.properties
__1K_ARCHS=arm64-v8a:x86_64
ビルド時間は増えますが、x86_64 エミュレータでも動作するようになります。
まとめ
| 手順 | ポイント |
|---|---|
| プロジェクトを開く |
proj.android フォルダごと開く |
| 環境変数を通す | ターミナルから open -a "Android Studio" で起動 |
| エミュレータ |
arm64-v8a イメージを用意(Apple Silicon なら高速) |
| x86_64 の場合 |
gradle.properties の __1K_ARCHS に追加 |