はじめに
公式に例を参考にして、既に作ったWebアプリをデスクトップアプリ化してみました。公式チュートリアルで作ったものを例にして書いていきたいと思います。
とりあえずデスクトップアプリ化するのいう感じで、そのまま機能を全部使えるとは限らず、追加で色々な実装が必要になると思いますが、少しでも役立てたら嬉しいです。
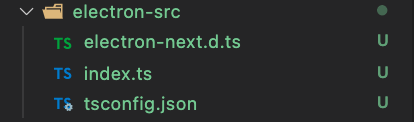
今回は下の画像のようにsrcディレクトリにpagesやcomponentsディレクトリが入っている構成でやっていきたいと思います。

作成したリポジトリ:https://github.com/NozomuTsuruta/my-blog
導入
まず、以下のコマンドで必要なpackageをインストールします。
## npm
npm install electron-is-dev electron-next
npm install --save-dev electron electron-builder

## yarn
yarn add electron-is-dev electron-next
yarn add -D electron electron-builder
Electron用のファイル作成
その後、以下のようにelectron-srcに3つのファイルを作成します。
electron-nextの型定義ファイル↓
electron-src/electron-next.d.ts
declare module "electron-next" {
  interface Directories {
    production: string;
    development: string;
  }

  export default function (
    directories: Directories | string,
    port?: number
  ): Promise<void>;
}
windowを開く、閉じる時の設定や処理↓
electron-src/index.ts
import { join } from "path";
import { format } from "url";
import { BrowserWindow, app, shell } from "electron";
import isDev from "electron-is-dev";
import prepareNext from "electron-next";

app.on("ready", async () => {
  await prepareNext(".");

  const mainWindow = new BrowserWindow({
    width: 1000,
    height: 800,
    webPreferences: {
      nodeIntegration: false,
      preload: join(__dirname, "preload.ts"),
    },
  });

  mainWindow.webContents.on("new-window", (event, url) => {
    event.preventDefault();
    shell.openExternal(url);
  });

  const url = isDev
    ? "http://localhost:8000/"
    : format({
        pathname: join(__dirname, "../out/index.html"),
        protocol: "file:",
        slashes: true,
      });

  mainWindow.loadURL(url);
});

app.on("window-all-closed", app.quit);
設定はお好みで↓
electron-src/tsconfig.json
{
  "compilerOptions": {
    "allowJs": true,
    "alwaysStrict": true,
    "esModuleInterop": true,
    "forceConsistentCasingInFileNames": true,
    "isolatedModules": true,
    "jsx": "preserve",
    "lib": ["dom", "es2017"],
    "module": "commonjs",
    "moduleResolution": "node",
    "noEmit": false,
    "noFallthroughCasesInSwitch": true,
    "noUnusedLocals": true,
    "noUnusedParameters": true,
    "resolveJsonModule": true,
    "skipLibCheck": true,
    "strict": true,
    "target": "esnext",
    "outDir": "../main"
  },
  "exclude": ["node_modules"],
  "include": ["**/*.ts", "**/*.tsx", "**/*.js"]
}
package.jsonに追加
MyAppの部分はアプリ名です。
次にpackage.jsonに以下を追加
package.json
{
  ...
  "productName": "MyApp"
  "main": "main/index.js",
  "scripts": {
   ...
    "dev-electron": "tsc -p electron-src && electron .",
    "dist": "next build && next export && tsc -p electron-src && electron-builder"
  },
  ...
}
一応アプリアイコンはこんな書き方で変更できます↓
package.json
{
  ...
  "build": {
    "mac": {
      "icon": "./public/icons/icon.icns",
      "target": [
        "dmg"
      ]
    },
    "win": {
      "icon": "./public/icons/icon.ico",
      "target": "msi"
    }
  }
}
.gitignoreにmainとdistを追加しておきましょう
.gitignore
/main
/dist
作成
最後に以下のコマンドを実行します。Windowsのアプリを作りたい場合は後ろに--win --x64をつけます。
## npm
npm dist

## yarn
yarn dist
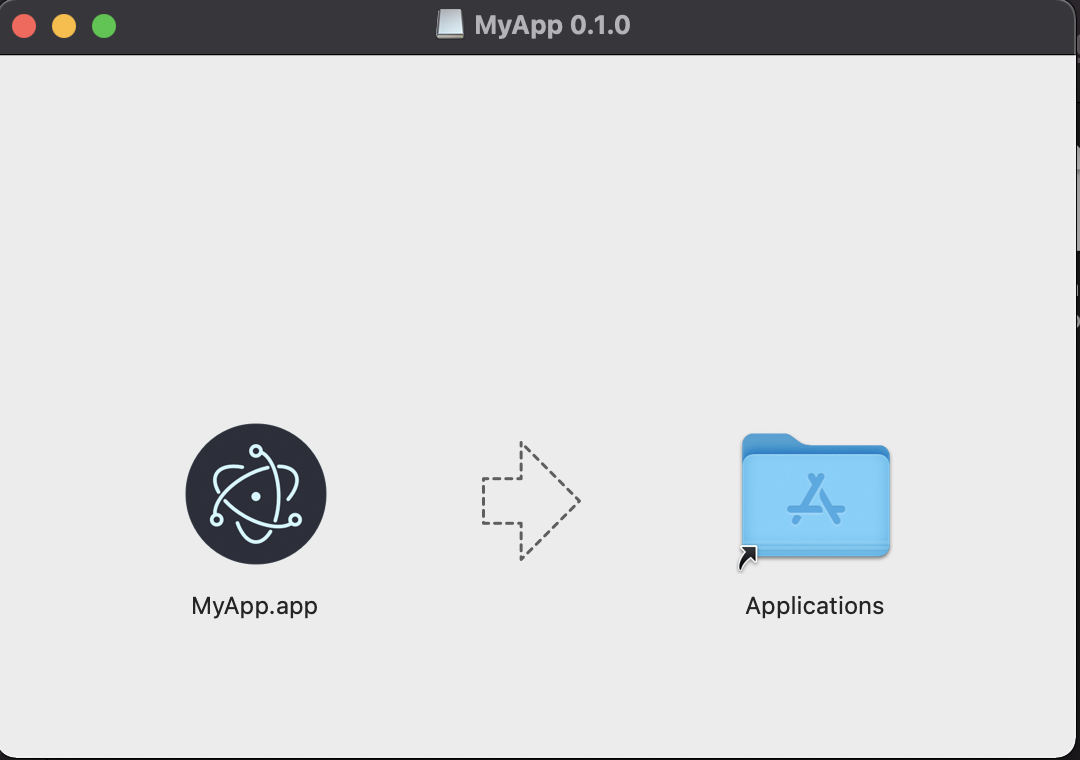
Finderなどからdmgファイル(windowsはフォルダーからexeファイル)を開くとインストールできます!
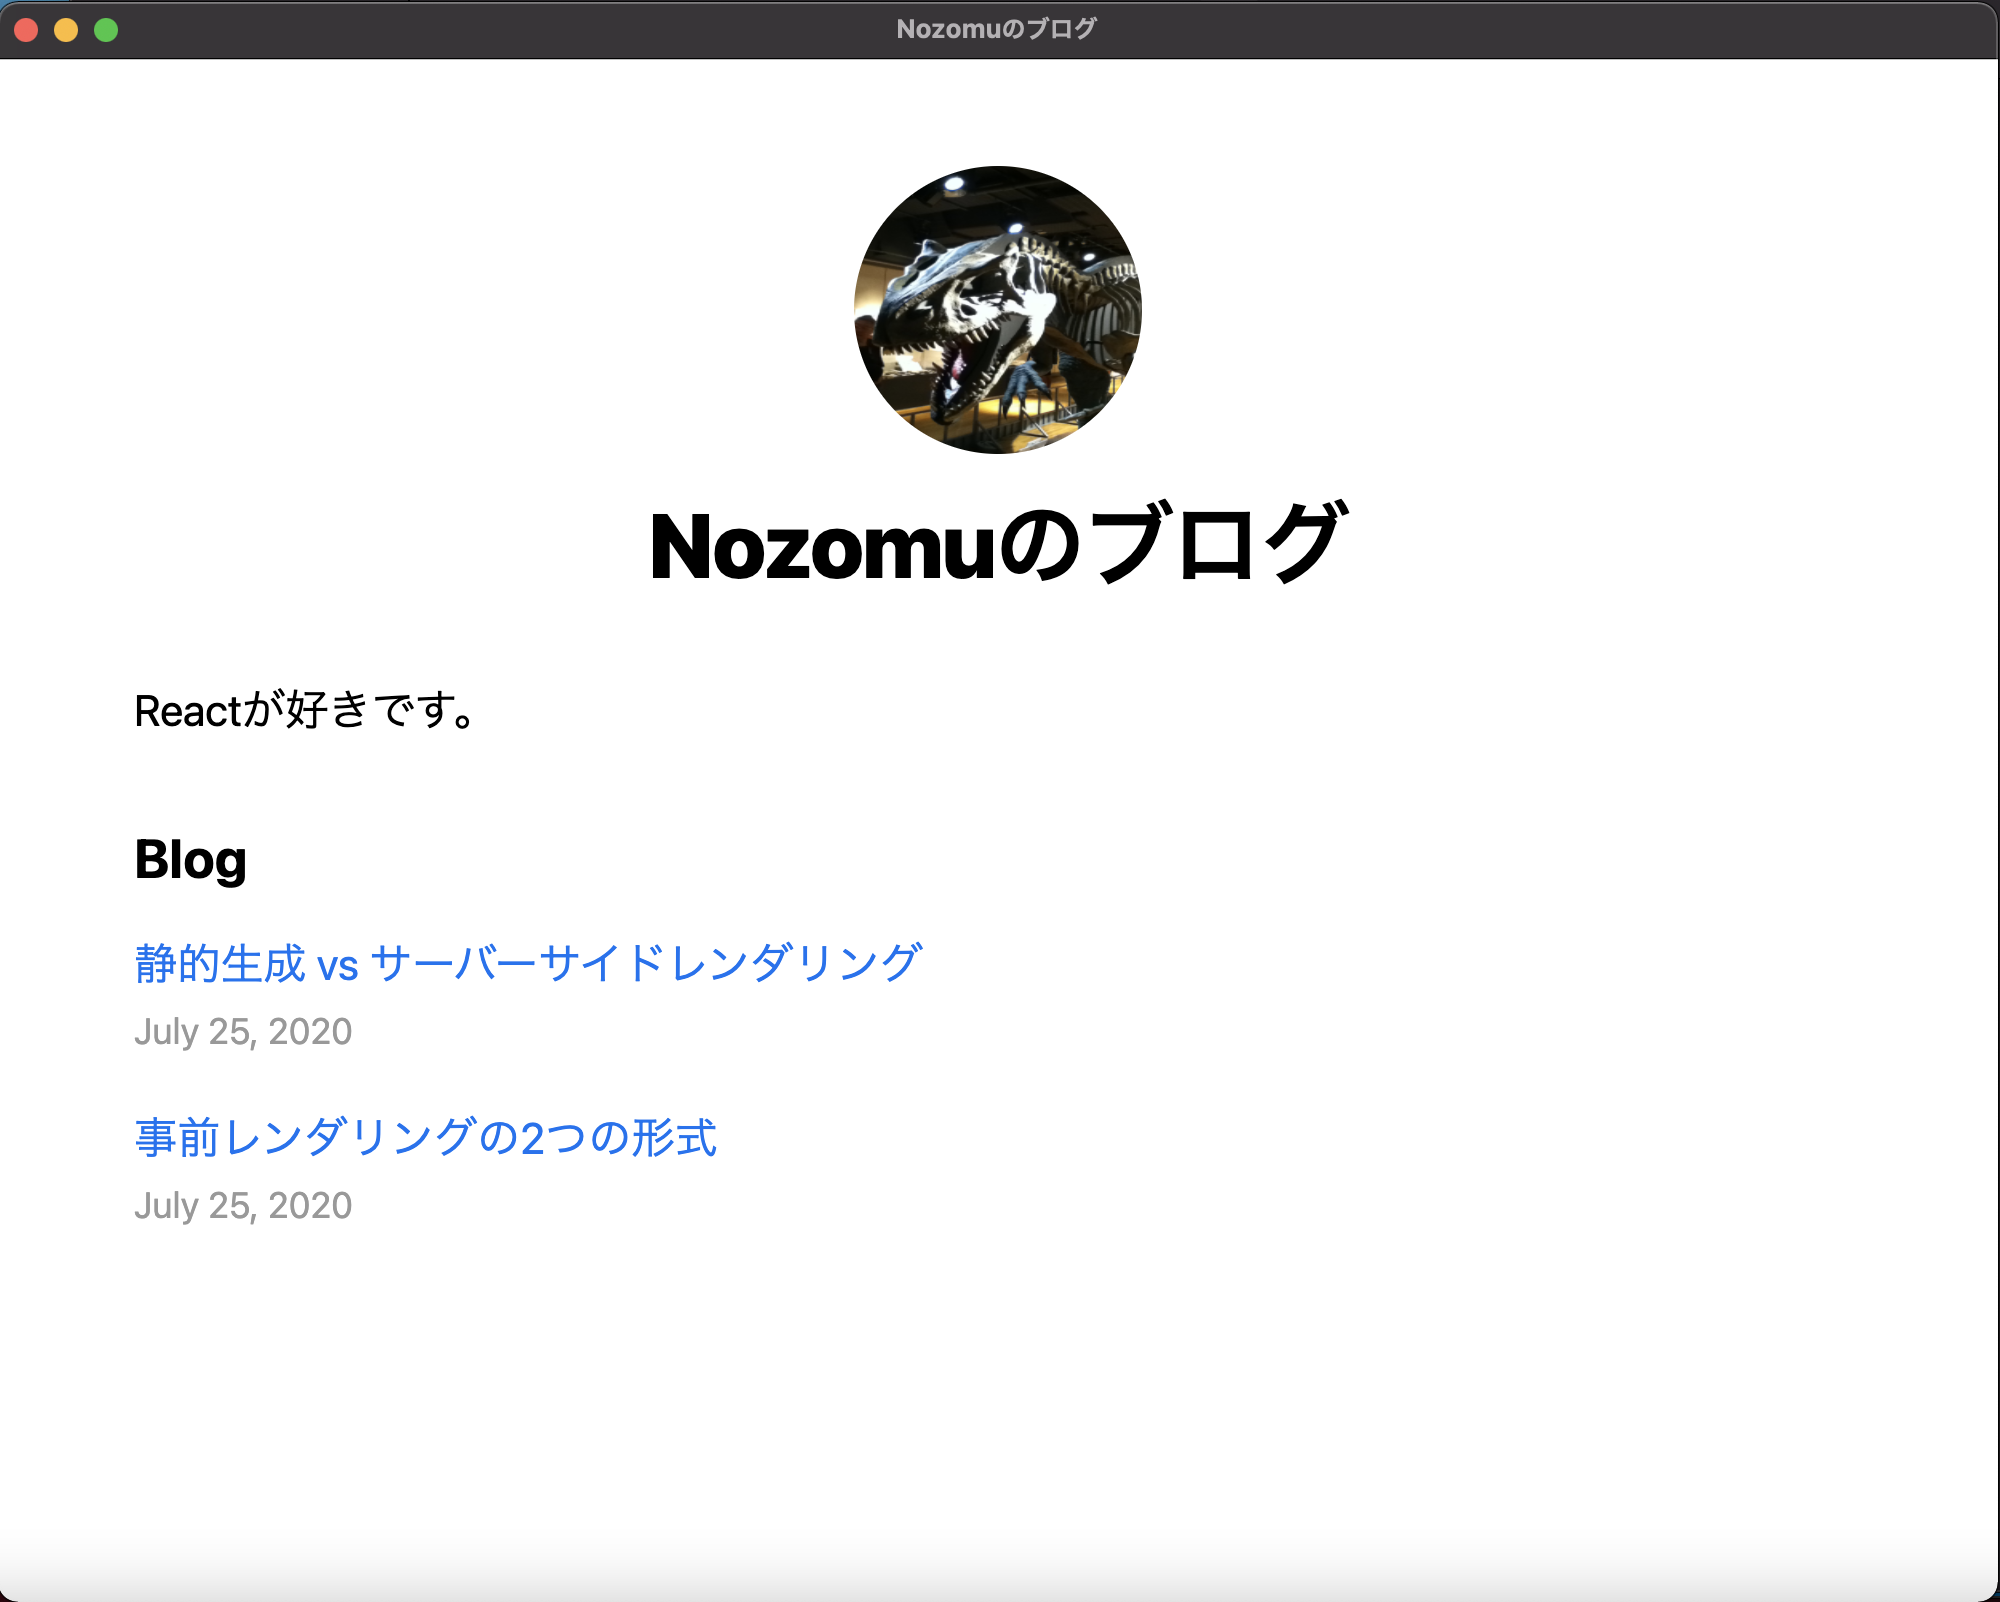
アプリケーションから開くとこんな感じになりました!
最後に
ここまで読んでいただきありがとうございます!私自身Electronに関しての知識がまだまだ浅いので詳しく説明できなかった部分が多いのでもう少し学習を進めていきたいと思います。少しでもお役に立てれば嬉しいです!