Amazon Location ServiceにAPI Keyという機能のPreviewが来たという情報をTwitterから得たので試してみたっていう記事です
しかし、過去の課題点と今回の変更による恩恵などについては「おわりに」で書かせていただいていますので、コードなんてどうでもいいんだよ!ってひとはそちらをご確認ください。
はじめに
今回はAPI Keyに関して試してみようっていう記事なので、Amazon Location Service(以降 ALS)とAmazon Web Service(以降 AWS)、Amplifyに関して説明しません。
代わりと言ってはなんですが、以下の記事をご参照ください。
また、今回はHEREが提供している HERE Explore という地図スタイルを利用させていただきますが、こちらについても解説しませんので以下の記事をご参照ください。
以降全てのAttribute表記のない地図画像のAttribute表記は ©︎ 2021 HERE です。
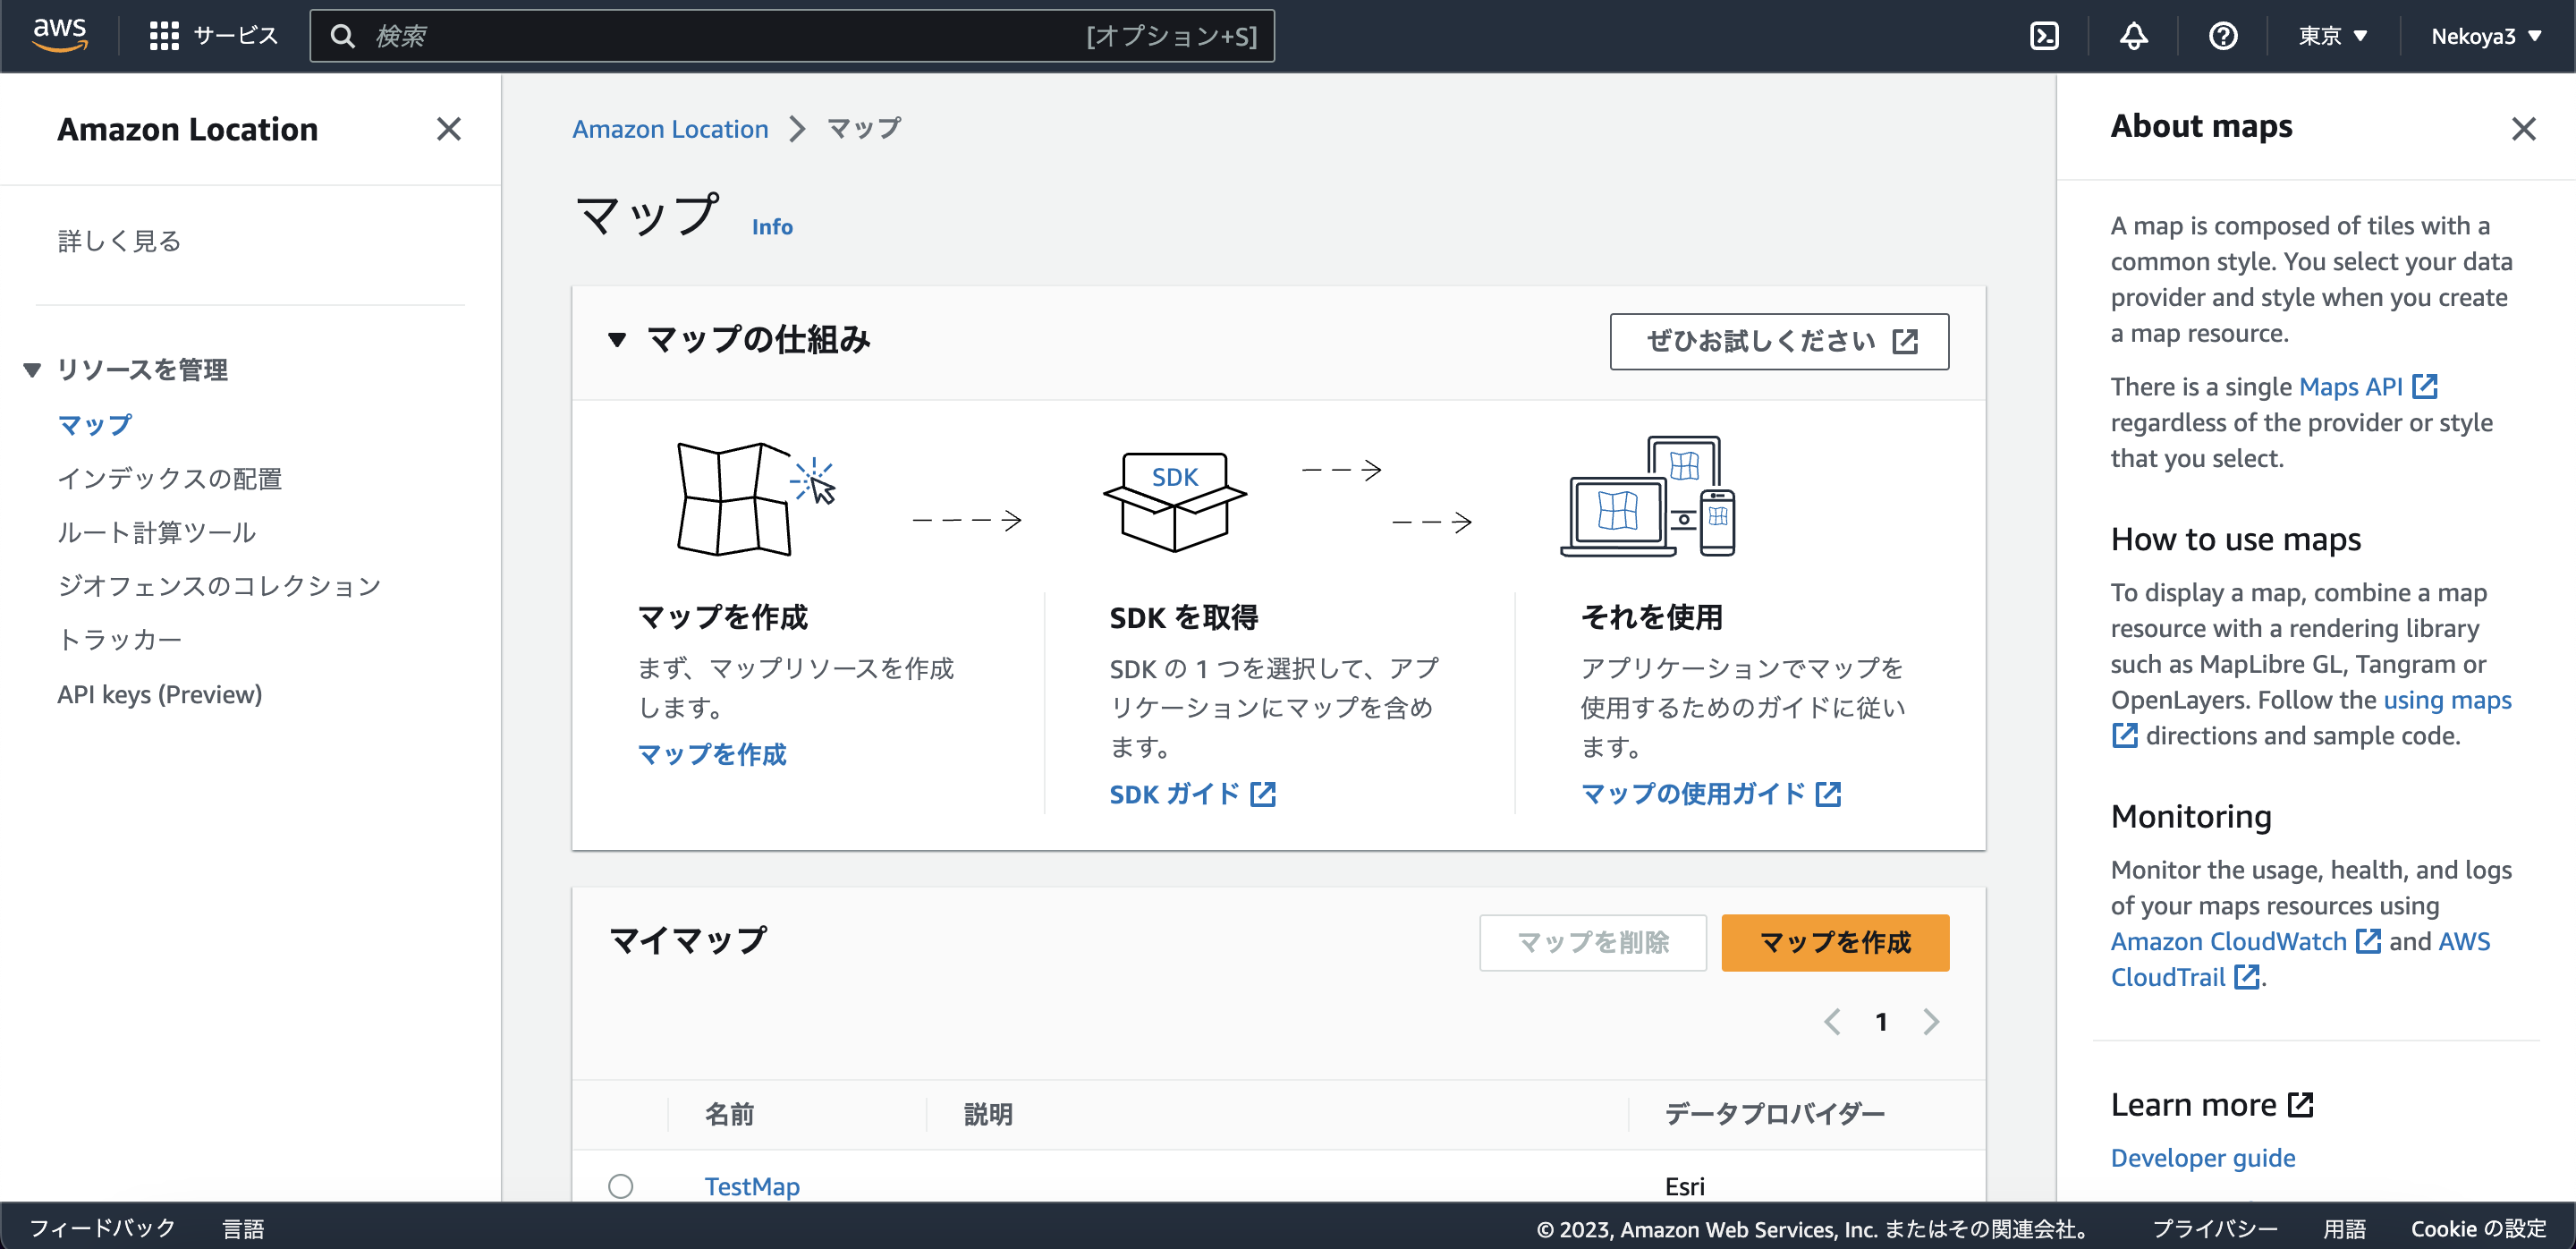
ALS上でマップを作成する
ALSのトップページからマップというページに移動します。 (https://console.aws.amazon.com/location/maps/home)
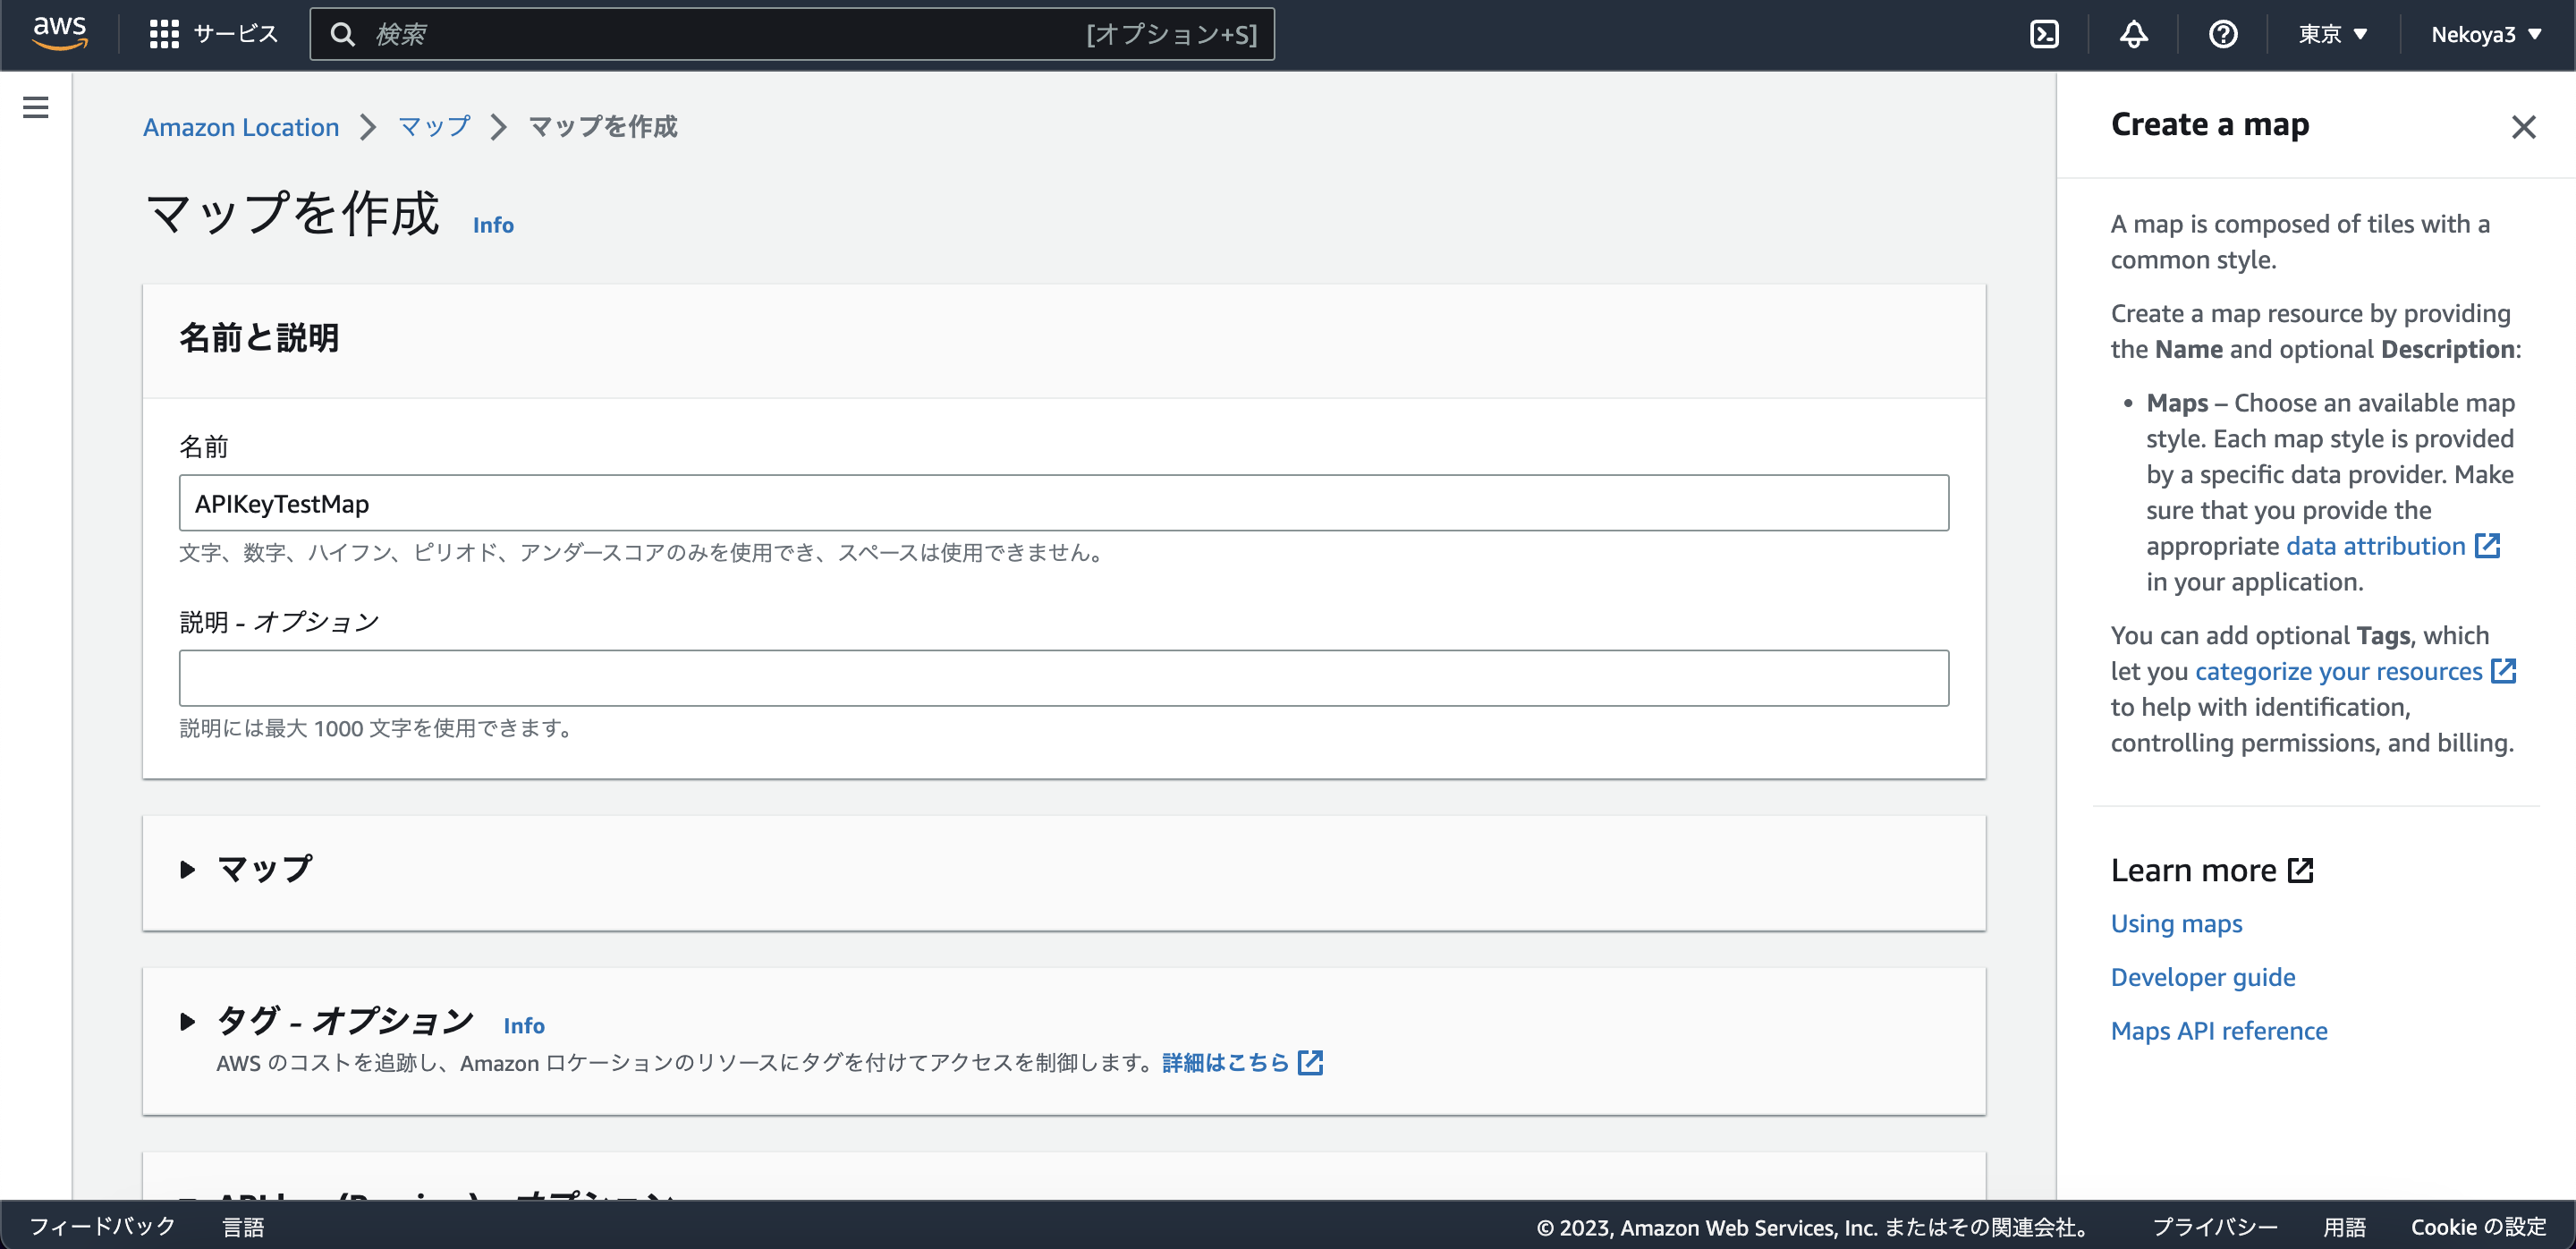
マップを作成に移動して名前・説明・好きな地図スタイルを選択します。今回は
- 名前: APIKeyTestMap
- 説明: (なし)
- マップ: HERE Explore
- タグ: (設定なし)
にします。
下にスクロールするとAPIKeyの設定のアコーディオンメニューがあるので、「API キーを作成する」を選択し、API キー名に好きな名前を、リファラーに実際に利用するURLを入力します。今回は
- 名前: APIKeyTestLocal
- リファラー:
http://localhost:5173/*(Viteを使うため5173にしています)
に設定します。
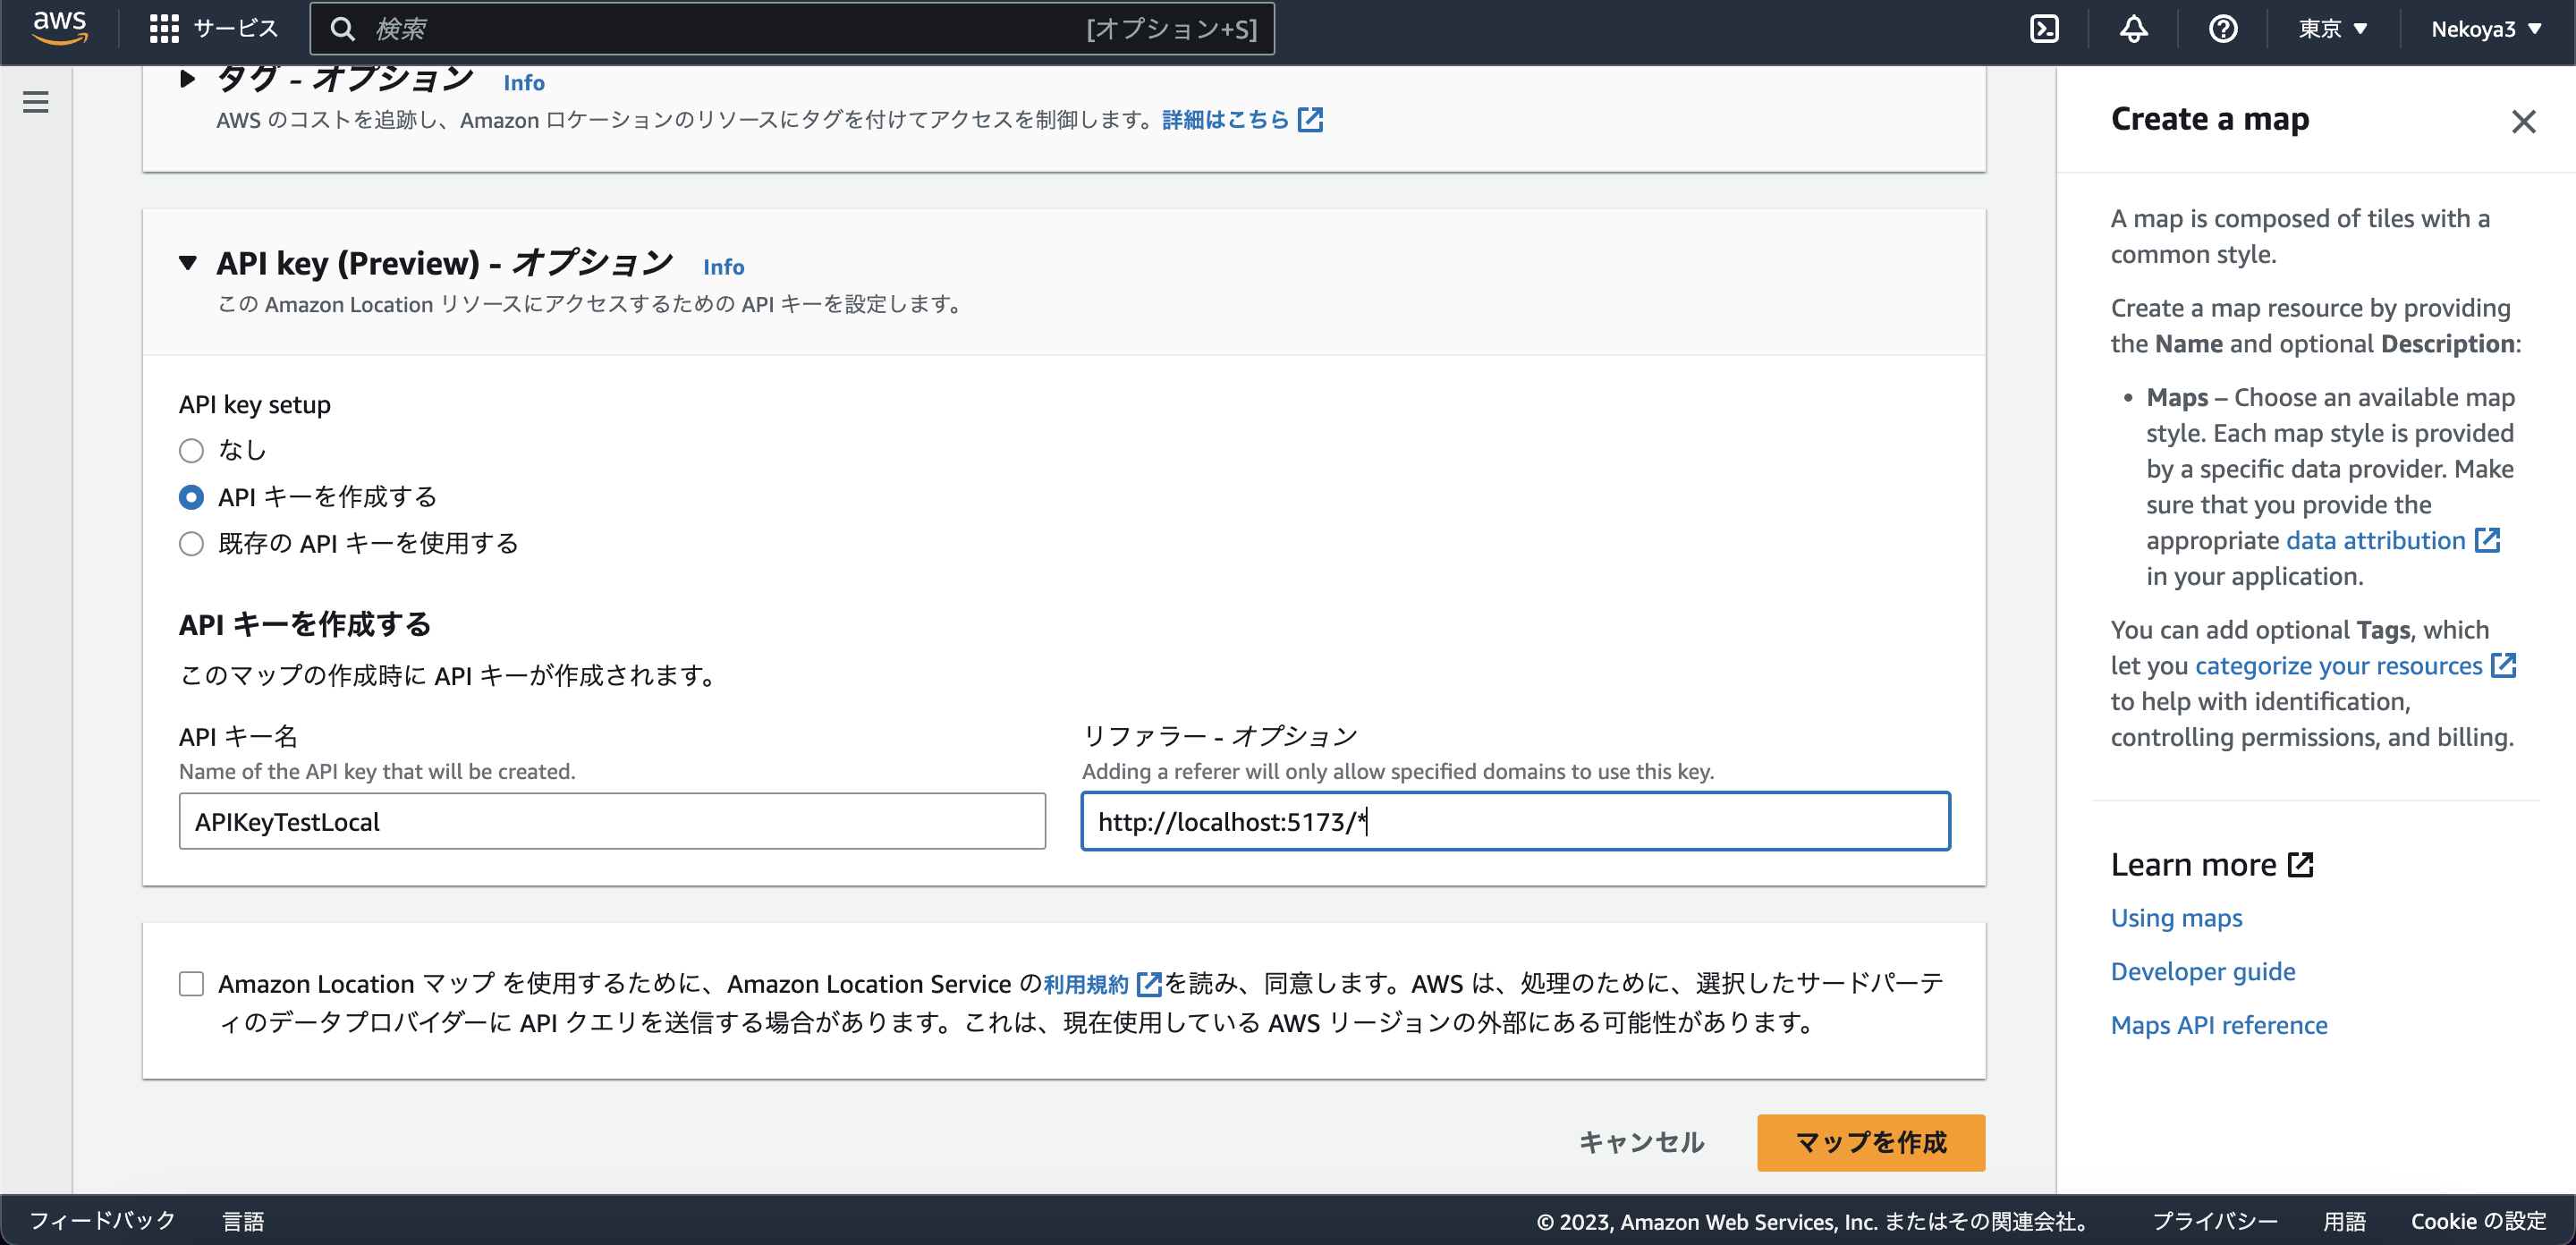
利用規約・情報の外部提供の同意にチェックを入れて、マップを作成をクリックします。
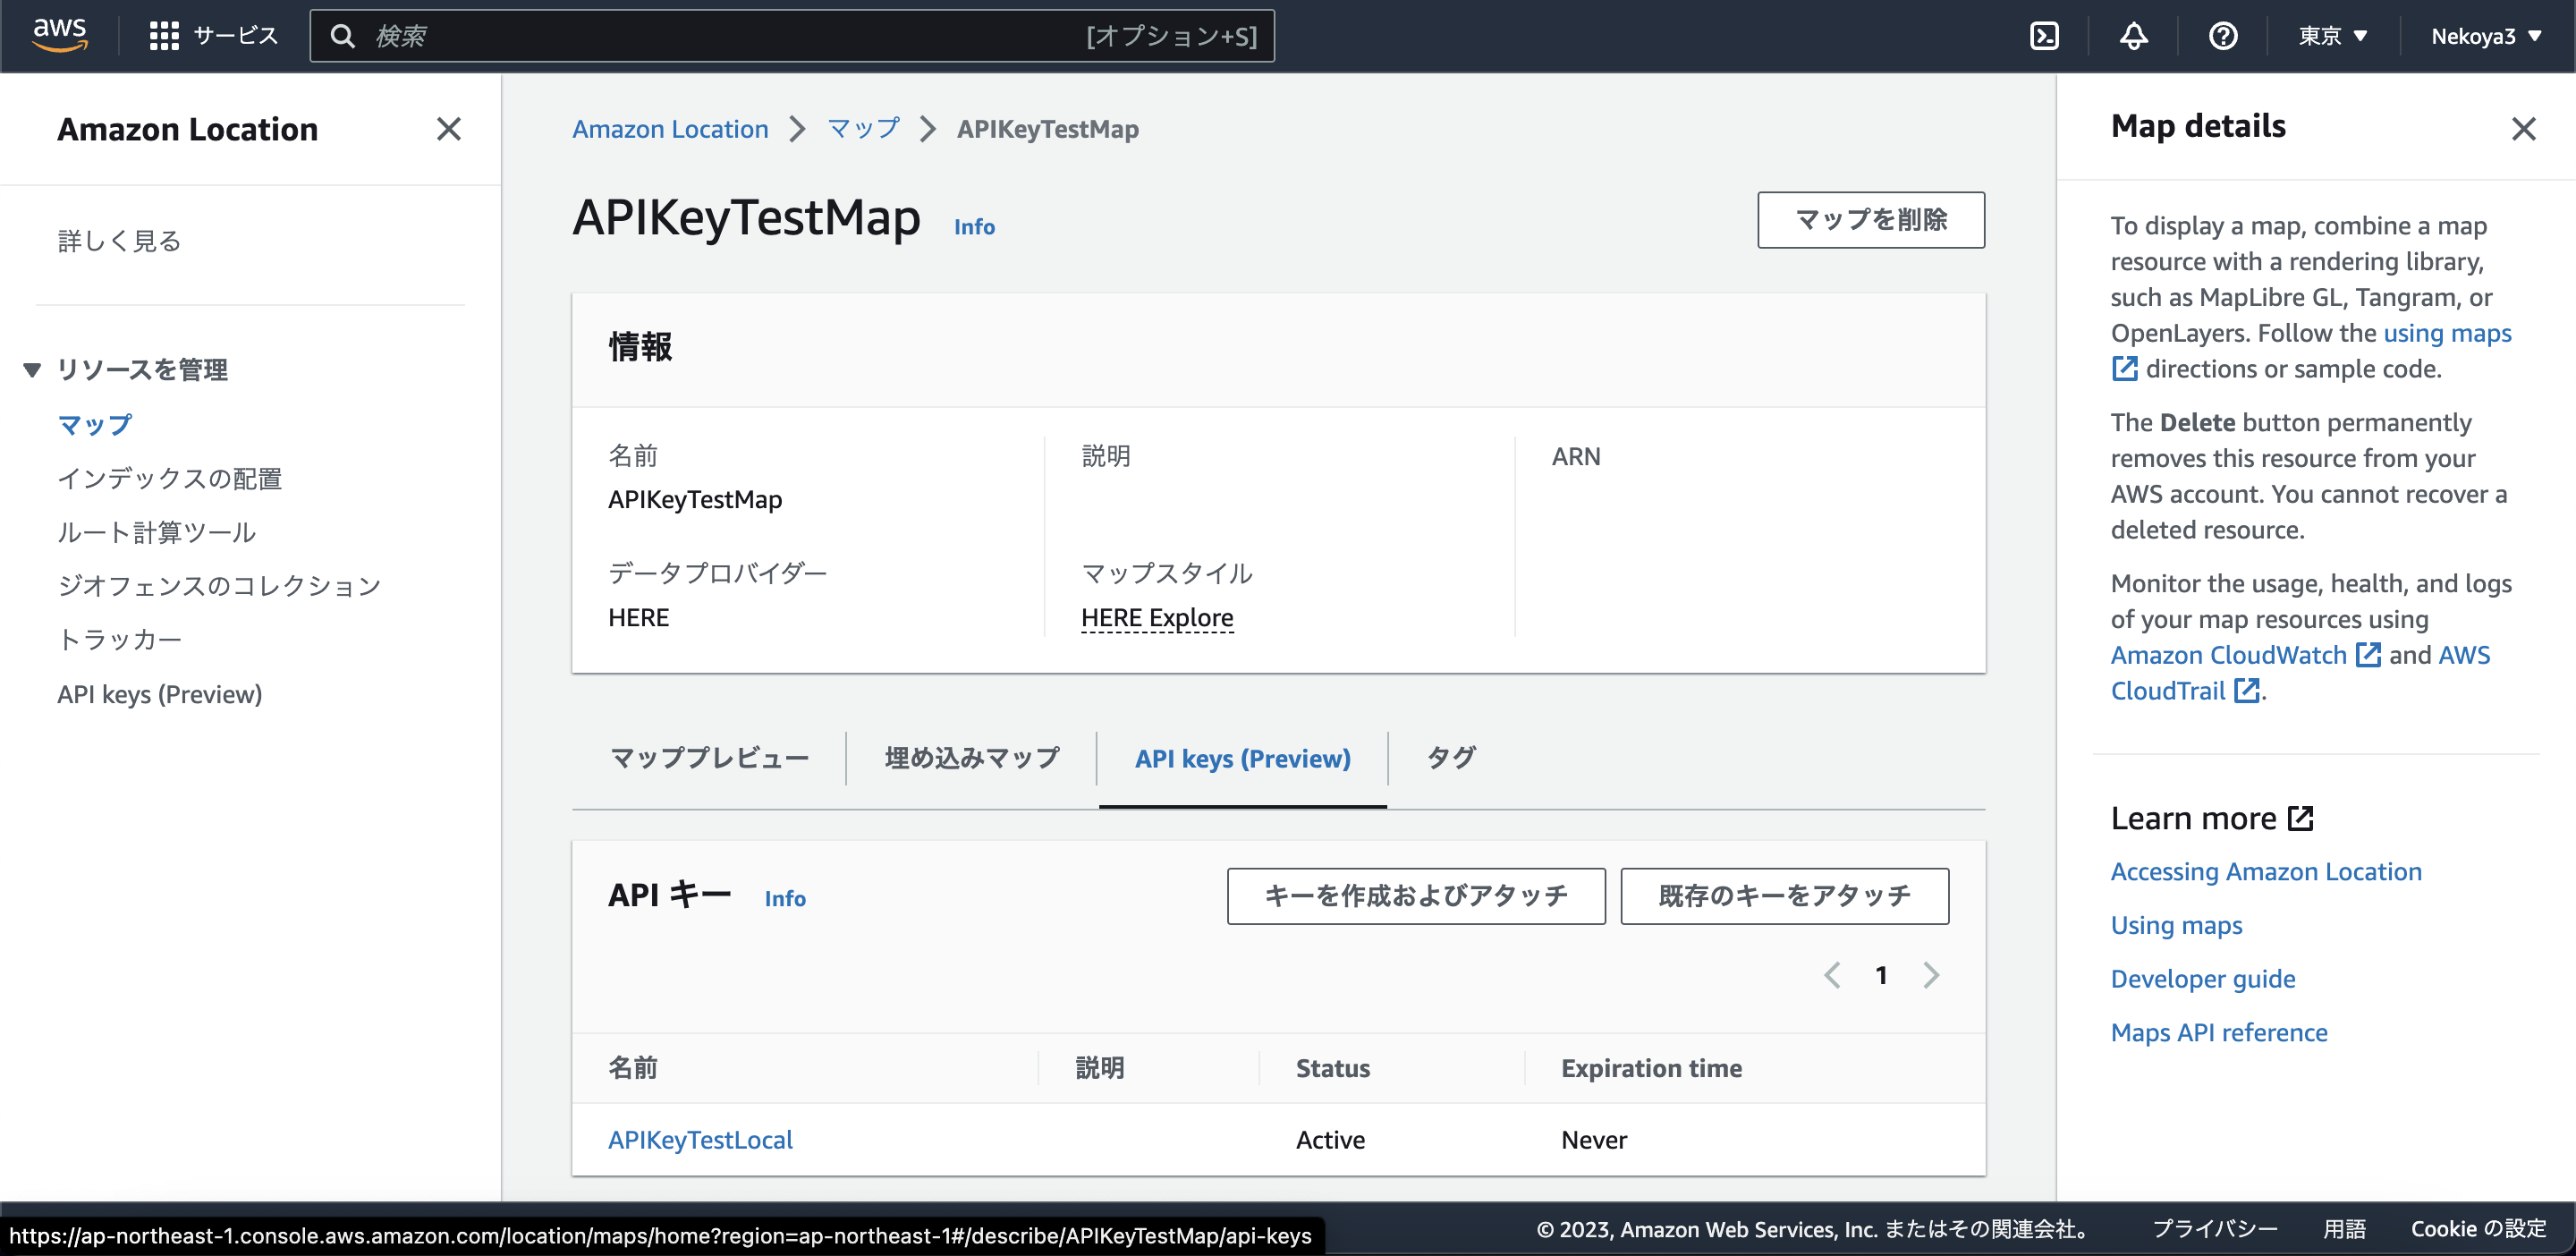
すると自動的にMapとAPIKeyが作成されます。

API Key Valueを発行しておく
ここでいうAPI Key Valueは公開できるAPI Keyから発行できるv1.public.から始まるという感じのテキストです。
API Key (Preview) のタブに移動し、先ほど作成したAPI Keyをクリックします。
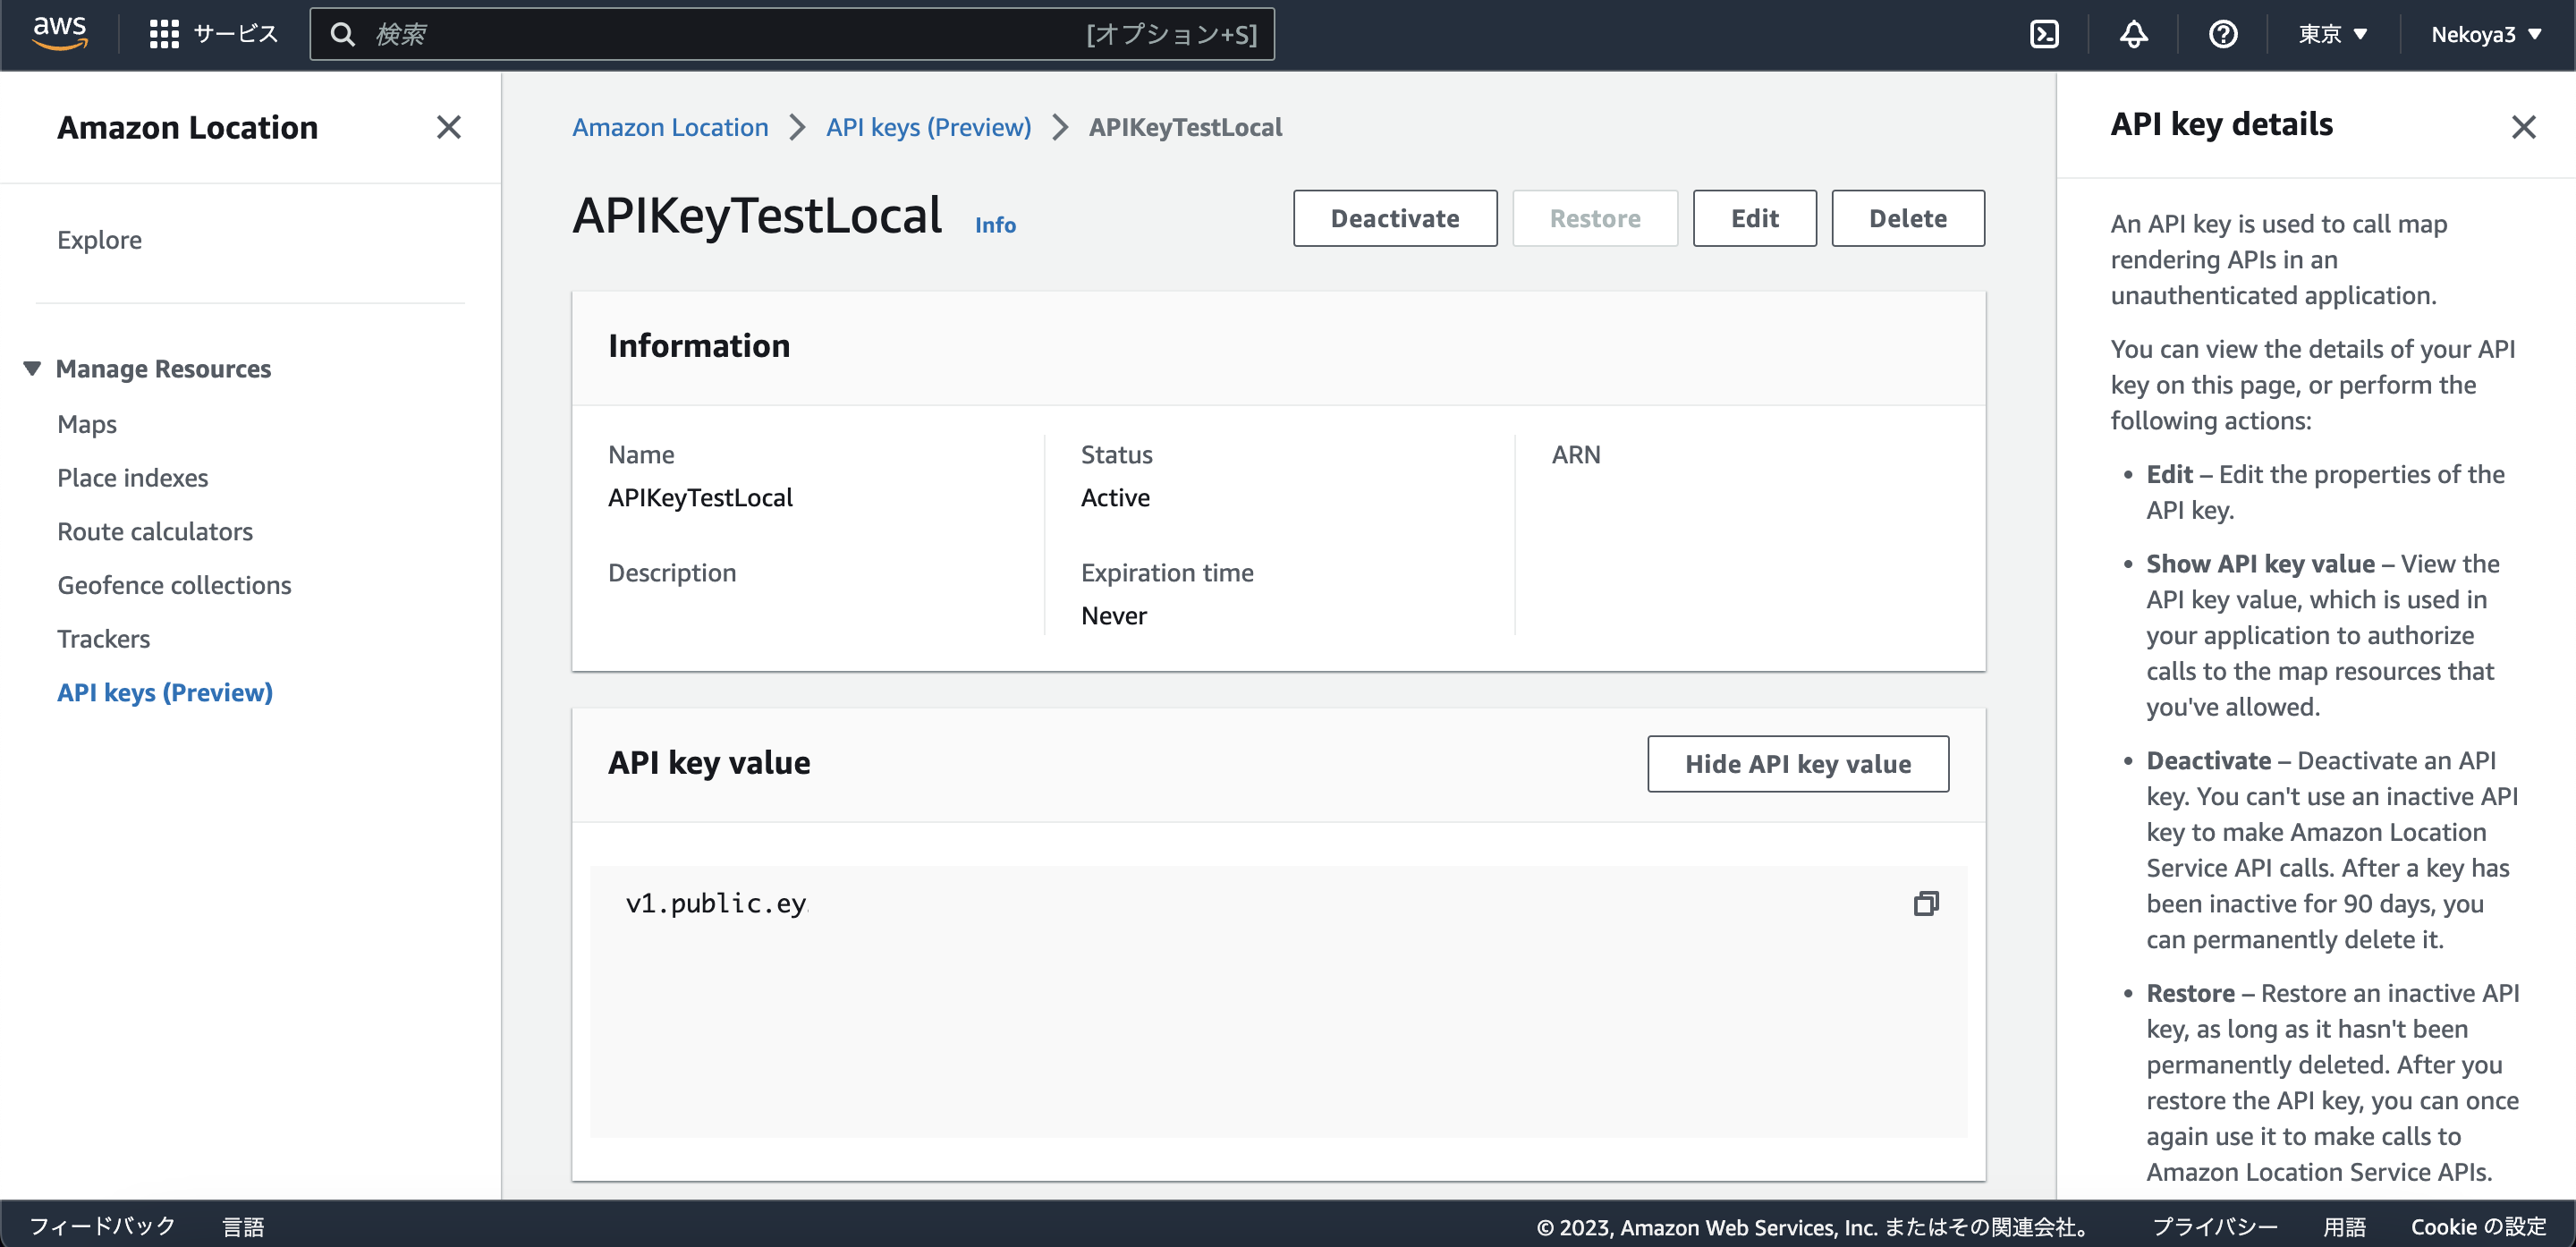
その後、Show API Key valueをクリックすると
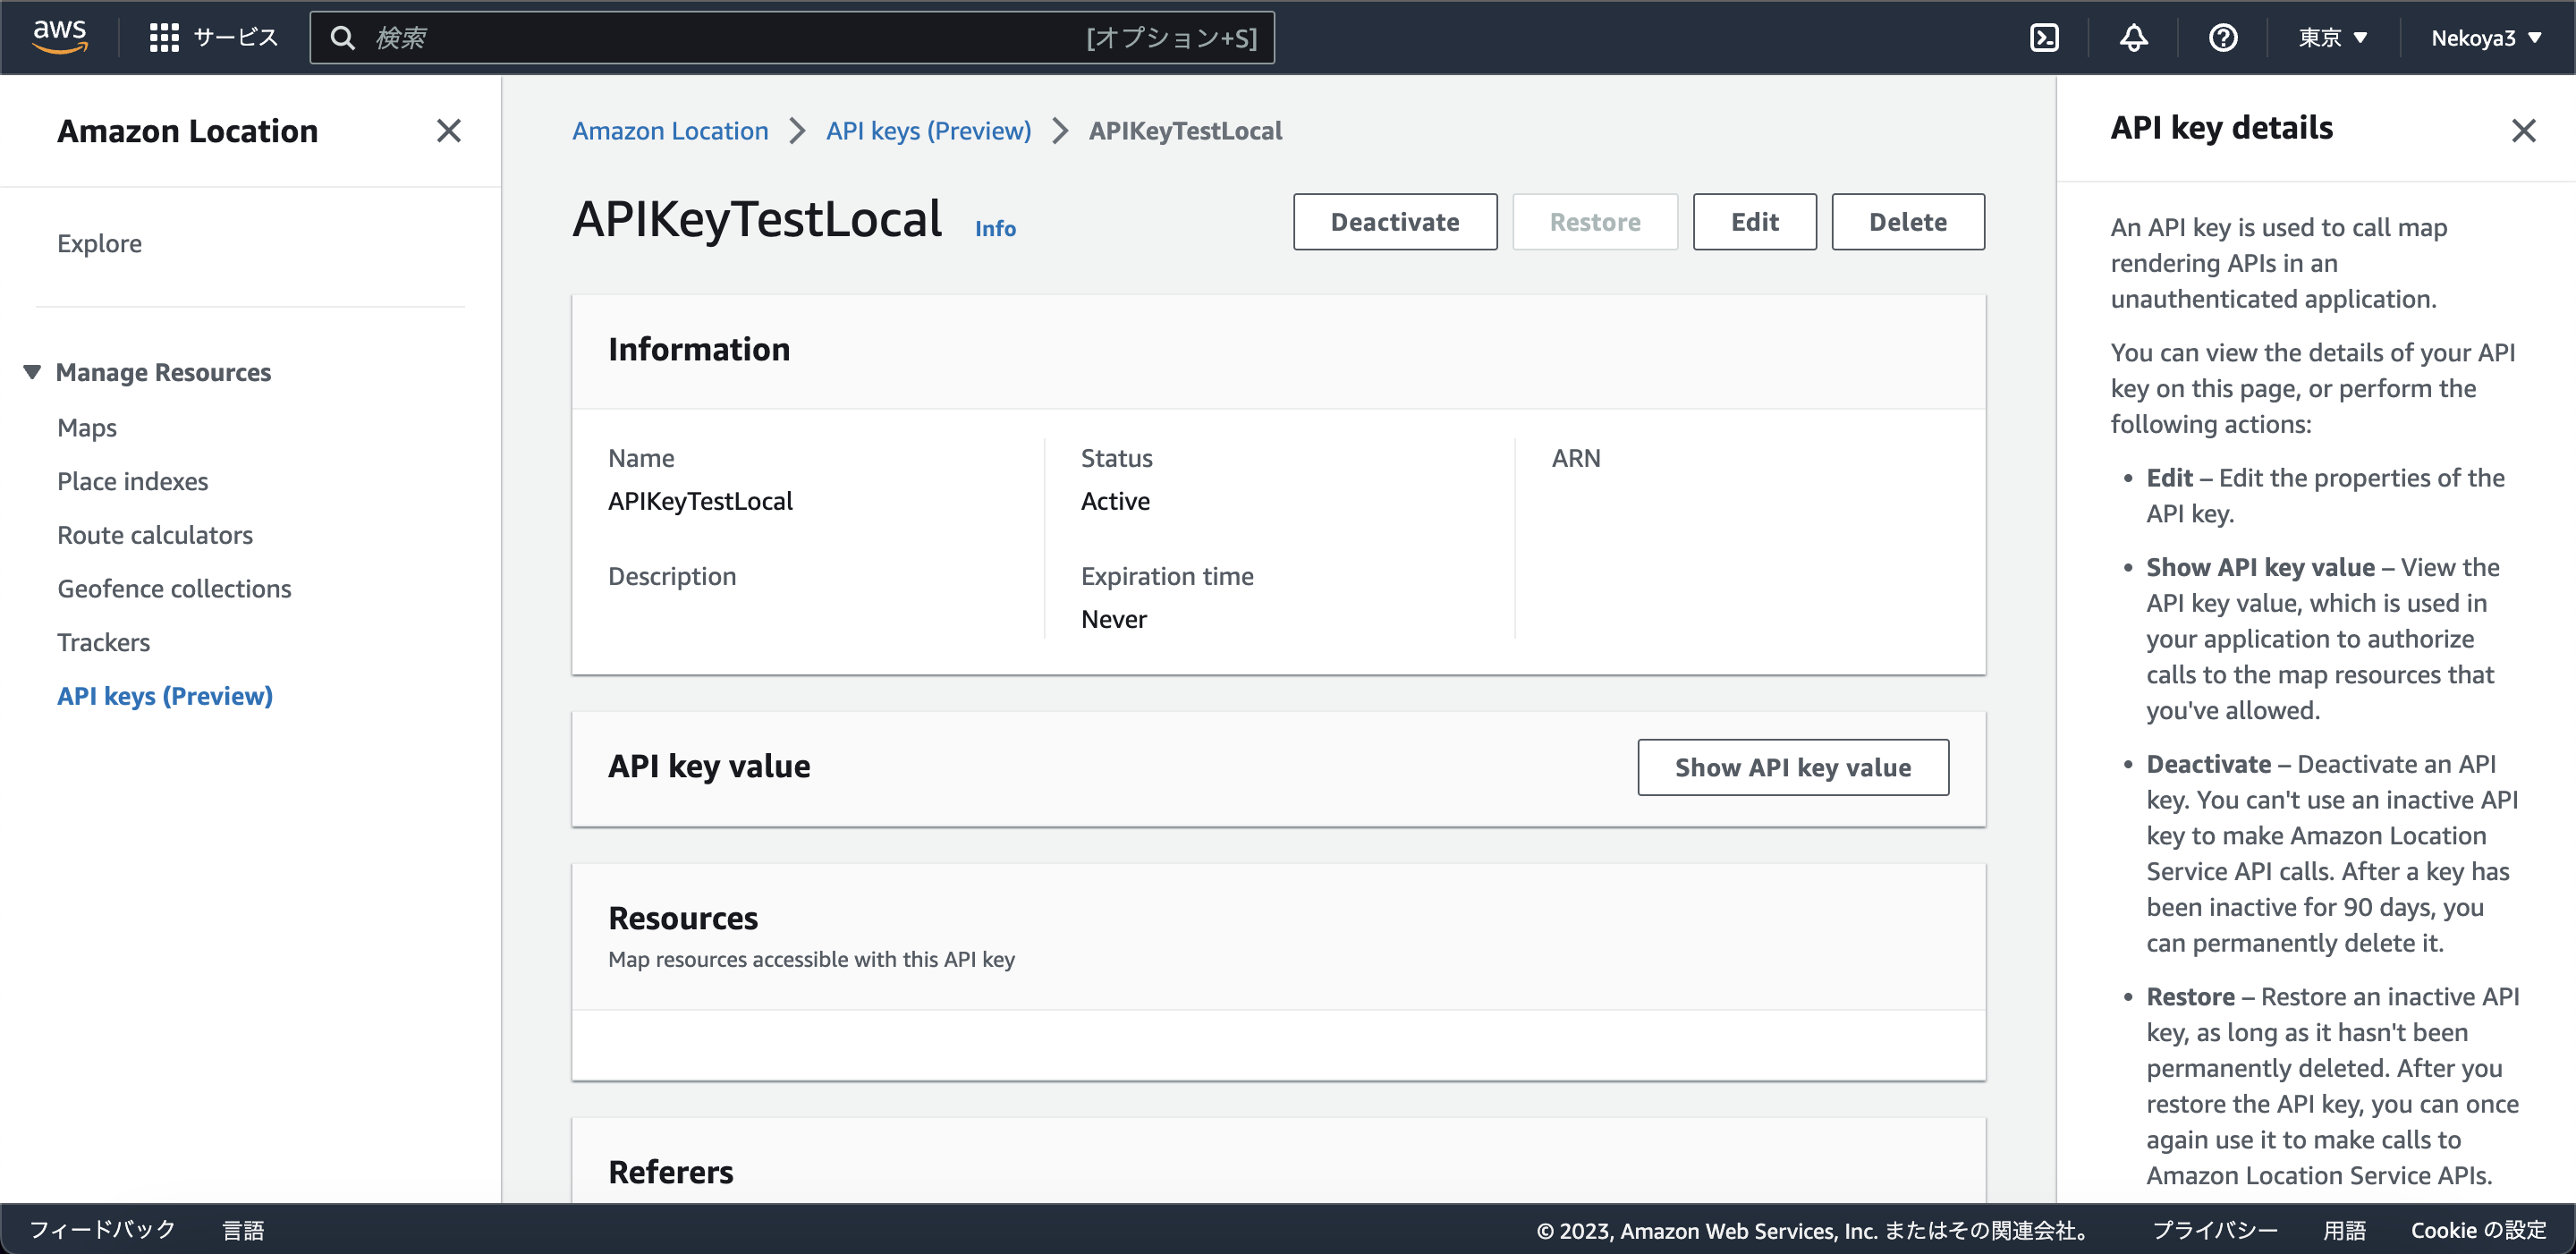
このようにv1.public.から始まるテキストが表示されるのでこれどこかにメモしておきます。
実際のコードを書いていく
コード本体はこちらで公開しています。
https://github.com/NEKOYASAN/als-api-key-example
Vite + ReactのProjectを作成
Vite + React + TypeScript + SWCのプロジェクトを作成します。 (e849c4e)
$ pnpm create vite@latest

? Project name: › als-api-key-example

? Select a framework: › - Use arrow-keys. Return to submit.
    Vanilla
    Vue
❯   React
    Preact
    Lit
    Svelte
    Others


? Select a variant: › - Use arrow-keys. Return to submit.
    JavaScript
    TypeScript
    JavaScript + SWC
❯   TypeScript + SWC

Scaffolding project in /Users/nekoyasan/Projects/als-api-key-example...

Done. Now run:

  cd als-api-key-example
  pnpm install
  pnpm run dev
サクッとUIを作ったりするかもしれないので一応Tailwind CSSとESLint、Prettierを入れておきます。(941d145)
$ pnpm install -D tailwindcss postcss autoprefixer eslint prettier eslint-config-prettier eslint-plugin-import eslint-plugin-react eslint-plugin-react-hooks @typescript-eslint/eslint-plugin @typescript-eslint/parser
TailwindのInitをします ( https://tailwindcss.com/docs/guides/vite ) (9aef53a)
pnpx tailwindcss init -p
App.cssはいらないので削除し、index.cssをTailwind用の設定で上書きします。
@tailwind base;
@tailwind components;
@tailwind utilities;
eslintを利用するため.eslintrcを記述します。(f3e9717)
module.exports = {
  env: {
    browser: true,
    es6: true,
  },
  extends: [
    'eslint:recommended',
    'plugin:react/recommended',
    'plugin:@typescript-eslint/eslint-recommended',
    'plugin:import/recommended',
    'plugin:import/errors',
    'plugin:import/warnings',
    'prettier',
  ],
  globals: {
    Atomics: 'readonly',
    SharedArrayBuffer: 'readonly',
  },
  parser: '@typescript-eslint/parser',
  parserOptions: {
    ecmaFeatures: {
      jsx: true,
    },
    ecmaVersion: 2018,
    sourceType: 'module',
  },
  plugins: ['react', '@typescript-eslint', 'react-hooks'],
  rules: {
    'import/order': [
      'warn',
      {
        alphabetize: { order: 'asc', caseInsensitive: true },
        'newlines-between': 'never',
        pathGroups: [
          { pattern: '~/**', group: 'parent' },
          { pattern: 'react', group: 'parent', position: 'before' },
        ],
      },
    ],
    'import/no-unresolved': 'off',
    'no-unused-vars': 'off',
    '@typescript-eslint/no-unused-vars': ['error'],
    '@typescript-eslint/explicit-module-boundary-types': ['error'],
    'react-hooks/rules-of-hooks': 'error',
    'dot-notation': 'error',
    'react/react-in-jsx-scope': 'off',
    'react/jsx-uses-react': 'off',
  },

  settings: {
    react: {
      version: 'detect',
    },
  },
};
Prettierは.prettierrcに以下を記述します。(f3e9717)
{
    "printWidth": 100,
    "trailingComma": "es5",
    "tabWidth": 2,
    "semi": true,
    "singleQuote": true,
    "endOfLine": "lf"
}
これでProjectの作成は終わりです。
実際にMapを表示するコードを書く
まずはmaplibre-glをinstallします。(6fad5b4)
$ pnpm install maplibre-gl
前提
- Maplibre GL JSで地図描画する方法については詳しく書きません。
- ALSの地図のstyleファイルは
https://maps.geo.${MAP_REGION}.amazonaws.com/maps/v0/maps/${MAP_NAME}/style-descriptor?key=${API_KEY}です。 - 東京駅の座標は以下の座標を使用します。
lng: 139.7673068lat: 35.6809591
環境変数を設定する
今回はViteを利用しており、全ての情報はクライアント側に渡らないといけないため VITE_から始まる環境変数を設定します。(9ce0ea0)
MAP_REGIONとMAP_NAMEは環境によって付け替えることは基本ないのと、git管理下にして問題ないので`.envに記述します。
# ALSのマップを作成したリージョンコード
VITE_MAP_REGION = ap-northeast-1
# ALSで作成したマップの名前
VITE_MAP_NAME = APIKeyTestMap
API_KEYは公開して問題ない情報ですが、環境によって異なる場合があるため.env.[local|development|production]に記述します。
一旦localで確かめるためなので.env.localに記述します。
# ALSのAPI Key value
VITE_MAP_API_KEY = v1.public.ey........
型定義も一応足しておきましょう
/// <reference types="vite/client" />

+ interface ImportMetaEnv {
+   readonly VITE_MAP_REGION: string;
+   readonly VITE_MAP_NAME: string;
+   readonly VITE_MAP_APP_KEY: string;
+ }
+
+ interface ImportMeta {
+   readonly env: ImportMetaEnv;
+ }
実際のMap表示部を書く
今回は全画面に地図を表示するだけなのでApp.tsxに直書きします(f463299)
import { Map, NavigationControl } from 'maplibre-gl';
import { type FC, useEffect, useRef } from 'react';

import 'maplibre-gl/dist/maplibre-gl.css';

// Style URL作成
const styleURL = `https://maps.geo.${import.meta.env.VITE_MAP_REGION}.amazonaws.com/maps/v0/maps/${
  import.meta.env.VITE_MAP_NAME
}/style-descriptor?key=${import.meta.env.VITE_MAP_API_KEY}`;

const App: FC = () => {
  const mapContainerRef = useRef<HTMLDivElement>(null);
  const mapInstance = useRef<Map | null>(null);

  useEffect(() => {
    if (!mapContainerRef.current || mapInstance.current) return;
    // Map作成
    mapInstance.current = new Map({
      container: mapContainerRef.current,
      style: styleURL,
      center: [139.7673068, 35.6809591],
      zoom: 15,
    });
    // Navigation Control追加
    mapInstance.current.addControl(
      new NavigationControl({
        showCompass: true,
        showZoom: true,
        visualizePitch: true,
      }),
      'top-right'
    );
  });
  return (
    <div ref={mapContainerRef} className={'relative w-full min-h-screen'}>
      <button
        className={
          'absolute top-2 left-2 z-10 rounded bg-white py-1 px-2 text-xs font-semibold text-gray-900 shadow-sm ring-1 ring-inset ring-gray-300 hover:bg-gray-50'
        }
        onClick={() => {
          mapInstance.current?.flyTo({
            center: [139.7673068, 35.6809591],
            zoom: 15,
          });
        }}
      >
        Go to Tokyo
      </button>
    </div>
  );
};

export default App;
StyleURLがALSのものになっただけで普通に地図表示するだけですね。
Maptilerなどの他の地図のプロバイダと同様にURLの後ろにAPIKeyがついてる形式のよくあるURLです。
では、開発環境を起動して確認しましょう
$ pnpm run dev

> als-api-key-example@0.0.0 dev /Users/nekoyasan/Projects/als-api-key-example
> vite


  VITE v4.1.4  ready in 146 ms

  ➜  Local:   http://localhost:5173/
  ➜  Network: use --host to expose
  ➜  press h to show help
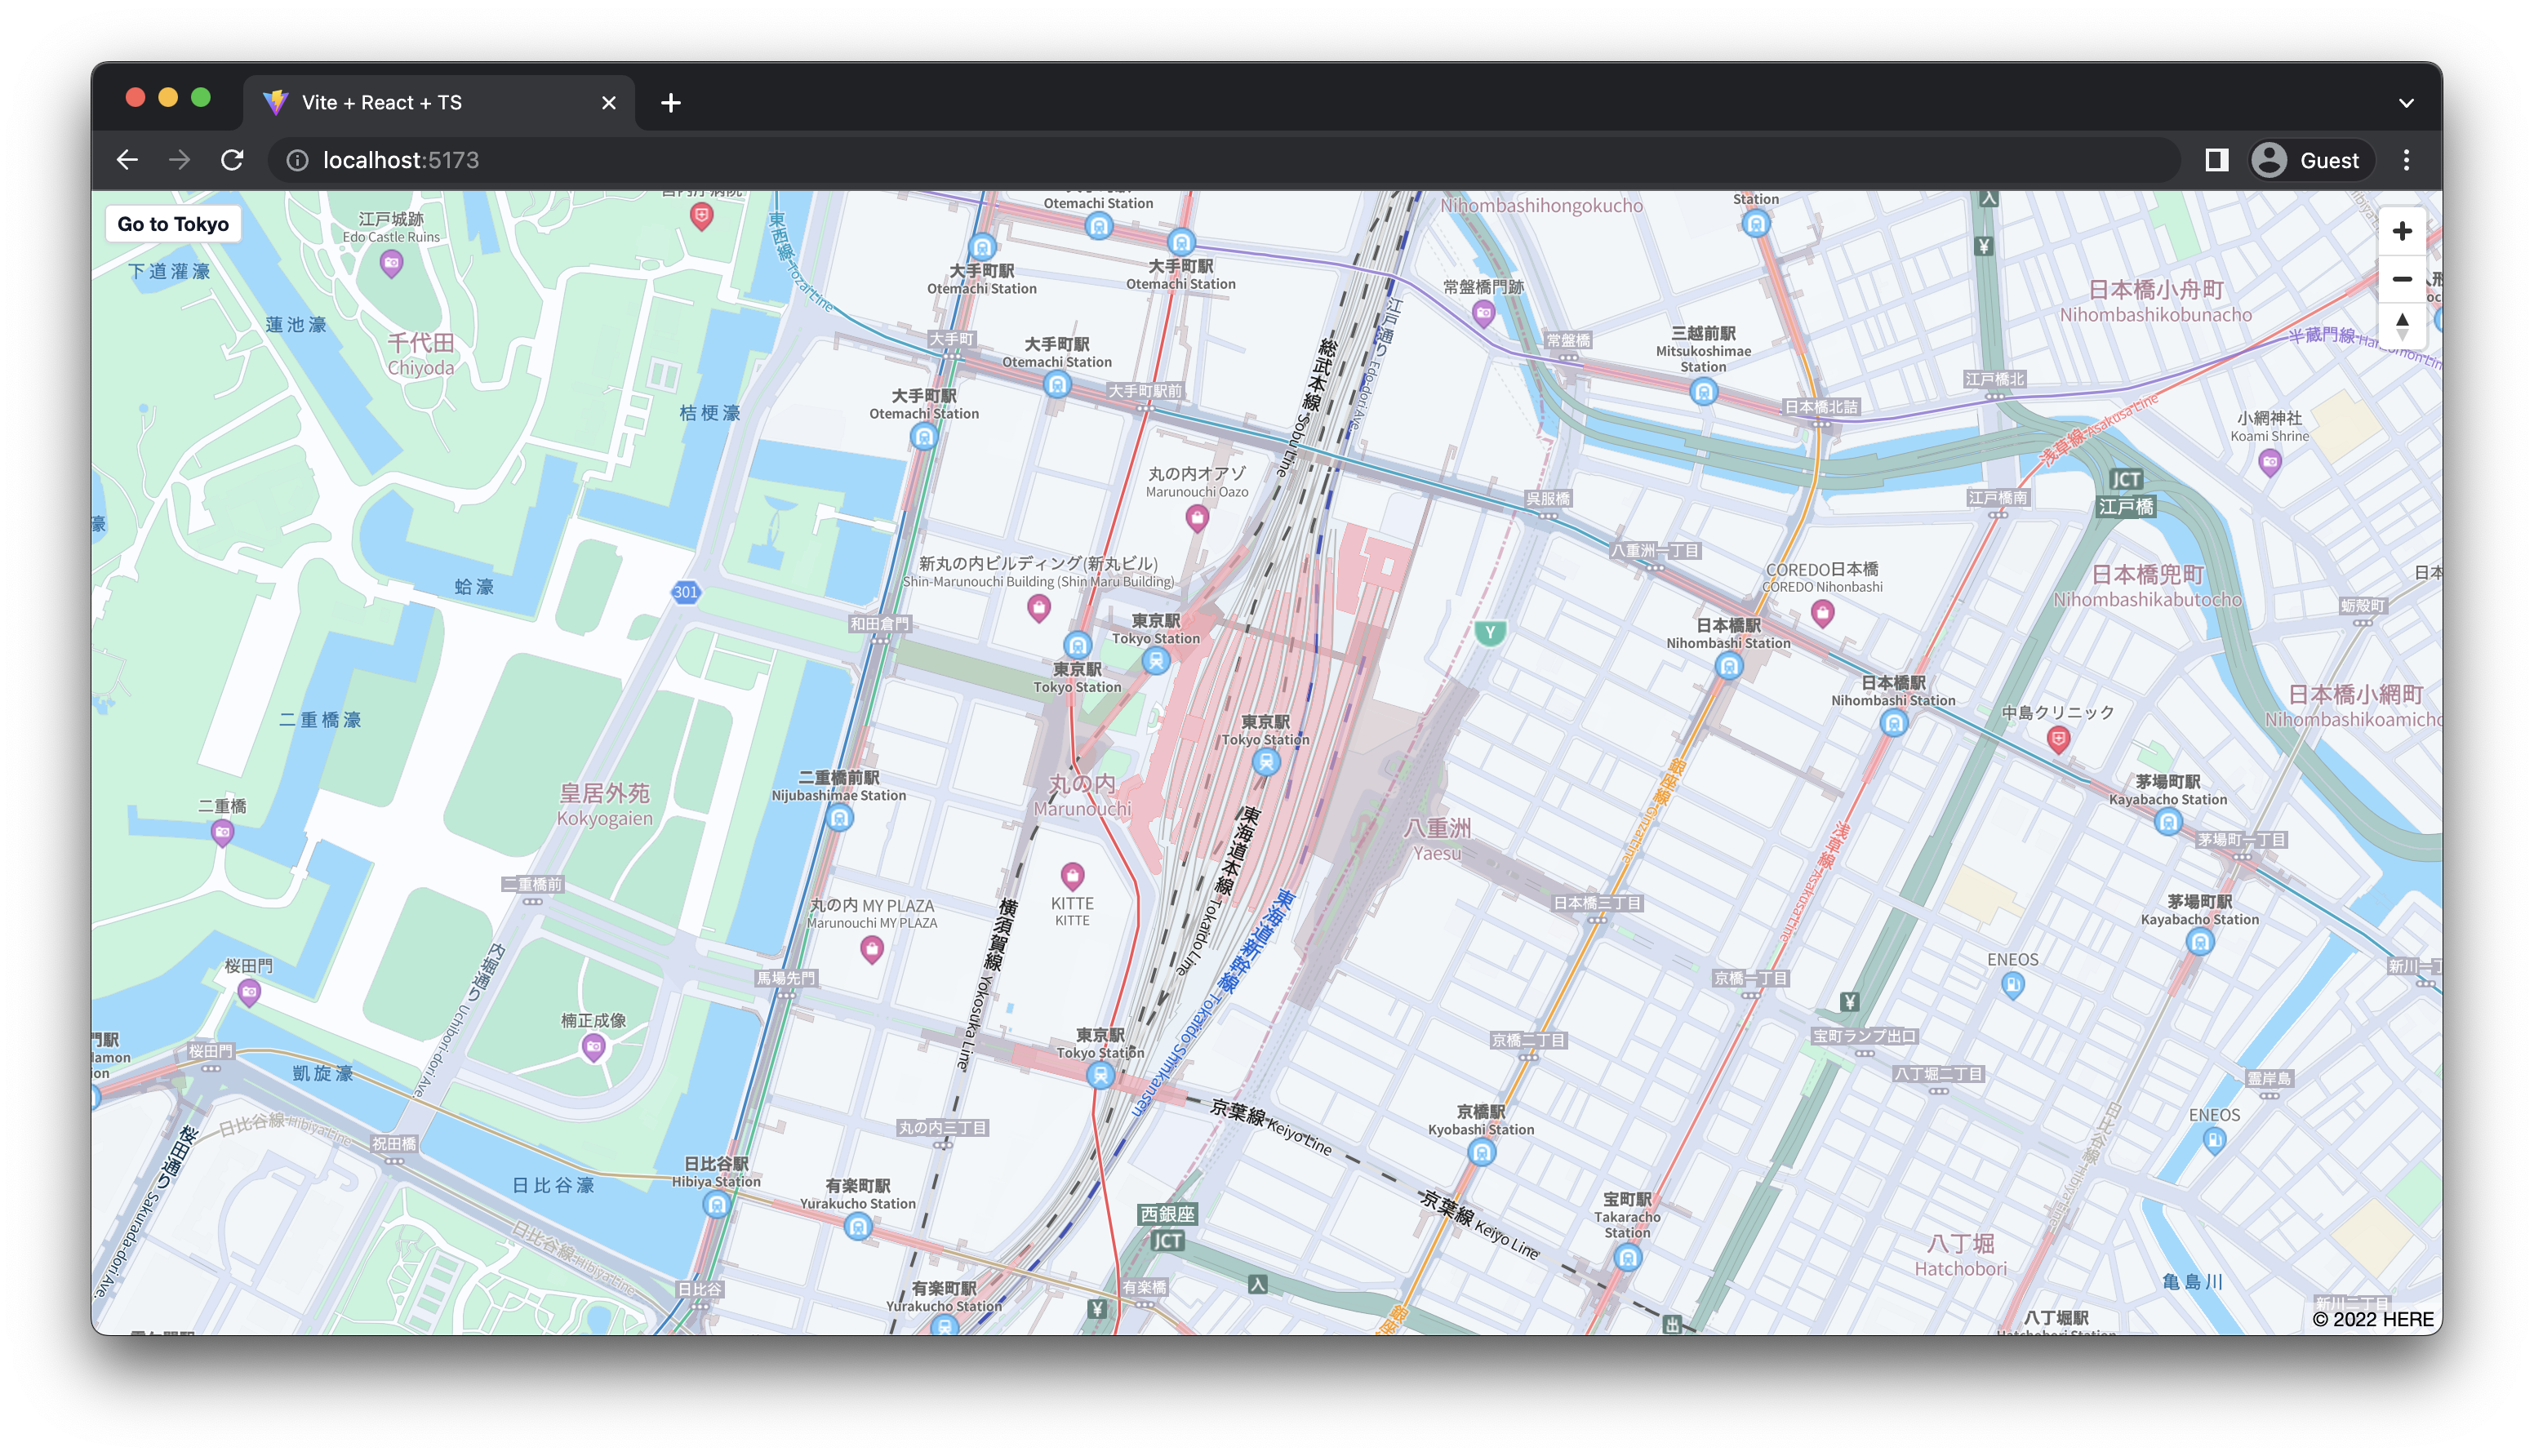
この状態でhttp://localhost:5173/にアクセスすると、このように設定した地図が表示されます。
Demo用にAPI Keyを発行する
DemoをVercelにアップロードしてみると、同じAPIKeyでも表示されません。
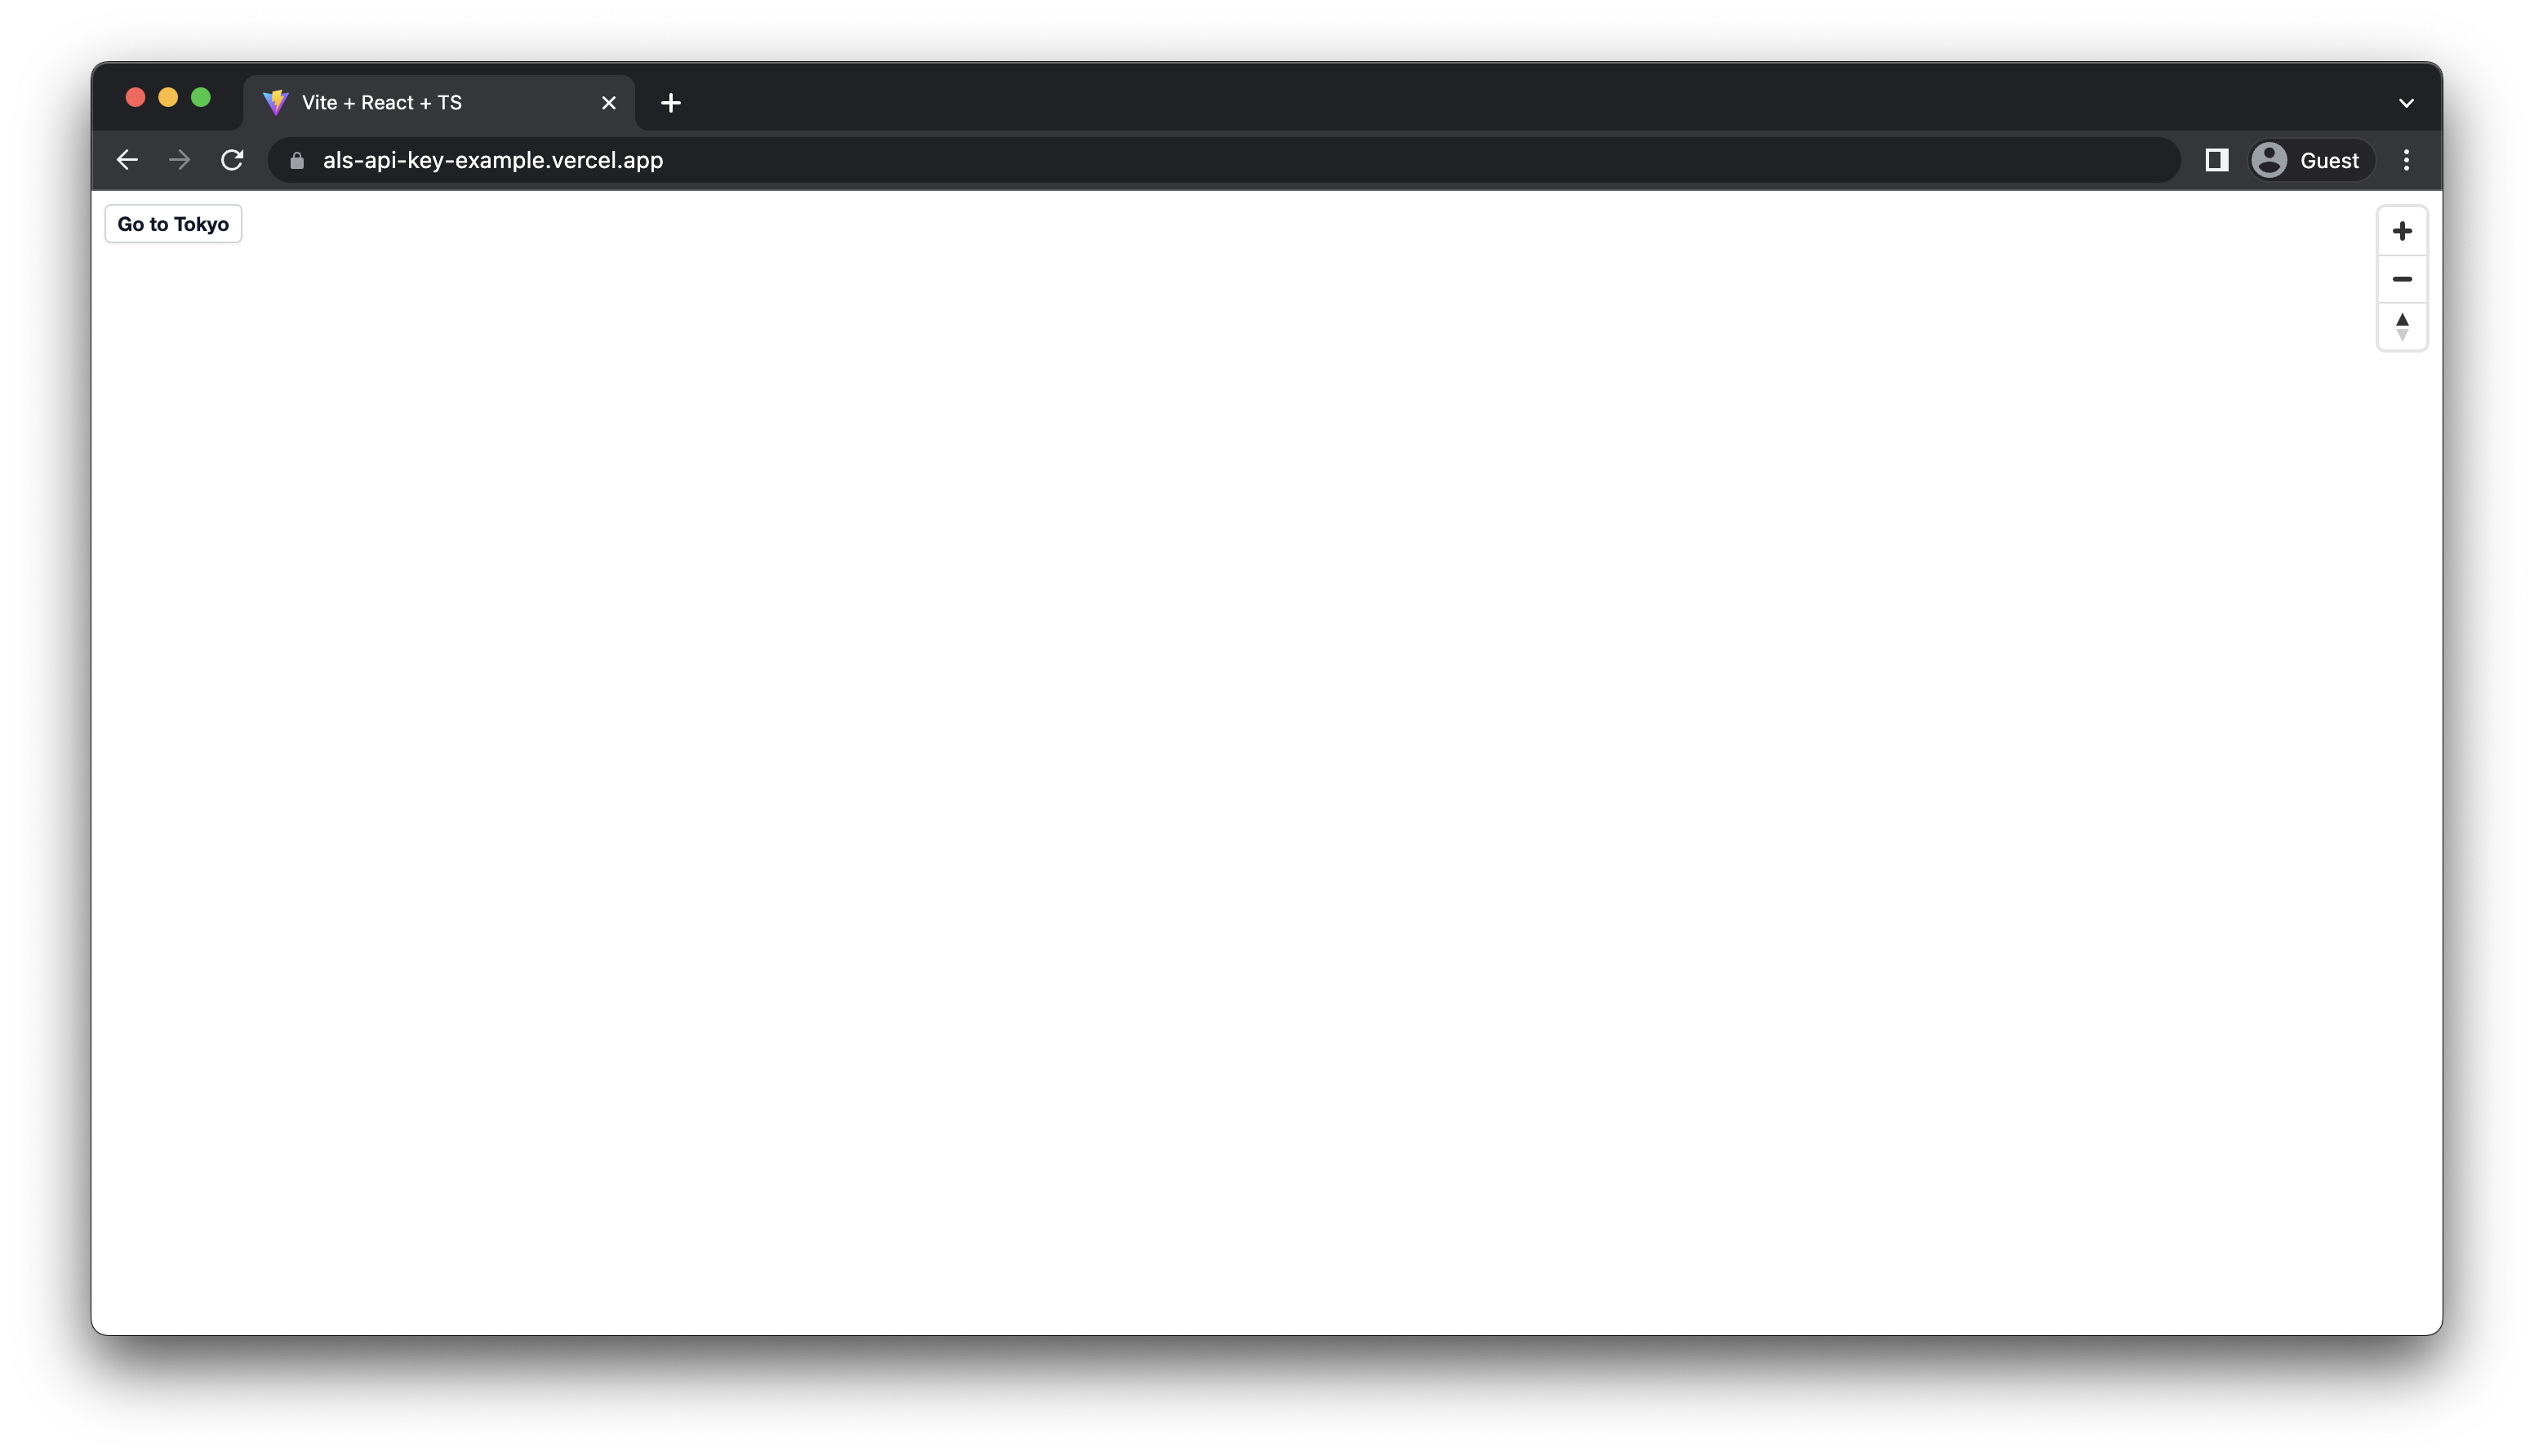
DevToolsを見ると403が帰ってきています。
これはこのAPI KeyではReferrer設定によって、http://localhost:5173/*以外からのアクセスを許可していないからです。
なので新しくAPI Keyを作り、https://als-api-key-example.vercel.app/からのアクセスを許可してみます。
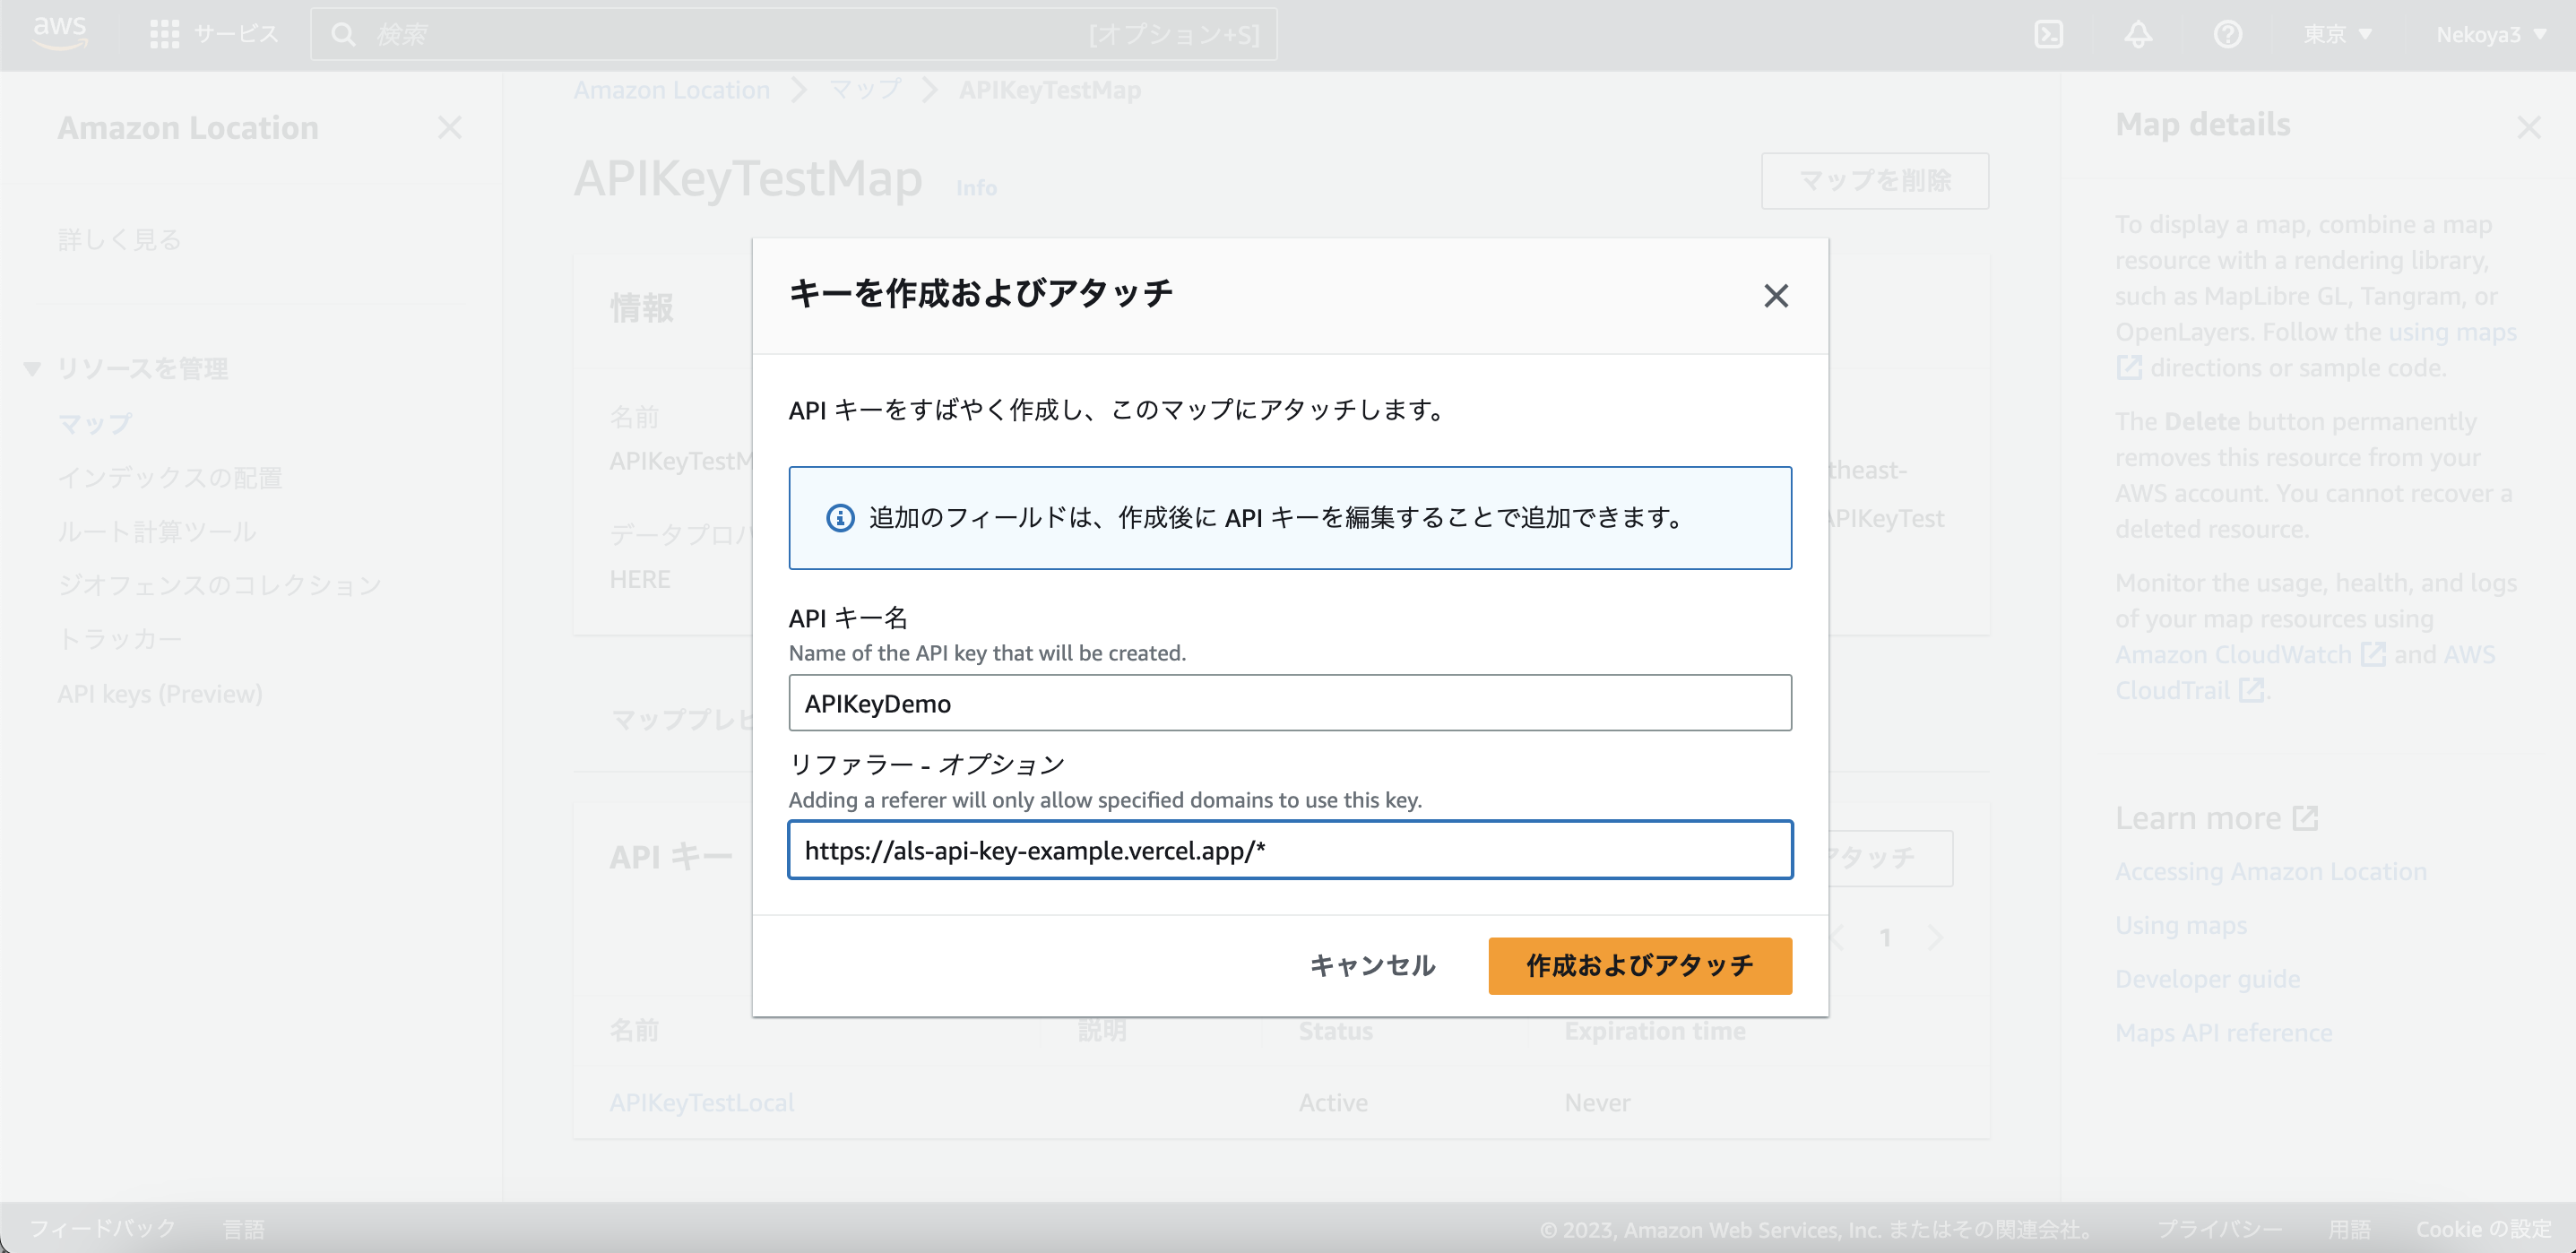
API Key (Preview) のタブに移動し、キーを作成およびアタッチをクリックします。
その後API キー名に好きな名前を、リファラーに実際に利用するURLを入力します。今回は
- 名前: APIKeyTestLocal
- リファラー:
https://als-api-key-example.vercel.app/*
に設定します。
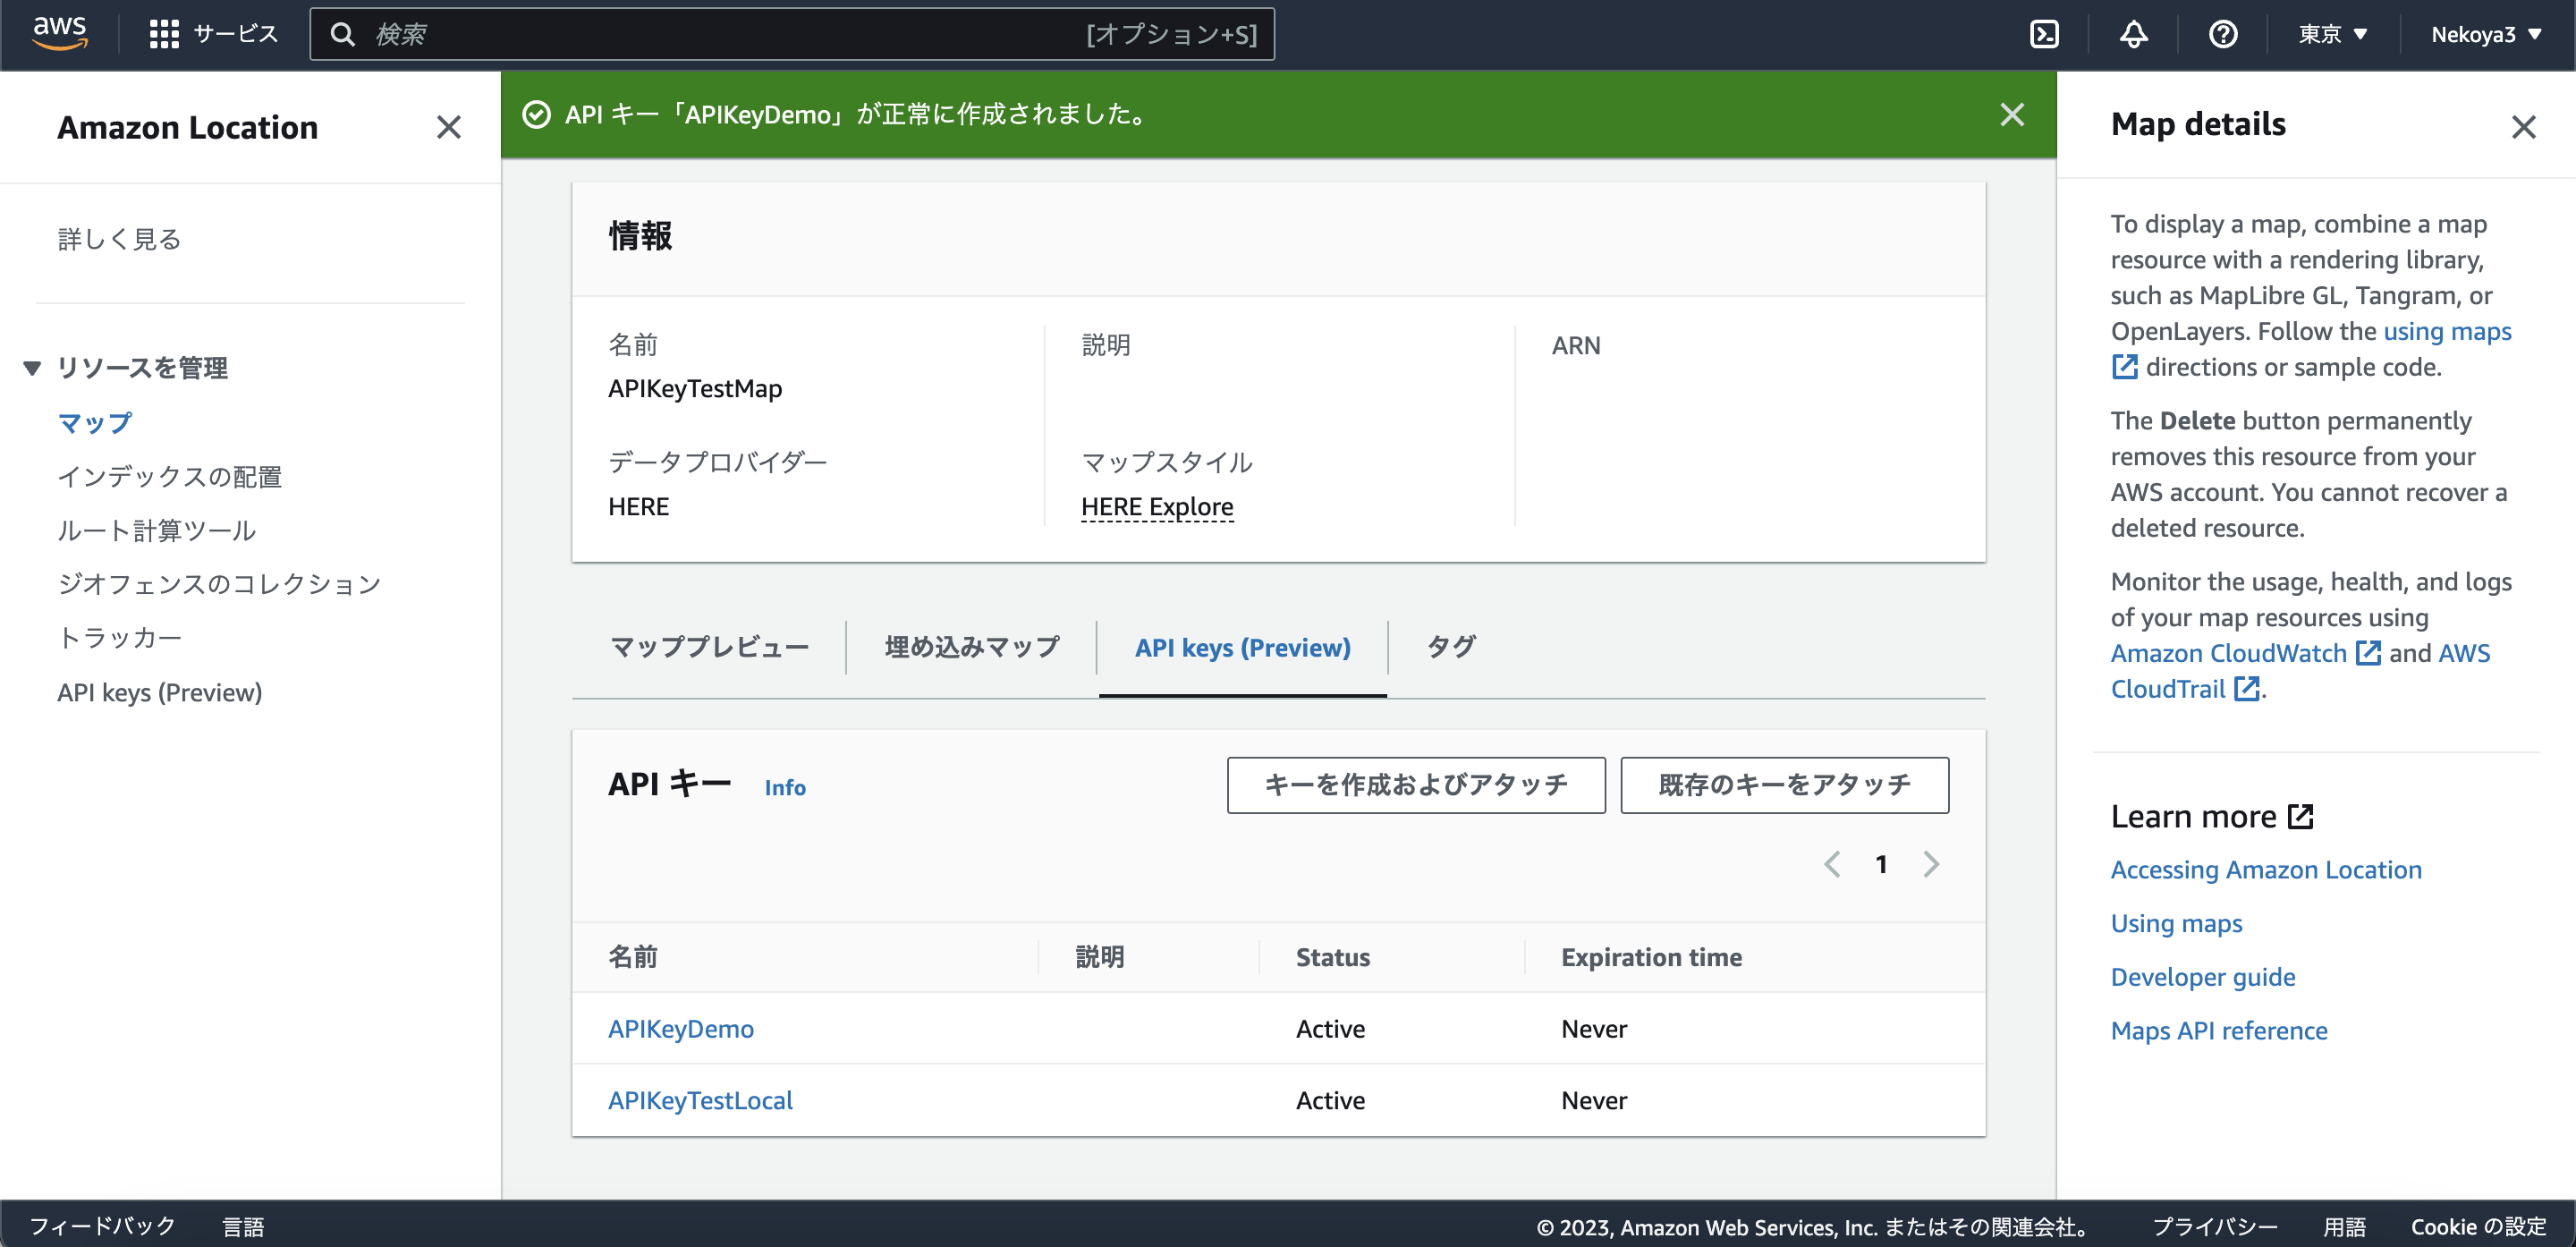
その後、作成およびアタッチをクリックするとAPIKeyが作成され、アタッチされているのが確認できます。
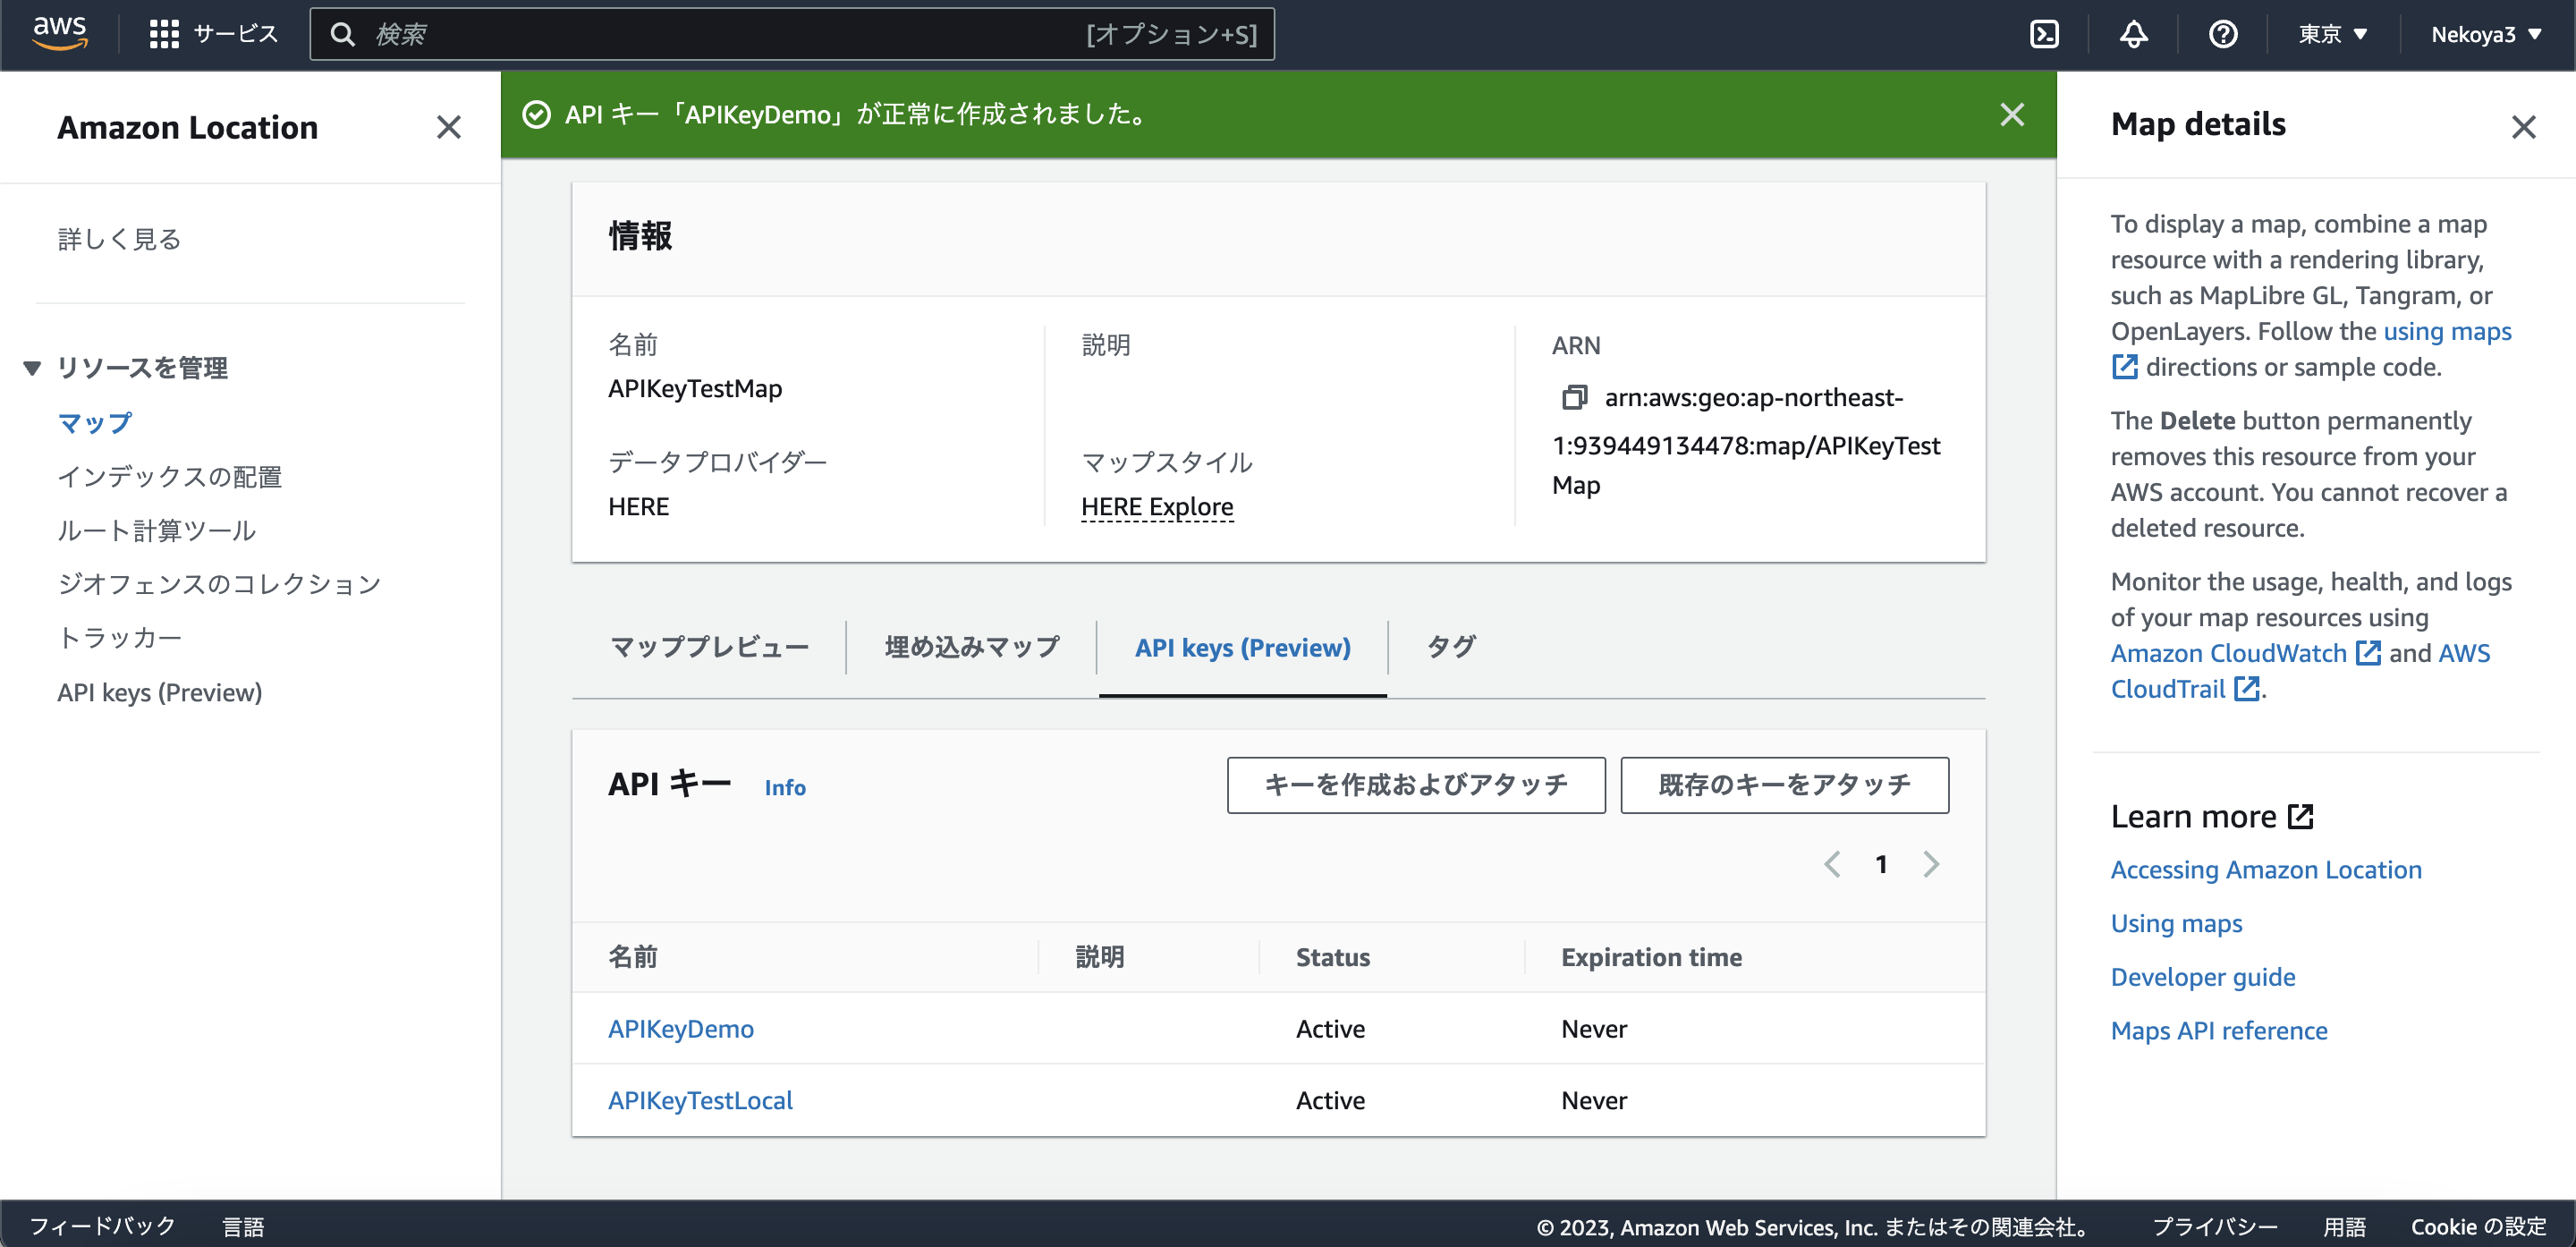
その後はLocal用と同じようにAPI Key valueを作成し設定すると、正常に表示されるようになりました。
Demoを公開後しばらくは置いておきますのでぜひお試しください。
おわりに
元々、Amazon Location Serviceは請求をAWSにまとめられたりと、AWSをメインに利用しているユーザにはメリットがあるものでしたが、過去の記事(
https://qiita.com/Nekoya3/items/2cd98071607a6ac74a3b )にも書いた通り、
- Cognitoを用いてトークンを取得して、リクエストにはすべてトークンを用いて署名する必要がある
- Amplifyと完璧に連携されているわけではない(2021/07/20現在)
という問題がありました。
後者のAmplifyとの連携については、ALS/Amplify Geoのコミュニティのおかげもありかなり解消しており、かなり簡単に利用ができるようになっていました。
しかし、すべてトークンを用いて署名する必要があるという1番の欠点であり、利用に対する最大の障壁は解決されていませんでした。
それが今回のAPI Keyの提供開始によって完全に解消され、利用障壁がMaptilerなどの他の地図のプロバイダと同じ高さになり、地図表示・地図データプロバイダの選択肢の一つとすることができるようになりました。
ALSにはHERE / Esriなど会社としてデータ提供しているものとOpen Data(OpenStreetMap)の両方が存在し、HERE / Esriが提供しているものの中には丁寧にスタイリングされているものも存在します。
特に今回表示したHERE Exploreというスタイルは日本特有の高ズームレベルにも対応したとても綺麗でみやすいスタイルになっており、Maptiler、Google Map、Mapboxとともに比較する選択肢となり得ると考えています。
現在Previewの機能になってしまってはいますがGAし、実際に安定して利用できるようになったときには、さまざまな位置情報エンジニア・さまざまな会社に利用されることを願っています。
最後に価格比較をしておきましょう
| プロバイダ | 基本料金(月額) | 定額部(月ごと) | 変動部 | 5,000,000req/m(or 200,000load/m)の場合の総額 | SLA(%) |
|---|---|---|---|---|---|
| maptiler(Flex) | \$25 | 500,000req | \$0.10/1000req | \$25 + \$450 = \$475 | - |
| maptiler(Unlimited) | \$295 | 5,000,000req | \$0.08/1000req | \$295 + \$0 = \$295 | 99.9 |
| Mapbox(Vector Tile API) | \$0 | 200,000req | 変動型 | \$0 + \$1,000 = \$1,000 | 99.9 |
| Mapbox(Map Loads for Web) | \$0 | 50,000load | 変動型 | \$0 + \$650 = \$650 | 99.9 |
| Google Maps Platform(Dynamic Maps) | \$0 | - | 変動型 | \$0 + \$1,260 = \$1,260 | 99.9 |
| Amazon Location Service | \$0 | - (3ヶ月間 500,000req) | \$0.040/1,000req | \$0 + \$200 = \$200 | 99.9 |
こうやってみるとALSが安く感じますね...
(MapboxのMap Loads for WebとGoogle Mapについてはあまりフェアじゃない比較かもしれませんが)
ALSは地図表示だけではありません。GeoCodingやGeoFenceなどもあって色々楽しめると思いますのでぜひお試しください!(GeoCoding,GeoFenceについてはまだAPI Keyに対応していませんが...)