1 この記事は
Dockerを使い、Kaggle環境をローカルPC上に構築する方法を説明します。
2 方法
2-1 Docker for windowsをインストールする。
2-2 Kaggleイメージをインストールする
Windowsのpowershellを立ち上げ、下記のコマンドを入力する。
PowerShell
docker run --rm -it kaggle/python
2-3 Dockerを起動しコンテナを作成する。
PowerShell
docker run --network aukabu_default -v ${PWD}:/tmp/working -w=/tmp/working -p 8888:8888 --name meigara_ana -it kaggle/python jupyter notebook --no-browser --ip="0.0.0.0" --notebook-dir=/tmp/working --allow-root
xxxx:(コンテナの名前を入れる)
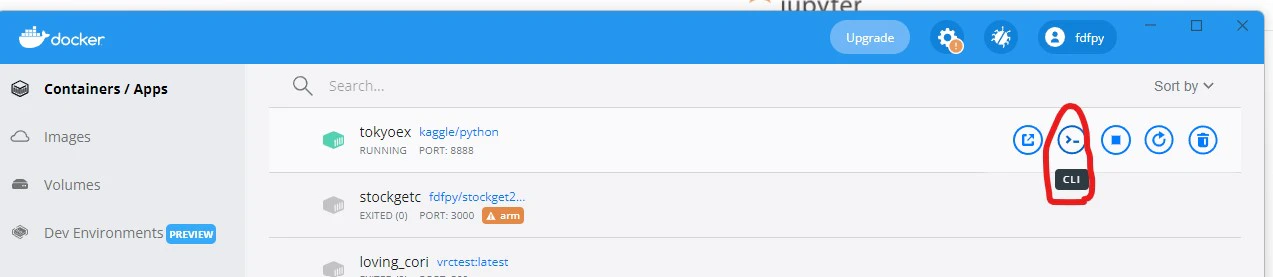
2-4 コンテナをスタートさせ、ブラウザを立ち上げる
Docker for windowsにてSTRATをクリックし、先に作成したコンテナを起動させる

下記図の赤枠で囲ったアイコンをクリックし、ブラウザを立ち上げる。

ブラウザを立ち上げた時に、Paaword or tokenを入力する画面が出た場合、
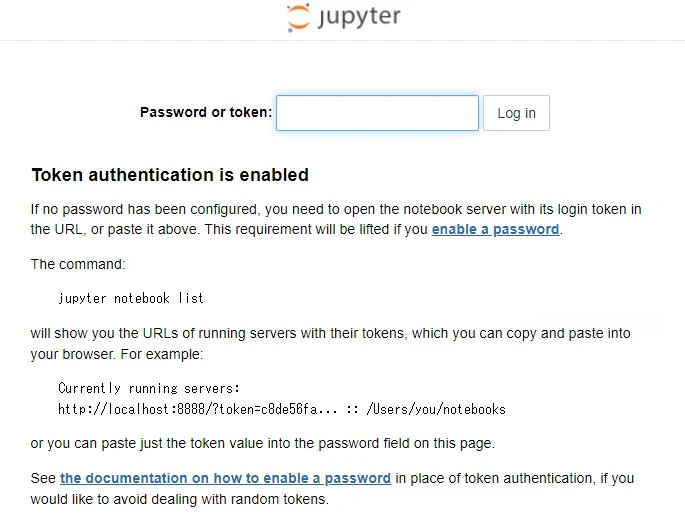
Docker for desctopにてCLIを立ち上げる。
CLIにて jupyter notebook listと入力するとtokenが表示される。「token=」以降の文字をコピーし、jupyterの画面で表示された
Password or token:のボックスに入力する。

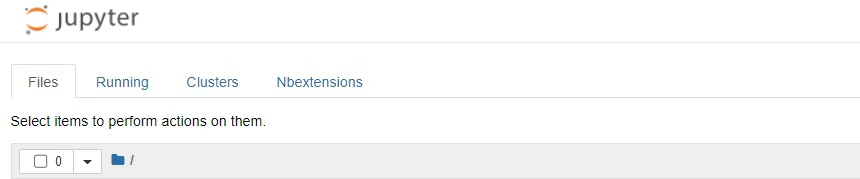
jupyterのスタート画面が表示される。