
Swiftエンジニアなら一度は実装したことがありそうな、
"テキストとキーボードが被らないようにする処理"を作りましたが、思いの外時間をかけてしまいました。
悔しいので一度丁寧に作り、まとめてみることにしました。
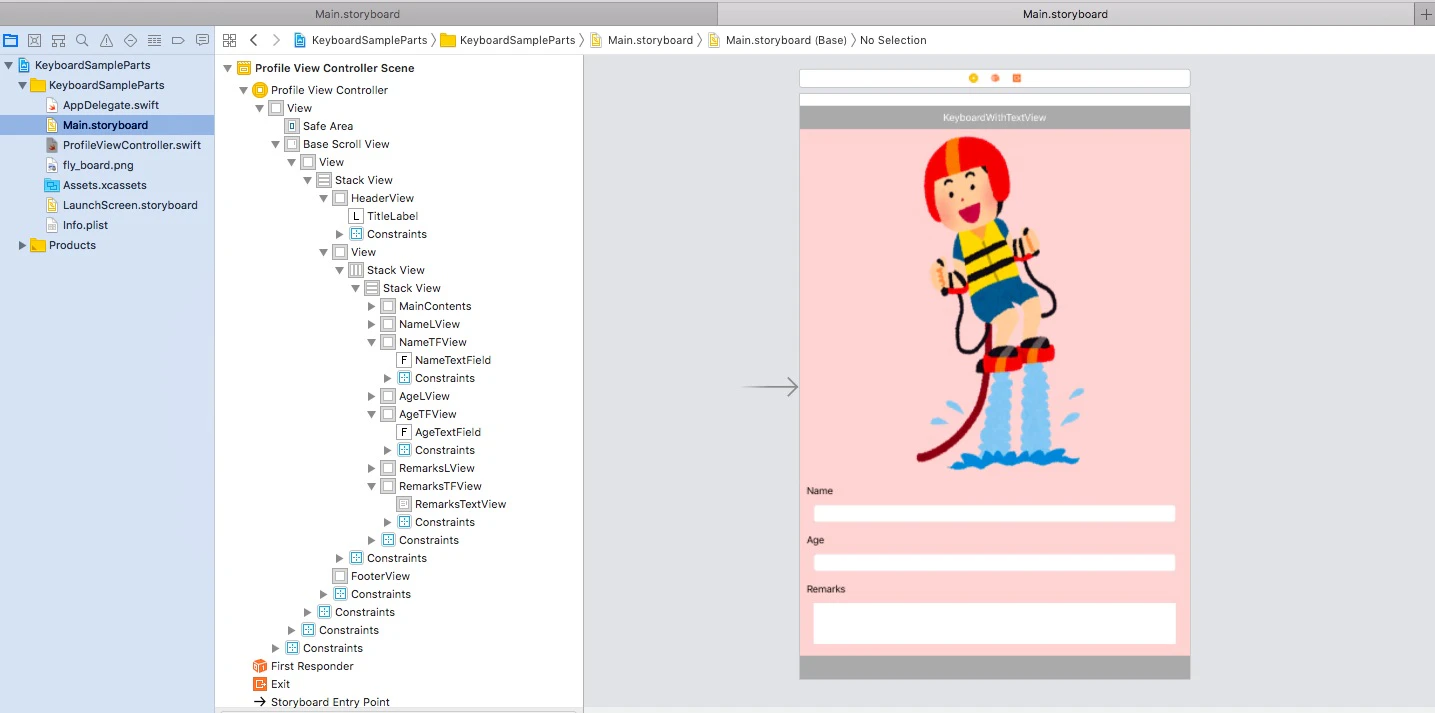
まずはStoryboardです。ScrollViewの上に全ての部品が乗っていますね。
それではソースコードをどうぞ。
ProfileViewController.swift
//
//  ViewController.swift
//  KeyboardSampleParts
//

import UIKit

class ProfileViewController: UIViewController {
    @IBOutlet var nameTextField: UITextField!
    @IBOutlet var ageTextField: UITextField!
    @IBOutlet var remarksTextField: UITextView!
    @IBOutlet var baseScrollView: UIScrollView!

    // 選択中のテキストフィールドを保持
    var activeTextUIView: UIView?

    override func viewDidLoad() {
        super.viewDidLoad()
        nameTextField.delegate = self
        ageTextField.delegate = self
        remarksTextField.delegate = self
    }

    override func viewWillAppear(_ animated: Bool) {
        // キーボードの表示/非表示を監視する
        NotificationCenter.default.addObserver(self, selector: #selector(self.openKeyboard(_:)), name: UIResponder.keyboardWillShowNotification, object: nil)
        NotificationCenter.default.addObserver(self, selector: #selector(self.closeKeyboard(_:)), name: UIResponder.keyboardWillHideNotification, object: nil)
    }

    override func viewWillDisappear(_ animated: Bool) {
        // キーボードの表示/非表示を監視を解除する
        NotificationCenter.default.removeObserver(self, name: UIResponder.keyboardWillShowNotification, object: nil)
        NotificationCenter.default.removeObserver(self, name: UIResponder.keyboardWillHideNotification, object: nil)
    }

    override func touchesBegan(_ touches: Set<UITouch>, with event: UIEvent?) {
        self.view.endEditing(true)
    }

    @objc func openKeyboard(_ notification: Notification){
        // 選択したテキストビューの下辺Y座標を取得する
        guard let activeView = activeTextUIView else{
            return
        }
        let textMaxYpoint = activeView.convert(activeView.frame, to: self.view).maxY

        // キーボードの高さを取得する
        guard let userInfo = notification.userInfo as? [String: Any] else {
            return
        }
        guard let keyboardScreenEndFrame = (userInfo[UIResponder.keyboardFrameEndUserInfoKey] as? NSValue)?.cgRectValue else{
            return
        }

        // 画面の高さを取得する
        let myScreenHeight = UIScreen.main.bounds.size.height

        // テキストの下辺 + キーボードの高さ - スクリーンの高さ = キーボードに隠れてしまったYの領域
        let liftY = textMaxYpoint + keyboardScreenEndFrame.height - myScreenHeight

        // 0よりも大きい時、テキストがキーボードに隠れてしまう
        if liftY >= 0{
            // スクロールビューを上にあげる
            baseScrollView.setContentOffset(CGPoint.init(x: 0 , y: liftY), animated: true)
        }
    }

    @objc func closeKeyboard(_ notification: Notification){
        // キーボードを閉じた時、スクロールビューを元の高さに戻す
        baseScrollView.setContentOffset(CGPoint.init(x: 0 , y: 0), animated: true)
        activeTextUIView = nil
    }
}

extension ProfileViewController:UITextFieldDelegate{
    func textFieldShouldBeginEditing(_ textField: UITextField) -> Bool {
        // 選択中のテキストフィールドを設定
        activeTextUIView = textField
        return true
    }

    func textFieldShouldReturn(_ textField: UITextField) -> Bool {
        // 選択中のテキストフィールドを削除
        textField.resignFirstResponder()
        return true
    }
}

extension ProfileViewController:UITextViewDelegate{
    func textViewShouldBeginEditing(_ textView: UITextView) -> Bool {
        // 選択中のテキストフィールドを設定
        activeTextUIView = textView
        return true
    }
}

extension UIScrollView {
    override open func touchesBegan(_ touches: Set<UITouch>, with event: UIEvent?) {
        self.next?.touchesBegan(touches, with: event)
    }
}
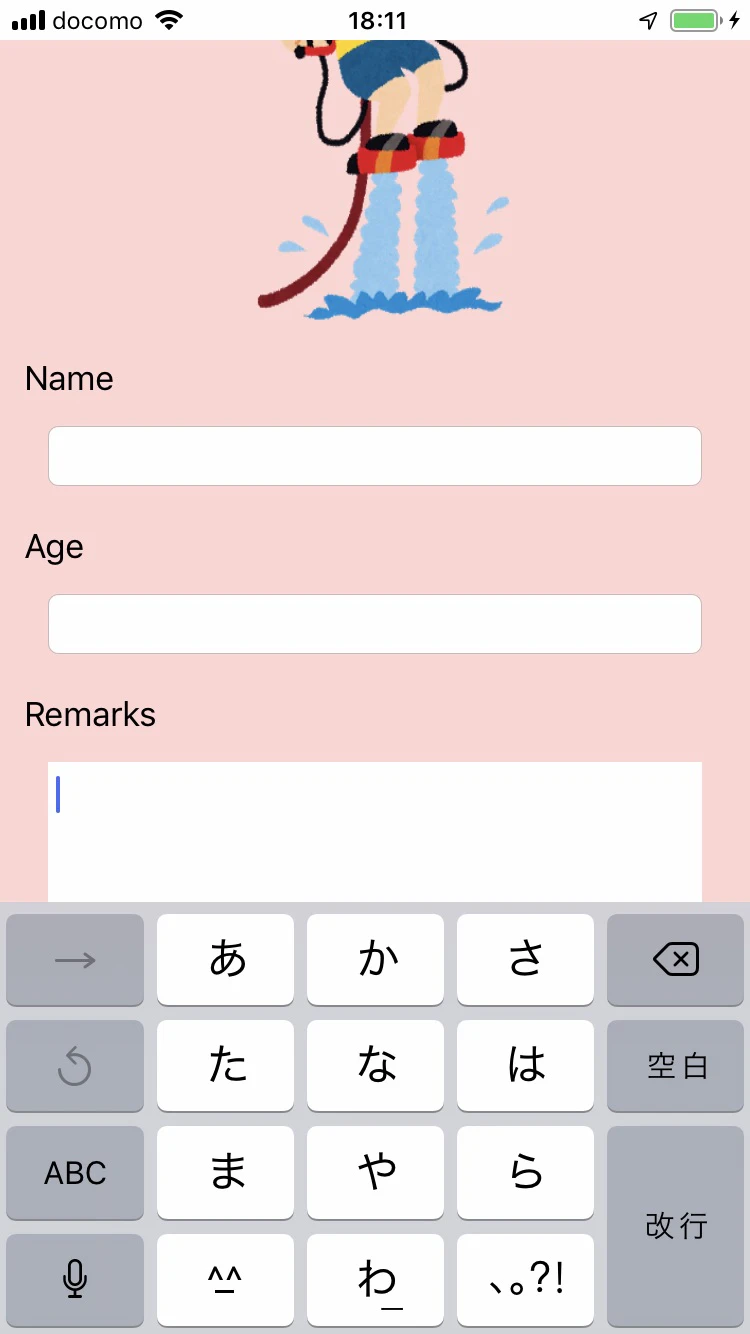
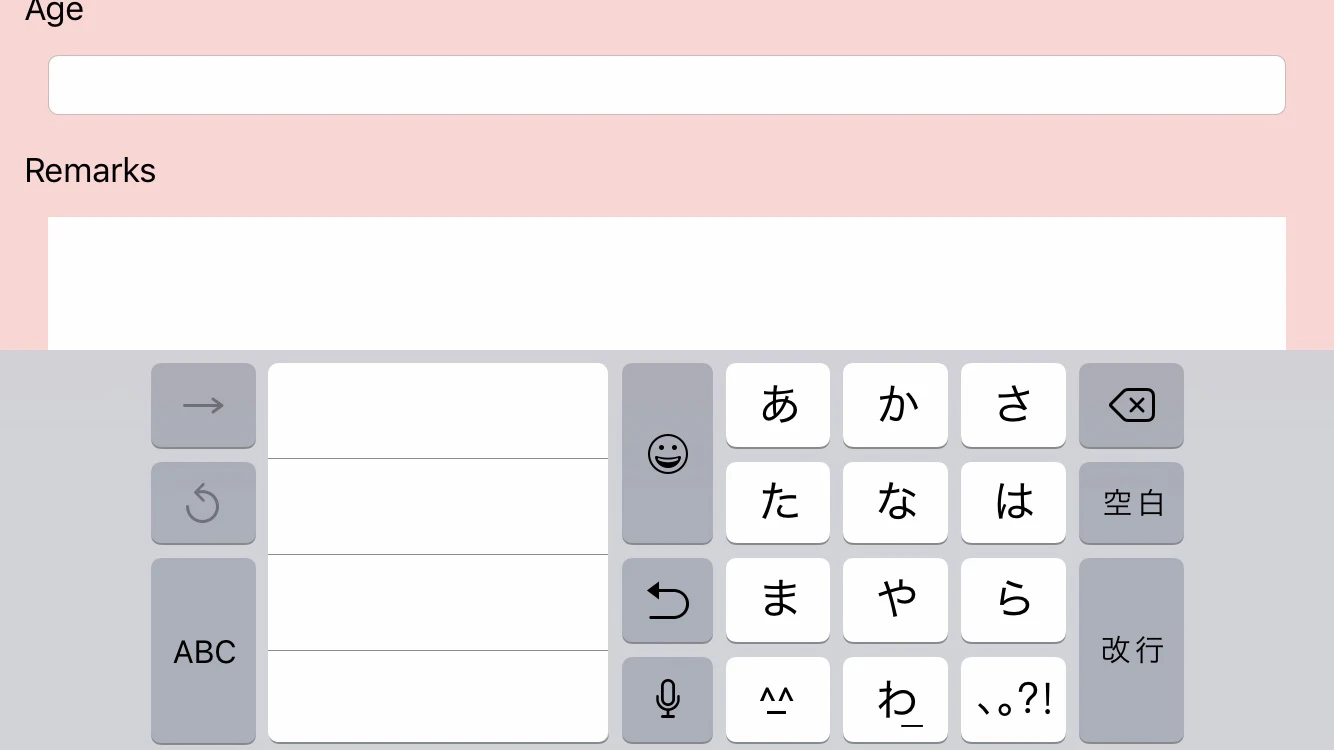
実機テスト
縦画面
横画面
解説
処理の流れは以下の通りです。
1.画面初期表示時:キーボードの表示/非表示を監視する
2.テキスト編集前:選択中のテキストを保持する
3.キーボード表示時:テキストの下辺がキーボードに被るなら、スクロールビューを上にあげる
4.キーボード非表示時:スクロールビューを一番上に戻す
5.キーボード非表示時:選択中のテキストを破棄する
6.画面非表示時:キーボードの表示/非表示を監視を解除する
ポイント
・入れ子のテキストビューの下辺を取るのが大変だよ
入れ子になっているtextViewで
textView.frame.maxY
と書いても親ビューからのmaxY値しか取れません。
convertを使って下記のようにやると簡単に取得することが出来ます。
let textMaxYpoint = activeView.convert(activeView.frame, to: self.view).maxY
・なんかtouchesBeganが効かないよ
スクロールビューはデフォルトではタッチできません。extensionが必要になります。
※本来 「UIScrollView+touchesBeganEvent.swift」といったクラス名に分けるべきでしょうが、サンプルのためまとめています。
extension UIScrollView {
    override open func touchesBegan(_ touches: Set<UITouch>, with event: UIEvent?) {
        self.next?.touchesBegan(touches, with: event)
    }
}
・テキストフィールド保存する部品がUIViewクラスだけど?
    // 選択中のテキストフィールドを保持
    var activeTextUIView: UIView?
UITextFieldとUITextViewを同じ変数に保存したかったので、このような実装にしてみました。
以上になります。