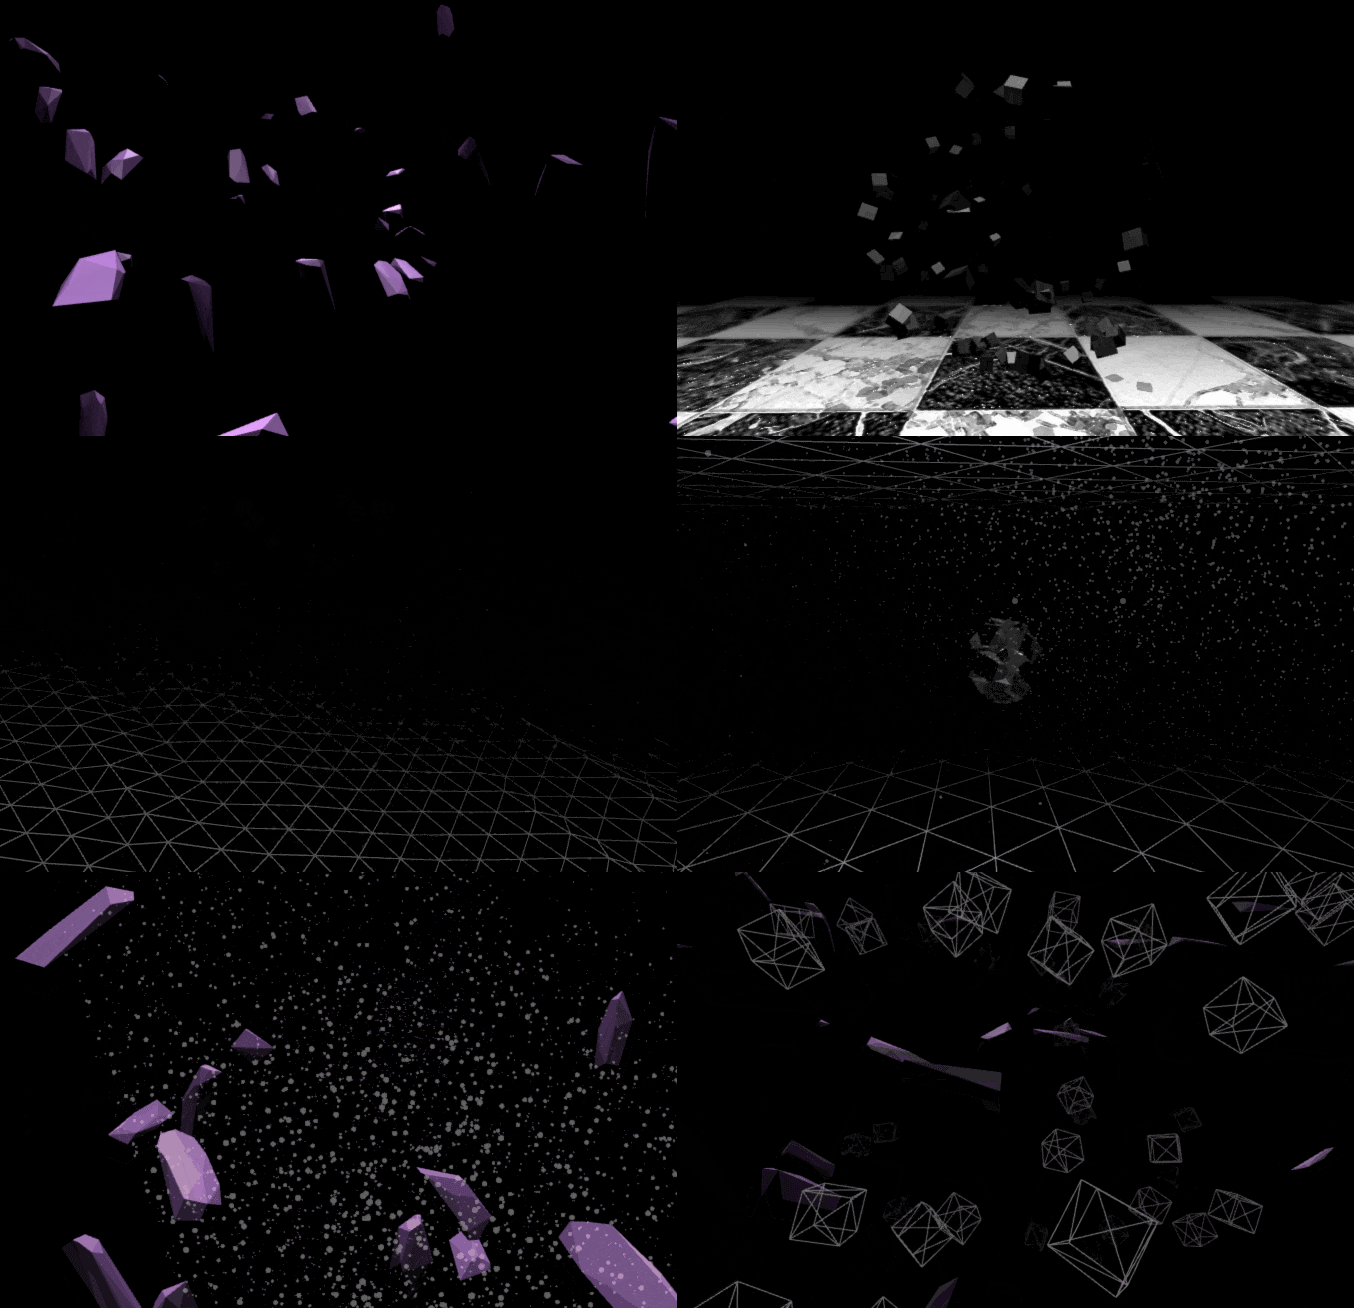
作ったもの

はじめて作った、ブラウザとキーボードのみのVJアプリの一部抜粋です。
対象者
- Three.jsの初心者
- 入門用のサンプル見たけど、どうやってコンテンツ作っていいか未だピンときてない人。
- TypeScriptが何となく分かる人
Three.jsでVJをやりたい
オーディオビジュアルパフォーマンスをやることになり、せっかく勉強してるThree.jsを使いたいということで、簡単なシーンマネージャーを作ることにしました。
構想
- 左右のキーで複数のシーンを切り替え
- 入力イベントなどを後から追加したりできるよう、拡張性は最低限ほしい
後は作りながら固める
どのように作ったか
そもそもThree.jsでレンダリングするまでのプロセスを把握する
だいたい以下のような仕組みになる。
- まずはSceneを作る
- Sceneの中にオブジェクトを入れる
- Rendererを作る
- Cameraを作る
- RendererにCameraとSceneを受け渡す
これらを踏まえて以下のようなステップでシーンをマネージメントしたい
- Scene,Camera,オブジェクトを内包した独自のオブジェクトを作る
- 例えば3つのシーンを切り替えたいなら、上記を3つ作り、配列におさめる
- Rendererは一つだけ用意し、配列の中身をローテーションして渡す
以上の仕組みでなんとかなりそう。
オブジェクト思考だと実装が楽なので、TypeScriptを今回は採用した。
Three.jsはTypeScriptだと比較的ラクです。
子Sceneクラス
/// <reference path="typings/index.d.ts" />


class SceneBoxA {

    public scene: THREE.Scene;
    public camera: THREE.Camera;
    private Box:THREE.Mesh;
    private timer:number = 0;


    constructor() {

        this.createScene();

    }

    // シーンを作る。ここでオブジェクトを格納していく。
    private createScene(){

        // シーンを作る
        this.scene = new THREE.Scene();

        // カメラを作成
        this.camera = new THREE.PerspectiveCamera( 75, window.innerWidth/window.innerHeight, 0.1, 10000 );
        this.camera.position.z = 1000;

        this.Box = new THREE.Mesh(
            new THREE.BoxGeometry(50,50,50),
            new THREE.MeshBasicMaterial(0xffffff)
        );

        this.scene.add(this.Box);

    }

    // ワンフレームごとの処理
    public update() {

        // ❑の横運動
        this.timer += 0.1;
        this.Box.position.x = 50 * Math.sin(this.timer);
    }


}


// *********** ふたつめのシーン *********** //

class SceneBoxB {

    public scene: THREE.Scene;
    public camera: THREE.Camera;
    private Box:THREE.Mesh;
    private timer:number = 0;


    constructor() {

        this.createScene();

    }

    private createScene(){

        this.scene = new THREE.Scene();

        this.camera = new THREE.PerspectiveCamera( 75, window.innerWidth/window.innerHeight, 0.1, 10000 );
        this.camera.position.z = 1000;


        this.Box = new THREE.Mesh(
            new THREE.BoxGeometry(50,50,50),
            new THREE.MeshBasicMaterial(0x888888)
        );

        this.scene.add(this.Box);

    }

    public update() {

        // ❑の縦運動
        this.timer += 0.1;
        this.Box.position.y = 50 * Math.sin(this.timer);
    }


}
今回は極力シンプルなものを用意しました。
それぞれのオブジェクトの中に入ってるのは
- シーン
- カメラ
- ボックスのオブジェクト
のみです。
Meshオブジェクトは自身が持っているシーンに格納し、
あとはアニメーションの処理をupdate()内に書きます。
シーンAはボックスが横にゆらゆら、シーンBは縦にゆらゆらします。
親シーンマネージャークラス
class VThree
{
    // 現在のシーンの番号
    public NUM:number = 0;
    // シーンを格納する配列
    public scenes:any[] = [];
    // Renderer
    public renderer:THREE.Renderer;

    constructor()
    {
        // 初期化処理後、イベント登録
        this.init();

        document.addEventListener( 'resize', this.onWindowResize, false );
        document.addEventListener("keydown", this.onKeyDown, true);

    }


    public init()
    {

        // Rendererを作る

        this.renderer = new THREE.WebGLRenderer({antialias: true});
        this.renderer.setPixelRatio( window.devicePixelRatio );
        this.renderer.setSize( window.innerWidth, window.innerHeight );
        this.renderer.sortObjects = false;
        this.renderer.shadowMap.enabled = true;
        this.renderer.shadowMap.type = THREE.PCFShadowMap;
        this.renderer.domElement.id = "main";
        document.body.appendChild( this.renderer.domElement );

    }

    // 管理したいシーンを格納する関数

    public addScene(scene:Object)
    {

        this.scenes.push(scene);

    }


    // ウィンドウの幅が変わったときの処理
    public onWindowResize = () =>
    {
        this.renderer.setSize( window.innerWidth, window.innerHeight );
    }

    // 現在のシーン番号が、不適切な値にならないようにチェック
    public checkNum = () =>
    {
        if(this.NUM <0)
        {
            this.NUM = this.scenes.length-1;
        }

        if(this.NUM >= this.scenes.length)
        {
            this.NUM = 0;
        }

    }

    // ←→キーでシーン番号を足し引き

    public onKeyDown = (e:KeyboardEvent) => {

        console.log(e);
        // console.log(this.NUM);
        if(e.key == "ArrowRight")
        {
            this.NUM++;
            this.checkNum();
        }
        if( e.key == "ArrowLeft")
        {

            this.NUM--;
            this.checkNum();
        }

        console.log(this.NUM);

    }

    // 最終的な描写処理と、アニメーション関数をワンフレームごとに実行
    public draw() {

        this.scenes[this.NUM].update();
        this.renderer.render(this.scenes[this.NUM].scene, this.scenes[this.NUM].camera);
        requestAnimationFrame(this.draw.bind(this));

    }
}
Three.jsベースのVJ用のマネージャーということでVThreeというクラスを作ります。
基本的にはこの関数のインスタンスにシーンを突っ込んで、最終的にdraw()関数を呼ぶだけです。
最終的なHTML
<!DOCTYPE html>
<html lang="ja">
<head>
    <meta charset="UTF-8">
    <title>Title</title>
</head>
<style>
    body {
        width: 100%;
        height:100%;
        margin: 0;
        background-color: #000
    }
    canvas {
        width: 100%;
        height: 100%;
        position: fixed;
        top: 0;
        left: 0;
    }

</style>
<body>
<script type="text/javascript" src="js/three.min.js"></script>
<script type="text/javascript" src="js/VThree.js"></script>
<script type="text/javascript" src="js/template.js"></script>

<script>
    (function () {

        // VThreeのインスタンスを作成
        var vthree = new VThree();
        // 用意したシーンのインスタンスを作成
        var sceneBoxA = new SceneBoxA();
        var sceneBoxB = new SceneBoxB();
        // vthreeオブジェクトに突っ込む
        vthree.addScene(sceneBoxA);
        vthree.addScene(sceneBoxB);

        // ループ実行
        vthree.draw();

    })();
</script>
</body>
</html>
スッキリしましたね。
実行結果

http://localhost:63342/vj_project/VThreeTest.html
わかりにくいですが、左右のキーボタンを押してます。
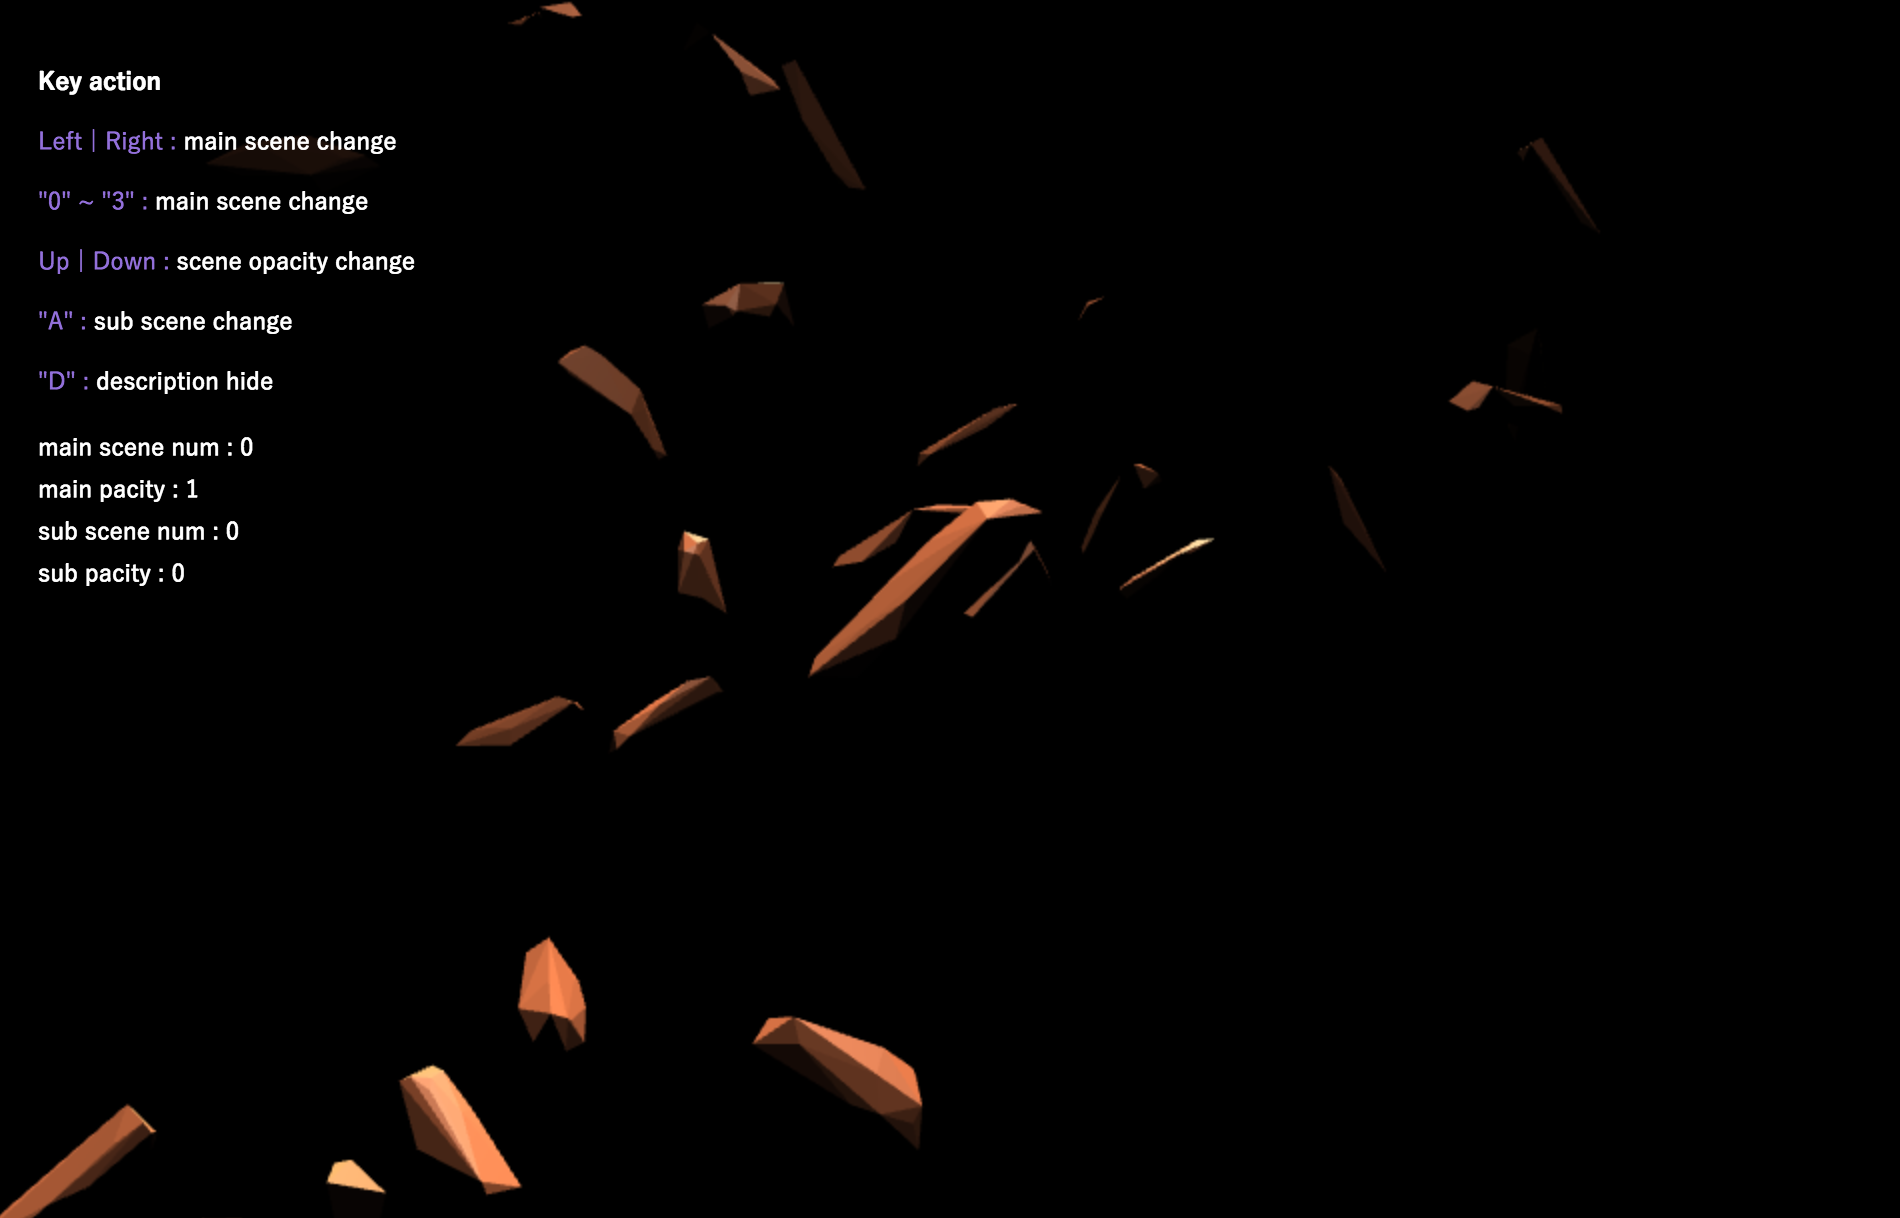
おまけ:最初のサンプルのやつについて

https://murasaki-uma.github.io/webgl_vj/
最後のサンプルは複数シーンに加えて、
- 2つの映像を重ねて描写する
- 数字キーを叩いて直接その番号のシーンを呼ぶ
- シーンが変わるときはふわっとフェードイン・アウトさせる
といった細かい演出が入ってます。
しかしこのサンプルを作ってるときは、まだ上記のように完成されたスクリプトで無いのに加え、VJしながら直接コードを書き換えたりしてたのでかなりコードが汚い…。
いずれ作り直します!
ざっくり説明なので、気になったことがあればコメントやツイッターで直接リプもらえると助かります!