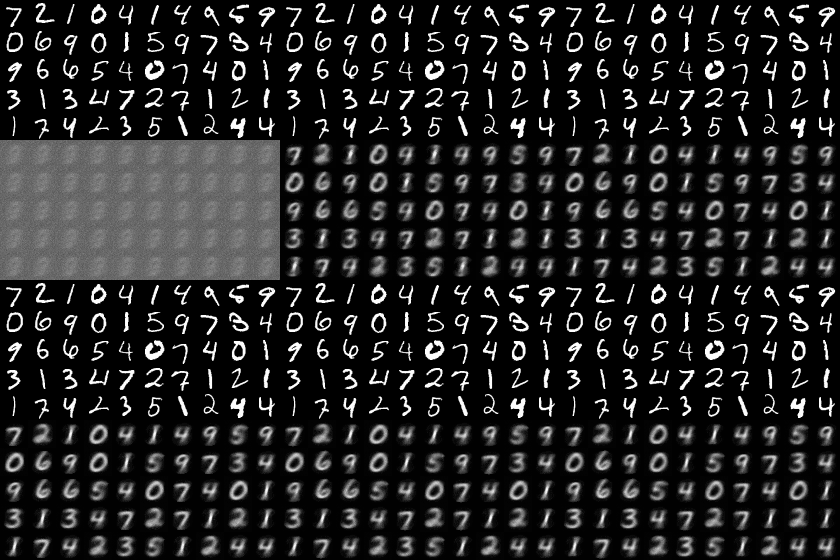
@sugiyamath さんの2017年11月11日に更新「CapsuleNetをMNISTで試す」のコードを以下の変更をして遊んでみた。
「ただ、参考にしたgithubリンクのソースをほとんど真似ているだけなので、日本語を読むのが面倒くさい人はリンクへ飛んでください。」とあるが、
オリジナルのGithubのコードに比較すると、とても分かりやすい無駄のないコードになっている。
ということで、解説等は上記やオリジナルの以下のページをご覧いただければと思います。
【参考】
Kevin Mader CapsuleNet on MNIST
コードは以下に置きました。
MuAuan/capsNet
① MNISTデータをKaggelのデータを変更し、Keras.datasetから落とすようにした
② 学習に時間がかかるので、データ数を小さくできるようにした
③ 画像が出力されるが、これも履歴が見えるように途中出力するように変更した
④ 途中のWeightパラメータを保存するように変更した
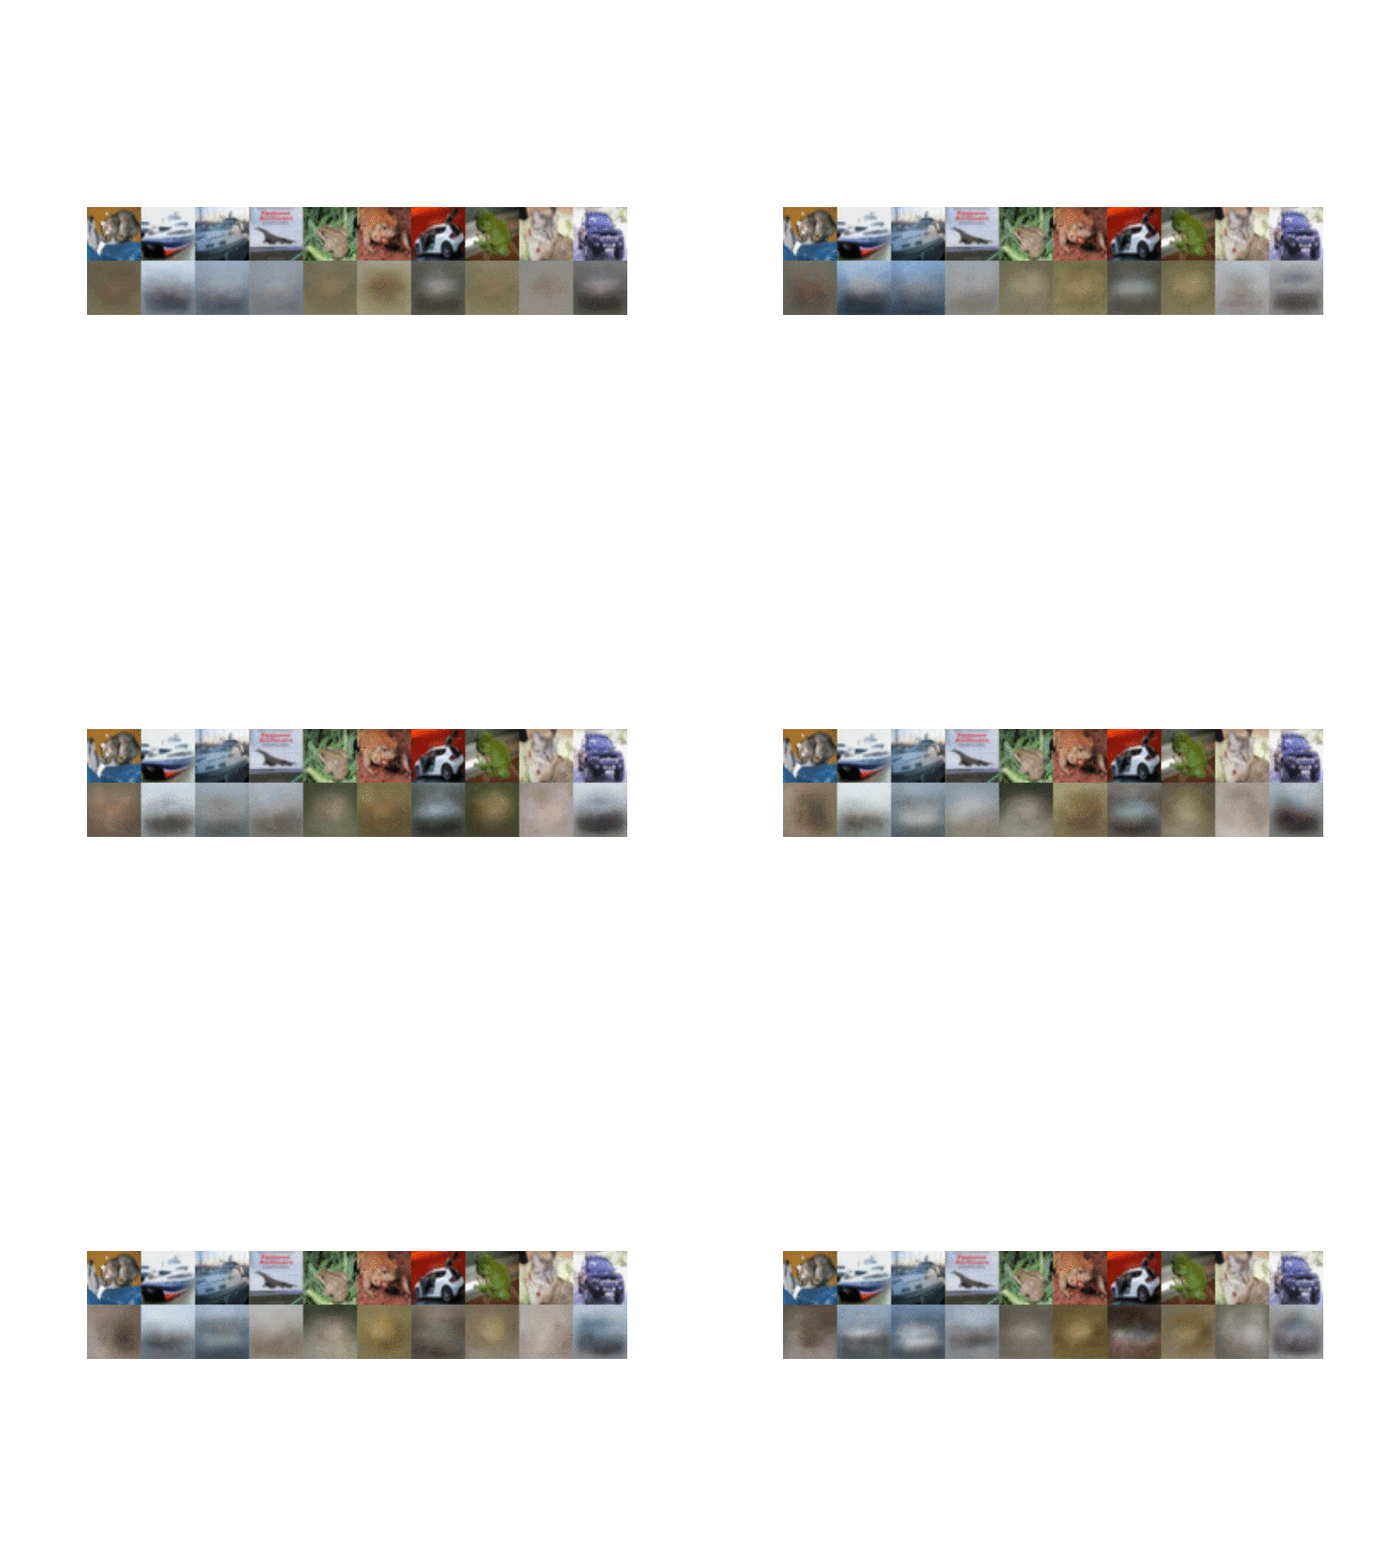
⑤ Cifar10つまりカラー画像に対応した
結果
MNISTは簡単に動いて、データ数に依存せず、少ないデータ数でもほぼ100%近くの精度が出た。
Layer (type)                     Output Shape          Param #     Connected to
=================================================================================================
input_1 (InputLayer)             (None, 28, 28, 1)     0
_________________________________________________________________________________________________
conv1 (Conv2D)                   (None, 20, 20, 256)   20992       input_1[0][0]
_________________________________________________________________________________________________
conv2d_1 (Conv2D)                (None, 6, 6, 256)     5308672     conv1[0][0]
_________________________________________________________________________________________________
reshape_1 (Reshape)              (None, 1152, 8)       0           conv2d_1[0][0]
_________________________________________________________________________________________________
lambda_1 (Lambda)                (None, 1152, 8)       0           reshape_1[0][0]
_________________________________________________________________________________________________
digitcaps (CapsuleLayer)         (None, 10, 16)        1486080     lambda_1[0][0]
_________________________________________________________________________________________________
input_2 (InputLayer)             (None, 10)            0
_________________________________________________________________________________________________
mask_1 (Mask)                    (None, 16)            0           digitcaps[0][0]
                                                                   input_2[0][0]
_________________________________________________________________________________________________
dense_1 (Dense)                  (None, 512)           8704        mask_1[0][0]
_________________________________________________________________________________________________
dense_2 (Dense)                  (None, 1024)          525312      dense_1[0][0]
_________________________________________________________________________________________________
dense_3 (Dense)                  (None, 784)           803600      dense_2[0][0]
_________________________________________________________________________________________________
out_caps (Length)                (None, 10)            0           digitcaps[0][0]
_________________________________________________________________________________________________
out_recon (Reshape)              (None, 28, 28, 1)     0           dense_3[0][0]
=================================================================================================
Total params: 8,153,360
Trainable params: 8,141,840
Non-trainable params: 11,520
_________________________________________________________________________________________________
Cifar10への適用は、3ch化であるが、これは入力と出力を3ch対応すれば、モデルなどは自動的に追従するコードだった
モデルは以下のとおりで、上と比較すると
input_1 (InputLayer)            (None, 32, 32, 3)    0
out_recon (Reshape)             (None, 32, 32, 3)    0           dense_3[0][0]
筆者が変更したのは、入出力を3chにしたことだけである。
途中のLayerのテンソルサイズも変更されているが、これは自動的に変更された。
Layer (type)                    Output Shape         Param #     Connected to
==================================================================================================
input_1 (InputLayer)            (None, 32, 32, 3)    0
__________________________________________________________________________________________________
conv1 (Conv2D)                  (None, 24, 24, 256)  62464       input_1[0][0]
__________________________________________________________________________________________________
conv2d_1 (Conv2D)               (None, 8, 8, 256)    5308672     conv1[0][0]
__________________________________________________________________________________________________
reshape_1 (Reshape)             (None, 2048, 8)      0           conv2d_1[0][0]
__________________________________________________________________________________________________
lambda_1 (Lambda)               (None, 2048, 8)      0           reshape_1[0][0]
__________________________________________________________________________________________________
digitcaps (CapsuleLayer)        (None, 10, 16)       2641920     lambda_1[0][0]
__________________________________________________________________________________________________
input_2 (InputLayer)            (None, 10)           0
__________________________________________________________________________________________________
mask_1 (Mask)                   (None, 16)           0           digitcaps[0][0]
                                                                 input_2[0][0]
__________________________________________________________________________________________________
dense_1 (Dense)                 (None, 512)          8704        mask_1[0][0]
__________________________________________________________________________________________________
dense_2 (Dense)                 (None, 1024)         525312      dense_1[0][0]
__________________________________________________________________________________________________
dense_3 (Dense)                 (None, 3072)         3148800     dense_2[0][0]
__________________________________________________________________________________________________
out_caps (Length)               (None, 10)           0           digitcaps[0][0]
__________________________________________________________________________________________________
out_recon (Reshape)             (None, 32, 32, 3)    0           dense_3[0][0]
==================================================================================================
Total params: 11,695,872
Trainable params: 11,675,392
Non-trainable params: 20,480
__________________________________________________________________________________________________
Cifar10のVal_accについて
結果は以下の通り、あまり精度が上がらなかった。
以下は、Cifar10 Trainデータ50000個 Testデータ10000個で実施した結果である。
しかも、過学習の兆候が出始めて、出力画像もまだまだの様相だが、これ以上の改善は難しそうだ。
※論文中では10.6%エラーだが条件が素直でない(ウワン的には意味不明)ので比較対象から外して考えるべきである
※以下のデータは少数データでPreTrainingした後の経過である(1000個×10epoch)
| epoch | loss | acc | val_loss | val_acc |
|---|---|---|---|---|
| 0 | 0.556477 | 0.269500 | 0.492477 | 0.344000 |
| 1 | 0.462293 | 0.398200 | 0.481335 | 0.382000 |
| 2 | 0.427487 | 0.457400 | 0.475905 | 0.380000 |
| 3 | 0.403609 | 0.497500 | 0.437294 | 0.463000 |
| 4 | 0.380947 | 0.542500 | 0.423083 | 0.476000 |
| 5 | 0.358402 | 0.588700 | 0.407056 | 0.515000 |
| 6 | 0.340758 | 0.622100 | 0.421193 | 0.494000 |
| 7 | 0.322225 | 0.663700 | 0.394301 | 0.535000 |
| 8 | 0.304157 | 0.700500 | 0.388059 | 0.526000 |
| 9 | 0.288162 | 0.739500 | 0.396134 | 0.502000 |
この結果は、以下の参考サイトにある単純な2層などと比較しても悪い精度であり、最近のトップデータとは比較にならない悪さであった。
Cifar-10 performance #10でも議論されているが、72%強でありあまり上がっていないようだ。
【参考】
ChainerによるCIFAR-10の一般物体認識 (2)
実際、今回のモデルは初期バージョンであるので、今後はCNNと同じように多くの工夫がされて進化していくものであろと思う。
XifengGuo/CapsNet-Kerasのissueの中から特に影響がありそうな議論を以下に記載しておく
The lam_recon parameter is set to 0.0005 which is not right. It should be set around 0.1. But still the validation loss is decreasing. The final validation accuracy is about 70%, but still highly under-fitting.

