コーチマークってなに?
アプリの通常画面の上にオーバーレイで重ねて矢印とか説明文とかで使い方を分かりやすく説明してくれます。
今回は**Spotlight**というライブリーを使ってコーチマークを表示してみます!
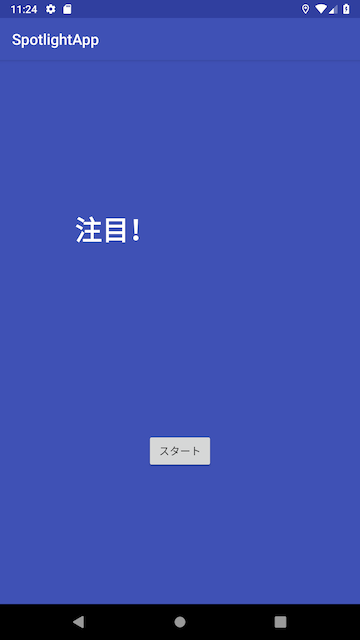
成果物:

まずはGradle
v1.8.0のSpotlight使用したおります。
dependencies {
    implementation 'com.github.takusemba:spotlight:1.8.0'
}
ActivityとXML作成
CoachMarkActivity.kt
class CoachMarkActivity : AppCompatActivity() {
override fun onCreate(savedInstanceState: Bundle?) {
super.onCreate(savedInstanceState)
setContentView(R.layout.activity_coachmark)
// スタートボタン押すとコーチマーク表示
findViewById<View>(R.id.start_button).setOnClickListener {
val target = findViewById<View>(R.id.target)
val targetLocation = IntArray(2)
target.getLocationInWindow(targetLocation)
val targetX = targetLocation[0] + target.width / 2f
val targetY = targetLocation[1] + target.height / 2f
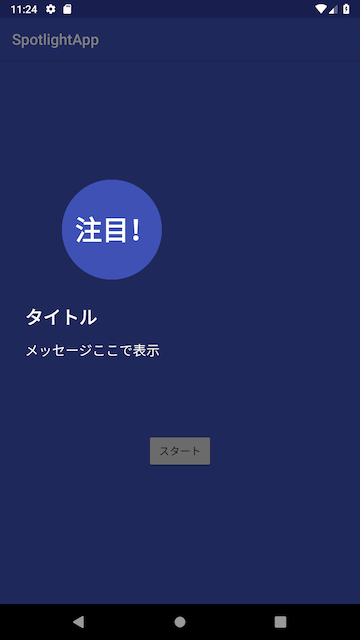
// 円の大きさ
val targetRadius = 200f
// 注目されたいところを設定する
val firstTarget = SimpleTarget.Builder(this@CoachMarkActivity)
.setPoint(targetX, targetY)
.setShape(Circle(targetRadius))
.setTitle("タイトル")
.setDescription("メッセージここで表示")
.setOverlayPoint(100f, targetY + targetRadius + 100f)
.build()
// コーチマークを作成
Spotlight.with(this@CoachMarkActivity)
// コーチマーク表示される時の背景の色
.setOverlayColor(R.color.background)
// 表示する時間
.setDuration(1000L)
// 表示するスピード
.setAnimation(DecelerateInterpolator(2f))
// 注目されたいところ(複数指定も可能)
.setTargets(firstTarget)
// 注目されたいところ以外をタップする時に閉じられるかどうか
.setClosedOnTouchedOutside(true)
// コーチマーク表示される時になんかする
.setOnSpotlightStateListener(object : OnSpotlightStateChangedListener {
override fun onStarted() {
Toast.makeText(this@CoachMarkActivity, "spotlight is started", Toast.LENGTH_SHORT)
.show()
}
override fun onEnded() {
Toast.makeText(this@CoachMarkActivity, "spotlight is ended", Toast.LENGTH_SHORT).show()
}
})
.start()
}
activity_coachmark.xmlは省略します。
スタートボタンを押すと丸いコーチマークを表示することができました!
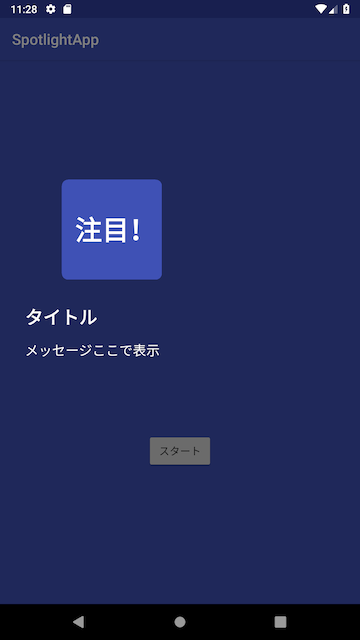
四角いコーチマーク表示したい時
CoachMarkActivity.kt
// 省略
findViewById<View>(R.id.start_button).setOnClickListener {
      val target = findViewById<View>(R.id.target)
      val targetLocation = IntArray(2)
      target.getLocationInWindow(targetLocation)
      val targetX = targetLocation[0] + target.width / 2f
      val targetY = targetLocation[1] + target.height / 2f
      // 円の大きさ
      val targetRadius = 200f
      // 四角いコーチマークの高さと幅を追加
      val targetWidth = 400f
      val targetHeight = 400f

      // first target
      val firstTarget = SimpleTarget.Builder(this@CoachMarkActivity)
          .setPoint(targetX, targetY)
          // CircleからRoundedRectangleに変更すると四角いコーチマーク表示できる
          .setShape(RoundedRectangle(targetWidth, targetHeight, 25f))
          .setTitle("タイトル")
          .setDescription("メッセージここで表示")
          .setOverlayPoint(100f, targetY + targetRadius + 100f)
          .build()

// 省略(上記と同様)
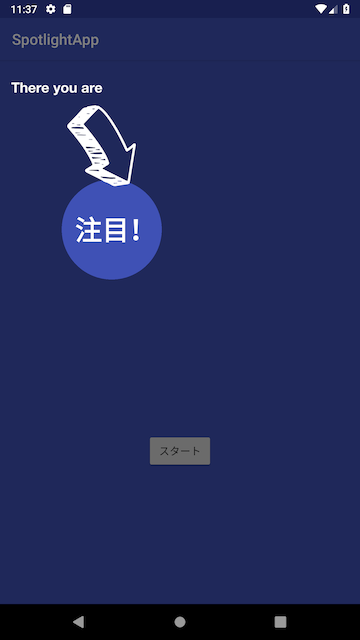
画像とか表示したい時
説明文だけではなく画像を入れたい時にはもう一つのXMLを作成することが必要です。
custom_target.xml
<?xml version="1.0" encoding="utf-8"?>
<androidx.constraintlayout.widget.ConstraintLayout xmlns:android="http://schemas.android.com/apk/res/android"
  xmlns:app="http://schemas.android.com/apk/res-auto"
  xmlns:tools="http://schemas.android.com/tools"
  android:layout_width="match_parent"
  android:layout_height="match_parent"
  tools:background="@color/background"
  >

  <ImageView
    android:layout_width="wrap_content"
    android:layout_height="wrap_content"
    android:src="@drawable/ic_arrow"
    android:layout_marginTop="110dp"
    android:layout_marginLeft="15dp"
    app:layout_constraintTop_toTopOf="parent"
    app:layout_constraintStart_toStartOf="parent"/>

</androidx.constraintlayout.widget.ConstraintLayout>
CoachMarkActivity.kt
// 省略

// スタートボタンを押すとコーチマーク表示
findViewById<View>(R.id.custom_target).setOnClickListener { _ ->
      val inflater = LayoutInflater.from(this@CoachMarkActivity)

      val targets = ArrayList<Target>()

      // 注目されたいところセットする
      val firstRoot = FrameLayout(this)
      val first = inflater.inflate(R.layout.custom_target, firstRoot)
      val firstTarget = CustomTarget.Builder(this@CoachMarkActivity)
          .setPoint(findViewById<View>(R.id.target))
          .setShape(Circle(200f))
          .setOverlay(first)
          .build()

      targets.add(firstTarget)

      // コーチマーク作成
      val spotlight = Spotlight.with(this@CoachMarkActivity)
          .setOverlayColor(R.color.background)
          .setDuration(1000L)
          .setAnimation(DecelerateInterpolator(2f))
          .setTargets(targets)
          .setClosedOnTouchedOutside(false)
          .setOnSpotlightStateListener(object : OnSpotlightStateChangedListener {
            override fun onStarted() {
              Toast.makeText(this@CoachMarkActivity, "spotlight is started", Toast.LENGTH_SHORT).show()
            }

            override fun onEnded() {
              Toast.makeText(this@CoachMarkActivity, "spotlight is ended", Toast.LENGTH_SHORT).show()
            }
          })
      spotlight.start()
}
これで画像コーチマークを表示することができました!
コーチマークを閉じる処理
簡単にspotlight.closeSpotlight()を追加すればコーチマークを閉じることができます。
CoachMarkActivity.kt
      val closeSpotlight = View.OnClickListener { spotlight.closeSpotlight() }
      first.findViewById<View>(R.id.close_spotlight).setOnClickListener(closeSpotlight)