0. 背景

(画像引用先はこちら)
私はLaTeX愛用者である。(LaTeXとは)
リンクをみていただければわかるように、TeXは「数式を美しく書くソフト」である。
私はこれまで、macOSに3回ほどTeXを導入してきた。割と面倒くさいTeXの導入から実行までをまとめてみることにする。
Windows等については、私は未経験であるのでここでは触れない。
参考リンクを適宜埋め込んでいく。詳しい説明はそちらに任せることにする。
私自身のメモとしての要素が強いため、読みにくいと思うがご了承いただきたい。
1. MacTeX の導入
インストールはこちらより行う。インストール方法は
- パッケージをインストールしてから指示に従っていく。
- homebrew経由でインストール。
私はhomebrew経由でのインストールをやっているので、この記事ではhomebrewからインストールしていく。
homebrewをまだ導入していない場合は、こちらから行っていただきたい。homebrewが何者なのかについては、こちらから。導入しておくと、色々と便利だった。
homebrewを導入し終えたら、以下のコードを1つずつ順にターミナルでインストールしていく。(以下のコード中の '$'はターミナルに書いてあるからコピーする必要はない。)
$ brew cask install mactex
$ sudo tlmgr update --self --all
$ sudo tlmgr paper a4
1行目の brew cask install mactexの後に2行目 sudo tlmgr update --self --allを実行すると、エラーsudo: tlmgr: command not foundが発生する可能性がある。(私もそうだった)
この対処法はこちらにも書いてあるように、一旦ターミナルを閉じると解決したのでここに記録として残しておく。
2. ヒラギノフォントの導入
macOSにあるヒラギノフォントを使えるように導入していこう。参考サイトはこちら
$ sudo tlmgr update --self --all
$ sudo tlmgr repository add http://contrib.texlive.info/current tlcontrib
$ sudo tlmgr pinning add tlcontrib '*'
$ sudo tlmgr install japanese-otf-nonfree japanese-otf-uptex-nonfree ptex-fontmaps-macos cjk-gs-integrate-macos
$ sudo cjk-gs-integrate --link-texmf --cleanup
$ sudo cjk-gs-integrate-macos --link-texmf
$ sudo mktexlsr
フォントの導入について調べたら、もう1種類出てきた。違いはよくわからないが入れていこう。参考サイトはこちら
$ sudo cjk-gs-integrate --link-texmf --force
$ sudo mktexlsr
$ sudo kanji-config-updmap-sys hiragino-elcapitan-pron
mac本体でのTeX設定はこれで終了。
3. AtomでTeXを執筆する準備
僕は、TeXの執筆をAtomでしています。僕は趣味でいろんなプログラミング言語を書いているのですが、大体の言語はAtomで書いています。先ほど埋め込んだリンクには、Atomの初期設定的なことが詳しく書いてあるので、Atomを初めて聞いた方はのぞいてみてください。
Atomのインストールは → こちら
※macOSになっているので注意。お使いのPCに合わせてインストールしてください。
3.1 TeX環境を便利にしてくれるパッケージ
Atom は、必要に応じてパッケージをインストールしていき、機能を拡張させていきます。TeXを使うにあたって、以下のパッケージ
~~
language-latex : Atom内でLaTeXのシンタックスハイライトを行う
latex : Atom内でLaTeXのスクリプトをコンパイルする
pdf-view : Atom用のPDF viewer
latexer : Atom内でのLaTeXの自動補完
~~
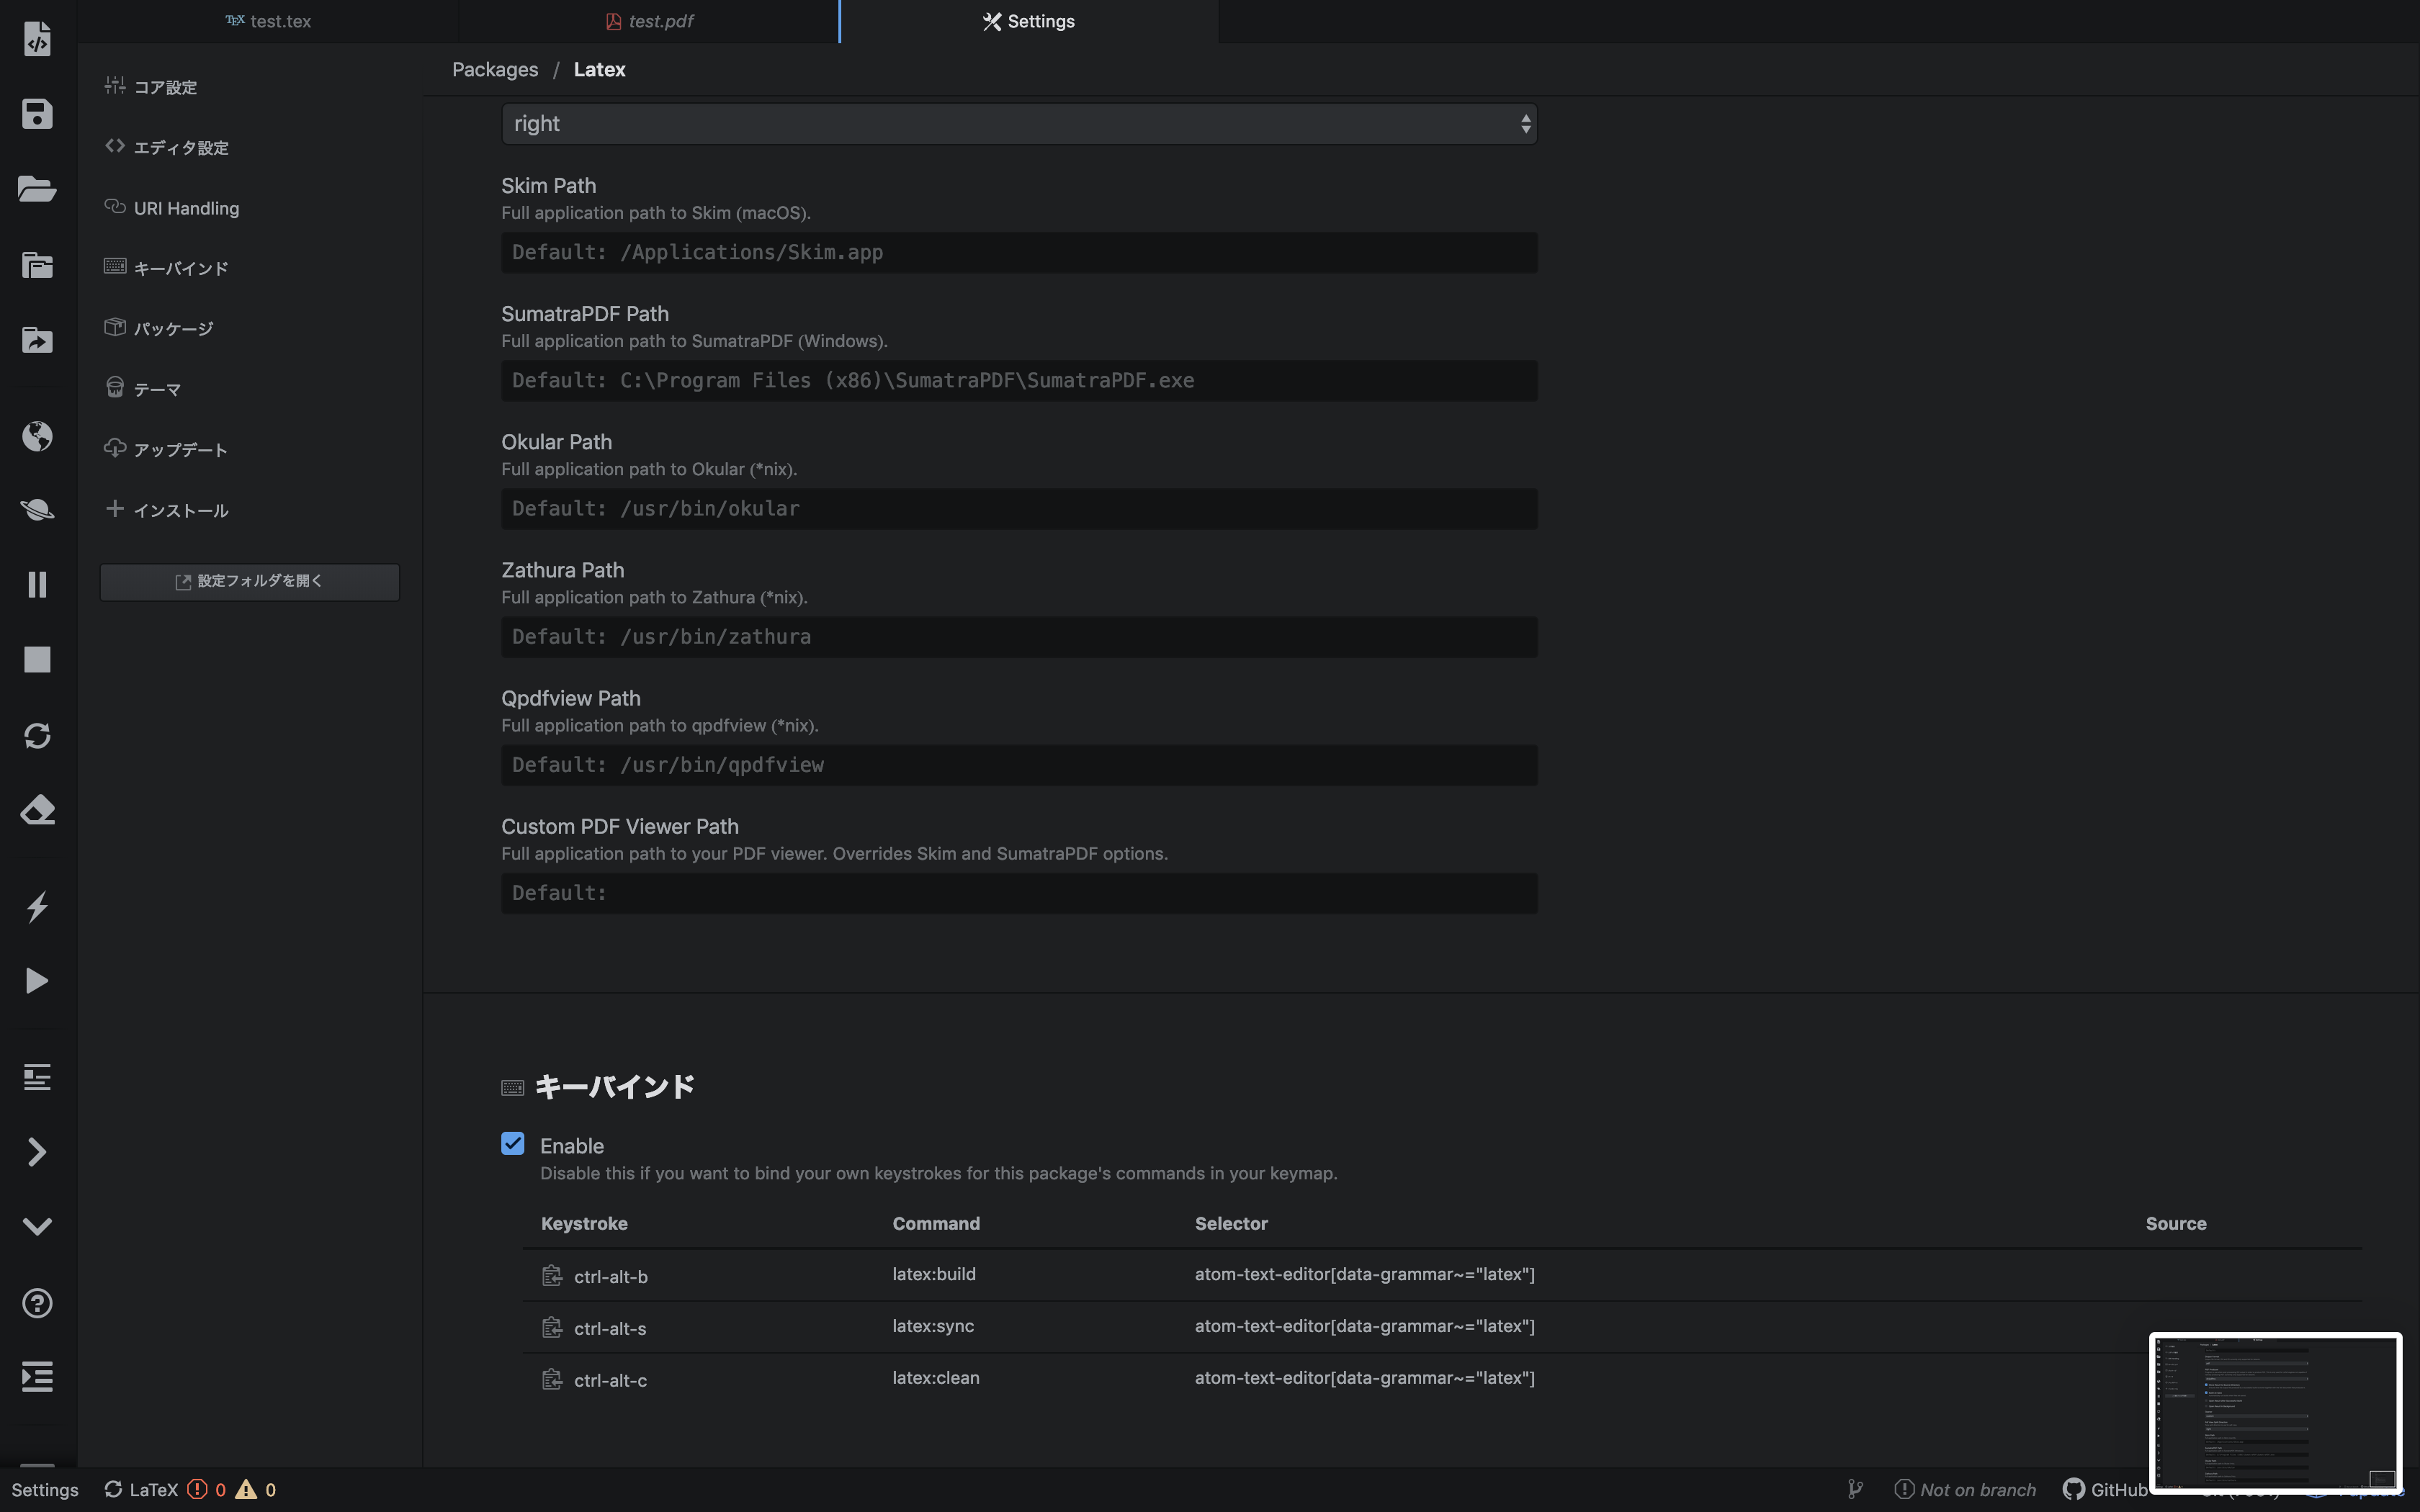
をインストールしておけば、快適な環境になる。上記パッケージlatexでは、インストール後に設定が必要であるのでみていこう。


これでもうTeXを書くだけになった。
4. 書いてみた

私はすでに色々と設定している(太文字ベクトルを書けるようにしたり、式番号の表示を変えたり・・・)が、基本的な記法は変わらない。
\documentclass[dvipdfmx,uplatex]{jsarticle}
\def\vector#1{\mbox{\boldmath $#1$}}
\usepackage{amsmath}
\usepackage{amssymb}
\usepackage[hiresbb]{graphicx}
\usepackage{ascmac}
\usepackage{siunitx}
\usepackage{float}
\usepackage{tikz}
\usepackage{circuitikz}
\usepackage{url}
\usepackage{braket}
\usepackage[colorlinks=true, bookmarks=true,
bookmarksnumbered=true, bookmarkstype=toc, linkcolor=blue,
urlcolor=blue, citecolor=blue]{hyperref}
\usepackage[version=3]{mhchem}
\makeatletter
 \renewcommand{\theequation}{%
   \thesubsection.\arabic{equation}}
  \@addtoreset{equation}{subsection}
\makeatother
\title{}
\author{}
\date{\today}

\begin{document}
\maketitle
\setcounter{tocdepth}{3}
\tableofcontents
\listoffigures
\listoftables


AtomでTeXを書いてみた。

\begin{equation}
  \int x dx = \frac{1}{2}x^2 + C
\end{equation}


\end{document}
終わりに
快適なTeXライフを。
参考文献
埋め込ませていただいた全てのサイト様
vscode での環境構築はこちら→https://qiita.com/Mizuto_Kadowaki/items/c2ceefc2213667d99a1a