経緯
これまで,TeXはじめ何らかの言語でコードを書くときは「Atom」を使ってきましたが,個人的にVSCodeのUIが気に入ったので乗り換えました.そこで,ここではTeXを快適に使用するための環境構築方法をまとめます.これから同様の設定をする人の助けになれば嬉しいです.VSCodeのinstallはすませてください.「(使っているOS) VSCode install」でググれば出てきます.
*これを書いているのが,徹夜明けなのでまずは書き上げます,んで意識あるときに追記します.
動作環境
macOS Catalina 10.15.5
導入への大まかな流れ(目次)
- setting.json をいじる
- extension のinstall
- テスト
setting.json をいじる
VSCodeを開いた状態で,cmd + , を押して設定を開きます.右上のスニペットのマークを押すと setting.jsonを編集する画面が出てくるので,以下のコードを追加します.元からあるカッコの中に記述します.
"latex-workshop.latex.recipes": [
        {
            "name": "latexmk 🔃",
            "tools": [
            "latexmk"
            ]
        },
        {
            "name": "pdflatex ➞ bibtex ➞ pdflatex × 2",
            "tools": [
            "pdflatex",
            "bibtex",
            "pdflatex",
            "pdflatex"
            ]
        }
        ],
    "latex-workshop.latex.tools": [
        {
            "name": "latexmk",
            "command": "latexmk",
            "args": [
             "-e",
             "$latex=q/uplatex %O -synctex=1 -interaction=nonstopmode -file-line-error %S/",
             "-e",
             "$bibtex=q/upbibtex %O %B/",
             "-e",
             "$biber=q/biber %O --bblencoding=utf8 -u -U --output_safechars %B/",
             "-e",
             "$makeindex=q/upmendex %O -o %D %S/",
             "-e",
             "$dvipdf=q/dvipdfmx %O -o %D %S/",
             "-norc",
             "-gg",
             "-pdfdvi",
             "%DOC%"
            ]
        }
        ],
        "latex-workshop.view.pdf.viewer": "tab"
ここまで完了すると,こうなっているはず↓↓↓

これで,コンパイルをするときに cmd+Sを押すだけで自動コンパイルしてくれます.
extension のinstall
tex に関するextensionは以下のものを入れています.ここでは紹介程度.

テスト
実際に動くかみてみましょう.
いつものように,以下のような記述をしました.
\documentclass[dvipdfmx,uplatex]{jsarticle}
\def\vector#1{\mbox{\boldmath $#1$}}
\usepackage{amsmath}
\usepackage{amssymb}
\usepackage[hiresbb]{graphicx}
\usepackage{ascmac}
\usepackage{siunitx}
\usepackage{float}
\usepackage{tikz}
\usepackage{circuitikz}
\usepackage{url}
\usepackage{braket}
\usepackage[colorlinks=true, bookmarks=true,
bookmarksnumbered=true, bookmarkstype=toc, linkcolor=blue,
urlcolor=blue, citecolor=blue]{hyperref}
\usepackage[version=3]{mhchem}
\usepackage{wrapfig}
\makeatletter
 \renewcommand{\theequation}{%
   \thesubsection.\arabic{equation}}
  \@addtoreset{equation}{subsection}
\makeatother
\title{テスト}
\author{Kadowaki Mizuto}

\begin{document}
\maketitle
\setcounter{tocdepth}{3}
\tableofcontents
\listoffigures
\listoftables

\section{運動方程式}

テストです.\cite{Nagai2020}

\begin{equation}
  m\dfrac{d^2\vector{r}}{dt^2} = \vector{F}
\end{equation}

これを参考にしてね.図\ref{fig:a}

\begin{figure}[h]
  \begin{center}
  \includegraphics[width=6cm,clip]{a.png}
  \caption{テスト}
  \label{fig:a}
  \end{center}
  \end{figure}

%文章内で引用番号がつく。〇〇に記載する内容はbibtexコードの先頭にあるコード。


%hoge.bibの呼び出し
\bibliography{hoge.bib} %hoge.bibの名前
%スタイルの選択(他にもあるっぽいので調べてみてね)
\bibliographystyle{plain} %参考文献出力スタイル(ここではplainを使用)


\end{document}
結果はこちら

きちんとコンパイルできていますね!
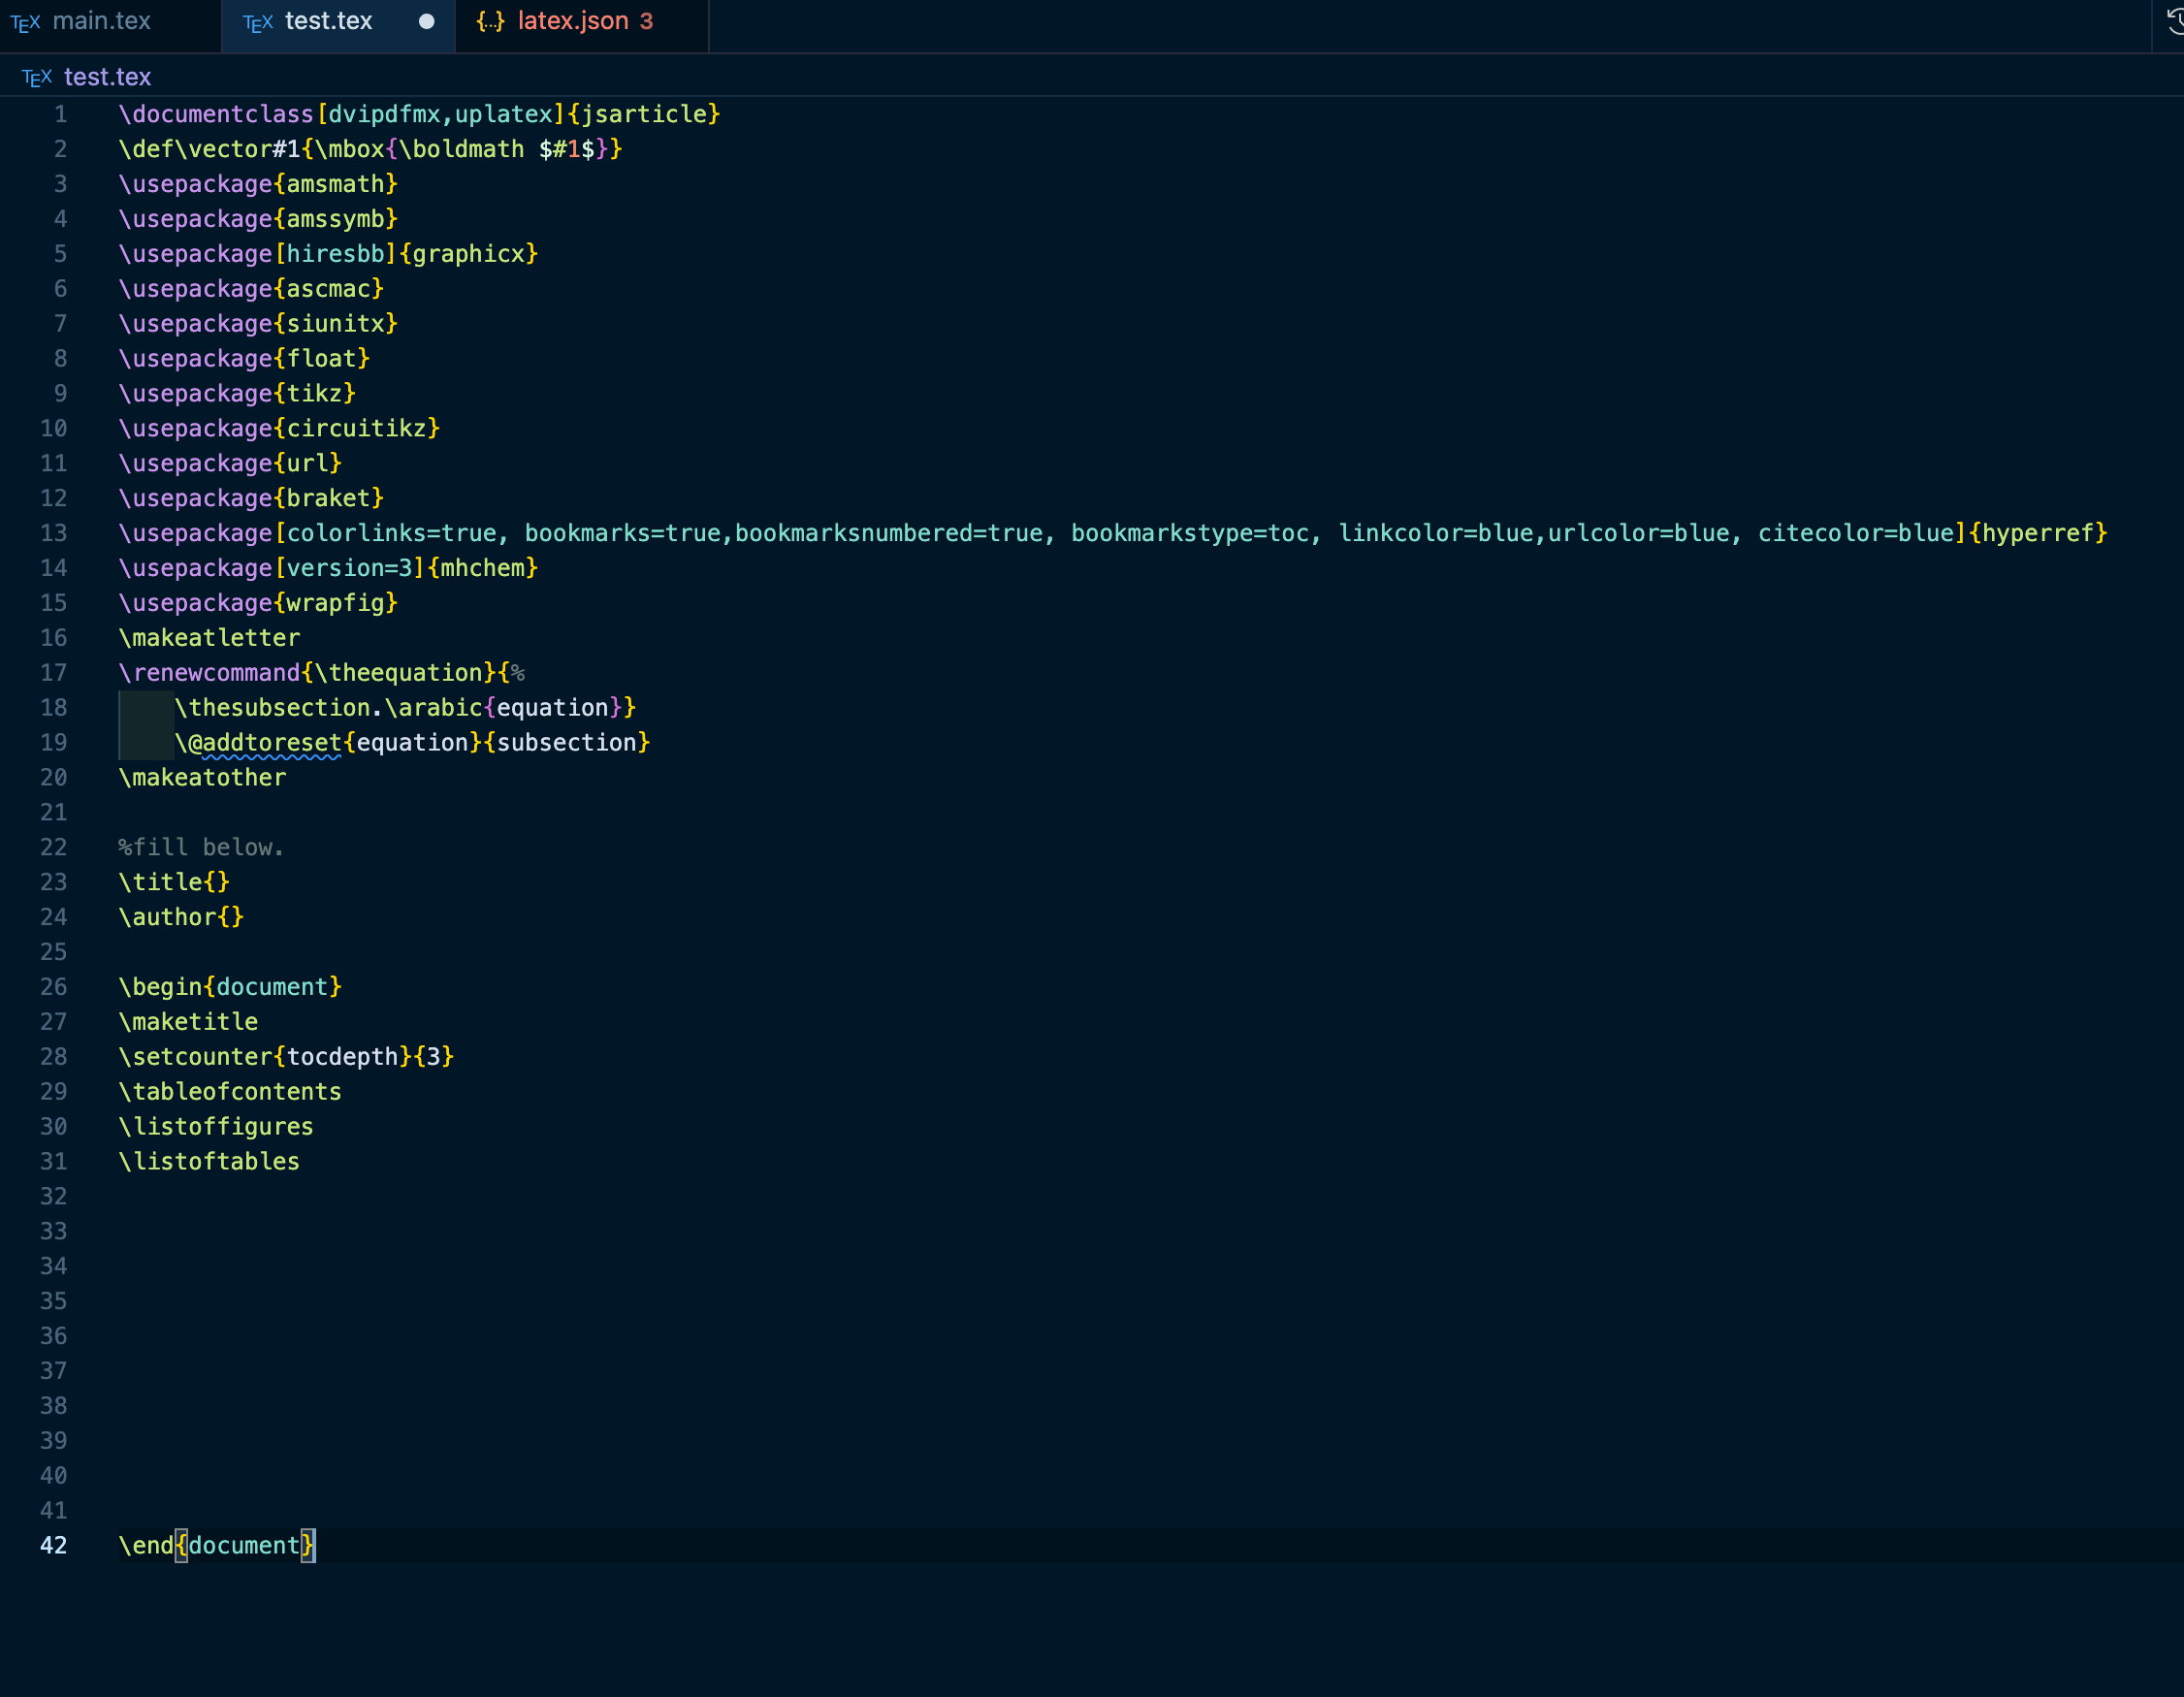
セットアップのテンプレートを登録する(2021.11.09追加)
文章を書く前のセットアップ(下記のようなもの)を毎回コピペしていたのですが,煩わしくなったのでテンプレートとして登録することにしました.その方法を残します.
\documentclass[dvipdfmx,uplatex]{jsarticle}
\def\vector#1{\mbox{\boldmath $#1$}}
\usepackage{amsmath}
\usepackage{amssymb}
\usepackage[hiresbb]{graphicx}
\usepackage{ascmac}
\usepackage{siunitx}
\usepackage{float}
\usepackage{tikz}
\usepackage{circuitikz}
\usepackage{url}
\usepackage{braket}
\usepackage[colorlinks=true, bookmarks=true,bookmarksnumbered=true, bookmarkstype=toc, linkcolor=blue,urlcolor=blue, citecolor=blue]{hyperref}
\usepackage[version=3]{mhchem}
\usepackage{wrapfig}
\makeatletter
\renewcommand{\theequation}{%
    \thesubsection.\arabic{equation}}
    \@addtoreset{equation}{subsection}
\makeatother

%fill below.
\title{}
\author{}

\begin{document}
\maketitle
\setcounter{tocdepth}{3}
\tableofcontents
\listoffigures
\listoftables

\end{document}
コードスニペットを開く
コード編集画面左下の歯車マーク→User Snippets を選択します.

すると,jsonと呼ばれるファイルが選択できると思うのでlatex.json(なければ入力)を選択します.

記述
開いたjsonファイルに内容を記述していきます.上記で示したような内容を書くには以下のようにjsonファイルに追加します.
	"Mizuto's template":{
		"prefix": "Mizuto's template",
		"body": [
			"\\documentclass[dvipdfmx,uplatex]{jsarticle}",
			"\\def\\vector#1{\\mbox{\\boldmath $#1$}}",
			"\\usepackage{amsmath}",
			"\\usepackage{amssymb}",
			"\\usepackage[hiresbb]{graphicx}",
			"\\usepackage{ascmac}",
			"\\usepackage{siunitx}",
			"\\usepackage{float}",
			"\\usepackage{tikz}",
			"\\usepackage{circuitikz}",
			"\\usepackage{url}",
			"\\usepackage{braket}",
			"\\usepackage[colorlinks=true, bookmarks=true,bookmarksnumbered=true, bookmarkstype=toc, linkcolor=blue,urlcolor=blue, citecolor=blue]{hyperref}",
			"\\usepackage[version=3]{mhchem}",
			"\\usepackage{wrapfig}",
			"\\makeatletter"
			"\\renewcommand{\\theequation}{%"
			"	\\thesubsection.\\arabic{equation}}",
			"	\\@addtoreset{equation}{subsection}",
			"\\makeatother",
			"",
			"%fill below.",
			"\\title{}",
			"\\author{}",
			"",
			"\\begin{document}",
			"\\maketitle",
			"\\setcounter{tocdepth}{3}",
			"\\tableofcontents",
			"\\listoffigures",
			"\\listoftables",
			"",
			"",
			"",
			"",
			"",
			"",
			"",
			"",
			"",
			"",
			"\\end{document}"

		],
		"description": "template for my setup !"
	}
使い方
用意したtexファイルに,上記で付けた名前(上記ではMizuto's template)を入力します.
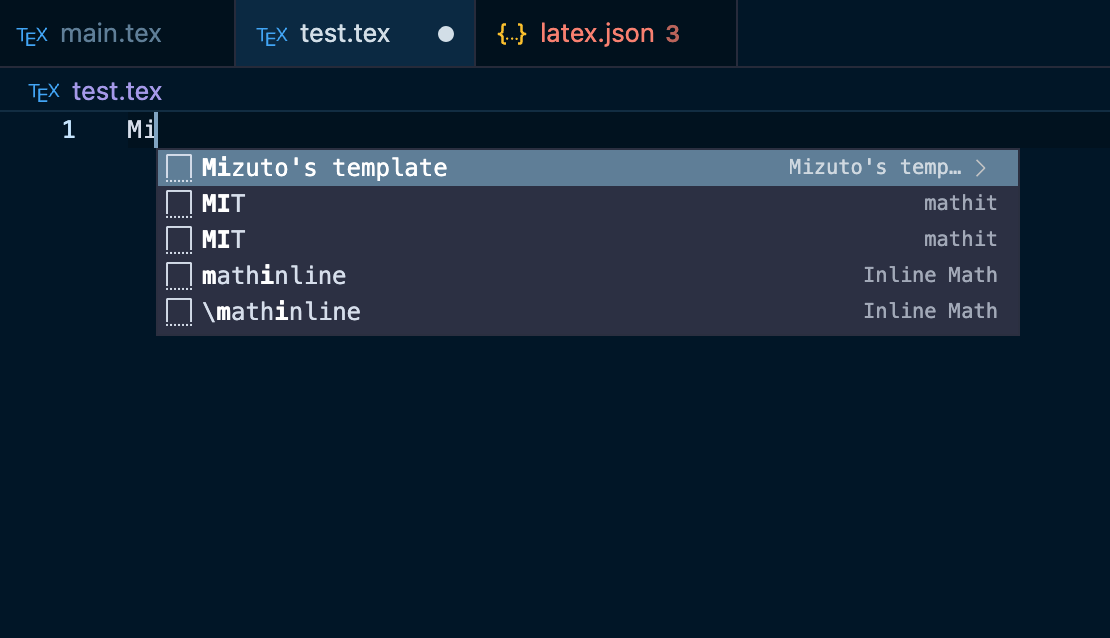
出てきたものをクリックもしくはtabキーを入力すると,以下のようにテンプレートが表示されます.
2021.12.02追記
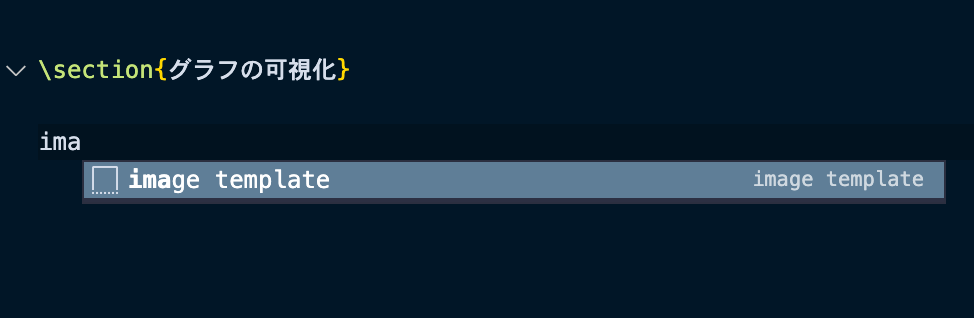
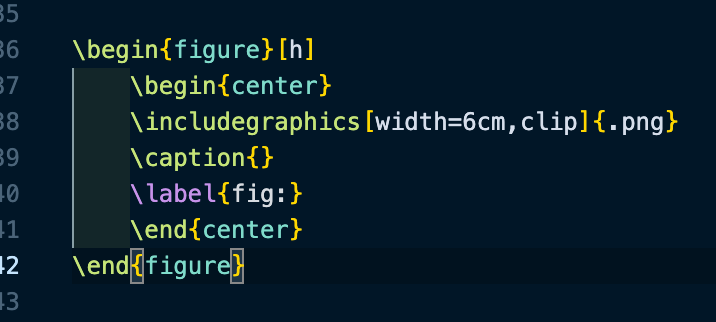
これを応用して,画像出力のコマンドなんかも登録しておくとすぐに呼び起こせて幸せになれました.

Ref
Atomでの環境構築はこちら→https://qiita.com/Mizuto_Kadowaki/items/f8878140125ad40ac56e