Introduction
Sometimes you would like to create your business web reports and customise them for branding so that the web reports or its login screen would have your company logo and the corporate colors.
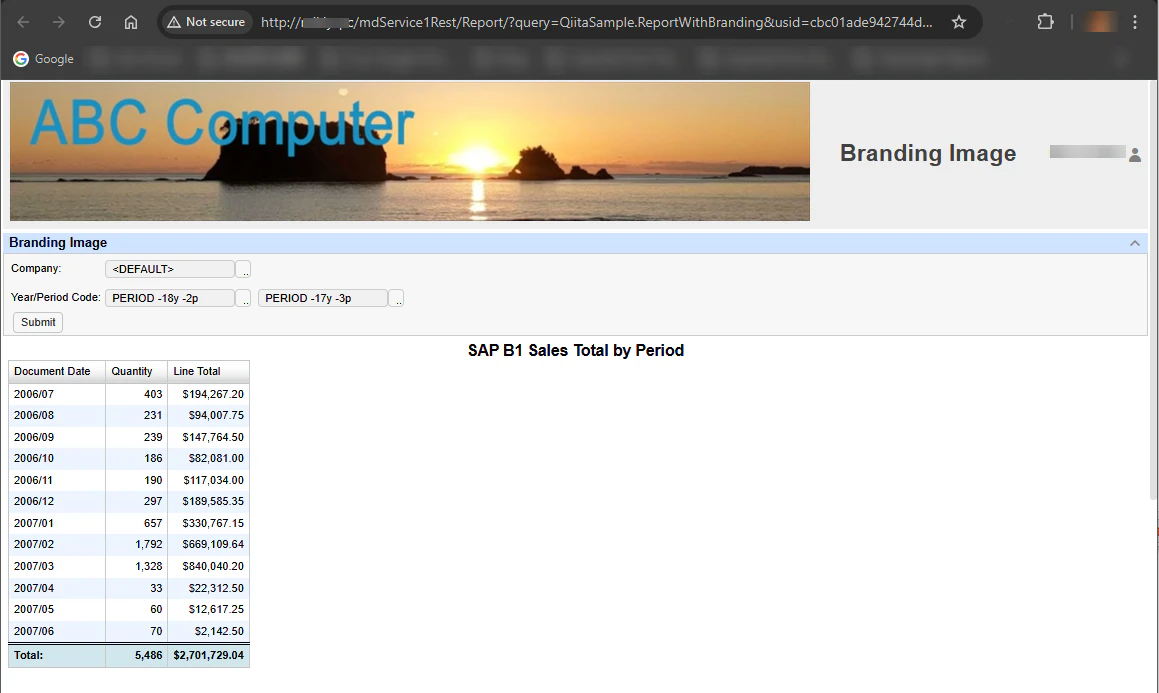
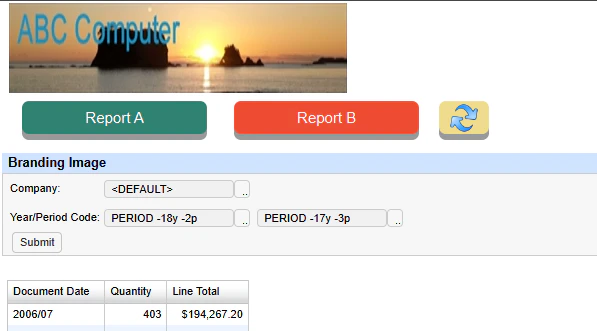
I tried to customise my reports so I will explain what I have done here.
There is also a page here, where this branding customisation is explained by Sharperlight Software.
Customisation
Resources
We have to prepare those things listed below;
- Folder
- Two HTML files
- An Image
- favicon.ico
Then the two HTML files, the image and favicon.ico must be placed in to the folder mentioned here.
Folder
This is the folder where HTML files, image and favicon are stored in.
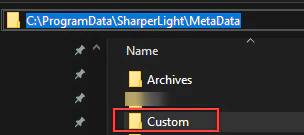
The folder name must be Costom, and needs to be created under;
C:\ProgramData\SharperLight\MetaData\
Two HTML Files
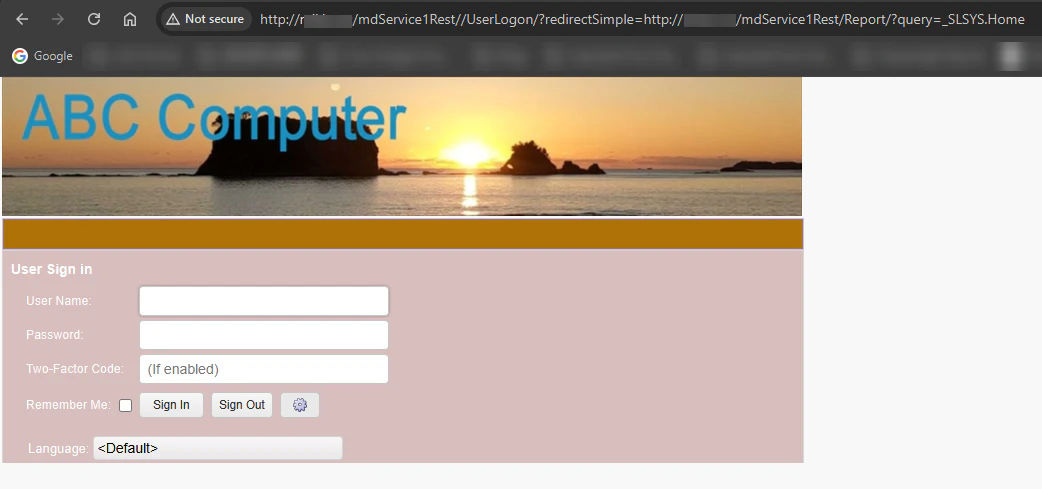
They are branding files for the login screen.
One is for the header and it must be called as UserLogonHeader.html, the other is for its body and must be called as UserLogonBody.html.
This is the example of the contents for the header HTML, and it has the styling definition only.
<style>
h2 {
	background-color: #AD7207;
	background-image: none;
	color: #AD7207;
	width: 790px;
	margin-top: -2px;
}
#grLogon.k-widget, #grLogon.k-content {
	background: #D8BEBD !important;
	width: 800px;
	color: white;
}
.slTitle{
	color: white !important;
}
</style>
The style is applied here.
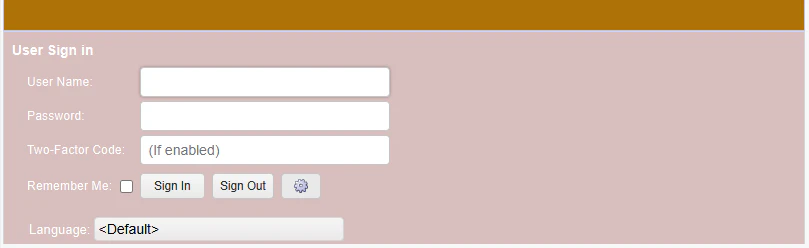
Then, this is the contents for the body HTML, and it has a logo for the login screen.
<img src="File/Custom/Qiita Branding Sample Logo.jpg" style="width: 800px; height: 139px" >

An Image
This is basically a company logo.

I prepared this image and saved as "Qiita Branding Sample Logo.jpg" into ...\Custom\ folder.
favicon.ico
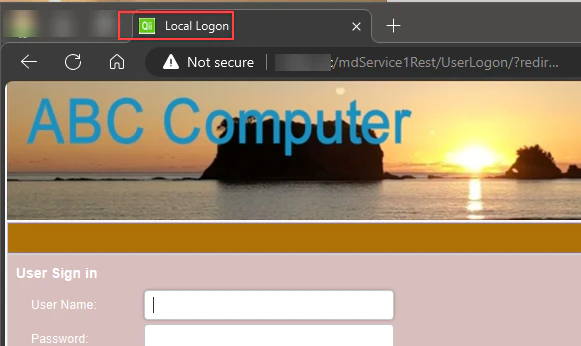
This is a small image which will override the icon that is displayed on the tabs and when a shortcut is created to the web page.
I created a sample ico like this.

It is shown on the tab.
The Usage
The two HTML filses mentioned above are automatically picked up, and are used by Sharperlight.
Then we have to specify the use of the image (logo) in the Header section of each published reports.
Header of the report
We can find the Header customise option here when we create a pubished report.
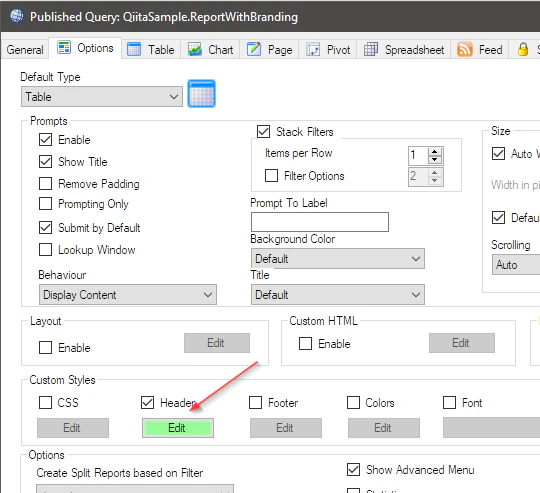
It has a sample header definition when we open the editor first time, and the simplest way to create your own header is just replacing the image file path specified here.
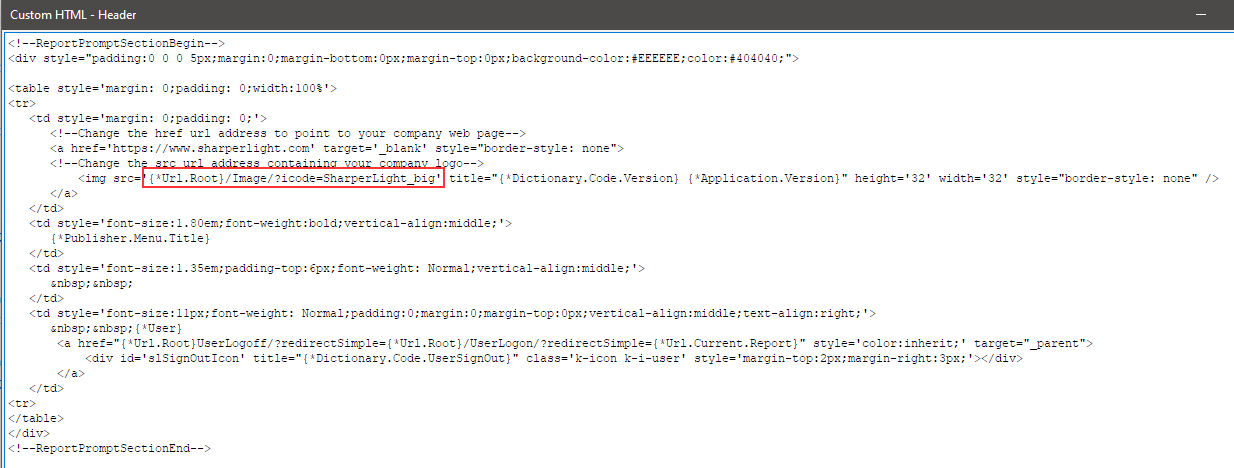
I replaced the file path like this.
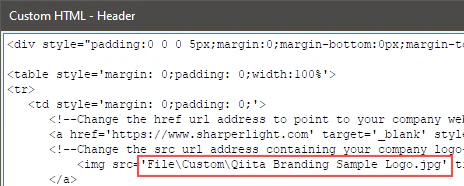
'File\Custom\Qiita Branding Sample Logo.jpg'
Note
The sample header definition is written between these special tags.
<!--ReportPromptSectionBegin-->
...
...
<!--ReportPromptSectionEnd-->
It means that the header definition is placed in the prompt area, so it works only when your report has prompt area.
This is the prompt area talking about here.

We can remove those tags so that the custom header would be displayed regardless the report has the prompt or not.
The use of resource option
The custom header code was directly written into the header option as mentioned above.
You may think that we have to place the same code for other reports, and we have to update all of them one by one, once update is required.
We can avoid it by using Resources option.
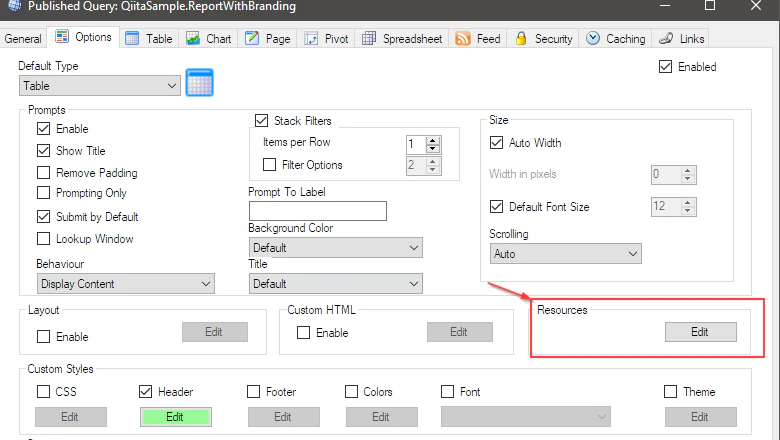
We create a HTML file with the custom header definition, and import the file as a resource here.
Then we can set the reference code to the resouce into the header option.
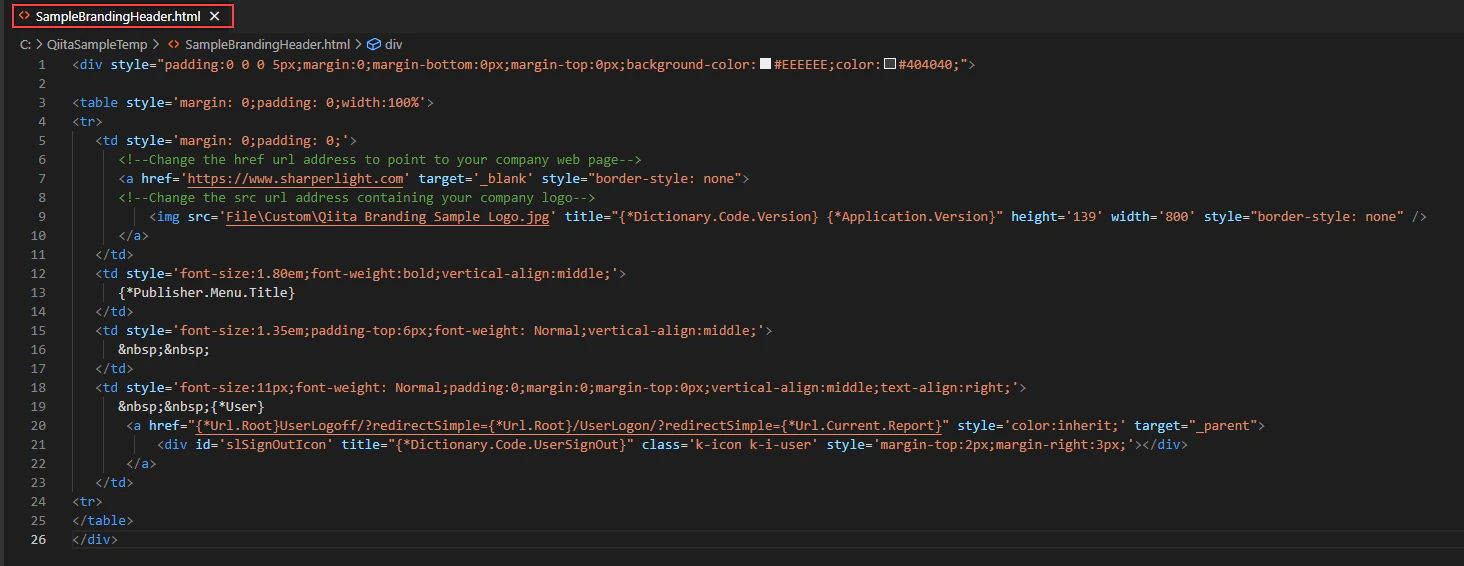
I created a HTML file like this.
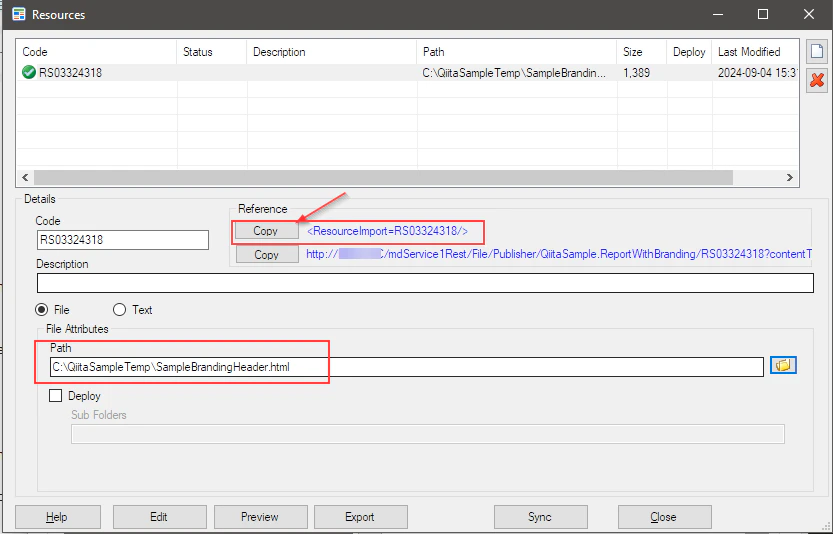
Then impoted it as a resouce, got a reference code.
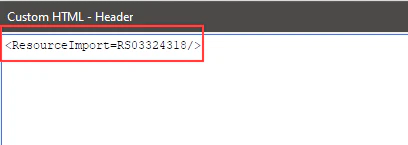
The reference code was pasted into the header editor like this.
Conclusion
I think Branding gives the higher quality and reliability to your business reports and we can do it with Shaperlight without big efforts.
As a sample, another custom header.
<div style="padding:0 0 0 5px;margin:0;margin-bottom:0px;margin-top:0px;background-color:white;color:#404040;">

    <table style='margin: 0;padding: 0'>
    <tr>
        <td style='margin: 0;padding: 0;'>
            <img src='File/Custom/Qiita Branding Sample Logo_Rs.jpg' title="{*Dictionary.Code.Version} {*Application.Version}" height='90' width='338' style="border-style: none" />
        </td>
    <tr>
    </table>

</div>

<button class="cbutton button1" onclick="window.open('{*Url.Root}Report/?query=QiitaSample.ReportA&usid={_System.Rest.Usid}','_parent')">Report A</button>
<button class="cbutton button2" onclick="window.open('{*Url.Root}Report/?query=QiitaSample.ReportB&usid={_System.Rest.Usid}','_parent')">Report B</button>
<button class="cbutton button3" onclick="window.location.reload()"></button>
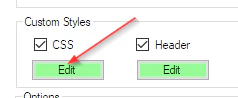
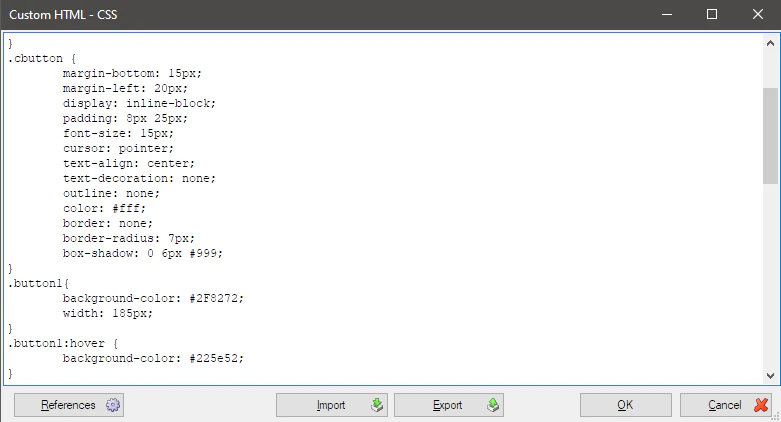
CSS option is used as well.