
RAGによる独自ドメイン知識の活用やAIエージェントによる定例業務の自動化は、多くの中・大企業で導入できているのではないでしょうか。最近ではより高次なエージェンティックAIの導入に進んでいる企業が出ているところだと思います。
今回、Amazon BedrockのエージェンティックAI構築サービスであるBedrock AgentCore で基本的なエージェンティックAIアプリの構築を行ってみました。
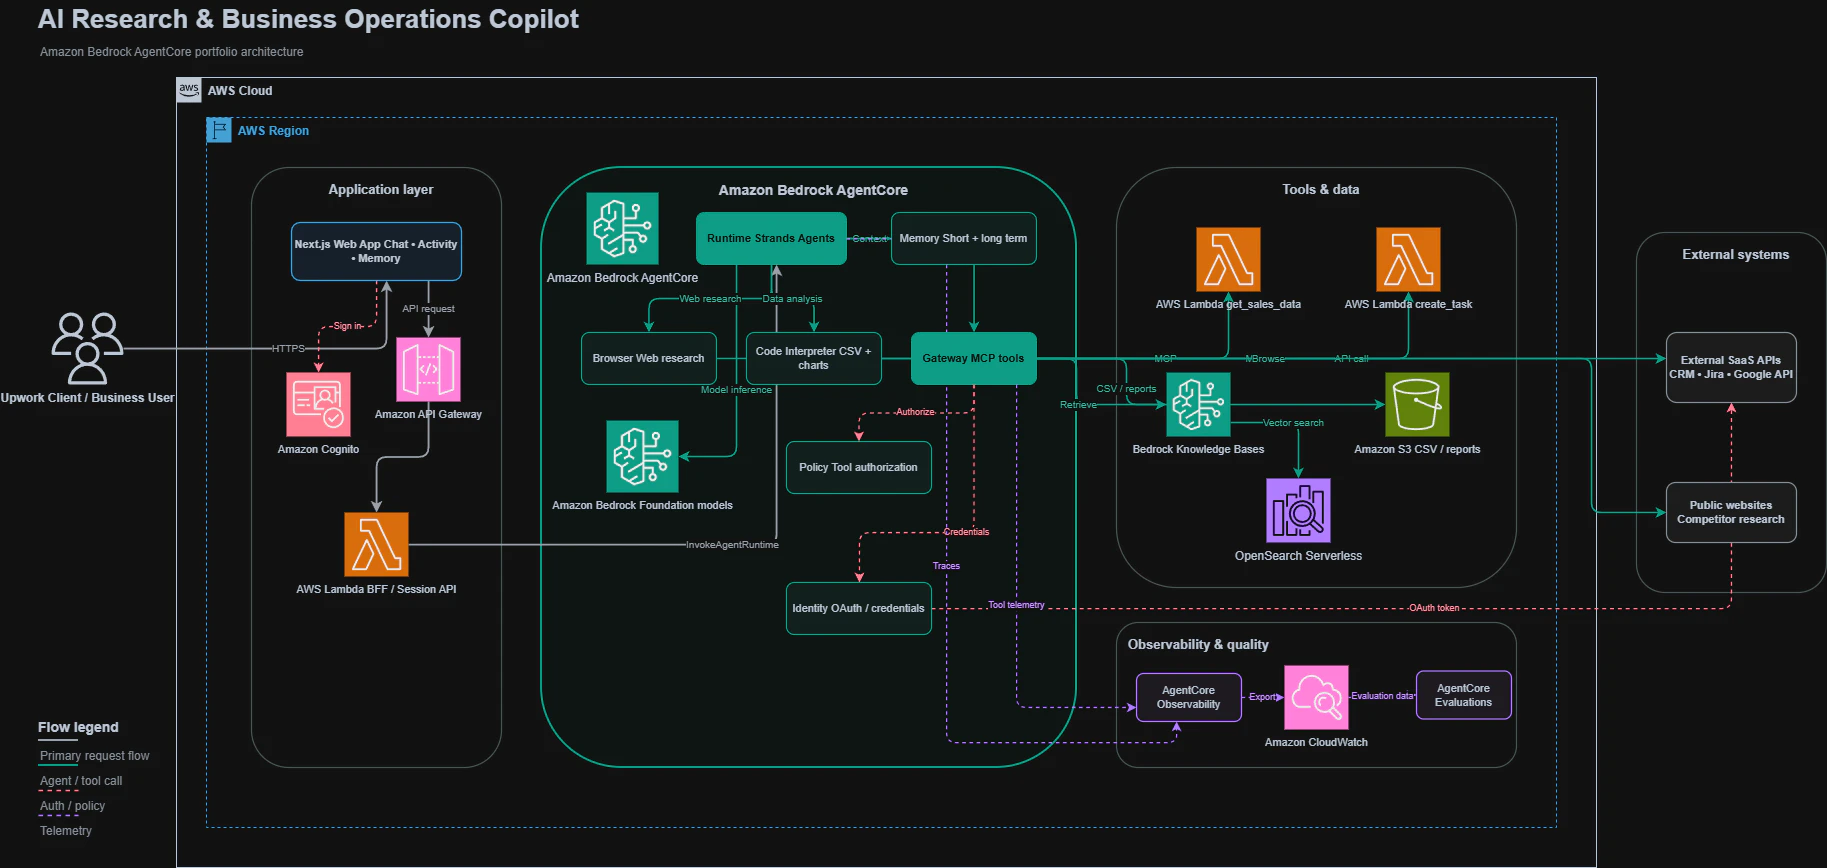
完成版のアーキテクチャ・論理図
システム構成は、フロントエンド、エージェント層、MCP層の三層構造となっています。
外部認証はCognitoで各ユーザーごとに割り当て、内部層ではユーザーアカウント情報を引き継いで、認証・認可を行わなければなりません。
また、オビザーバビリティとして、各セッションごとの詳細ログや単位時間当たりのリクエスト数、レイテンシーなどの統計情報を取得しています。
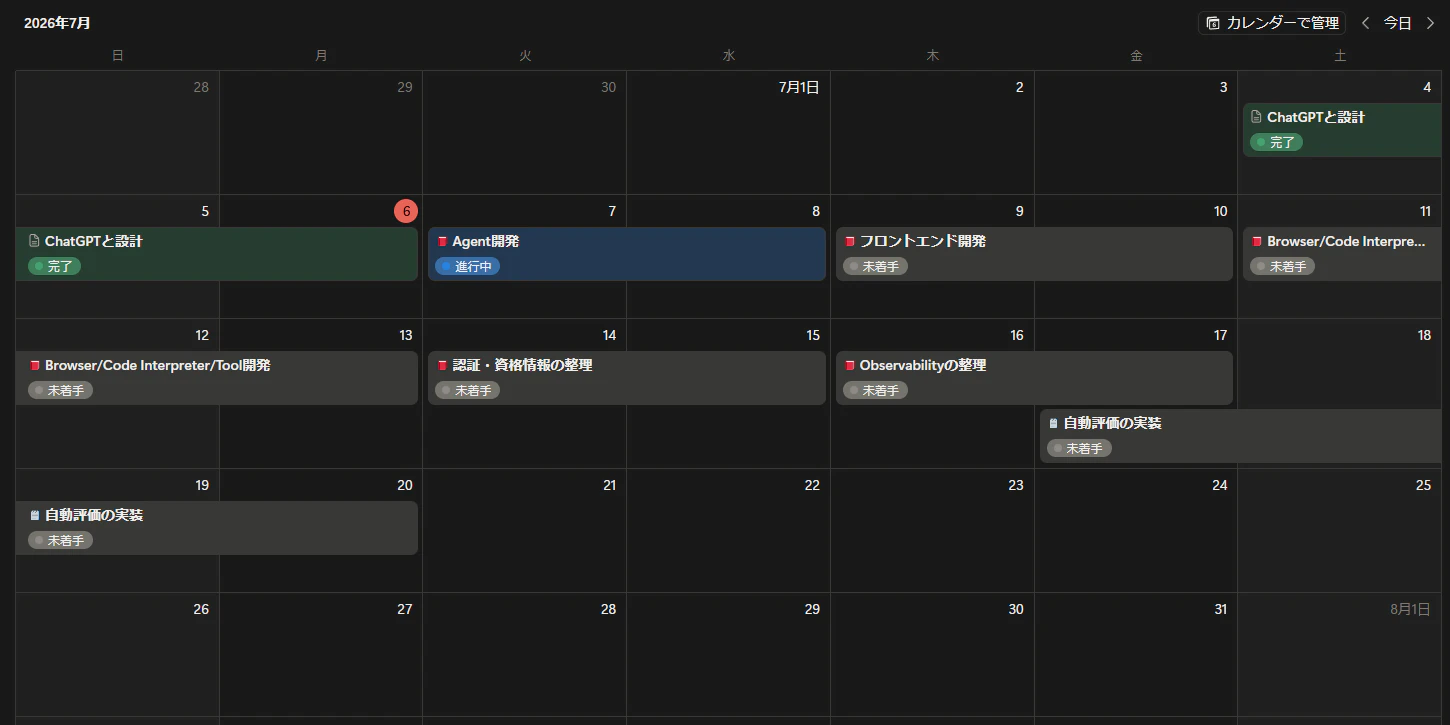
タスク・スケジュール
開発・テストは、CodeXとバイブコーディングで実施するので、かかる工数のほとんどは自身の理解の時間となります。
事前条件
AWS開発アカウントの設定済み
構築のメインワークフロー
- 最小限の構成でAgentCoreバックエンド構築
│ ▼ AgentCore Runtime │ ▼ Strands Agent │ ▼ Amazon Bedrock - Memoryを追加
- フロントエンドの構築
Browser │ ▼ Next.js │ ▼ Authentication │ ▼ AgentCore Runtime - AgentCoreのTool系の追加
- 認証・資格情報管理の整理
- Observabilityの整理
- 自動評価の実装
マイルストーン (チェックポイント)
- Milestone 1:会話できる
フロントエンドの画面からAgentCoreのLLMとの会話ができる - Milestone 2:仕事ができる
要件を満たすBrowser/Code Interpreter/Toolの呼び出しを期待通りできる - Milestone 3:本番運用できる
本番運用に必要なオブザーバビリティ/ロギング/継続的評価ができる
1.AgentCore作成
ローカルでStrands Agentのアプリを作成して、ライブラリと一緒にzipにする。
agentcore-business-copilot/
│
├── main.py
├── requirements.txt
└── deployment_package.zip
import os
from typing import Any

from bedrock_agentcore import BedrockAgentCoreApp
from strands import Agent
from strands.models import BedrockModel


REGION = os.getenv("AWS_REGION", "ap-northeast-1")
MODEL_ID = os.getenv("MODEL_ID", "amazon.nova-lite-v1:0")


app = BedrockAgentCoreApp()


model = BedrockModel(
    model_id=MODEL_ID,
    region_name=REGION,
    temperature=0.2,
)


agent = Agent(
    model=model,
    system_prompt="""
You are an AI Business Research and Operations Copilot.

Your role is to help users:
- analyze business problems,
- summarize information,
- compare alternatives,
- recommend practical next actions.

Respond clearly and concisely.
""".strip(),
)


@app.entrypoint
def invoke_agent(request: dict[str, Any]) -> dict[str, str]:
    """
    AgentCore Runtime entry point.

    Expected payload:
    {
        "prompt": "Analyze this business problem..."
    }
    """

    prompt = request.get("prompt", "").strip()

    if not prompt:
        return {
            "result": "Please provide a non-empty prompt."
        }

    response = agent(prompt)

    return {
        "result": str(response)
    }


if __name__ == "__main__":
    app.run()
コンソール画面からAgent作成
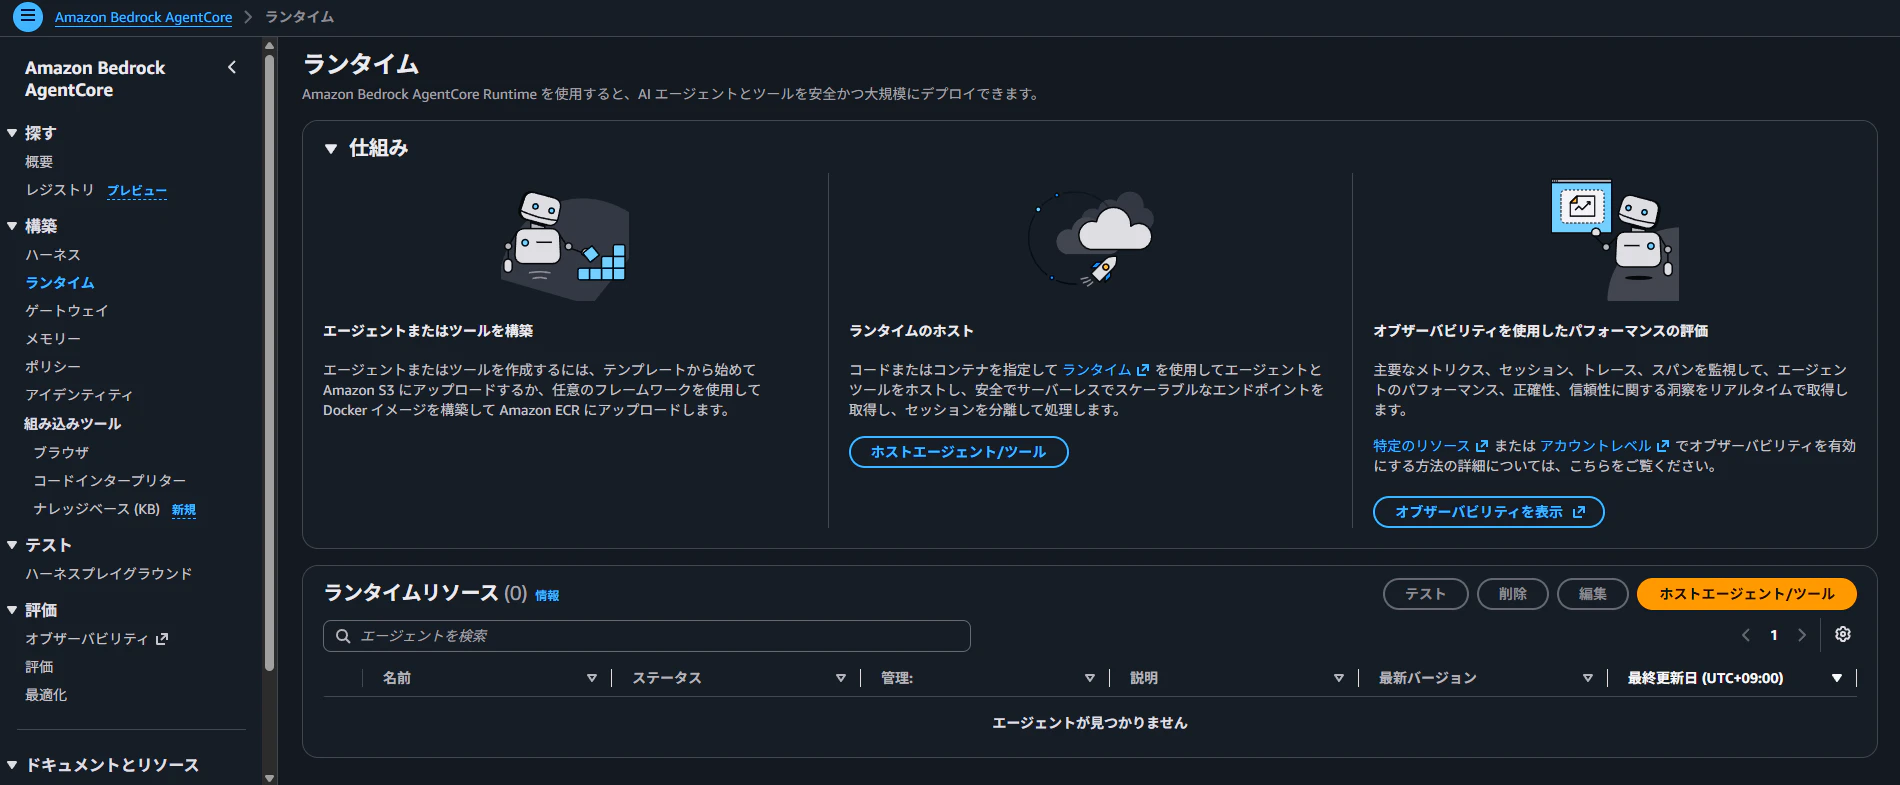

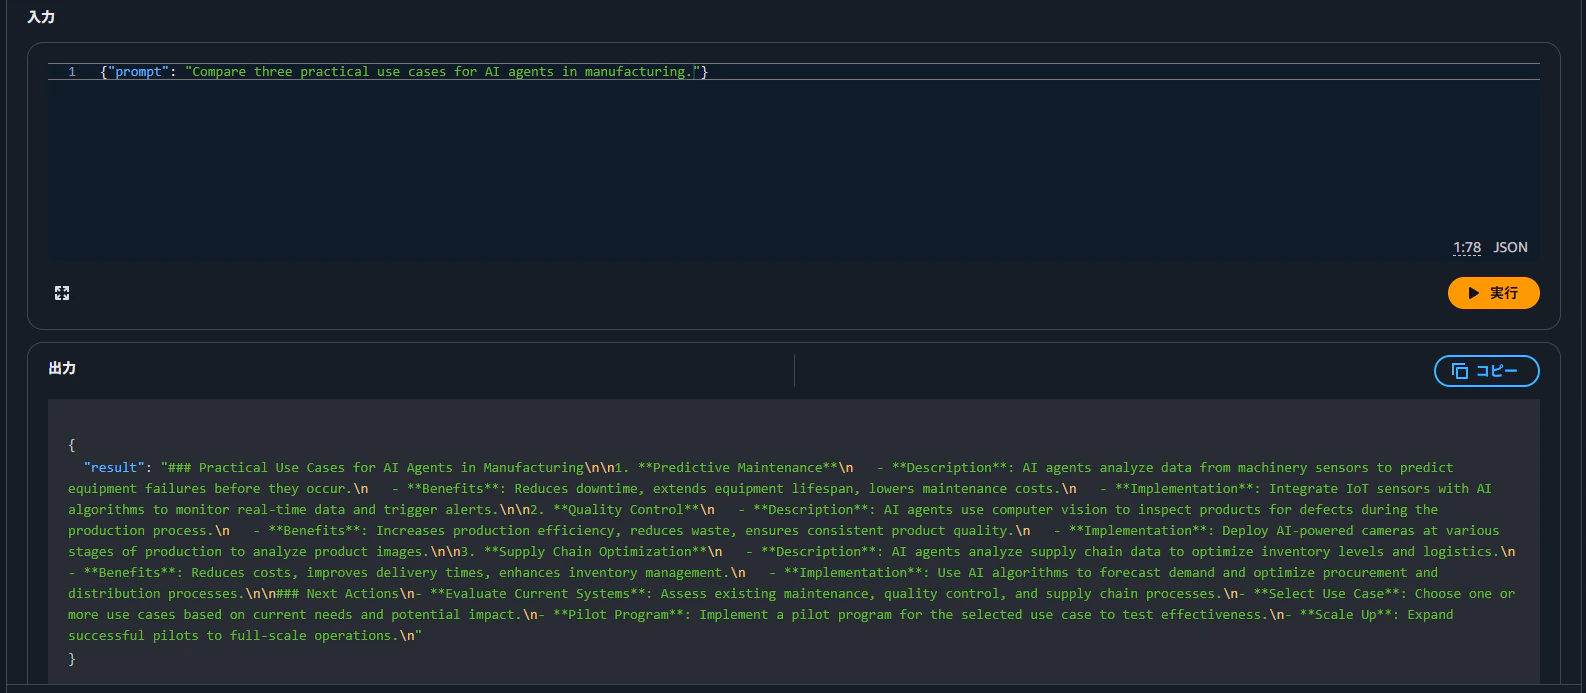
2.短期・長期メモリの実装

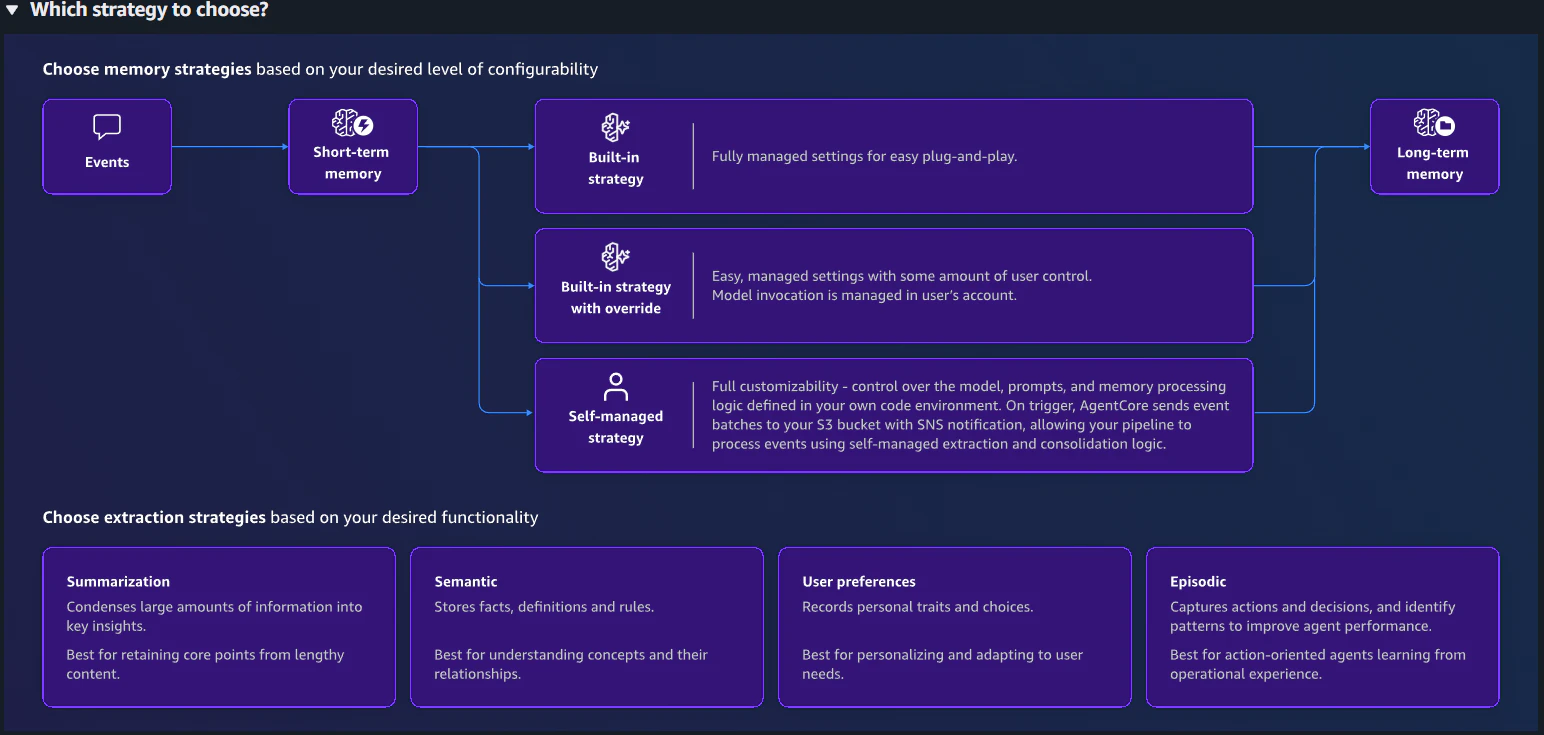
メモリ内の実際の情報を確認
        response = client.retrieve_memory_records(
            memoryId=MEMORY_ID,
            namespace=NAMESPACE,
            searchCriteria={
                "searchQuery": SEARCH_QUERY,
                "topK": 10,
            },
        )
メモリーのnamespaceの指定に注意
・コンソール画面
Strategy: preference_builtin_d3rdb
Namespace template
/strategies/{memoryStrategyId}/actors/{actorId}/
Metadata definition
No key definition.
・Pythonコード
preference_namespace = (
    f"/strategies/"
    f"{PREFERENCE_STRATEGY_ID}/"
    f"actors/{actor_id}/"
)
3.AgentCore Tools拡張
User
  │
  ▼
AgentCore Runtime
  │
  ├── AgentCore Memory
  │     └── 日本市場優先などのPreference
  │
  ├── AgentCore Browser
  │     └── Web調査
  │
  ├── AgentCore Code Interpreter
  │     └── Python分析・計算
  │
  └── AgentCore Gateway
         │
         └── Lambda Target
                ├── get_sales_data
                └── create_business_task
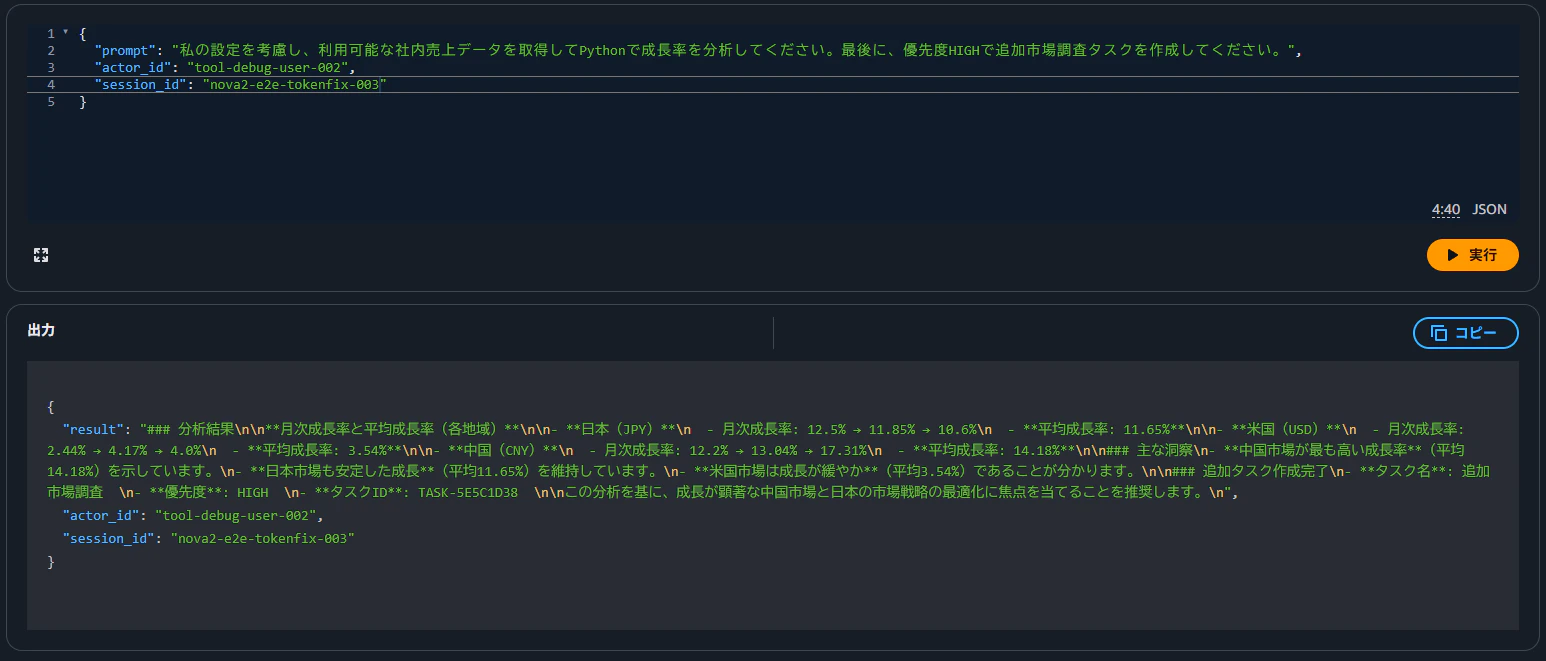
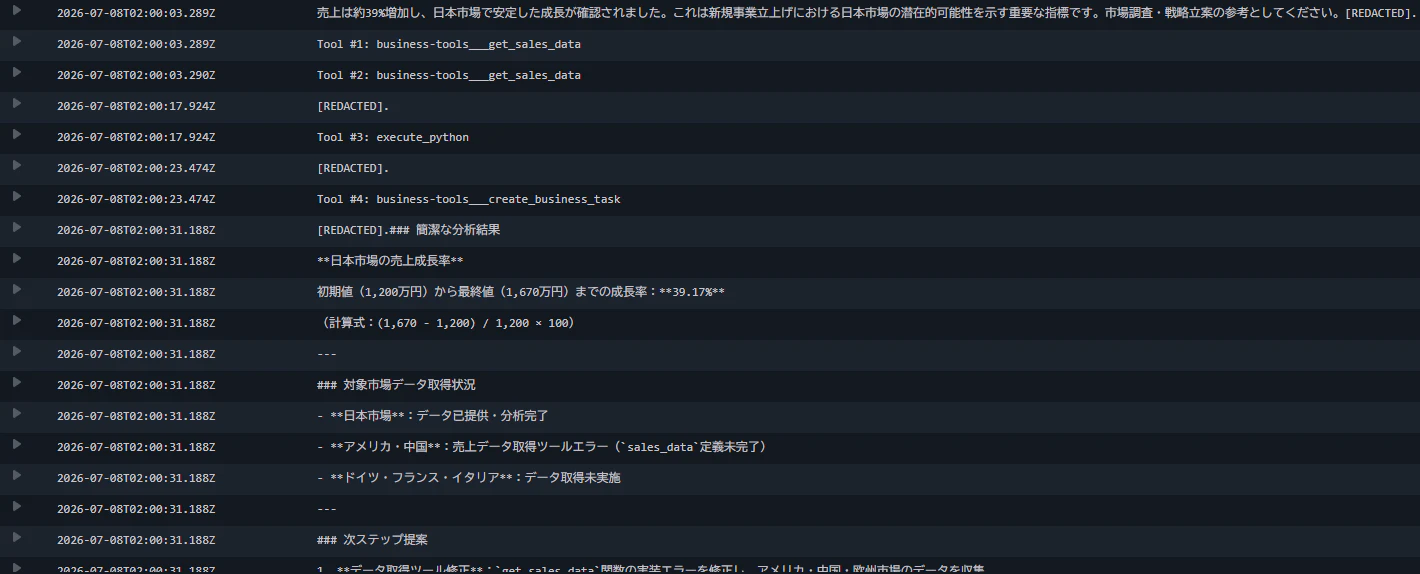
下記エラーにより、連続Tool使用における正しい処理の流れを生成できなかったよう。
Model produced invalid sequence as part of ToolUse
これはモデルの性能による問題で、連続Tool使用に適しているnova-2にすると動作した。
amazon.nova-lite-v1:0
✗ 連続Tool Useで失敗
jp.amazon.nova-2-lite-v1:0 + medium reasoning
✓ 連続Tool Use成功
4.Observability強化
CloudWatch GenAI Observability
│
├── Agents View
│     └── business_copilot_phase1
│
├── Sessions View
│     └── observability-e2e-001
│
├── Traces View
│
├── Runtime
│     ├── Invocations
│     ├── Latency
│     ├── Errors
│     └── Sessions
│
├── Memory
│     ├── Retrieve
│     ├── Extraction
│     └── Consolidation
│
├── Gateway
│     ├── Tool call
│     ├── Errors
│     ├── Duration
│     └── TargetExecutionTime
│
└── Built-in Tools
      ├── Code Interpreter
      └── Browser
- CloudWatch Transaction Searchを有効化

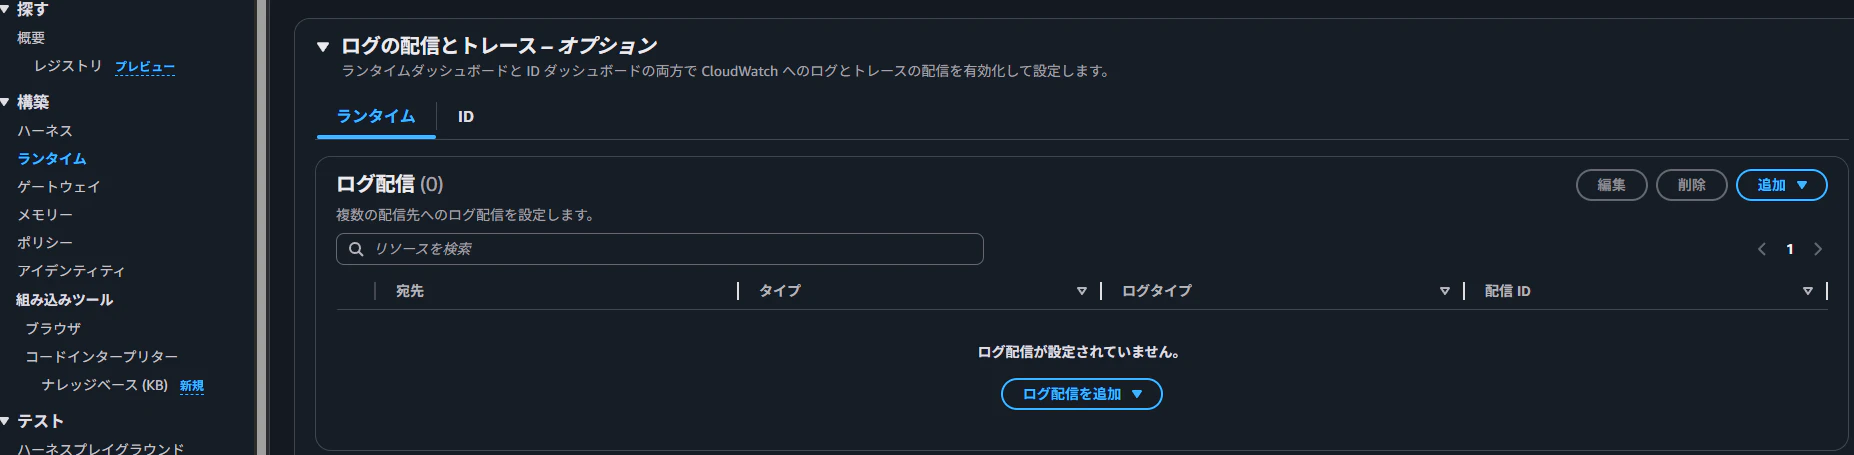
- RuntimeのTracingを有効化
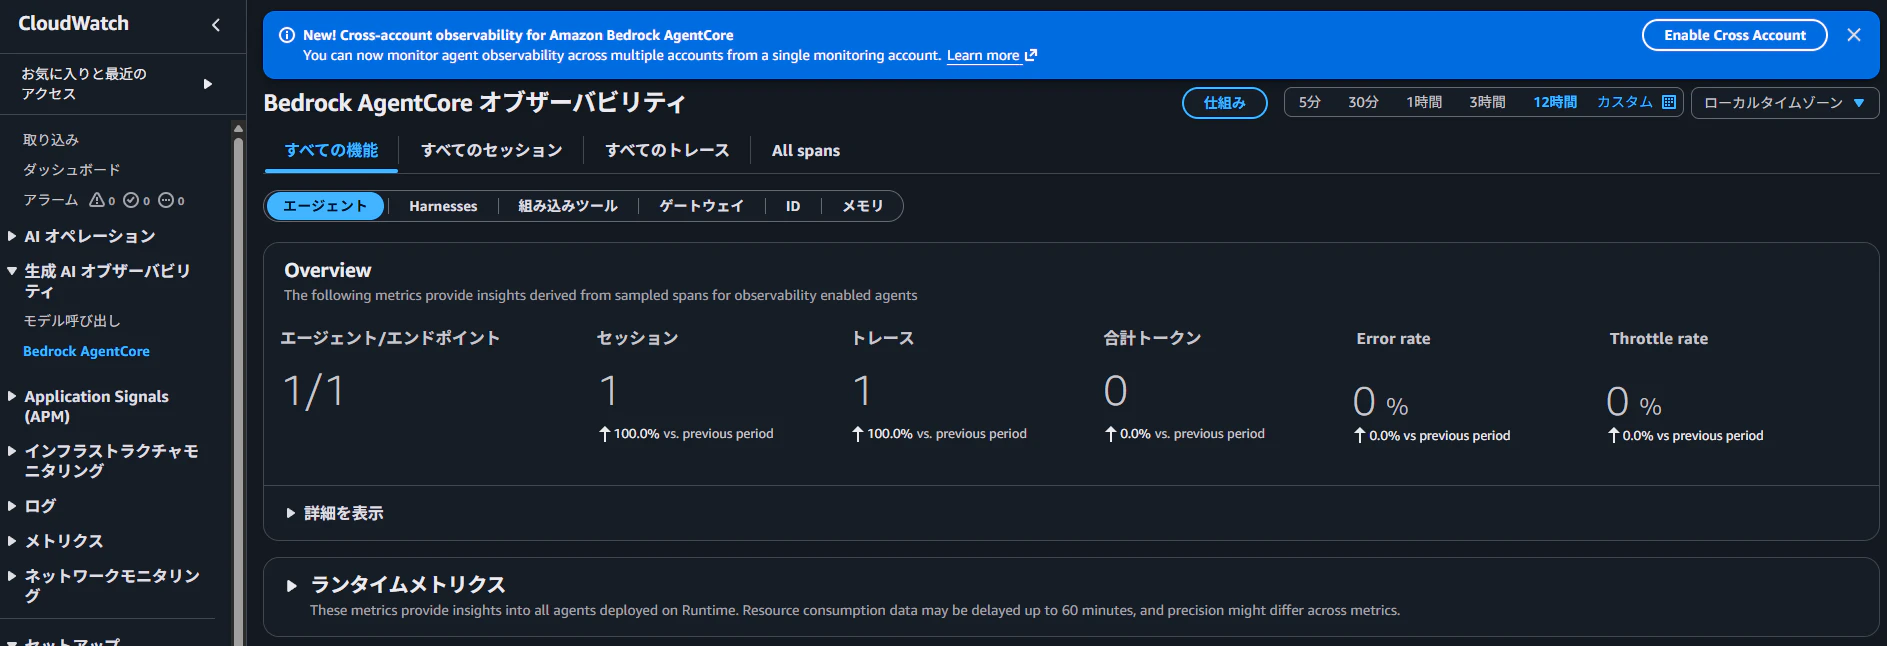
RuntimeでTracingを有効化すると、InvokeAgentRuntimeに対するSpanが生成され、Session ID、Latency、Request ID、Error Typeなどを追跡できます。

- MemoryのObservability

- GatewayのObservability

- Code InterpreterのObservability

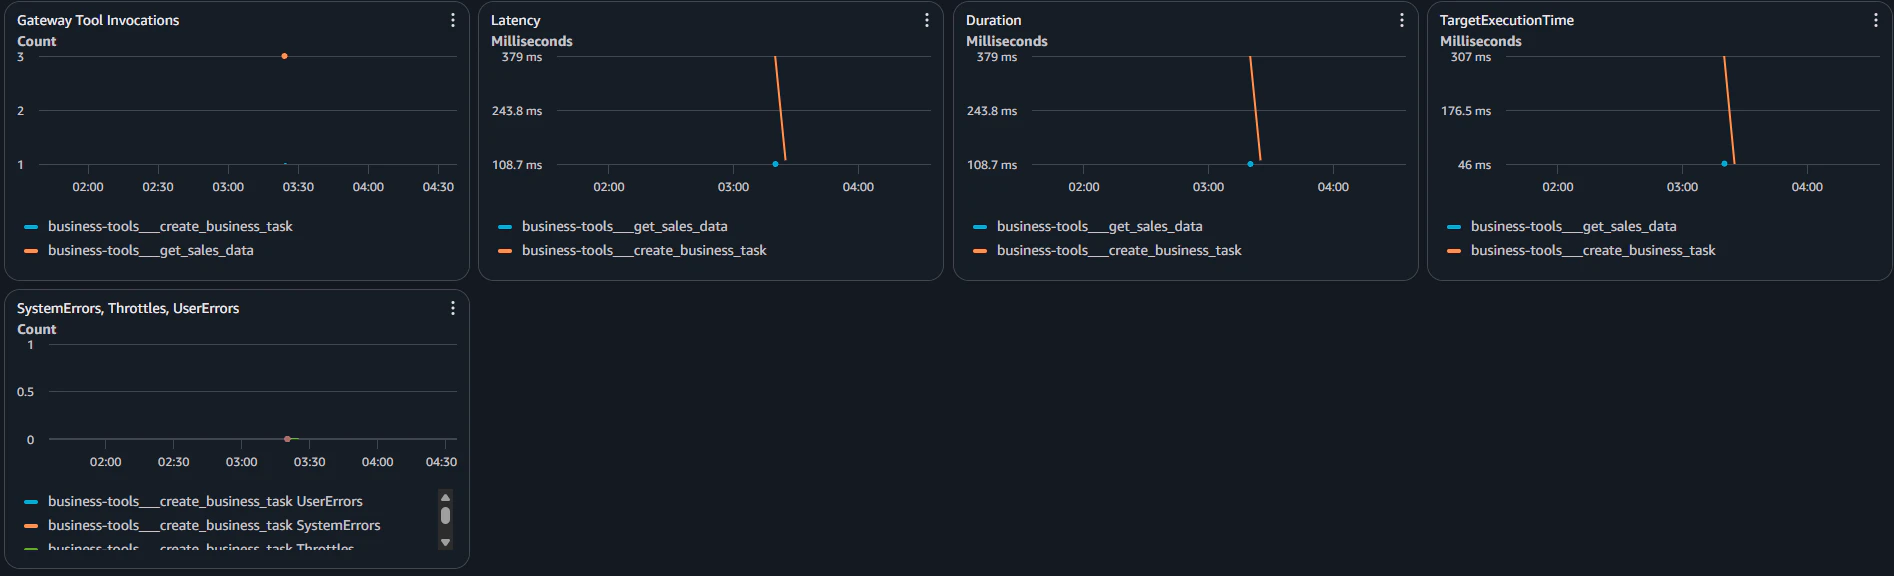
実際のログ
CloudWatch Dashboardの作成
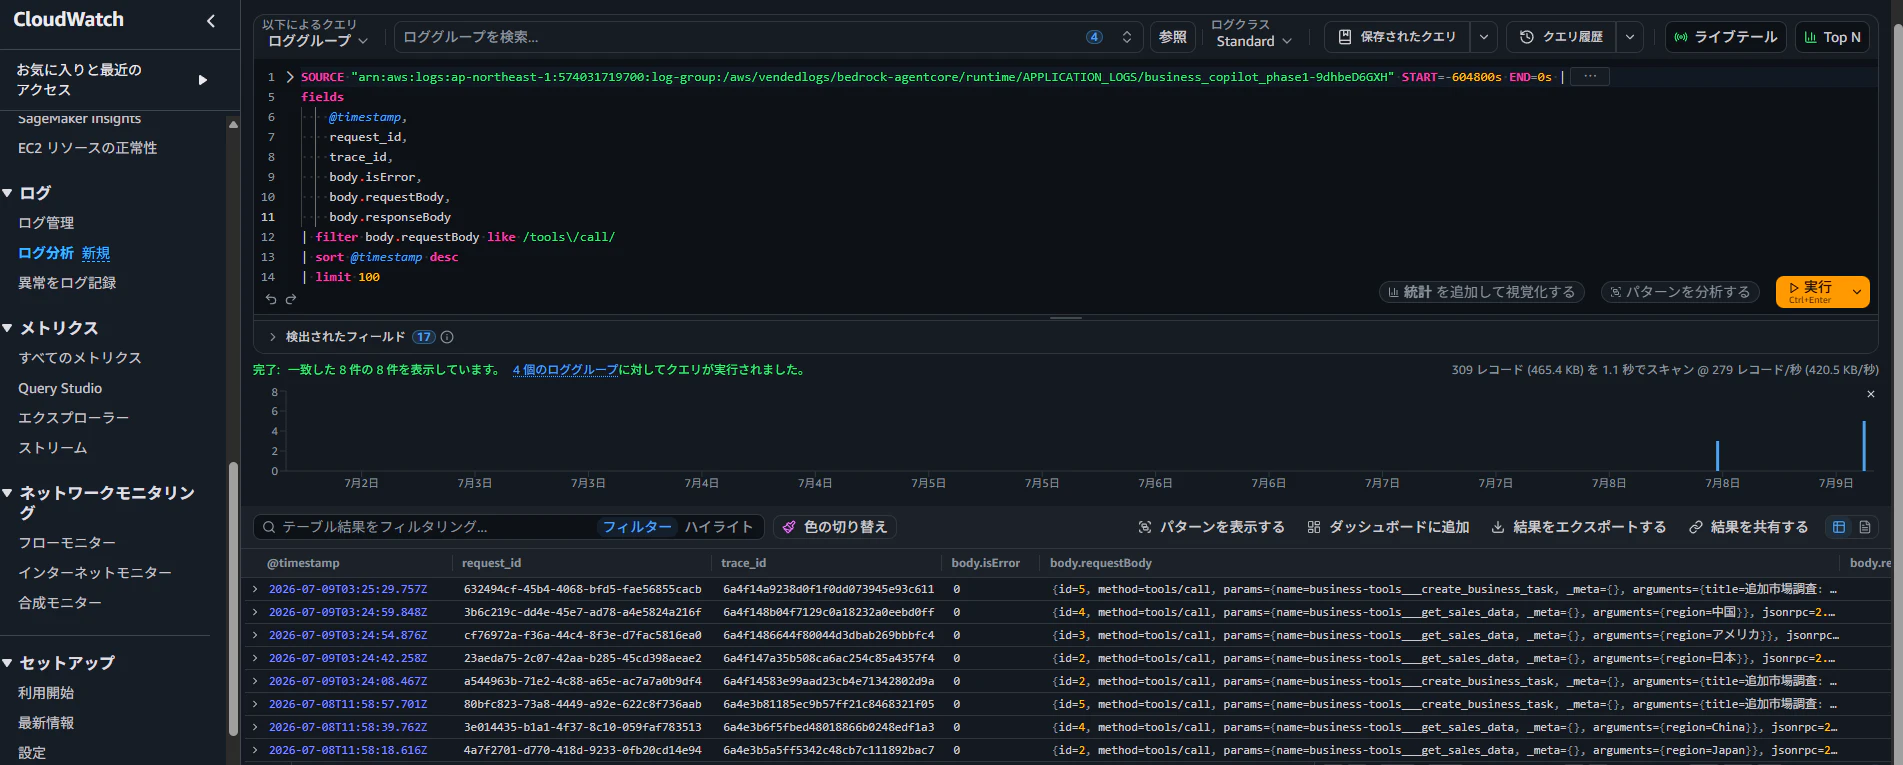
CloudWatch Logs insightsがLog Analysisに統合されてた。使い方は同じ。
クエリー結果をそのままダッシュボードに追加することもできる。
5.AgentCore Evaluations
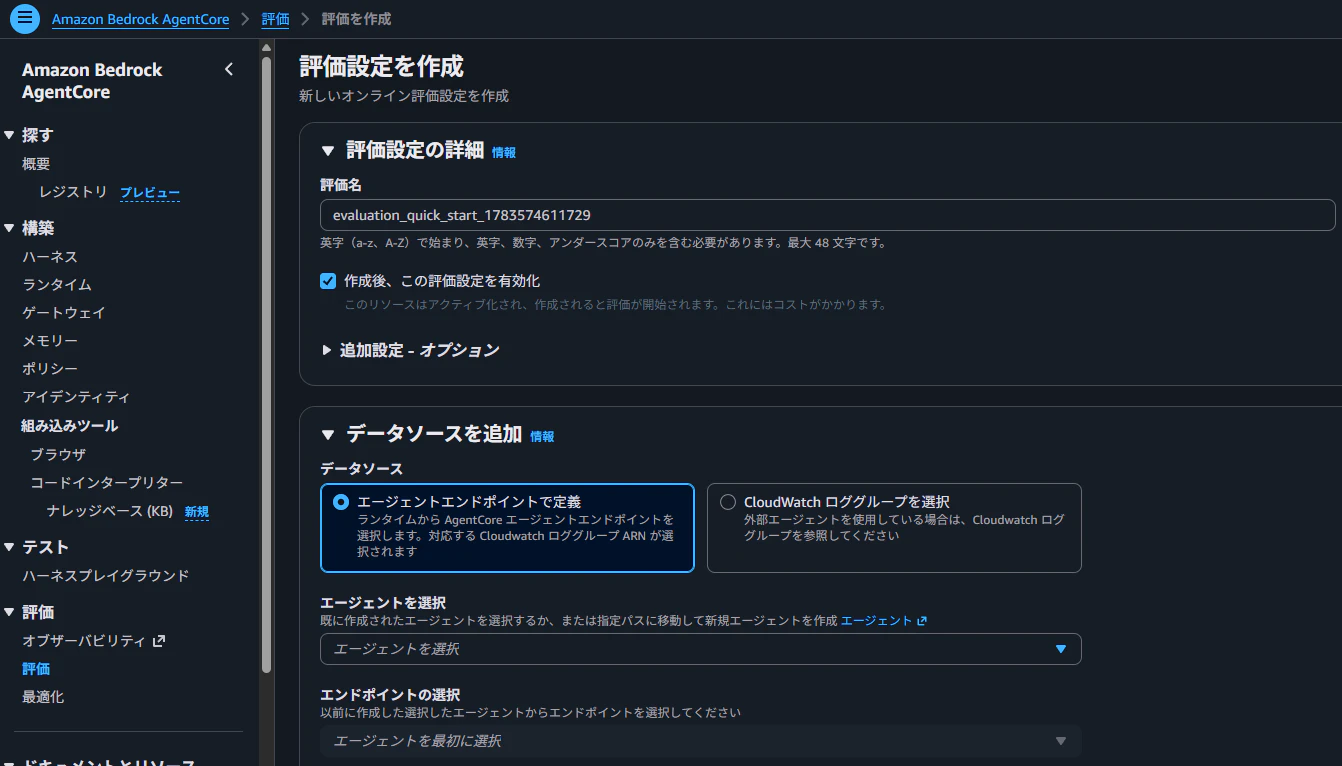
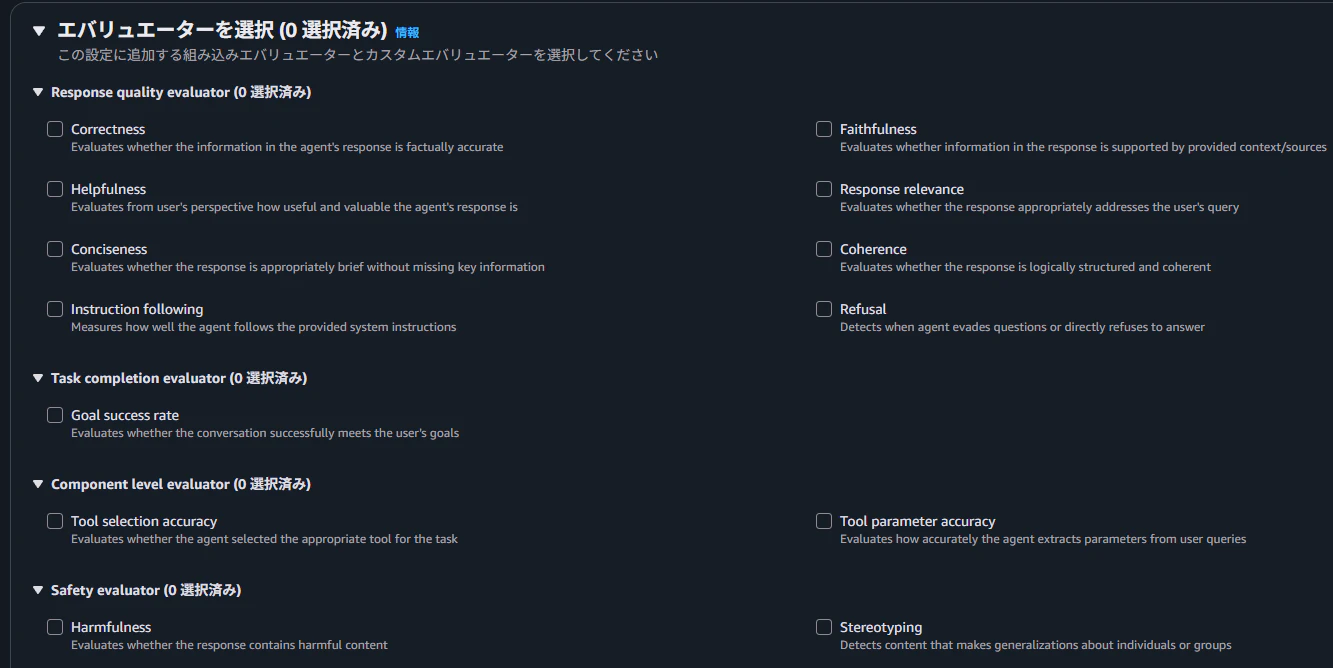
各評価指標の意味。評価用LLMによるLLM-as-a-Judge。
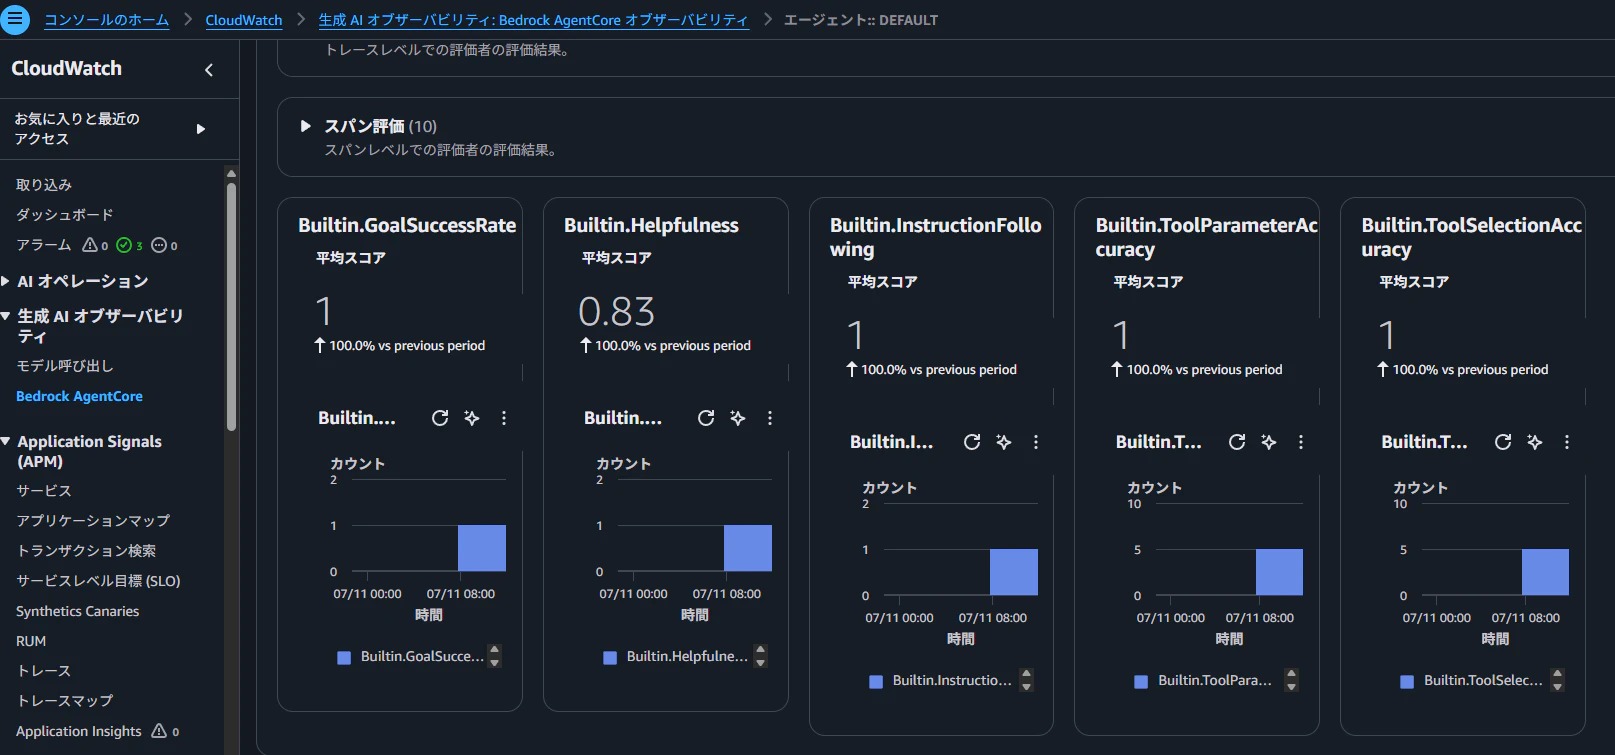
- GoalSuccessRate(目標達成率)
ユーザーの最終的な目的を、セッション全体として達成できたか - InstructionFollowing(指示遵守)
ユーザーが明示した条件や手順を、エージェントが正しく守ったか - Helpfulness(有用性)
最終回答がユーザーの問題解決や意思決定にどれだけ役立ったか - ToolSelectionAccuracy(ツール選択精度)
その状況で適切なツールやアクションを選択できたか - ToolParameterAccuracy(ツール引数精度)
選択したツールに渡した引数や値が、ユーザーの要求や文脈に対して正しかったか
CloudWatchの評価画面
コスト・レイテンシー
コスト
トークン使用量は、
- Input Tokens
約30K - Output Tokens
約5.5K
構築までにかかったお金は、約1ドル。
一回のリクエストでかかるお金は、0.01~0.02ドル程度。
ユースケースによるが、費用対効果は取りやすそう。
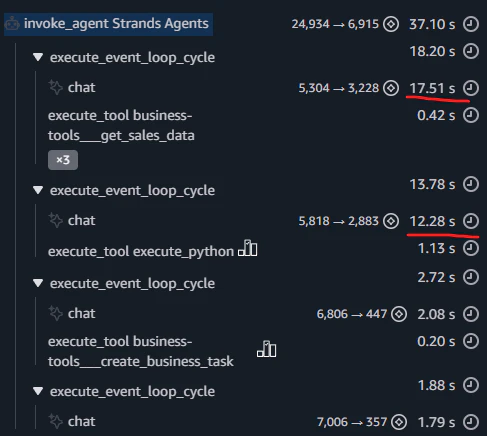
レイテンシー
レイテンシーは、約40Kms (40秒)と少し遅め。
CWの各セッションごとの詳細画面で確認すると、
LLM推論待ち(chat)が圧倒的なボトルネックだった。
改善点
- セキュリティ
権限伝搬 - オブザーバビリティ
アラーム追加