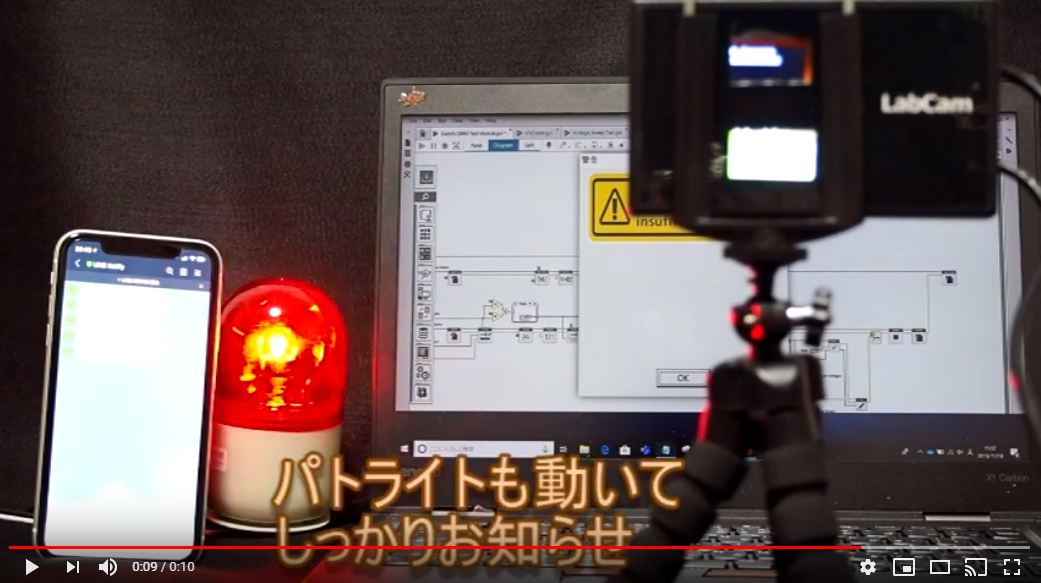
パトランプでお知らせする機能を追加した
「M5StickVとM5StickCでお知らせ機能付きエッジAIカメラを作った」の続きの記事となります。
前回の記事では、M5StickVとM5StickCを接続して、Brownie Learn(@ksasaoさんの作品)の機能で学習させた画像を認識したら、LINE Notifyでお知らせするカメラでした。
このカメラに、パトランプでお知らせする機能を追加しました。実際のユーザーの要望により追加しました。現場の声を大切にします。
動画はこれ。
IFTTTで設定したWebhooksを叩く
パトライトのONは、tp-LinkのHS105のスマートコンセントを使う。
https://www.tp-link.com/jp/home-networking/smart-plug/hs105/
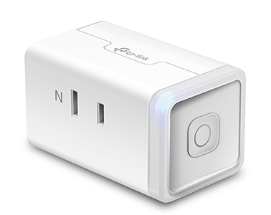
iPhone上でtp-Link用アプリKasaを立ち上げ、iphoneをtp-link名のwifiにつないで、その後、tp-linkが接続するwifiの設定(wifiSSID, password)をKasaアプリ内で行い、Kasaアプリ内でHS105が制御できる環境にする。HS105の名前もこの時に命名することができる。
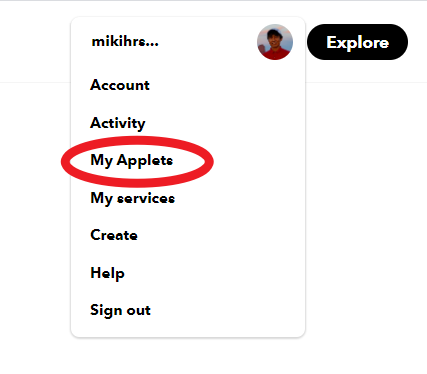
IFTTTの設定
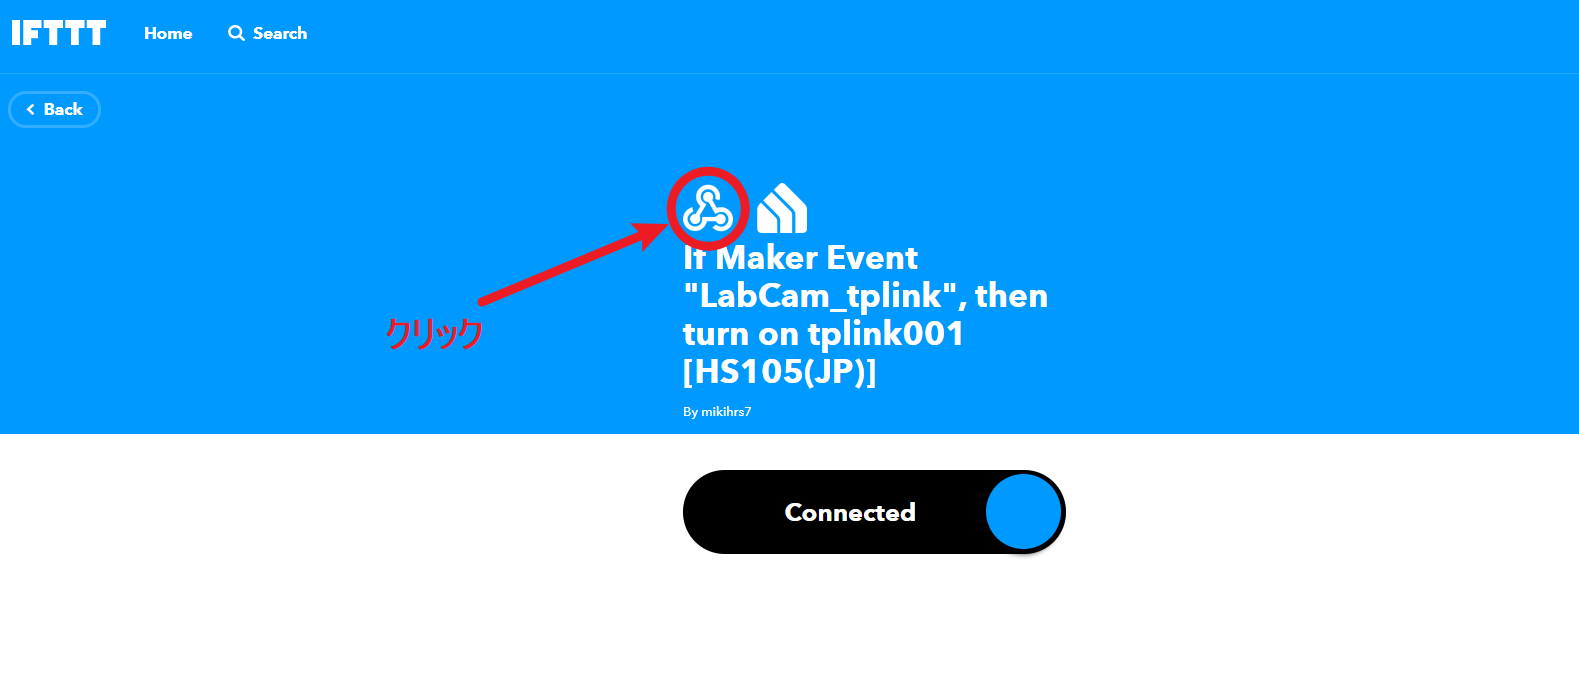
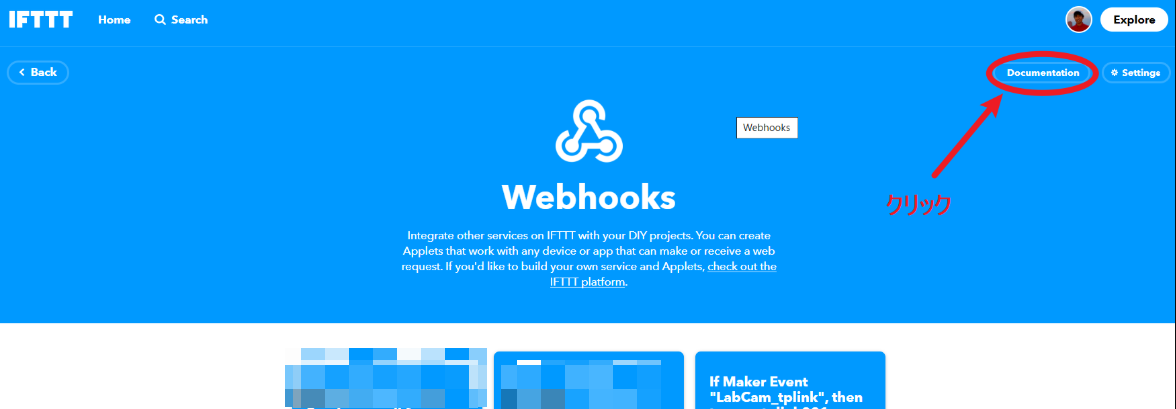
IFTTTの詳細設定は省略します。
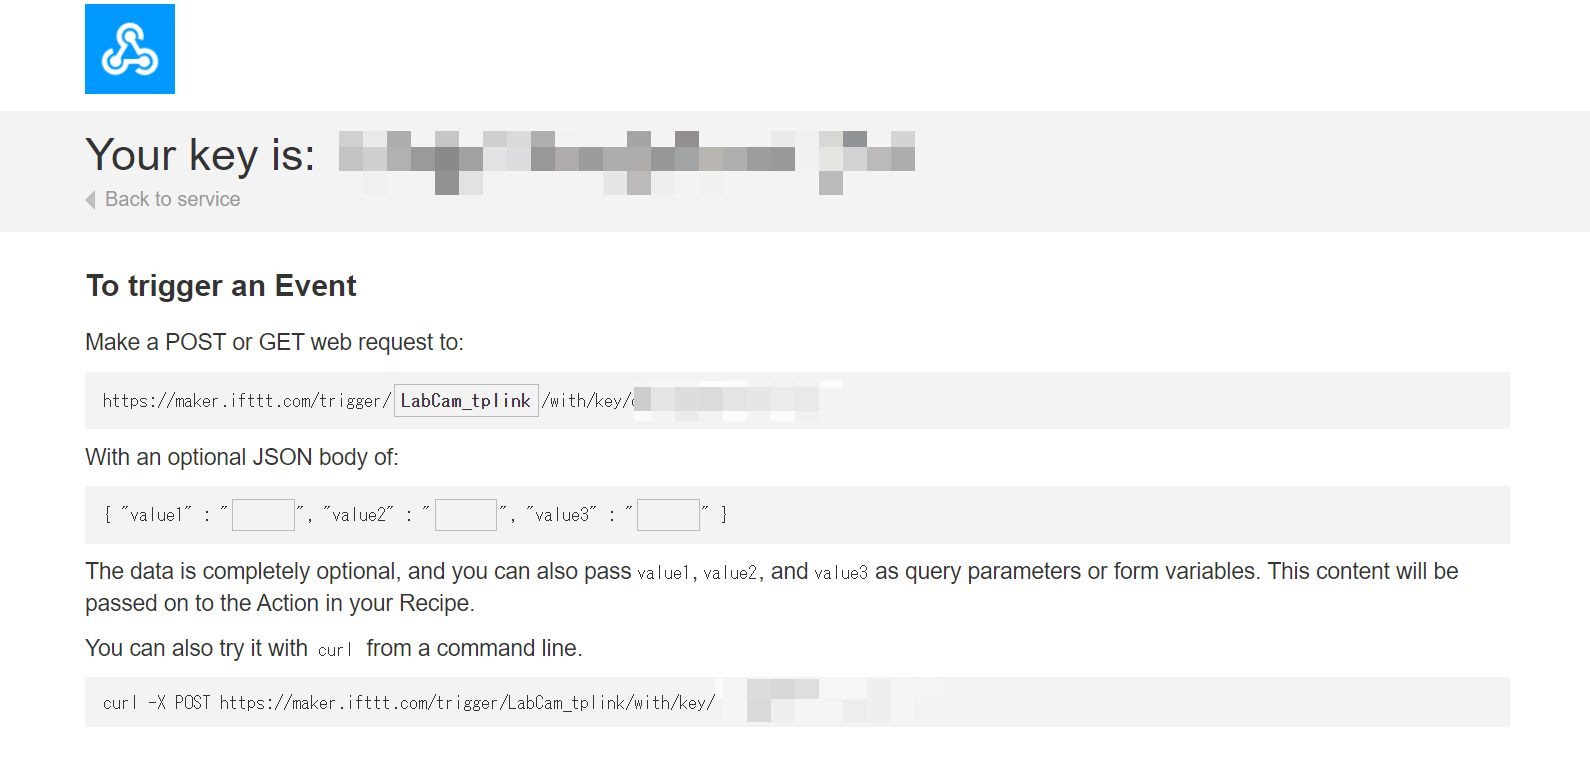
最後に、Event Nameの設定とYour keyの確認の手順のみ以下の画面に示します。
Event Nameは、LacCam_tplink という名前に設定したので、LacCam_tplinkを入れる。
コマンドプロンプトから
curl -X POST https://maker.ifttt.com/trigger/LabCam_tplink/with/key/xxxxxxxxxxxxxxxxxxxxxxxxxxxxxxxxx
を入力すると、HS105が電源オンになることが確認できた。
M5StickCからIFTTTで設定したWebhooksを叩く
M5StickCからIFTTTで設定したWebhooksを叩くプログラムは以下の部分
 /* IFTTTで設定したWebhooksを叩く */
void attack_webhook() {
  WiFiClientSecure https;
  if (!https.connect("maker.ifttt.com", 443))
  {
    Serial.println(F("ERROR: https connect"));
  }
  else
  {
    https.printf("GET /trigger/%s/with/key/%s?"
                 "value1=%f&value2=%f&value3=%f HTTP/1.1\r\n"
                 "Host: maker.ifttt.com\r\n"
                 "Connection: close\r\n\r\n"
                 , IFTTT_EVENT, IFTTT_KEY);
    https.flush();
    while (https.connected())
    {
      while(https.available())
      {
        String line = https.readStringUntil('\n');
        Serial.println(line);
      }
    }
    https.stop();
  }
}
M5StickCに書き込むプログラムは以下の通り
//LINE Notifyでお知らせ と IFTTTでtp-link HS-105をONにする

# include <M5StickC.h>
# include <WiFi.h>
# include <ssl_client.h>
# include <WiFiClientSecure.h>

const char* ssid = "XXXXXXXXXX";   //INPUT your wifi ssid
const char* passwd = "XXXXXXXXXXXXXXX";  //INPUT your wifi password
const char* token = "XXXXXXXXXXXXXXXXXXXXXXXXXXXXXXXXXXX";  //INPUT your LINE notify token
const char* host = "notify-api.line.me";

const char* IFTTT_EVENT = "XXXXXXXXXXXXX"; //INPUT IFTTT_Event_Name
const char* IFTTT_KEY = "XXXXXXXXXXXXXXXXXXX"; //INPUT IFTTT_Your_key


HardwareSerial serial_ext(2);

void setup_wifi() ;
void setup() {
  M5.begin();
  setup_wifi();
  send("WIFI connected");
  M5.Lcd.setRotation(1);
  M5.Lcd.setCursor(2, 4, 2);
  M5.Lcd.println("Wifi_Connected");
  serial_ext.begin(115200, SERIAL_8N1, 32, 33);
}

void loop() {
  M5.update();
  delay(500);
  if (serial_ext.available()>0) {
    String str = serial_ext.readStringUntil('\n');
    int data = str.toInt();
    Serial.print("data:");
    Serial.write(data);
    if (data == 1) {
    M5.Lcd.print('1');
    send("画像1が現れた。");  // 画像1認識時のメッセージを書く.
    attack_webhook();
  } else if (data == 2) {
    M5.Lcd.print('2');
    send("画像2が現れた。");  // 画像2認識時のメッセージを書く.
    attack_webhook();
  } else if (data == 3) {
    M5.Lcd.print('3');
    send("画像3が現れた。");  // 画像3認識時のメッセージを書く.
    attack_webhook();
    }
  }
  vTaskDelay(1000 / portTICK_RATE_MS);
}

 /* IFTTTで設定したWebhooksを叩く */
void attack_webhook() {
  WiFiClientSecure https;
  if (!https.connect("maker.ifttt.com", 443))
  {
    Serial.println(F("ERROR: https connect"));
  }
  else
  {
    https.printf("GET /trigger/%s/with/key/%s?"
                 "value1=%f&value2=%f&value3=%f HTTP/1.1\r\n"
                 "Host: maker.ifttt.com\r\n"
                 "Connection: close\r\n\r\n"
                 , IFTTT_EVENT, IFTTT_KEY);
    https.flush();
    while (https.connected())
    {
      while(https.available())
      {
        String line = https.readStringUntil('\n');
        Serial.println(line);
      }
    }
    https.stop();
  }
}

 /* Wifiに接続する */
void setup_wifi() {
  // We start by connecting to a WiFi network
  Serial.println();
  Serial.print("Connecting to ");
  Serial.println(ssid);
  WiFi.begin(ssid, passwd);
  while (WiFi.status() != WL_CONNECTED) {
    delay(500);
    Serial.print(".");
  }
  Serial.println("");
  Serial.println("WiFi connected");
  Serial.println("IP address: ");
  Serial.println(WiFi.localIP());
}


 /* LINE Notifyに送る */
void send(String message) {
  WiFiClientSecure client;
  Serial.println("Try");
  //LineのAPIサーバに接続
  if (!client.connect(host, 443)) {
    Serial.println("Connection failed");
    return;
  }
  Serial.println("Connected");
  //リクエストを送信
  String query = String("message=") + message;
  String request = String("") +
               "POST /api/notify HTTP/1.1\r\n" +
               "Host: " + host + "\r\n" +
               "Authorization: Bearer " + token + "\r\n" +
               "Content-Length: " + String(query.length()) +  "\r\n" +
               "Content-Type: application/x-www-form-urlencoded\r\n\r\n" +
                query + "\r\n";
  client.print(request);

  //受信終了まで待つ
  while (client.connected()) {
    String line = client.readStringUntil('\n');
    Serial.println(line);
    if (line == "\r") {
      break;
    }
  }

  String line = client.readStringUntil('\n');
  Serial.println(line);
}
コードを書くのに参考にした記事
Wi-FiがないM5StickVを、M5StickCと繋ぎLINEに投稿してみるまでの手順(@nnn112358 さん)
https://qiita.com/nnn112358/items/5efd926fea20cd6c2c43
作って1週間後に気づいた点
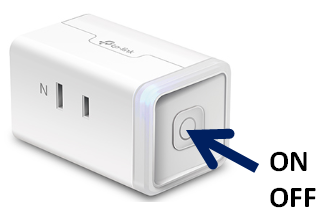
tp-linkコンセントをONにするプログラムでオンになった後、スマートフォンアプリKasaを立ち上げてOFFにしていたが、スマートコンセントの横にあるボタンを押したらON時はOFFに、OFF時はONになるボタンであることに気づいた。
こんなに大きなボタンがあるのに、wifiによるON/OFFのプラグである先入観があり、このボタンを押さなかった。
これでスマートプラグ設定・設置者と現場ユーザーが異なっていても実用に耐える。
反省点:しっかり、見ましょう。ボタンは、まず押してみましょう。説明書読みましょう。
