注記
「Amazon Linux 2」特有の手順は、「PHPをインストール」部分
Apacheをインストール
yum -y install httpd
Apacheの起動
systemctl start httpd
Apacheの自動起動設定
systemctl enable httpd
PHPをインストール
・「amazon-linux-extras」でインストールできる内容を確認する。
amazon-linux-extras list
・PHP7.3をインストール
amazon-linux-extras install php7.3
PHPのライブラリをインストール
yum -y install php-mbstring php-gd
PHPのバージョン確認
rpm -qa | grep php
Apacheの再起動
systemctl restart httpd
MariaDBをインストール
yum -y install mariadb mariadb-server
MariaDBの起動
systemctl start mariadb
MariaDBの自動起動設定
systemctl enable mariadb
MariaDBの初期設定
mysql -u root -p
・rootパスワードの変更
> update mysql.user set password=password('mynewpassword') where user = 'root';
> flush privileges;
・ユーザ作成
> create user 'wordpress'@'localhost' IDENTIFIED BY 'mypassword';
・データベース作成
> create database wordpressdb;
・権限設定
> grant all privileges on wordpressdb.* to 'wordpress'@'localhost';
> flush privileges;
・データベース確認
> show databases;
MariaDB [(none)]>  show databases;
+--------------------+
| Database           |
+--------------------+
| information_schema |
| mysql              |
| performance_schema |
| test               |
| wordpressdb        |
+--------------------+
5 rows in set (0.00 sec)
・終了
> exit
WordPressをインストール
・作業用ディレクトリ作成
mkdir /home/wordpress
cd /home/wordpress
・ダウンロードする
wget https://wordpress.org/latest.tar.gz
・展開する
tar xzvf latest.tar.gz
・Apacheの公開ディレクトリに移動
mv wordpress/* /var/www/html/
・Apacheユーザに/var/www/html/ディレクトリの書き込み権限を与える
chown apache.apache -R /var/www/html
chmod +w -R /var/www/html
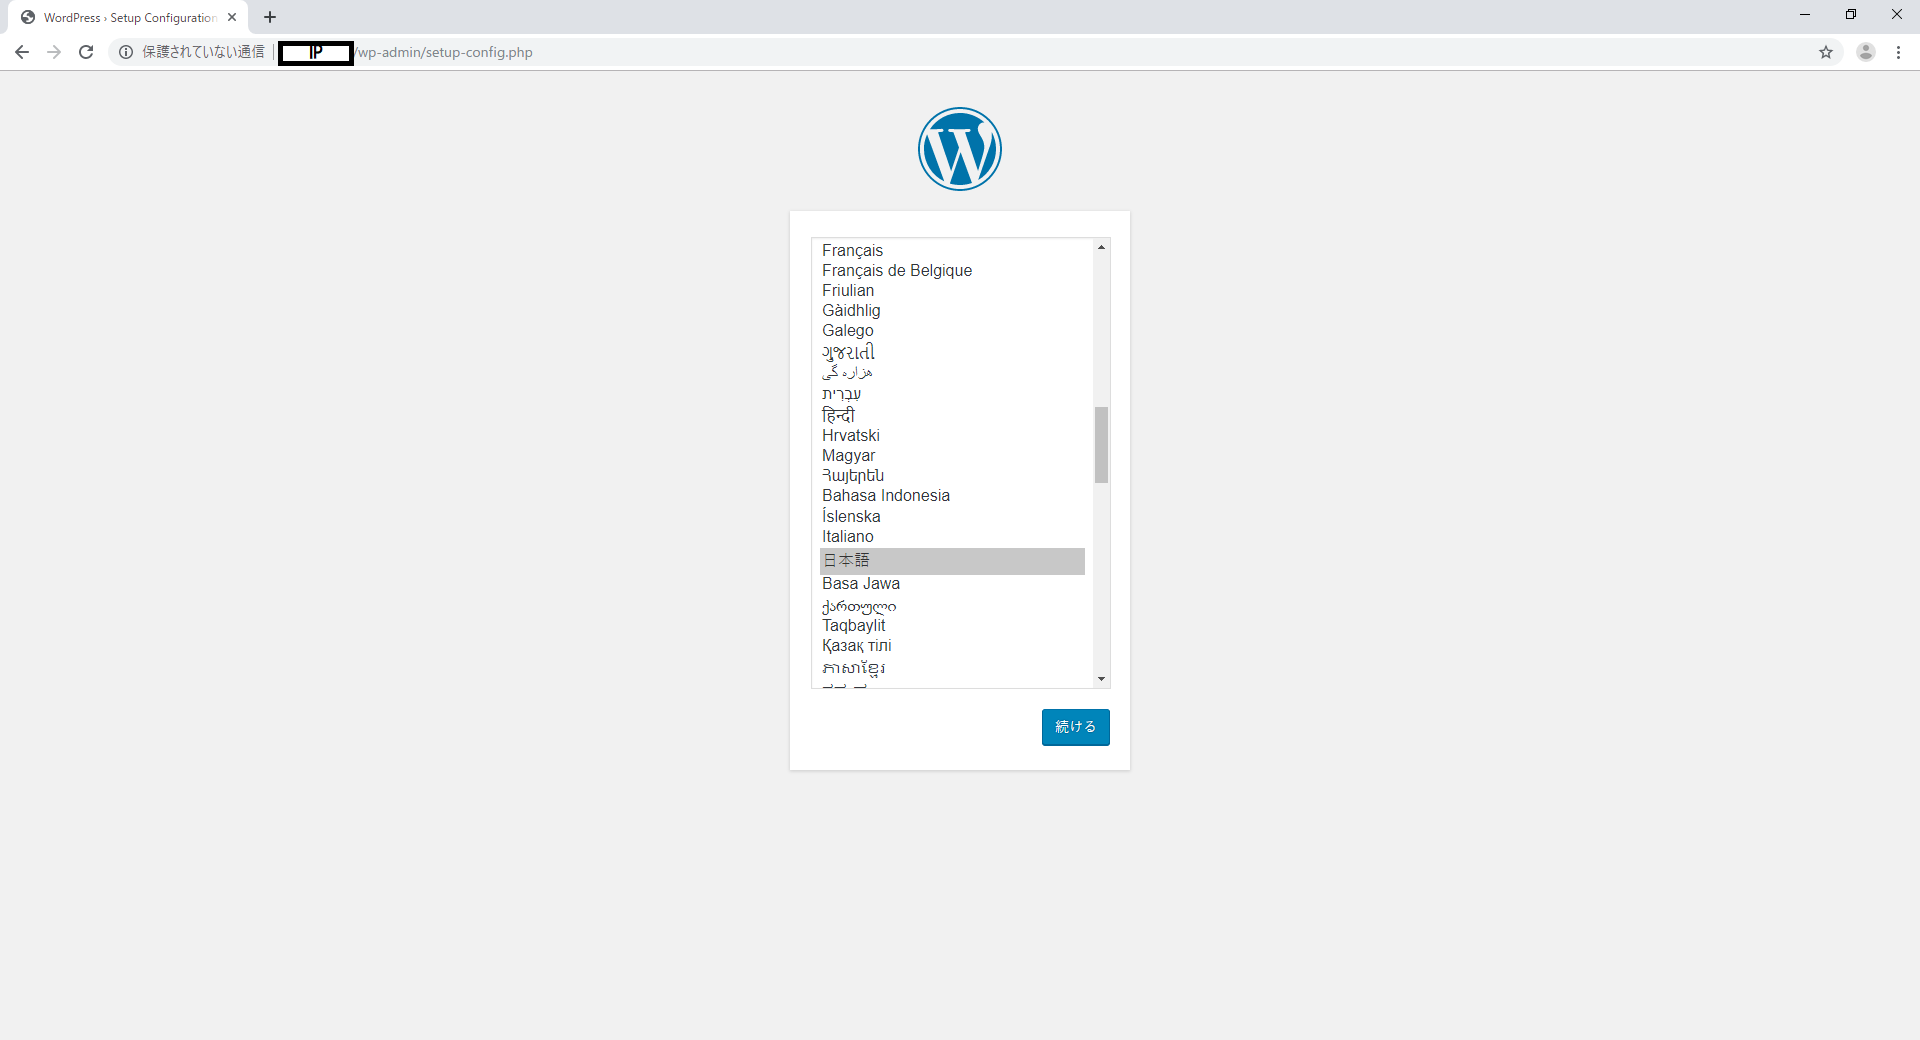
・ブラウザからインストールページを開く。