brew install postgresql
homebrewでpostgresqlをインストール
sql —-version
インストールできていれば、バージョンが表示される
brew services start postgresql
postgresqlをスタートする
createdb test
testという名前でDBを作成する
psql -l
DBが作成されていれば、DB名が表示される
psql test
testデータベースに接続することができる。このコマンドを実行すると、コマンドでtableを作成したりする事ができる。
test=#
test=# create table tet (
test(# id integer,
test(# name varchar(10)
test(# );
CREATE TABLE
テーブルが作成される。
test=# create role test login password 'test'
test-# ;
CREATE ROLE
上記のコマンドでユーザーを作成する。
test=# \d
        List of relations
 Schema | Name | Type  |  Owner
--------+------+-------+---------
 public | tet  | table | masashi
(1 row)
テーブルが作成できていれば、\dコマンドで確認する事ができる。
test=# \q
postgresqlを終了する。
brew services stop postgres
postgresql自体を停止する。
※必要であれば、以下を実行して、postgresqlの設定を書き換える。
cd /usr/local/var/postgres
vi postgresql.conf
vimで設定ファイルを開き、以下の部分のコメントアウトを外す。
listen_addresses = ‘localhost’
~
port=5432
brew services start postgresql
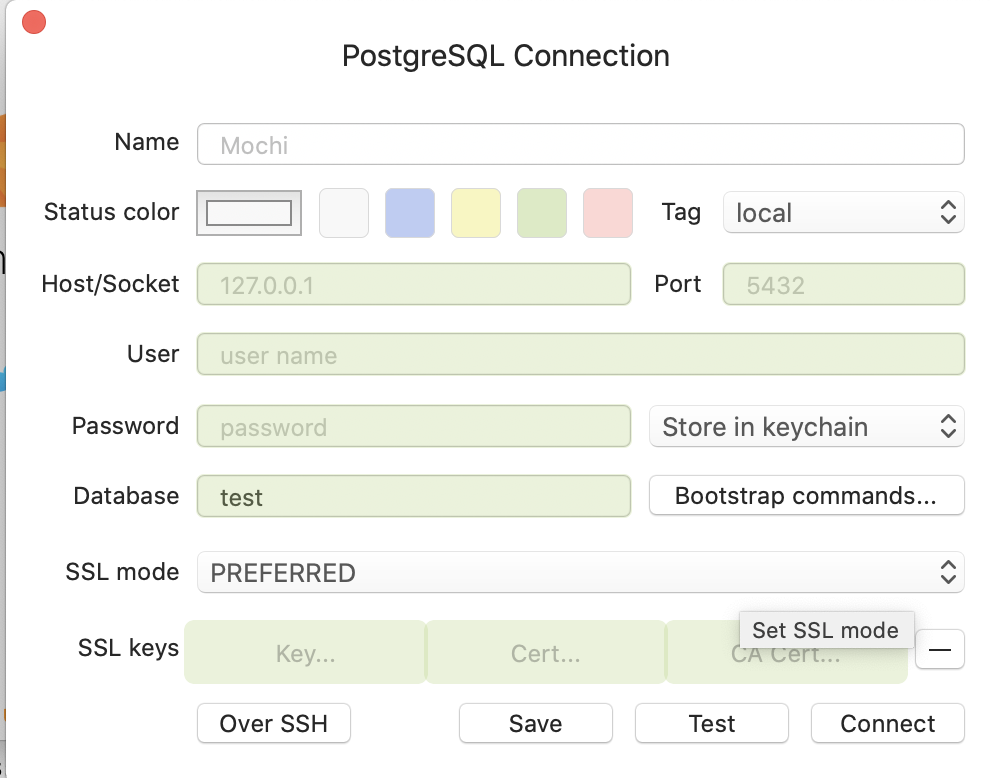
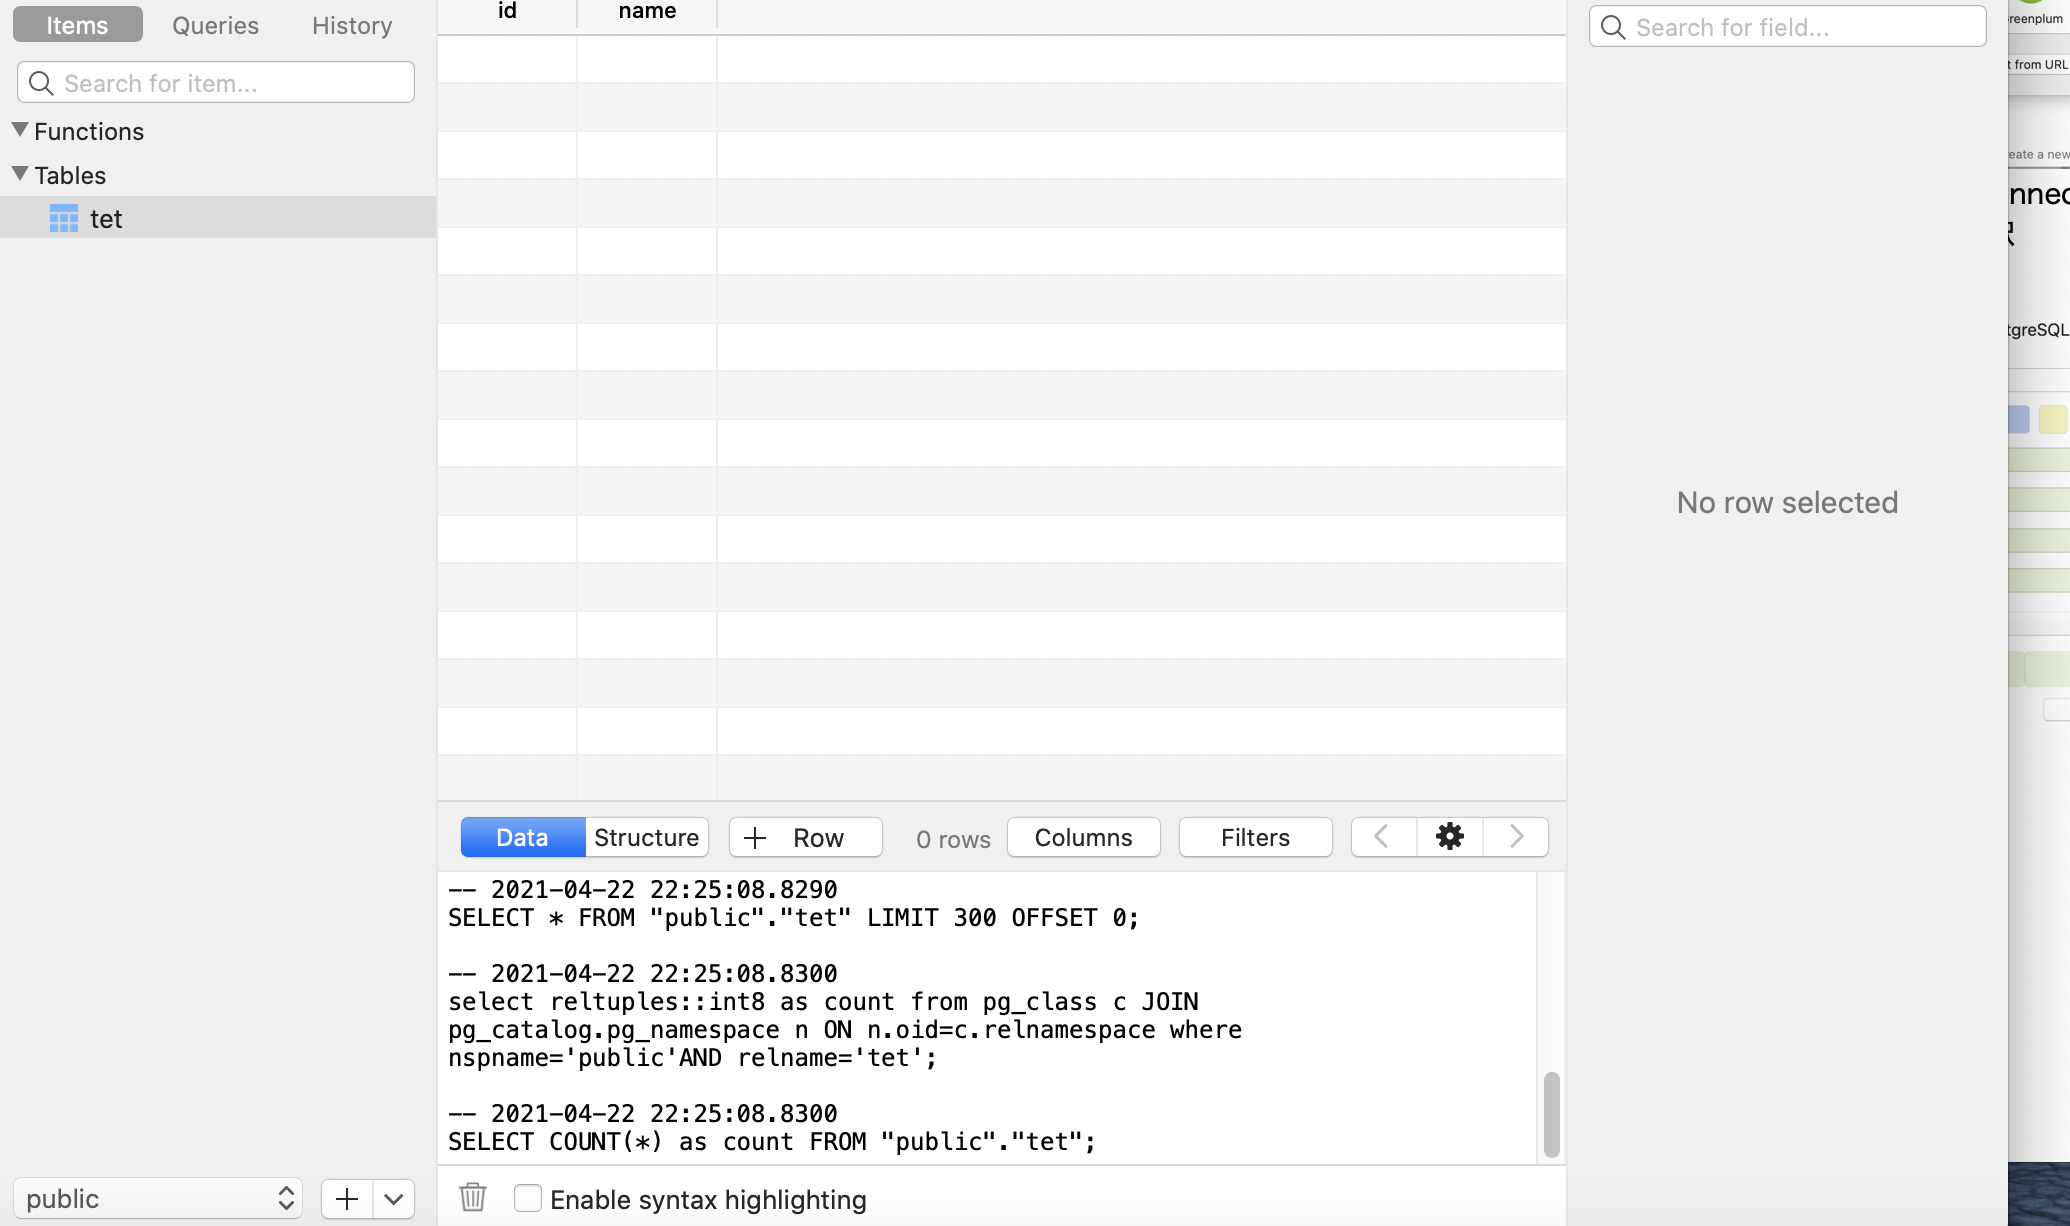
上記のコマンドを実行し、サービスを開始し、tableplusで接続を試みる。
・TablePlusの設定
create a new connectionをクリックし、postgresqlを選択


