この記事は株式会社ドットログによる
コンストラク体操日記 Advent Calendar 2025 の 12日目 の記事です。
アドベントカレンダーのネタがないので、個人開発したアプリの根幹となる機能の実現方法を備忘録します。
まずExpoアプリ作ります。
npx create-expo-app@latest
Expoアプリ自体は本筋とは関係ないので、ここら辺に従って適当に。
待ってたらできます。
expo-apple-targetsを導入
ドキュメントに従ってセットアップします。
npx create-target
↑を実行すると↓が出てくる。

App Intentを選択。
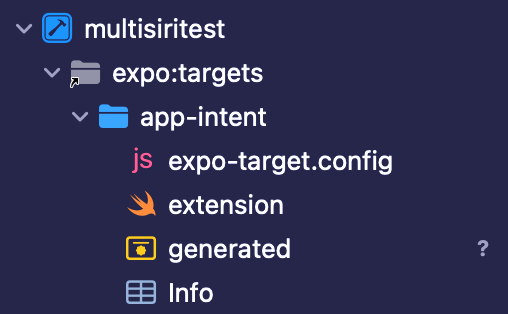
新しくこんなディレクトリが作成される。
targets
└── app-intent
    ├── expo-target.config.js
    ├── extension.swift
    └── Info.plist
↓でprebuildする。
npx expo prebuild -p ios --clean
↓でXcodeを開く
xed ios
すると、面白いことにXcodeの方からapp-intentディレクトリが見えるようになっている。
Xcode上で編集してもちゃんと反映される。
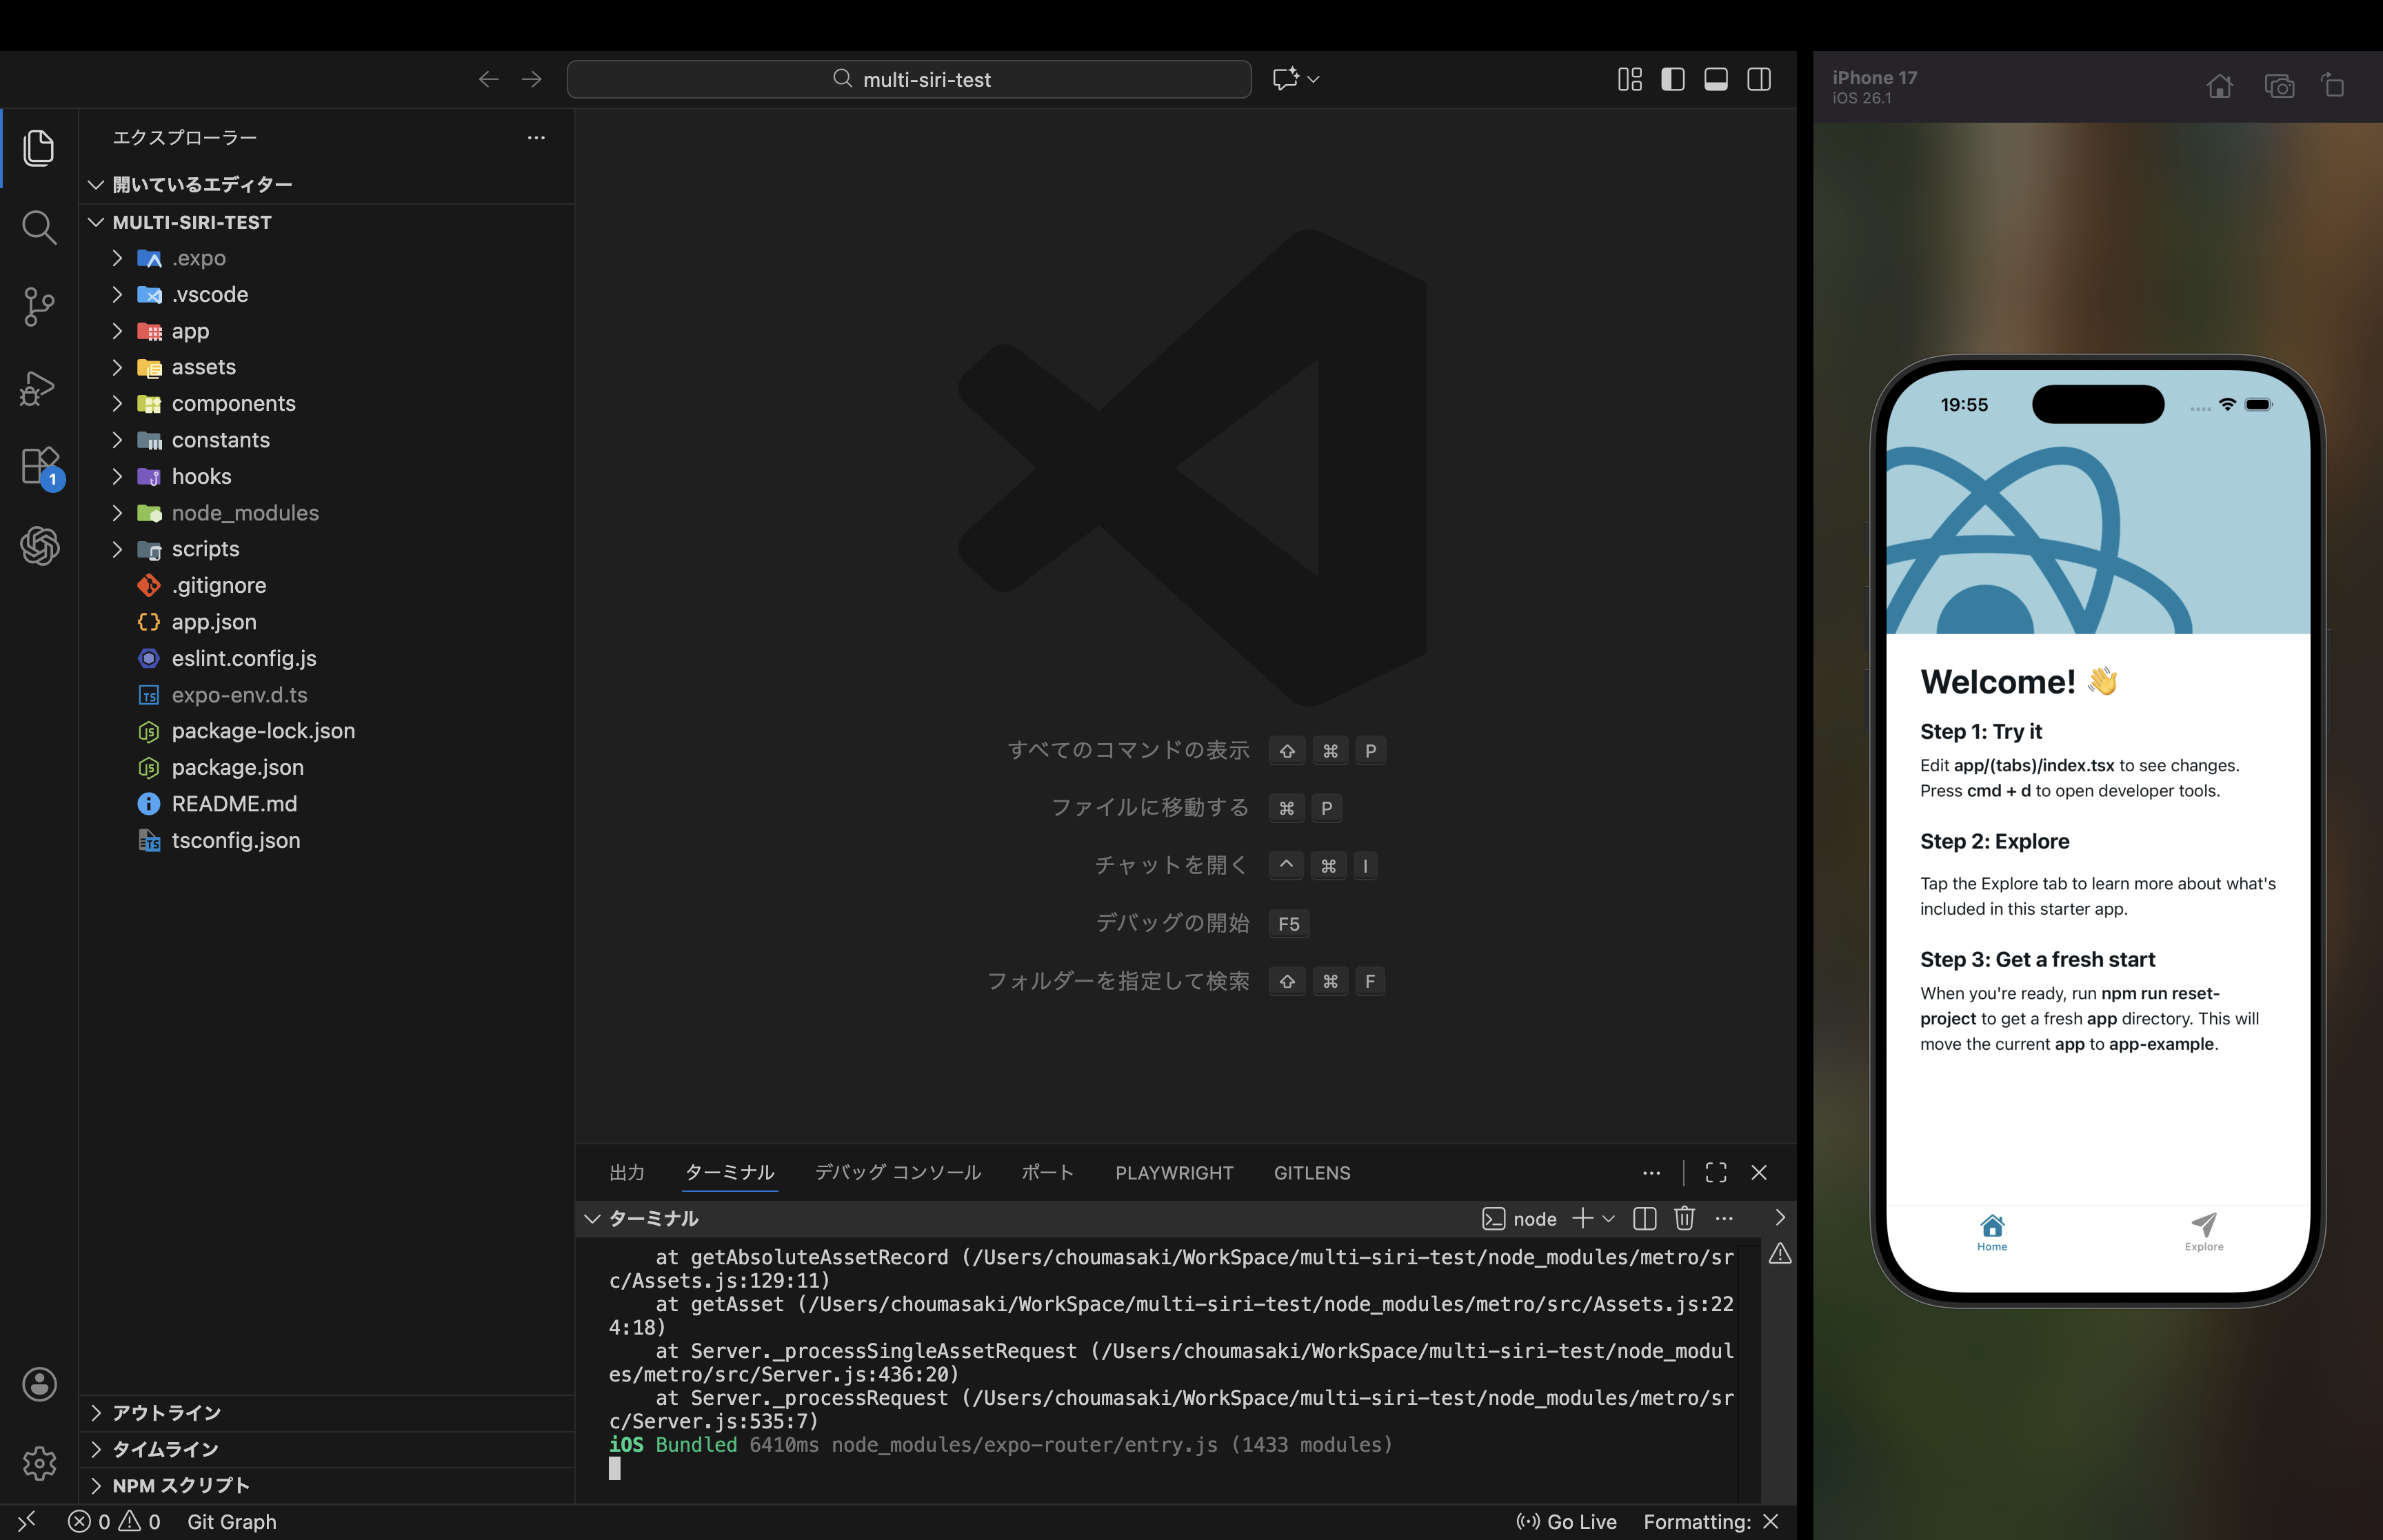
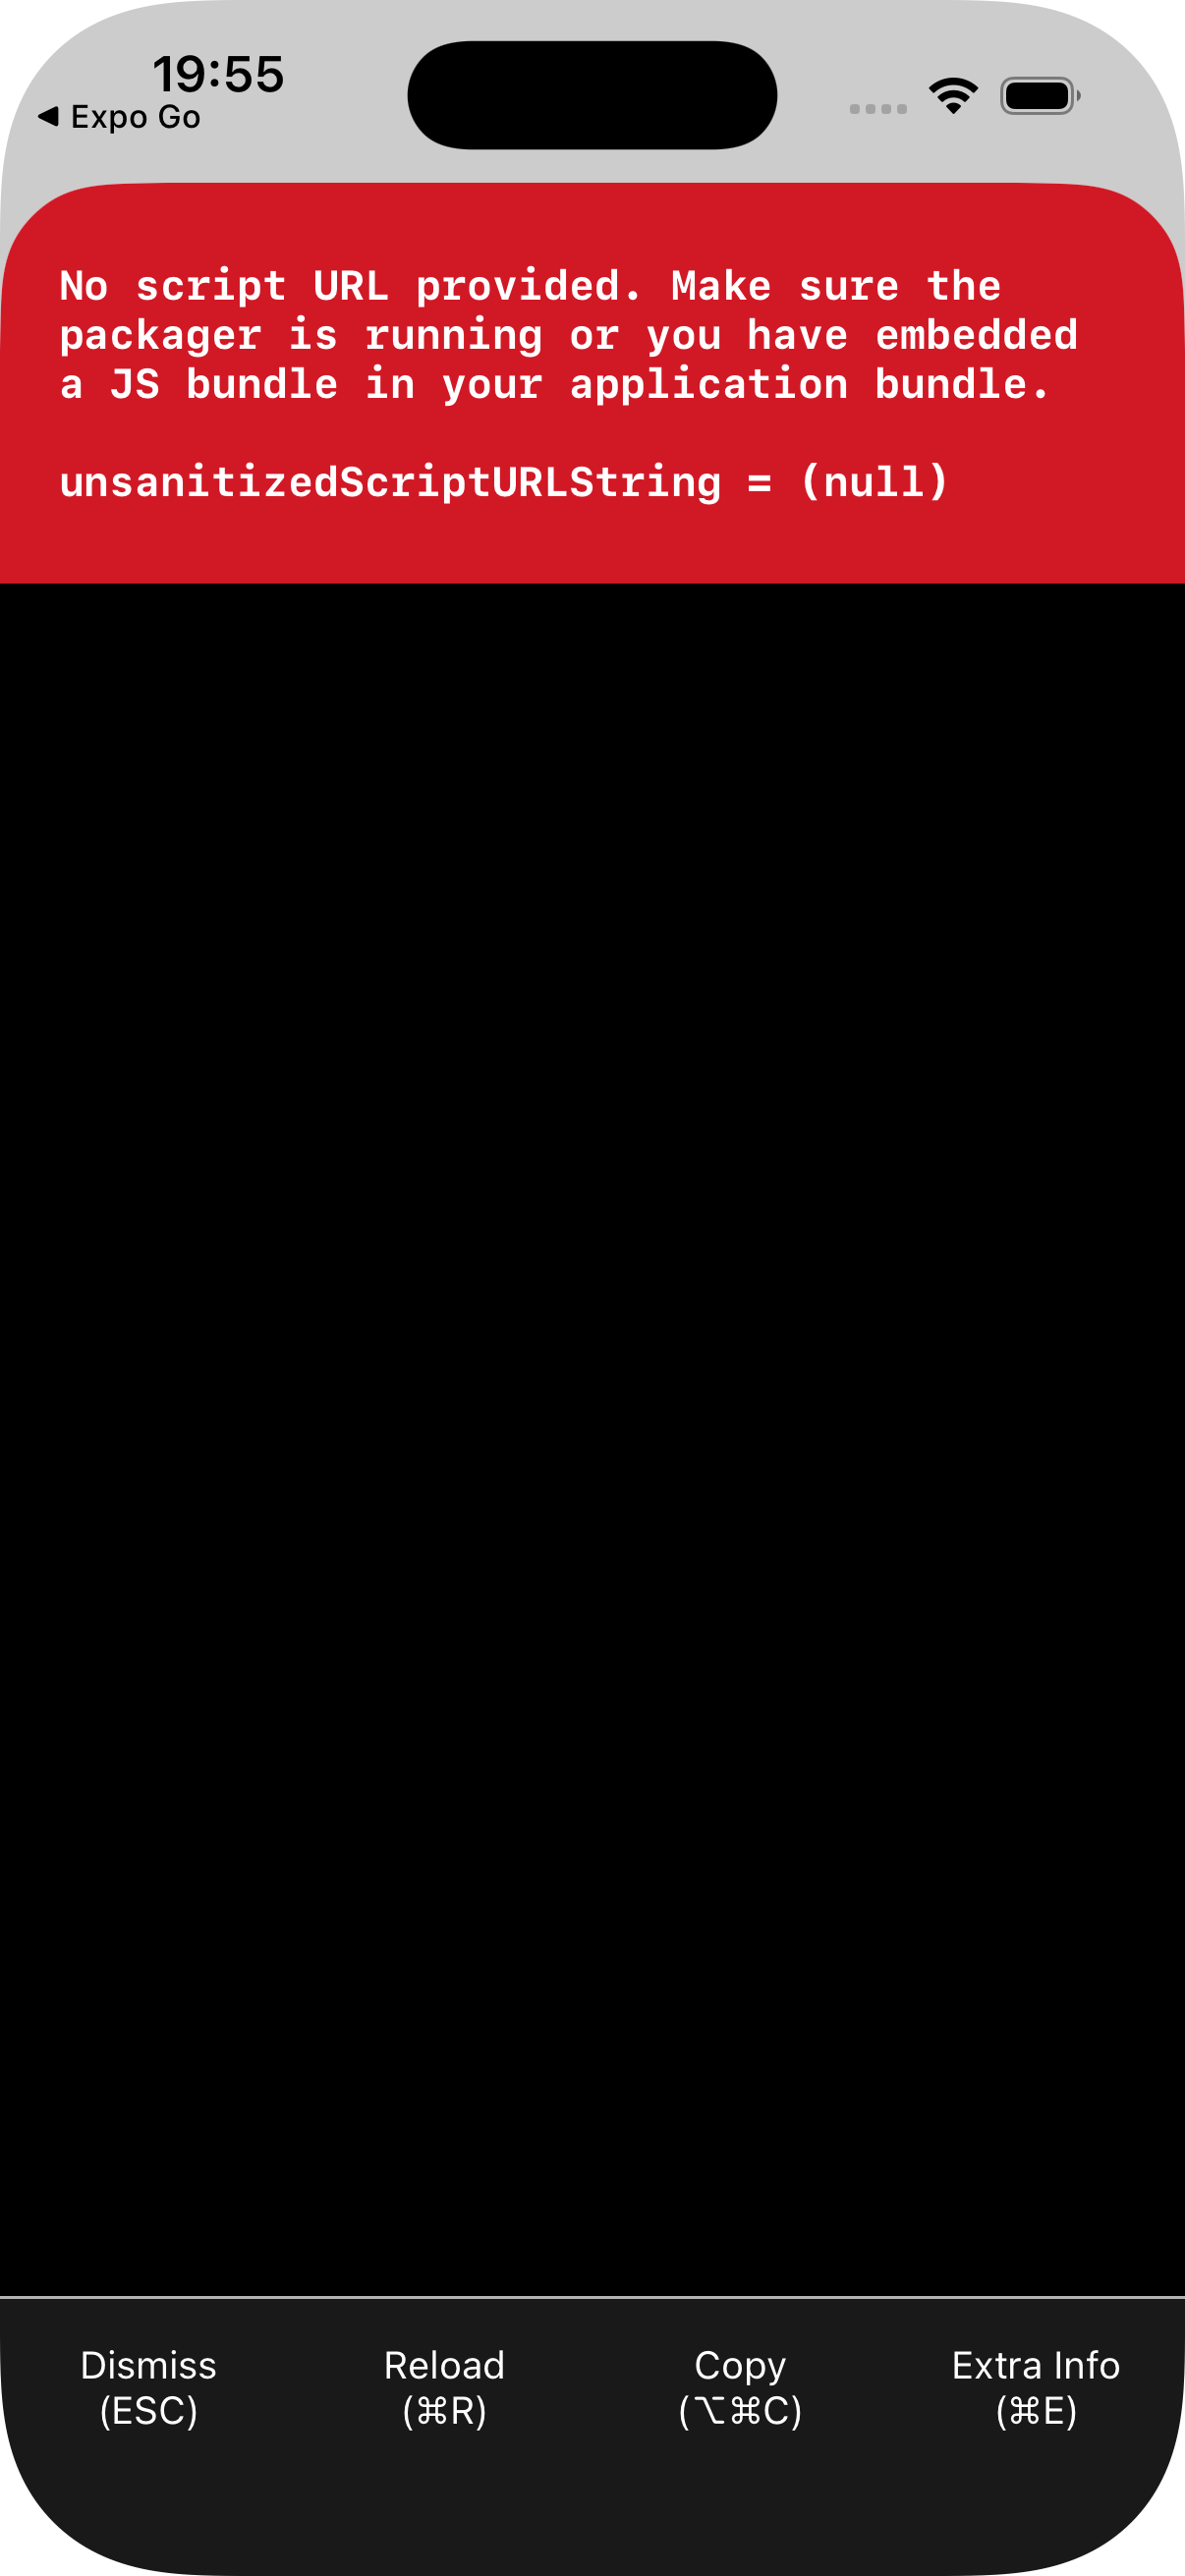
npx expo startを実行してexpoのサーバーを立てずにシミュレータで実行すると、こんな感じに赤くなっちゃうけどApp Intentsの動作テストだけをする分には気にしなくて大丈夫。
AppIntentsを作る
targets/app-intent/extension.swiftを以下のように編集。
import AppIntents

@main
struct EntryExtension: AppIntentsExtension {
}

struct myExtension: AppIntent {
    static var title: LocalizedStringResource { "my-extension" }

    func perform() async throws -> some IntentResult & ProvidesDialog {
        return .result(
          dialog: IntentDialog(stringLiteral: "やーい、お前のiPhone、油まーみれー")
        )
    }
}

struct TestShortcutsProvider: AppShortcutsProvider  {
  static var appShortcuts: [AppShortcut] {
    AppShortcut(intent: myExtension(), phrases: [
      "\(.applicationName) こんにちは"
    ], shortTitle: "かんたを呼ぶ", systemImageName: "figure.fall")
  }
}
シミュレータで実行して、Siriに「(アプリ名) こんにちは」と言うと、からかってくれます。

この時、Siriに認識させるアプリ名はSiriに設定している言語でないとうまく反応してくれないことが多いので、日本ならアプリ名を日本語にしておきましょう。
(Siri Shortcutのフレーズには必ずアプリ名を含めないといけません。そうじゃないとビルド時に怒られます。)
多言語対応する
ここからが本題です。
ここでは日本語と英語に対応することとしますが、それ以外の言語にも同様に対応可能です。
多言語対応しなければならない対象は以下の3つです。
- Siriに認識させるフレーズ
- Siriに話させるフレーズ
- アプリ名
上述の通り、Siriに反応させるためには、Siriに設定している言語で反応しやすいようにアプリ名を設定しなければならないので、アプリ名も多言語対応する必要があります。
しかし、アプリ名、基Expoの各種設定を多言語対応する方法は他の方が詳しくまとめてくれていると思うので、ここでは省略します。ざっと見たところ以下の記事などが参考になるはずです。
Siriに話させるフレーズ
こちらの方が簡単なのでこちらから説明します。
例のAppIntentsで言うと「やーい、お前のiPhone、油まーみれー」を英語ユーザーには英語で表示したいケースへの対応です。
まずXcodeからapp-intentsディレクトリを右クリックし、New File from Template...を選択します。
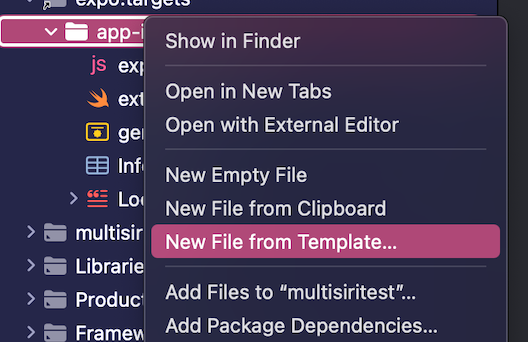
そして、Strings File (Legacy)を選択して、おそらくすでに存在するen.lprojディクレトリに新規作成します。この時、Targetsはアプリ本体からappintentに変更しておきましょう。


app-intent配下にja.lprojも作成し、それに対し同様の操作を実施します。
例ではこのようにそれぞれのファイルを編集しました。
"message" = "Your iPhone is dirty";
"message" = "やーい、お前のiPhone、油まーみれー";
そして、extension.swiftでそれを利用するようにします。
import AppIntents

@main
struct EntryExtension: AppIntentsExtension {
}

struct myExtension: AppIntent {
    static var title: LocalizedStringResource { "my-extension" }

    func perform() async throws -> some IntentResult & ProvidesDialog {
        return .result(
-          dialog: IntentDialog(stringLiteral: "やーい、お前のiPhone、油まーみれー")
+          dialog: IntentDialog(stringLiteral: NSLocalizedString("message", comment: "表示するメッセージ"))
        )
    }
}

struct TestShortcutsProvider: AppShortcutsProvider  {
  static var appShortcuts: [AppShortcut] {
    AppShortcut(intent: myExtension(), phrases: [
      "\(.applicationName) こんにちは"
    ], shortTitle: "かんたを呼ぶ", systemImageName: "figure.fall")
  }
}
検証していないので確定的ではないですが、Strings Fileの代わりにString Catalogを使っても動くんだと思います。
Strings Fileが古い指定方法で、String Catalogが新しい指定方法だと言う認識です。次の工程では、後者を使用する必要があります。
iOSネイティブ開発には疎いので、お門違いな認識だったら指摘していただきたいです。
Siriに認識させるフレーズ
同様に、Xcodeからapp-intentsディレクトリを右クリックし、New File from Template...を選択します。
上述の通り、次はString Catalogを選択します。
ここで、ファイル名をAppShortcuts.xcstringsに変更してから作成してください。targetsはappintentにしておきましょう。

作成直後はこのように空です。
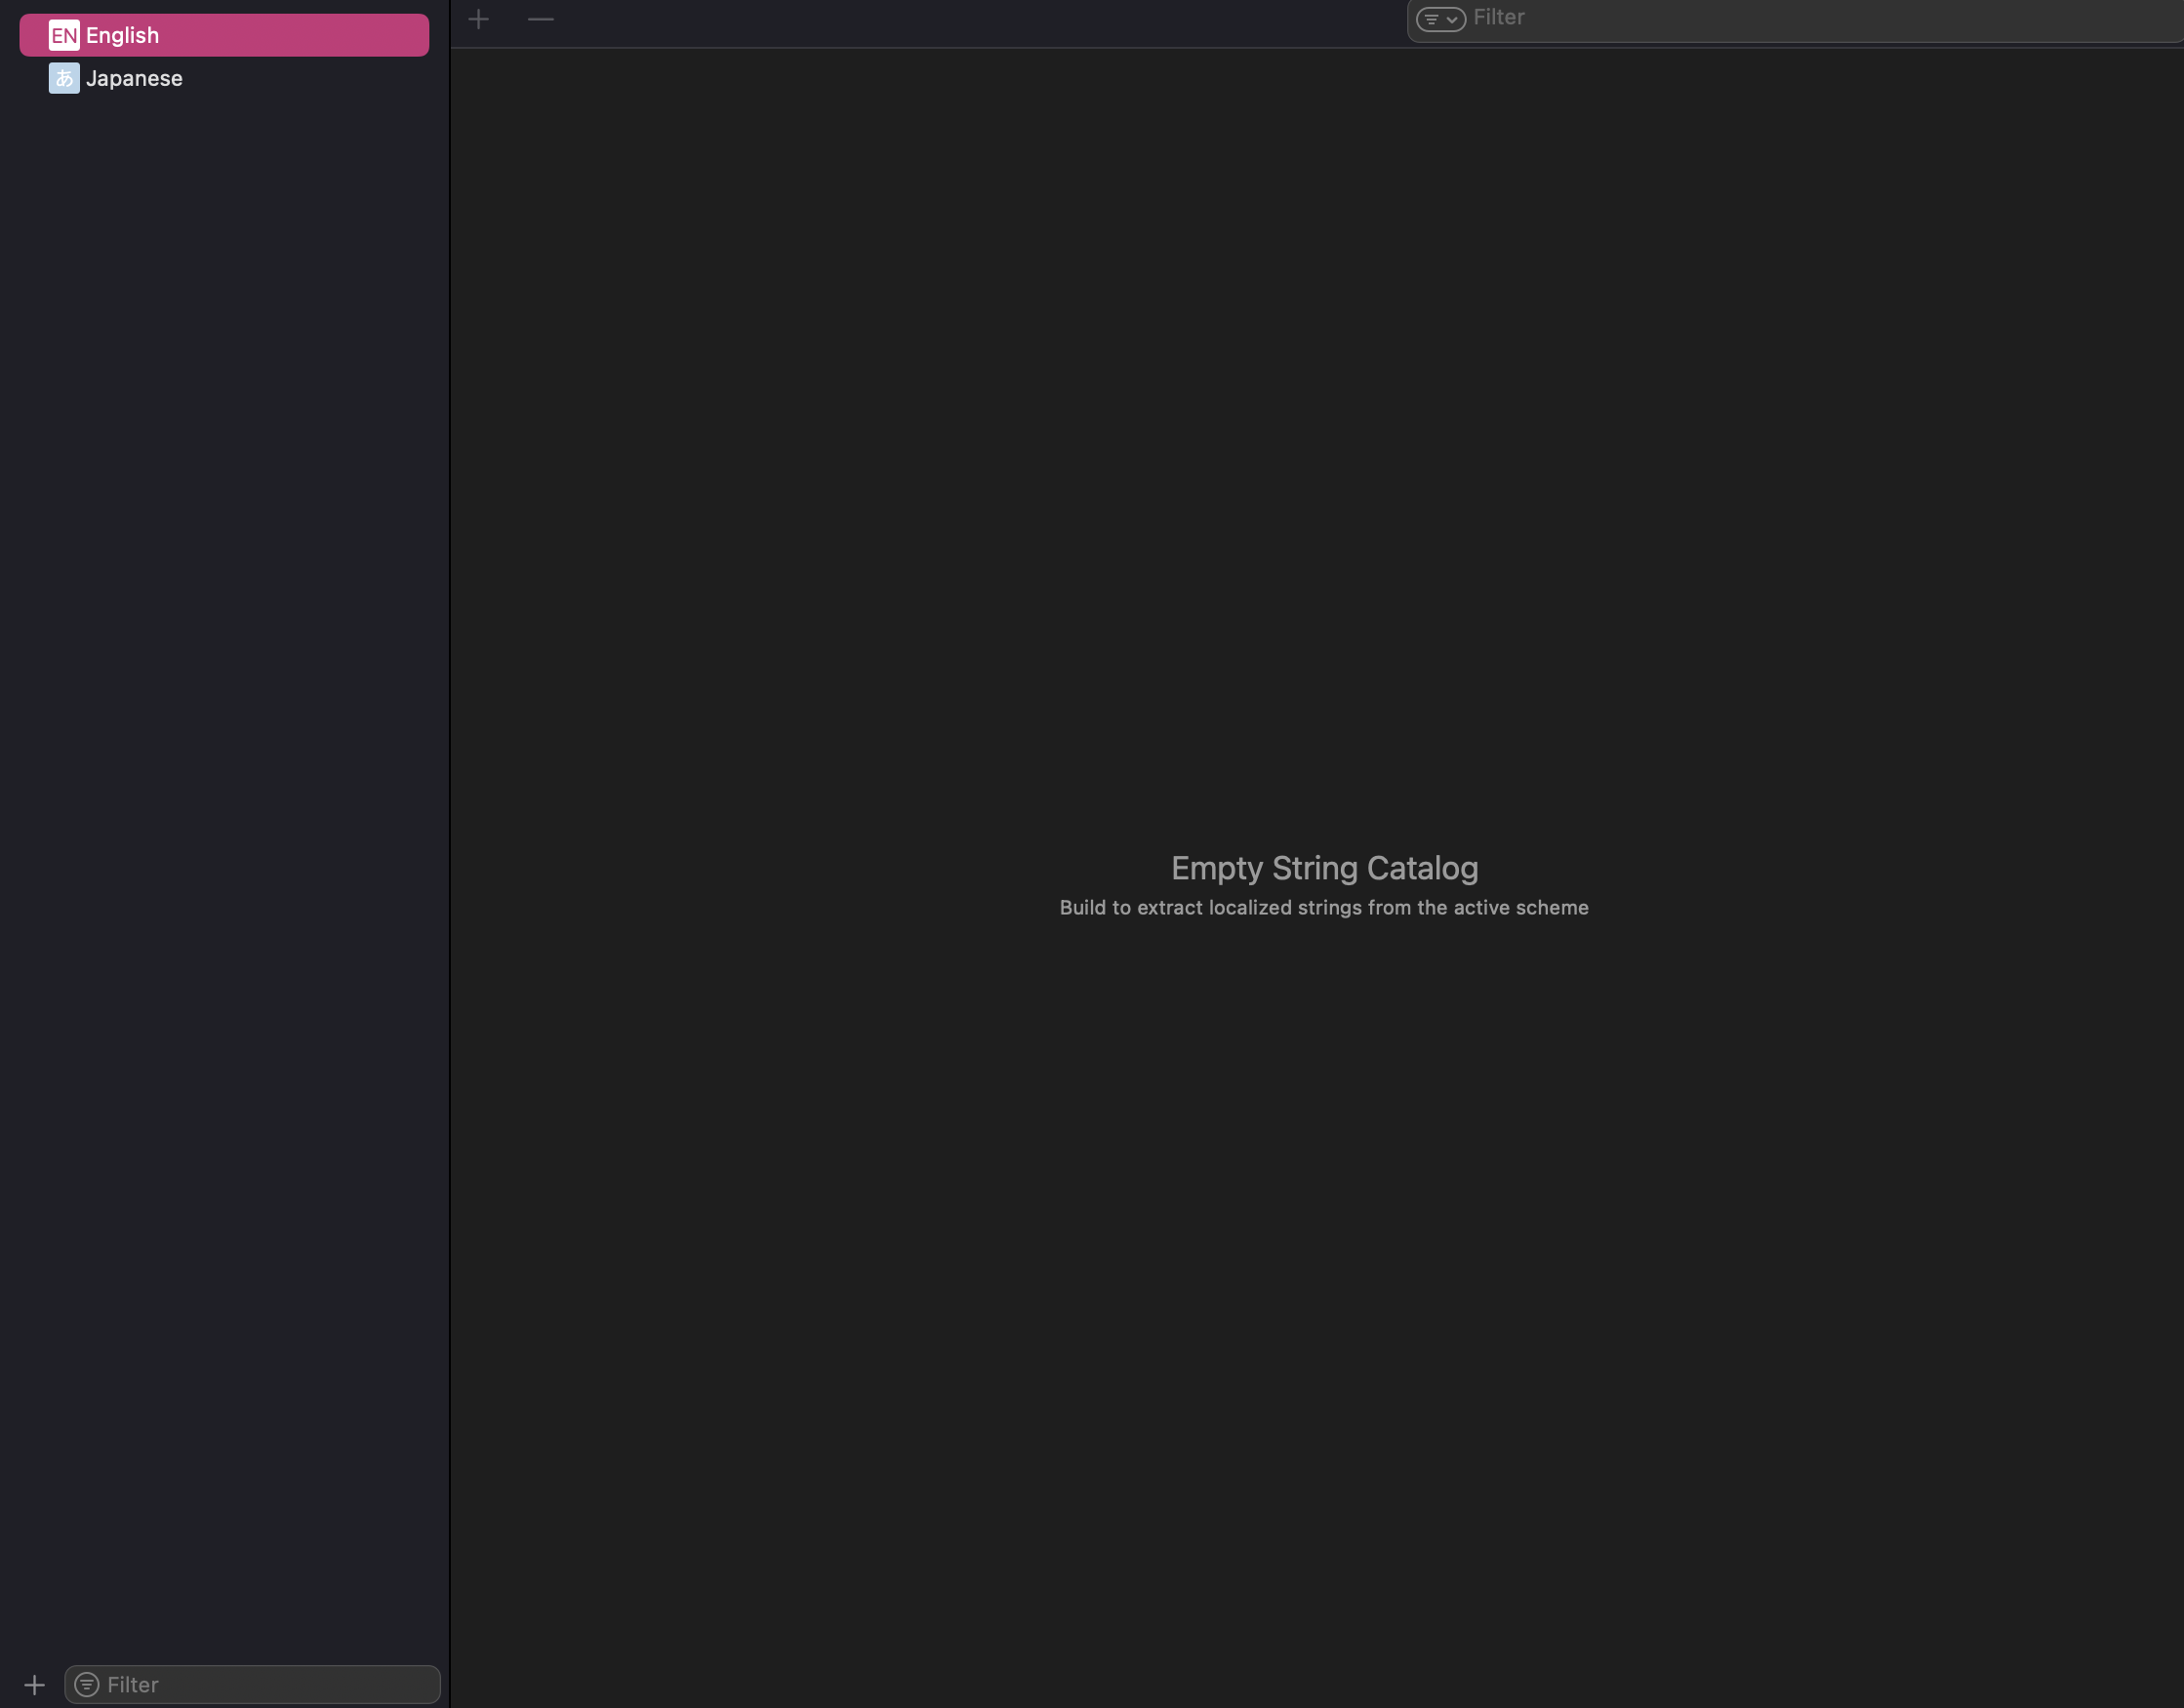
しかし、一度シミュレータで実行してみると、以下のようにTestShortcutsProviderに設定したフレーズを抽出してくれます。

あとはこれを適当に編集してやれば完了です。
例では、プライマリー言語が英語になっているので、extension.swiftを以下のように編集し、再度シミュレータで実行しました。
import AppIntents

@main
struct EntryExtension: AppIntentsExtension {
}

struct myExtension: AppIntent {
    static var title: LocalizedStringResource { "my-extension" }

    func perform() async throws -> some IntentResult & ProvidesDialog {
        return .result(
            dialog: IntentDialog(stringLiteral: NSLocalizedString("message", comment: "表示するメッセージ"))
        )
    }
}

struct TestShortcutsProvider: AppShortcutsProvider  {
  static var appShortcuts: [AppShortcut] {
    AppShortcut(intent: myExtension(), phrases: [
-       "\(.applicationName) こんにちは"
+       "\(.applicationName) hello"
    ], shortTitle: "かんたを呼ぶ", systemImageName: "figure.fall")
  }
}
そして、日本語のフレーズをこのように設定しました。

結果
Siriの言語、端末自体の言語を、英語に設定すると英語で反応/返答してくれるようになります。
なお、返答のフレーズは端末自体の言語設定、反応のフレーズはSiriの言語設定が反映されるようです。
従って、英語で聞いて日本語で答えられる、と言うようなケースも存在しえることには注意しておいた方が良さそうです。


TIPS
Expoアプリは関係なく、App Intentsだけビルドしてシミュレーターで動かしてぇな〜って時にはこのコマンドが使える。アプリ起動時の真っ赤な画面は気にしなくて大丈夫そ。
expo prebuild --clean --platform ios --template ./node_modules/@bacons/apple-targets/prebuild-blank.tgz