1
0

Delete article

Deleted articles cannot be recovered.

Draft of this article would be also deleted.

Are you sure you want to delete this article?

More than 3 years have passed since last update.

Visual Studio Code で PHP を 使うための初期設定をしてみた!!!

Posted at

はじめに

ずっと愛用していた「Brackets」のサポートが9月1日に終了してしまうみたいです(´;ω;`)

Brackets を開いたときに「Visual Studio Code」に移行してね、と書いていたのでとってもシンプルで使いやすかったBrackets ともお別れします!!!

とりあえずPHPが使えればいいので、ささっさっとやってみました。

Visual Studio Codeのインストール

Windows版でやっていきます!!
[Visual Studio Code ダウンロード]
(https://code.visualstudio.com/download)

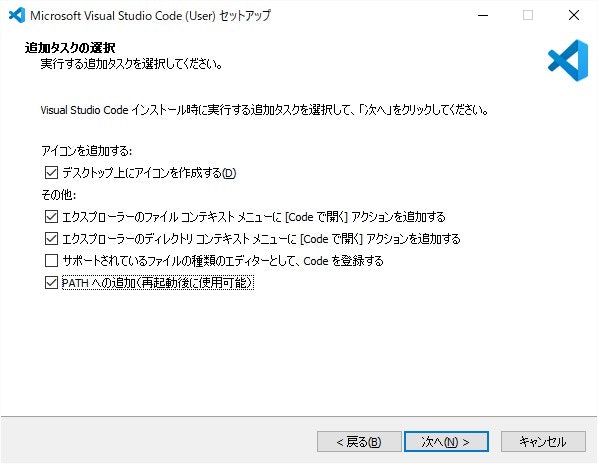
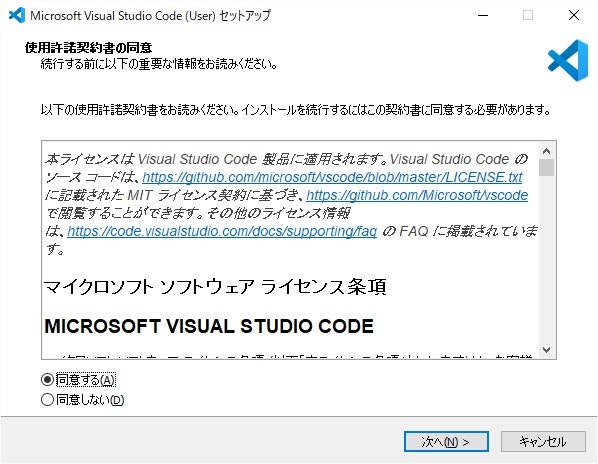
インストールしていきます!
aaa.jpg

一応アクションを追加するにチェックつけときます!
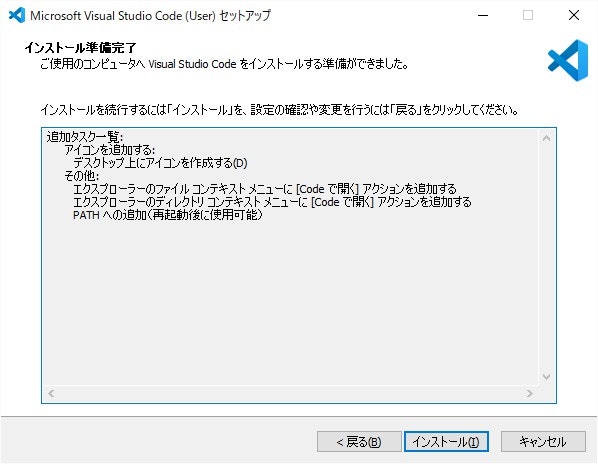
messageImage_1614775913055.jpg

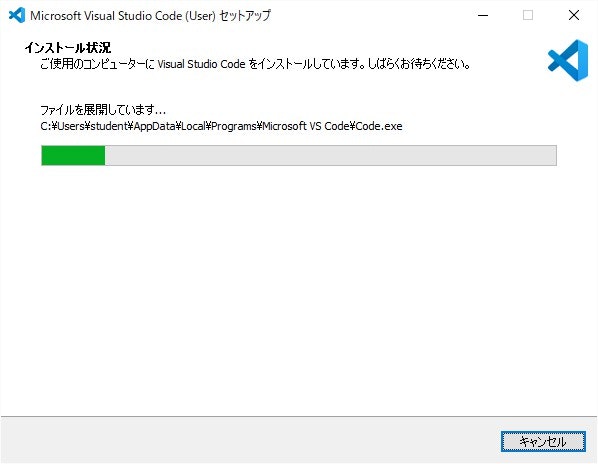
インストール!messageImage_1614776094991.jpg

messageImage_1614776039726.jpg

設定

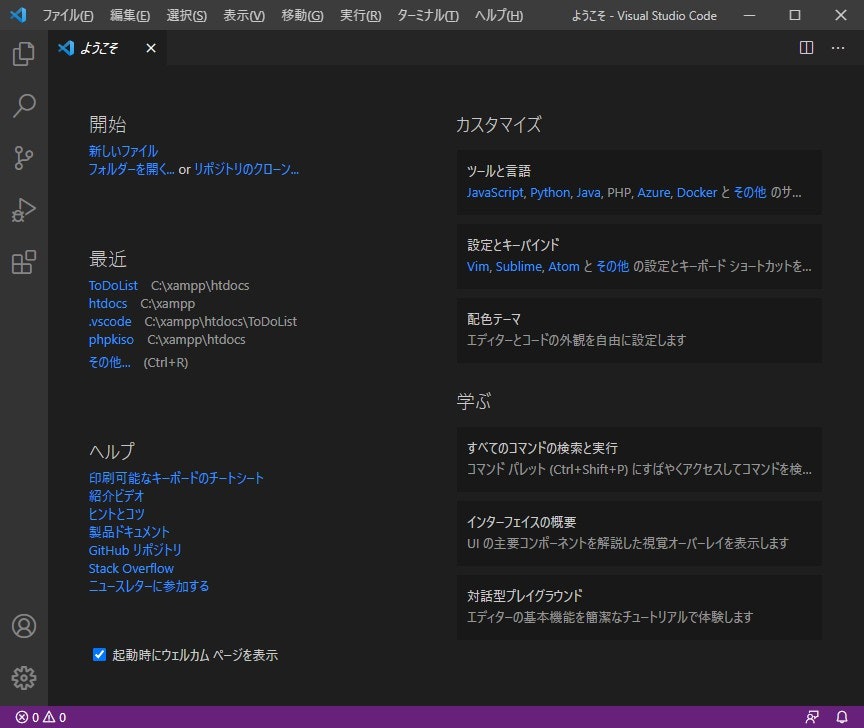
インストールできたら開いて
左側の上から5番目の四角のやつで拡張機能をインストールしていきます!

日本語にするのは
「Japanese Language Pack for Visual」
ってやつです!

messageImage_1614776793945.jpg
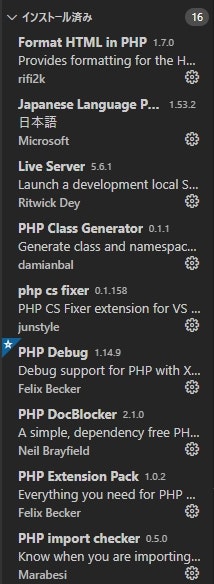
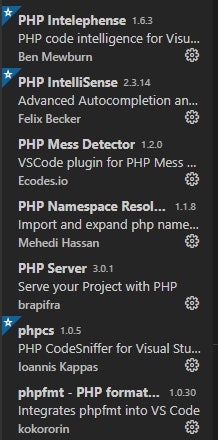
テキトーに調べてたくさん入れました!
1614776718169.jpg
1614776736613.jpg

次に

フォルダーを開くで使用したいフォルダを開きます。

次に、ファイル(F)→ユーザ設定→設定 で 「settings.json]を編集します。
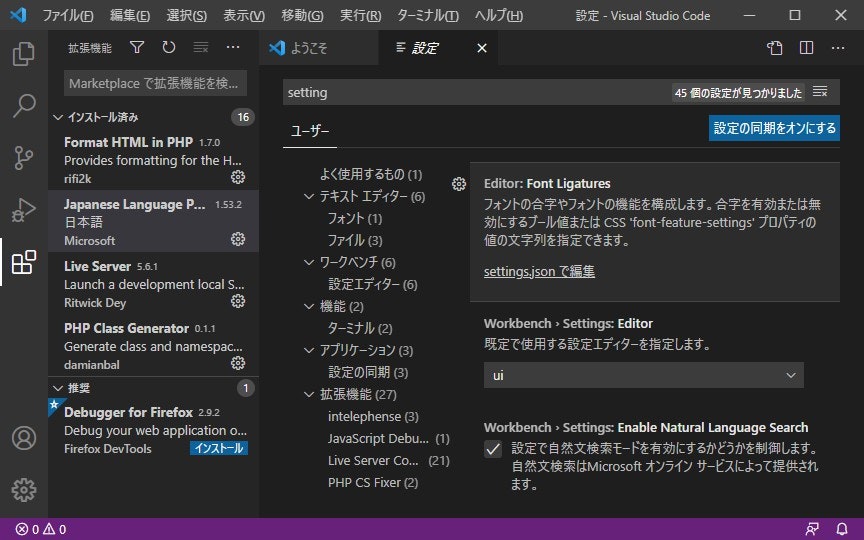
messageImage_1614777210589.jpg

settings.jsonを


{
    "liveServer.settings.donotShowInfoMsg": true,
    "liveServer.settings.proxy": {
        "enable": true,
        "baseUri": "/",
        "proxyUri": "http://localhost/使用したいフォルダ名/"
},
    "json.schemas": [
    
    ],
    "editor.fontLigatures": null
}

と記述します!

デバック

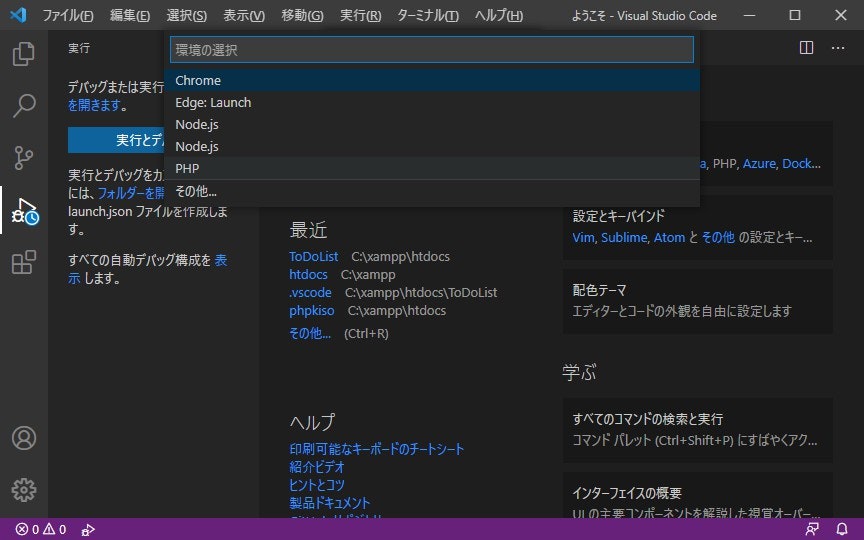
次に、実行とデバックで
messageImage_1614777992831.jpg

PHPを指定すると、
launch.json
ができます。


{
    // IntelliSense を使用して利用可能な属性を学べます。
    // 既存の属性の説明をホバーして表示します。
    // 詳細情報は次を確認してください: https://go.microsoft.com/fwlink/?linkid=830387
    "version": "0.2.0",
    "configurations": [
        {
            "name": "Listen for XDebug",
            "type": "php",
            "request": "launch",
            "port": 9000
        },
        {
            "name": "Launch currently open script",
            "type": "php",
            "request": "launch",
            "program": "${file}",
            "cwd": "${fileDirname}",
            "port": 9000
        }
    ]
}![1614778787613.jpg](https://qiita-image-store.s3.ap-northeast-1.amazonaws.com/0/1153081/4b32f1bf-6f81-4c08-49c7-8286aabffe79.jpeg)

これでデバックもできます!

動かす!

最後にindex.htmlなどの右上にある青いマークを押して1614778456049.jpg
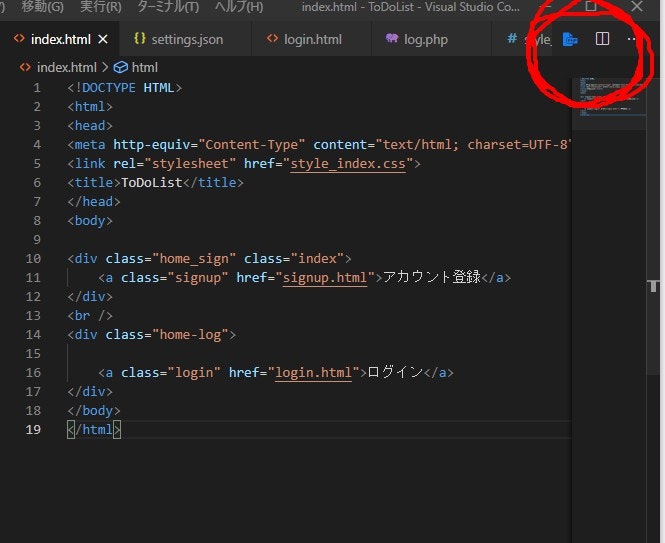
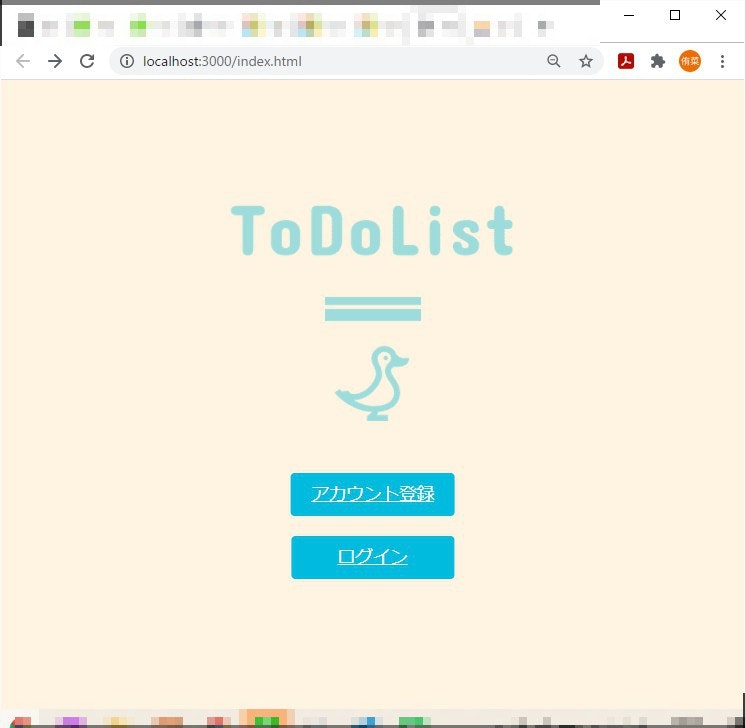
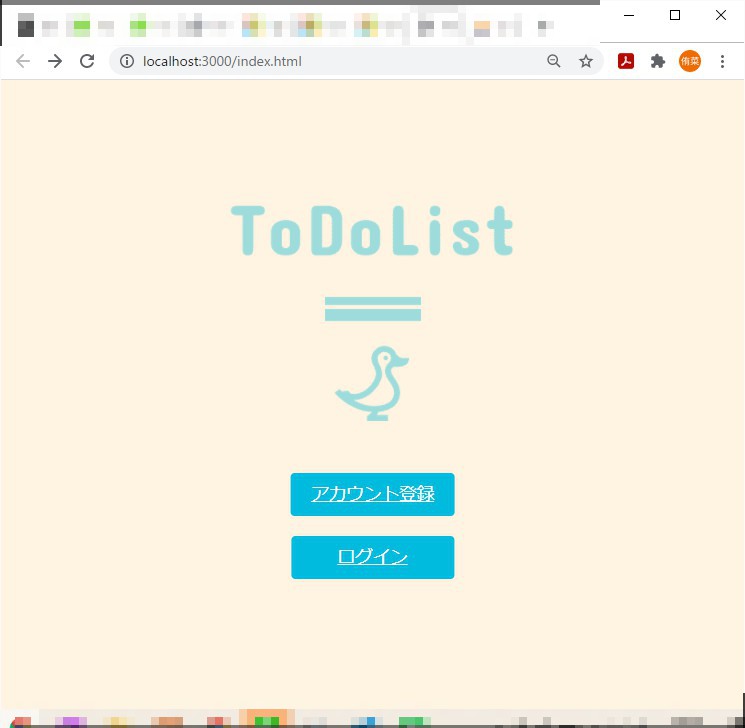
こんな感じでHTMLがでて・・・

1614778787613.jpg

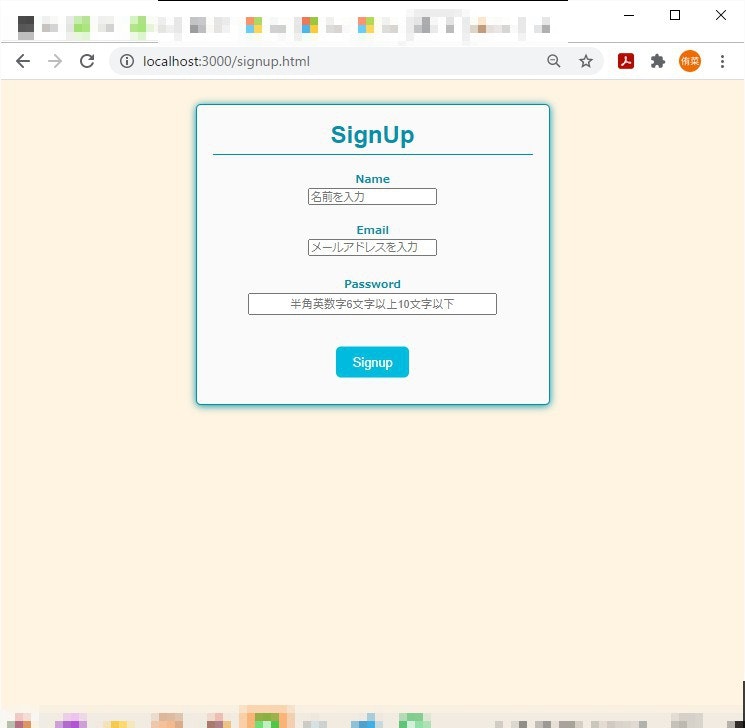
アカウント登録HTMLにも飛べて・・・
1614778734731.jpg

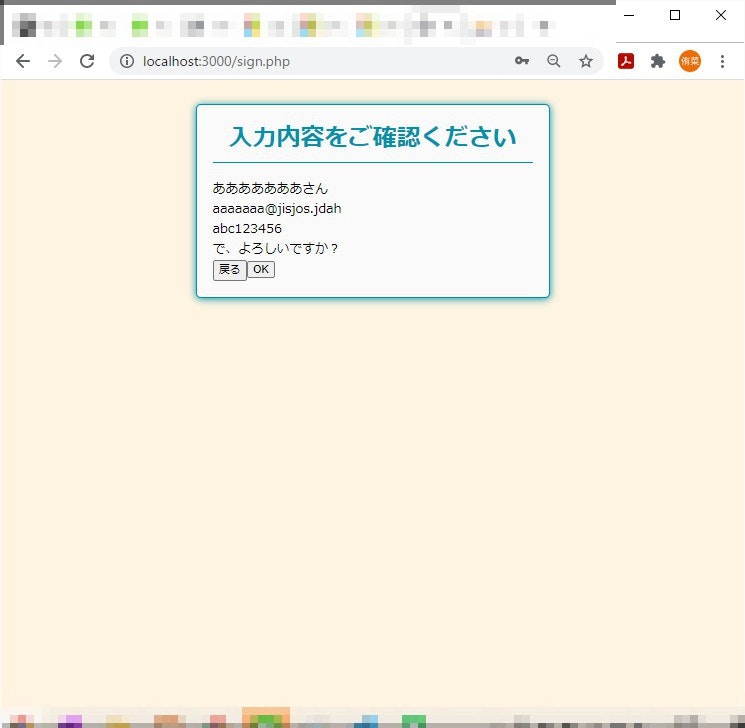
確認PHPも動きました!!!!
1614778911475.jpg

最後に

ここもではできたのですがMySQLにどうやってつなげるのかがまだわかってないので調べ倒そうと思います。。。

「Brackets」今までありがとう!
1
0
0

Register as a new user and use Qiita more conveniently

  1. You get articles that match your needs
  2. You can efficiently read back useful information
  3. You can use dark theme
What you can do with signing up
1
0

Delete article

Deleted articles cannot be recovered.

Draft of this article would be also deleted.

Are you sure you want to delete this article?