Raspberry Pi のリサイズの方法としてよくresizeimage.piを使う方法がいろいとを投稿されていますが、残念ながらこの方法でresizeしたimageはRaspberry Pi Imagerで書き込めない問題がありました。
resizeimage.plのソースファイルの記載場所
https://forums.raspberrypi.com/viewtopic.php?f=91&t=58069
理由はRaspberry Pi Imagerではファイルサイズが512byteの倍数のImageファイルでないと書き込みできないためです。
そこで、resizeしたImageファイルを512byteの倍数になるように、resizeimage.plをほんの少し修正しました。
ファイル名はresizeimage512.plです。
perl スクリプト
resizeimage512.pl
#!/usr/bin/perl

use utf8;
use 5.010;
use strict;
#use autodie;
use warnings;
#use diagnostics;

my $who = `whoami`;

if ($who !~ /root/)
{

   print "This should be run as root or with the sudo command.\n";
   exit 1;

}

if (!$ARGV[0])
{

   print "No image file given.\n";
   exit 1;

}

my $image = $ARGV[0];

if ($image !~ /^\//)
{

   print "Please enter full path to image file.\n";
   exit 1;

}

if (! -e $image)
{

   print "$image does not exist.\n";
   exit 1;

}

my @name = split (/\//, $image);
print "\n$name[(scalar @name) - 1]:\n";
print "=" x (length ($name[(scalar @name) - 1]) + 1) . "\n";

my $info = `parted -m $image unit B print | grep ext4`;

(my $num, my $start, my $old, my $dummy) = split (':', $info, 4);
chop $start;
chop $old;
printf "Old size - %d MB (%1.2f GB)\n", int ($old / 1048576), ($old / 1073741824);

my $loopback = `losetup -f --show -o $start $image`;
chop $loopback;

`e2fsck -p -f $loopback`;

if ($? != 0)
{

   print "There was an error in the file system that can't be automatically fixed... aborting.\n";
   `losetup -d $loopback`;
   exit 1;

}

$info = `resize2fs -P $loopback 2>&1`;

($dummy, my $size) = split (': ', $info, 2);
chop $size;
$size = $size + 1024;

`sudo resize2fs -p $loopback $size 2>&1`;
sleep 1;
`losetup -d $loopback`;

$size = ($size * 4096) + $start;

`parted $image rm $num`;
`parted -s $image unit B mkpart primary $start $size`;

$size = $size + 58720257;

# 512byteの倍数に切り上げる(Raspberry Pi Imager対応)
$size = int(($size + 511) / 512) * 512;

printf "New size - %d MB (%1.2f GB)\n", int ($size / 1048576), ($size / 1073741824);

`truncate -s $size $image`;

my $diff = $old - $size;
printf "Image file was reduced by %d MB (%1.2f GB)\n", int ($diff / 1048576), ($diff / 1073741824);

exit 0;
使い方
①USBメモリーに「resizeimage512.pl」とresizeしたいImageファイルを保存しRaspberry Pi でUSBメモリーをマウントする。ここでは/media/USB_Disk にマウントされています。
今、resize対象のimageファイルを「Trixie-OTG-32.img」とした場合下記のように入力し実行します。
sudo perl /media/pi/USB_DISK.resizeimage512.pl /media/pi/USB_Disk/Trixie-OTG-32.img
### 実行結果
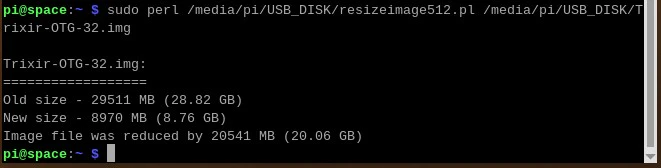
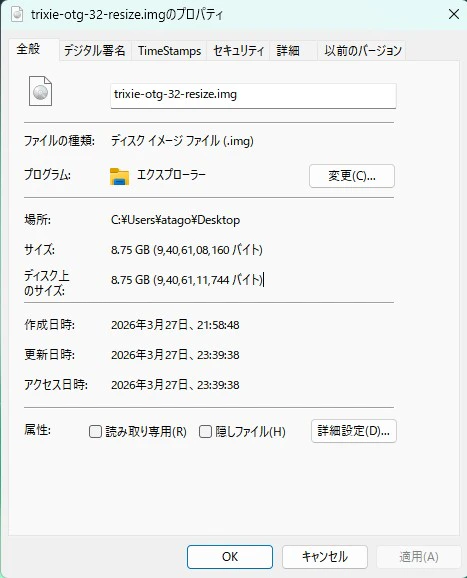
結果として、28.82GBのファイルが8.76GBにresizeされました。(上書き保存されます)
この作成されたファイルは512byteの倍数にになっていますので、Raspberry Pi Imagerで書き込みができます。