はじめに
前回,ガチャシミュレーターを作成したが
バックエンドのない素htmlを表示させるだけのページだったので,GCP上にバックエンド環境を作成した.
作成物
ここは前回と同様.
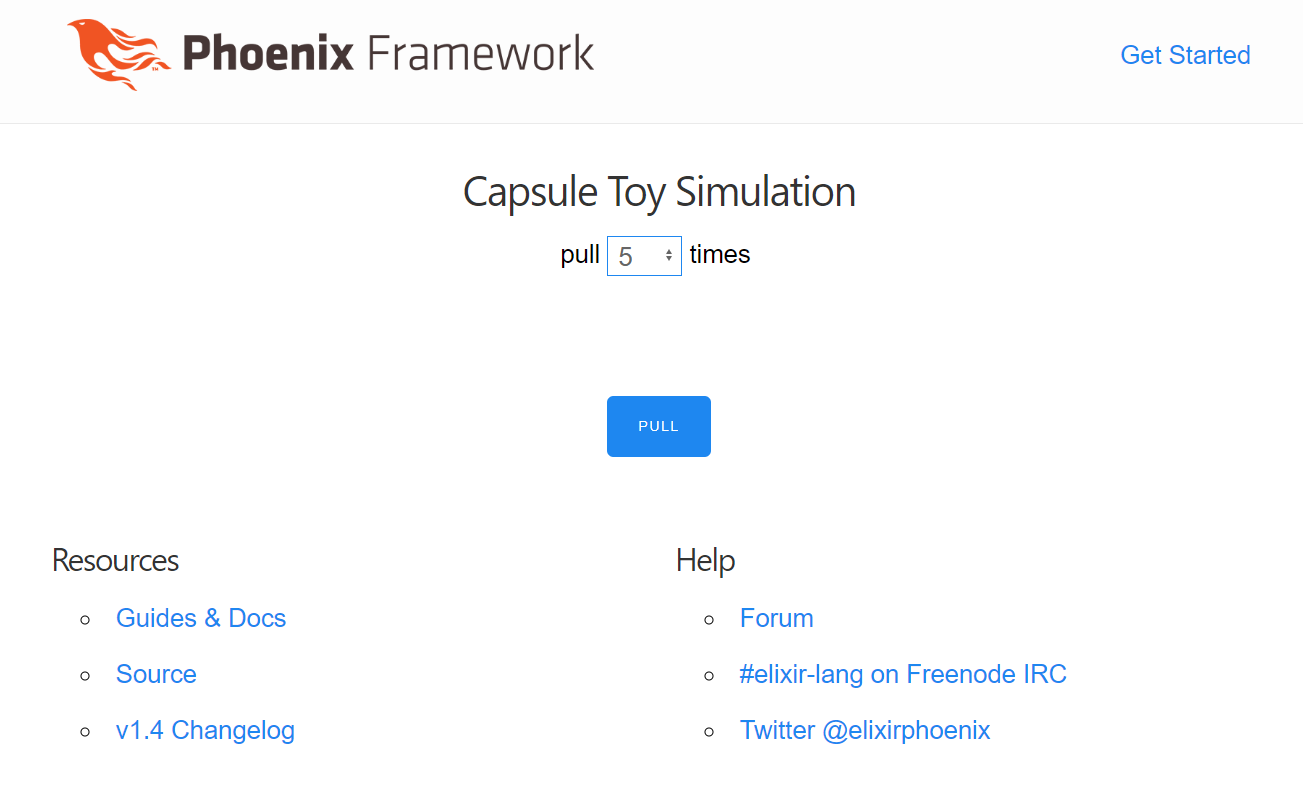
完成物
phoenixのフレームワーク上に前回のアプリを動作させることができた.
動作環境
環境は以下の通り
| フロント | バックエンド | サーバー | インフラ | |
|---|---|---|---|---|
| 前回 | Vue.js | - | nginx | GCP |
| 今回 | Vue.js | phoenix 1.4 | nginx | GCP |
とりあえず,サイトにアクセスしたらphoenixのページが表示されて,前回のウェブアプリを表示させるところまで目指した.なので,バックエンドとしての機能はまだ実装されてない.
操作手順
ErlangとElixirのインストール
~$ wget https://packages.erlang-solutions.com/erlang-solutions_1.0_all.deb && sudo dpkg -i erlang-solutions_1.0_all.deb
~$ sudo apt update
~$ sudo apt install esl-erlang elixir -y
node.jsのインストール
//そのままだとnpmが入らないのでパッケージリストを更新
~/$ curl -sL https://deb.nodesource.com/setup_6.x | sudo bash -
~/$ sudo apt install nodejs -y
~/$ sudo apt install build-essential npm -y
postgresqlのインストール
postgresqlはphoenixから利用する際にはパスワードをpostgresにする必要がある
~/$ sudo apt install postgresql postgresql-contrib -y

//root権限でpostgresqlにログイン
~/$ sudo -u postgres psql postgres
postgres=# \password
Enter new password:
Enter it again:
postgres=# \q

//postgresで入れるか確認
~/$ psql -h localhost -U postgres
phoenixのインストール
~/$ sudo apt-get install inotify-tools -y
~/$ mix archive.install hex phx_new 1.4.0
~/$ mkdir phoenix
~/$ cd phoenix
~/phoenix/$ mix phx.new app


We are almost there! The following steps are missing:

    $ cd app

Then configure your database in config/dev.exs and run:

    $ mix ecto.create

Start your Phoenix app with:

    $ mix phx.server

You can also run your app inside IEx (Interactive Elixir) as:

    $ iex -S mix phx.server
nginxのルーティング変更
現在のnginxの設定だと,前回のページが表示されるのでページにアクセスした際に
phoenixのサーバーにアクセスが行くようにルーティングを変更する
/etc/nginx/sites-enabled/default
server {

~~前略~~

# 前回追記した行をコメントアウトする
# root /home/[your_name]/app;

        location / {
                # First attempt to serve request as file, then
                # as directory, then fall back to displaying a 404.
                proxy_pass http://127.0.0.1:4000;
                #try_files $uri $uri/ =404;
        }

~~後略~~

}
phoenixのページ編集
まずは,以下のファイルにvue.jsとuikit.min.cssを読み込ませるために以下の2行を追記する
~/phoenix/app/lib/app_web/templates/layout/app.html.eex
<head>
<!-- 以下を追記する -->
<link rel="stylesheet" href="https://cdnjs.cloudflare.com/ajax/libs/uikit/3.0.0-rc.25/css/uikit.min.css"/>
</head>

<body>
<!-- 以下を追記する -->
<script src="https://cdn.jsdelivr.net/npm/vue"></script>
</body>
そうしたら,初期ページ~/phoenix/app/lib/app_web/templates/page/index.html.eexに前回のソースコードを追記する.
以上で完成!!
最後にSSHを切ってもバックグラウンド実行させるために以下のコマンドを打つ
~/phoenix/app/$ nohup mix phx.server &
ドメイン取得
最後に今まではIP直打ちでのアクセスだったが,それだとかっこ悪いのでGoogle Domainで独自ドメインを取得し,
ここを参考に設定した.
おわりに
とりあえず,GCP上にElixir + phoenixの環境を構築することができた.
今回もバックエンドの恩恵を得られていないけど,次回以降設定していきたい.