はじめに
GCP (Google Cloud Platform) を利用して、SUSE Linux上に簡単なWebサーバを立ち上げ、公開する手順を備忘録として残します。
IaaSを使用して仮想インスタンスを作成するまでは、下記の記事が役に立ちます。こちらを参照して仮想インスタンスまで作成しました。
https://qiita.com/moffunnya/items/2f773d94fe8cca9a5dd1
手順
1. GCPでSUSEインスタンスを作成
Google Cloud Console にログイン
Compute Engine → VM インスタンス へ移動
インスタンスを作成 をクリックし、以下の設定を行う
マシンタイプ: e2-micro (無料枠)
ブートディスク: SUSE Linux Enterprise Server 15
ファイアウォール: HTTPトラフィックを許可
作成 をクリック
2. SSHで接続
GCPのコンソールからSSHで接続:
下記のsshボタンから、ブラウザコンソールからログインを実施する。

3. nginxをインストール
SUSEでは zypper を使用してパッケージを管理できます。
sudo zypper refresh
sudo zypper install nginx
4. nginxの起動と有効化
sudo systemctl start nginx
sudo systemctl enable nginx
sudo systemctl status nginx
5. nginxの設定の確認
ls /etc/nginx/nginx.conf
sudo vi /etc/nginx/nginx.conf
6. Webページの作成
デフォルトの index.html を配置します。
<!DOCTYPE html>
<html lang="ja">
<head>
<meta charset="UTF-8">
<meta name="viewport" content="width=device-width, initial-scale=1.0">
<title>GCP NGINX セットアップ手順</title>
<style>
body {
font-family: 'Helvetica Neue', Arial, sans-serif;
margin: 0;
padding: 0;
background-color: #f4f4f4;
color: #333;
}
header {
background: #007bff;
color: white;
text-align: center;
padding: 20px;
font-size: 24px;
font-weight: bold;
}
.container {
max-width: 800px;
margin: 20px auto;
padding: 20px;
background: white;
box-shadow: 0px 0px 10px rgba(0, 0, 0, 0.1);
border-radius: 10px;
}
h1, h2 {
color: #007bff;
}
pre {
background: #272822;
color: #f8f8f2;
padding: 15px;
border-radius: 5px;
overflow-x: auto;
}
footer {
text-align: center;
padding: 20px;
background: #007bff;
color: white;
margin-top: 20px;
}
</style>
</head>
<body>
<header>GCP NGINX セットアップ手順</header>
<div class="container">
<p>このサイトは、Google Cloud Platform (GCP) 上の VM インスタンスで作成された Web サーバーを利用しています。</p>
<h2>1. パッケージの更新</h2>
<pre>
sudo zypper refresh
sudo zypper install nginx
</pre>
<h2>2. nginx のインストール</h2>
<pre>
sudo zypper install nginx
</pre>
<h2>3. nginx の起動と有効化</h2>
<pre>
sudo systemctl start nginx
sudo systemctl enable nginx
sudo systemctl status nginx
</pre>
<h2>4. nginx の設定確認</h2>
<pre>
ls /etc/nginx/nginx.conf
sudo vi /etc/nginx/nginx.conf
</pre>
<h2>5. ドキュメントルートの確認と作成</h2>
<pre>
cd /srv/www/htdocs/
sudo touch index.html
sudo chmod 775 index.html
sudo vi index.html
</pre>
</div>
<footer>© 2025 GCP NGINX Setup Guide</footer>
</body>
</html>
- 動作確認
ブラウザで以下のURLにアクセスし、Webページが表示されれば成功。
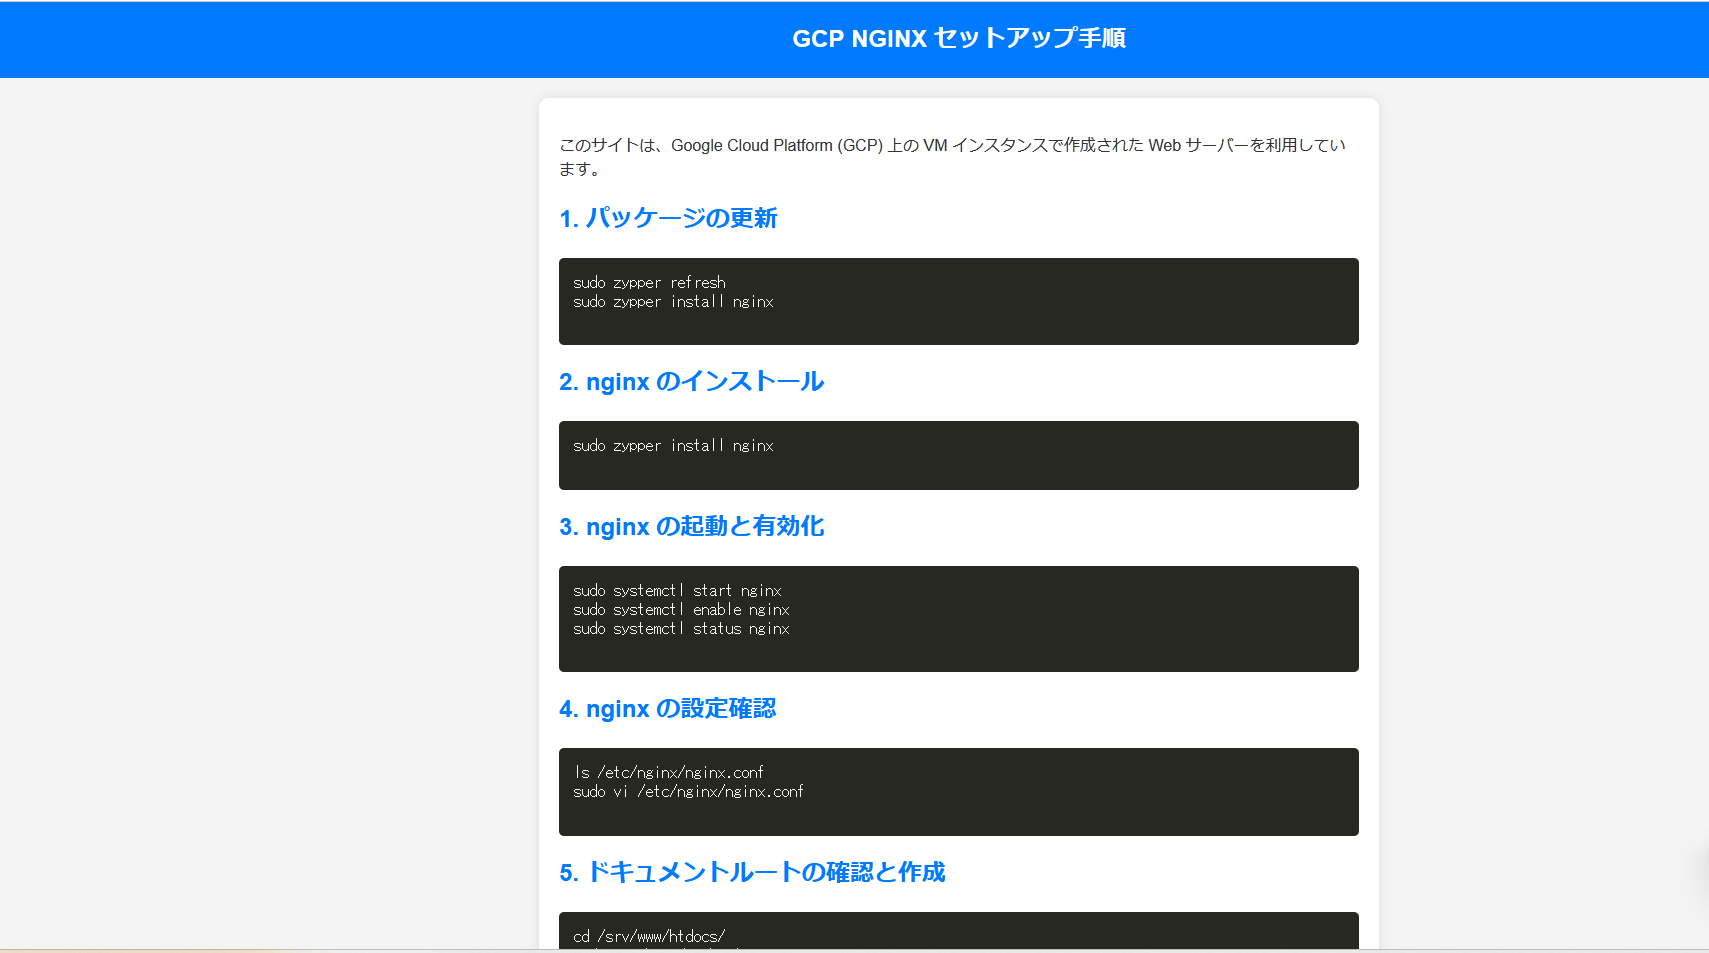
こんな感じでWebサーバのコンテンツが見れますね。
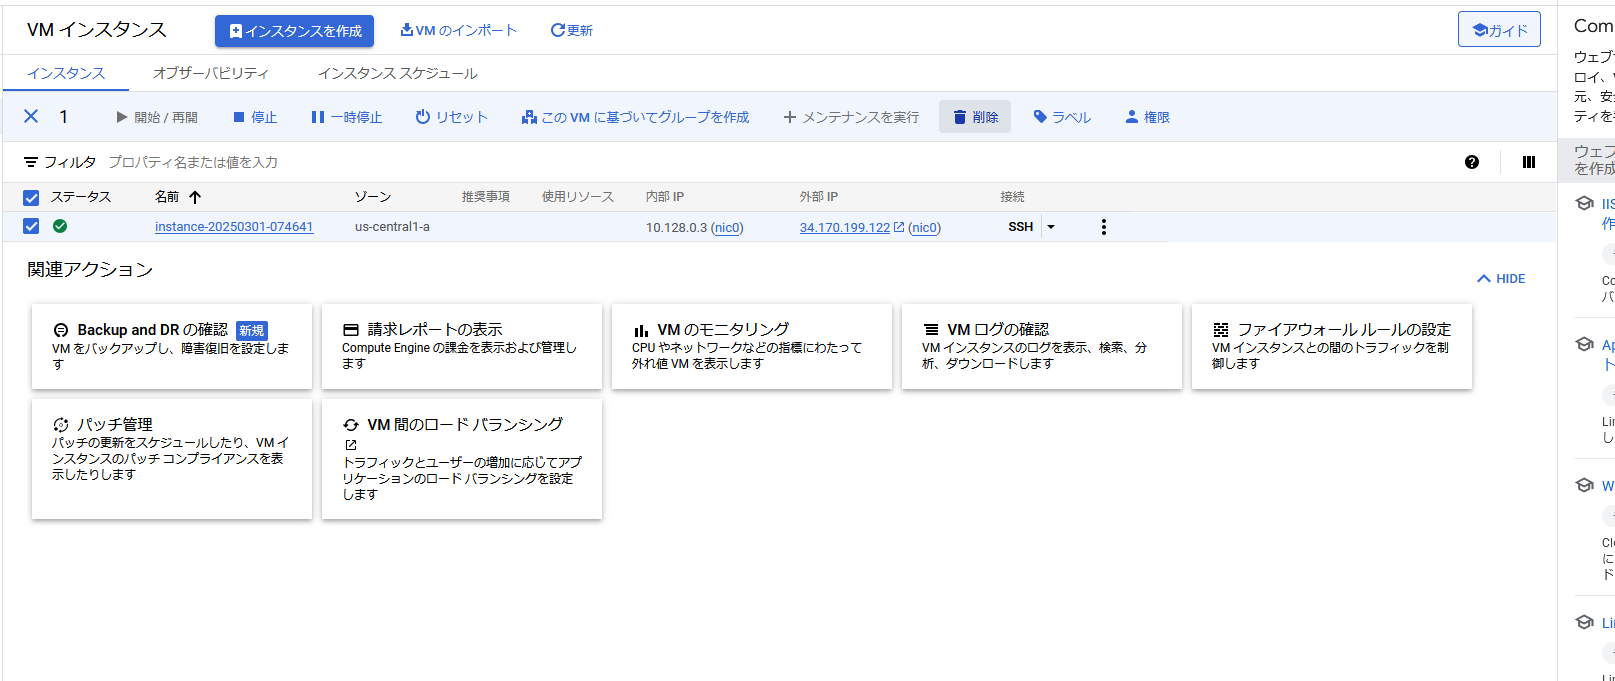
最後に使い終わったら仮想サーバは、従量課金でお金がかかるので削除しておきましょう。
「削除」のボタンから対象インスタンスを削除します。
まとめ
GCP上でSUSEを使い、簡単なWebサーバを公開する手順を紹介しました。普段はAWSのEC2を使用して仮想サーバを作成することも多いですが、今回はGoogleのGCPを使用して簡単にWebサーバを作成してみました。
(zypper を使用することで、nginxのインストールや管理が簡単にできます。)