※私は下記のコードを使い回します。
main.py
import streamlit as st
import time
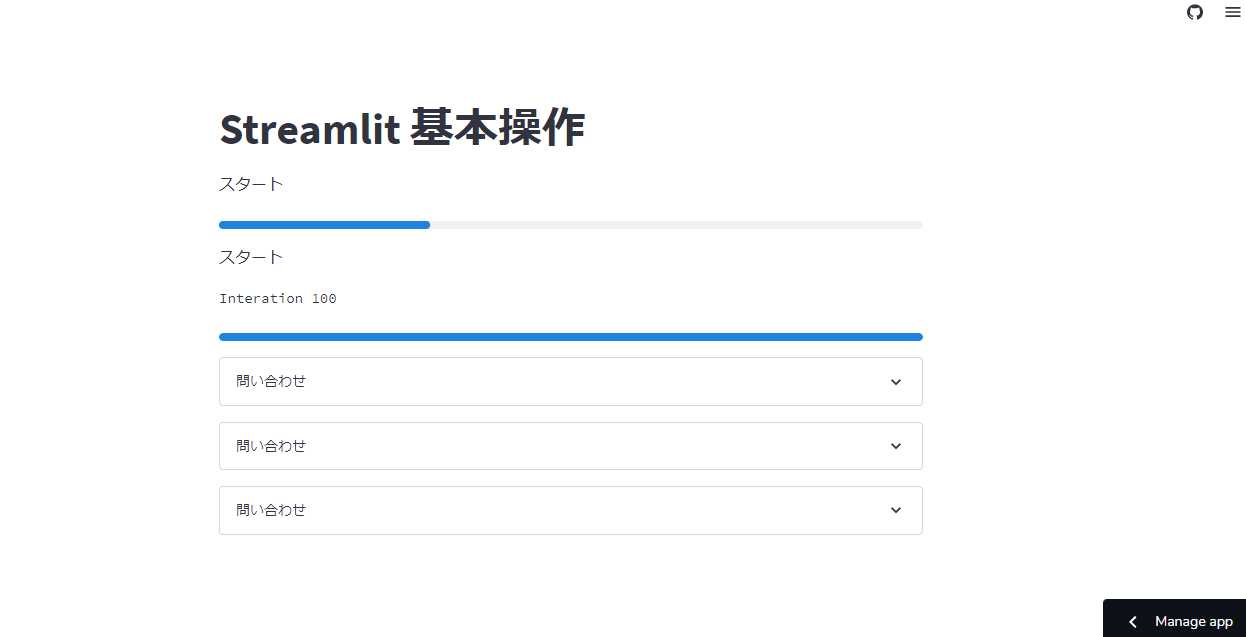
st.title('Streamlit 基本操作')
'スタート'
latest_iteration = st.empty()
bar = st.progress(30)
'スタート'
latest_iteration = st.empty()
bar = st.progress(0)
for i in range(100):
latest_iteration.text(f'Interation {i+1}')
bar.progress(i + 1)
time.sleep(0.1)
expander1 = st.expander('問い合わせ')
expander1.write('問い合わせ内容を書く')
expander2 = st.expander('問い合わせ')
expander2.write('問い合わせ内容を書く')
expander3 = st.expander('問い合わせ')
expander3.write('問い合わせ内容を書く')
必要なこと
・Streamlit Shearing
・git
Streamlit Shearing
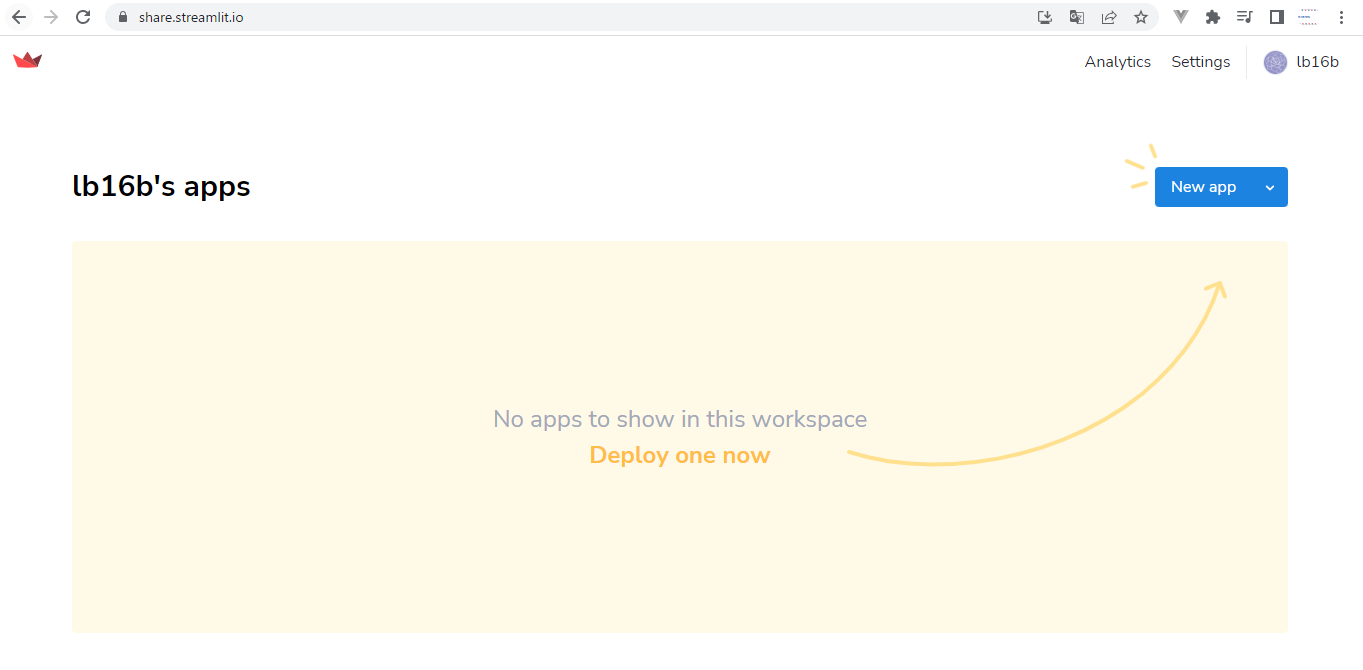
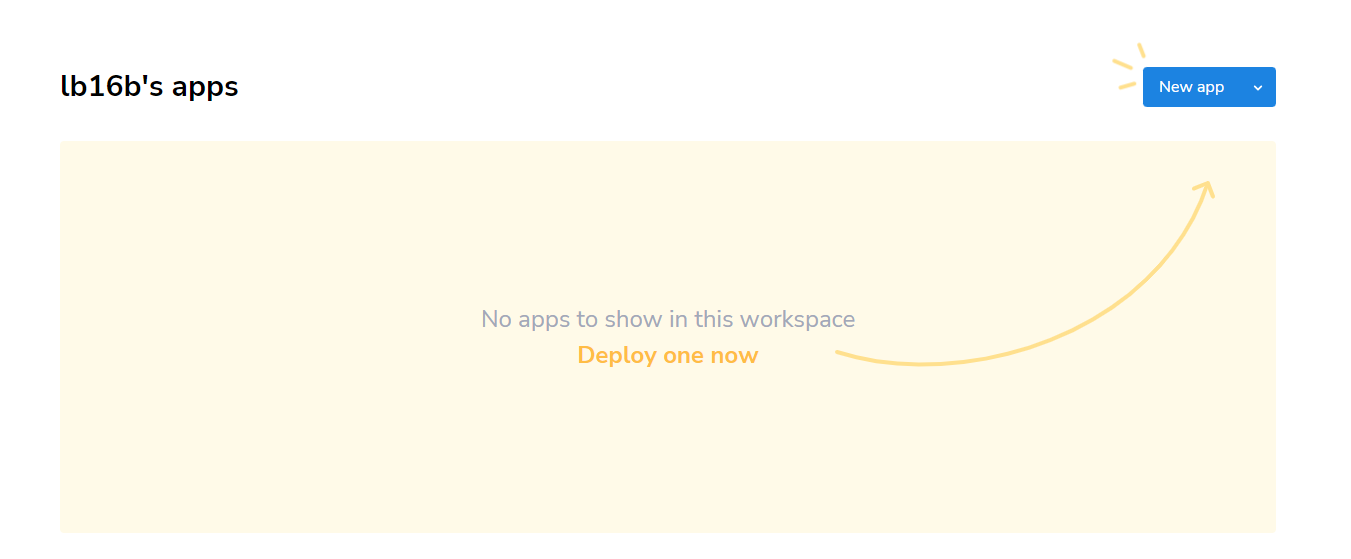
Streamlitの公式ページからユーザー登録・ログインを行います。
ログインすると以下のページが表示されます。
git
GitHubでリポジトリを作成しておきまう。
詳細説明は省きます。
requirements.txt
requirements.txtを作成します。
このファイルには、開発しているアプリケーションで使う外部ライブラリを記載します。
requirements.txt→外部のライブラリ
main.py→pythonの標準ライブラリ
で分けて記述していきます。
streamlitのみrequirements.txtに移します。
requirements.txt
streamlit
コマンド
pip freeze
様々なライブラリのバージョンの一覧が表示されます。
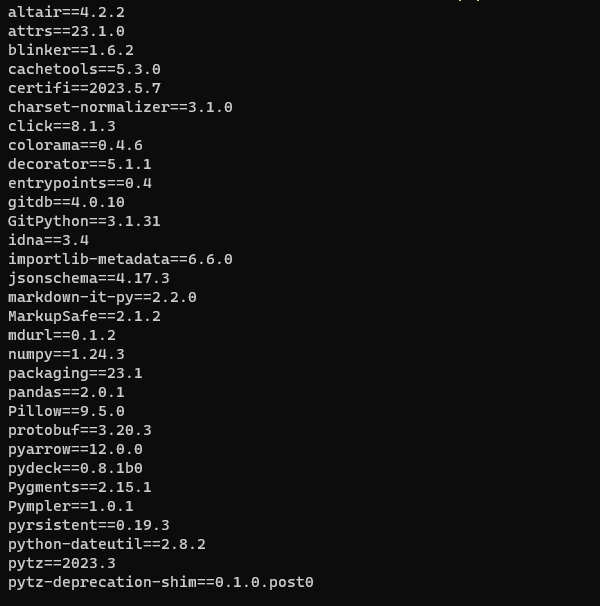
streamlitを探し、requirements.txtに貼り付けます。
※バージョン指定しない場合は、自動的に最新のものになります。
ここでGitにプッシュしておきます。
画面右のNew appをクリック。
必要事項を記入していきます。
上から
・GitHubで使用するリポジトリ名
・GitHubの現在のブランチ名
・実行したいファイル名を指定
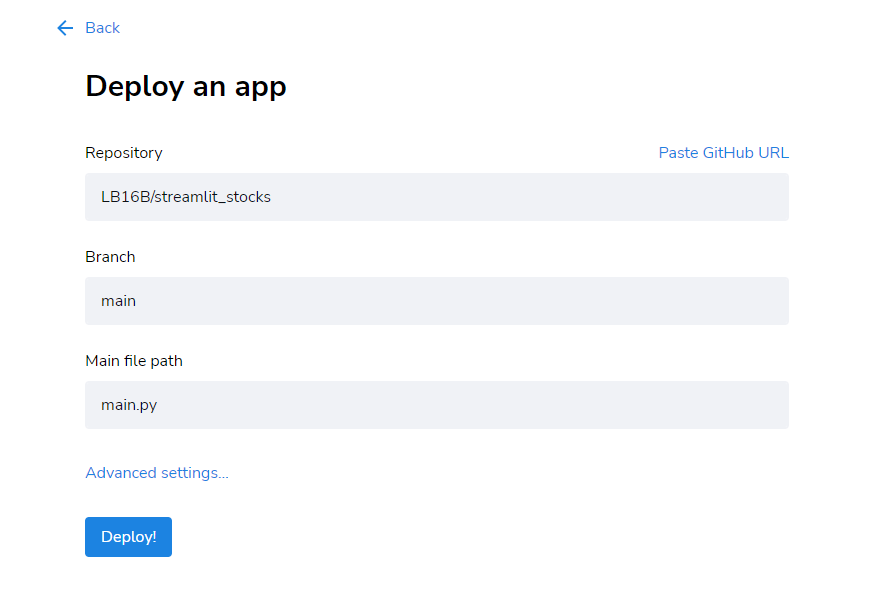
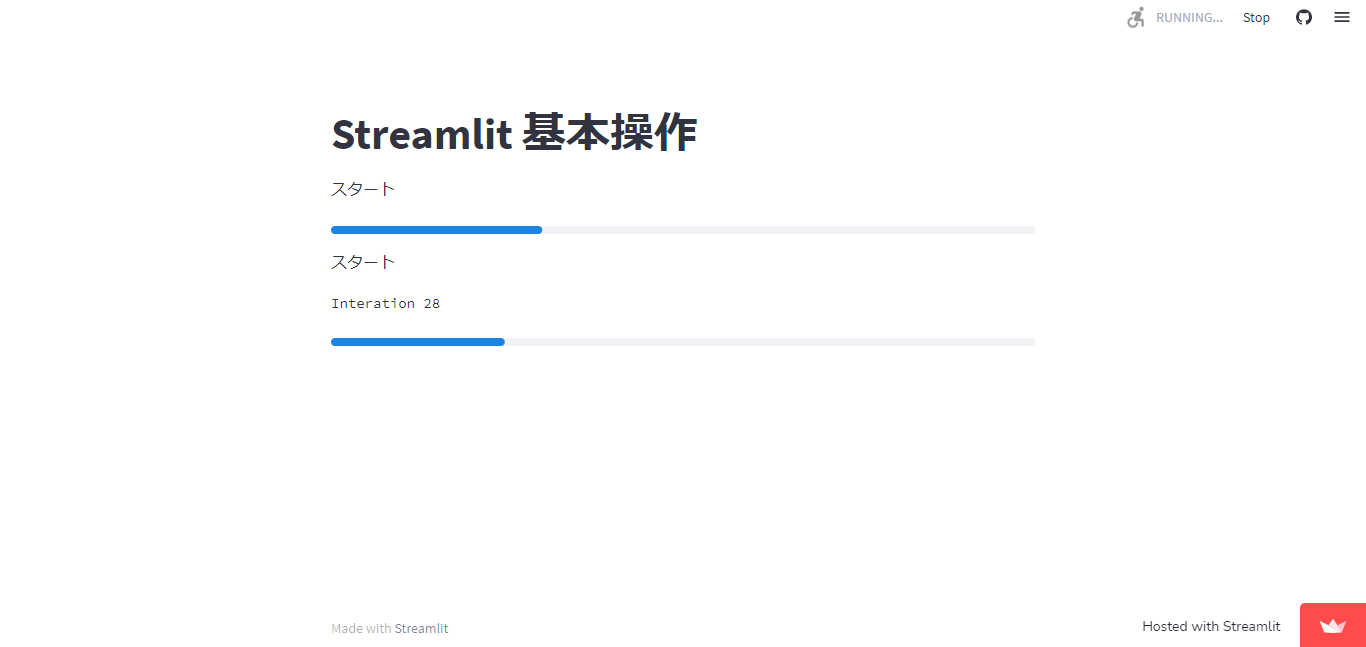
最後にDeployをクリックし、書いたコードが無事に実行されれば公開成功です。
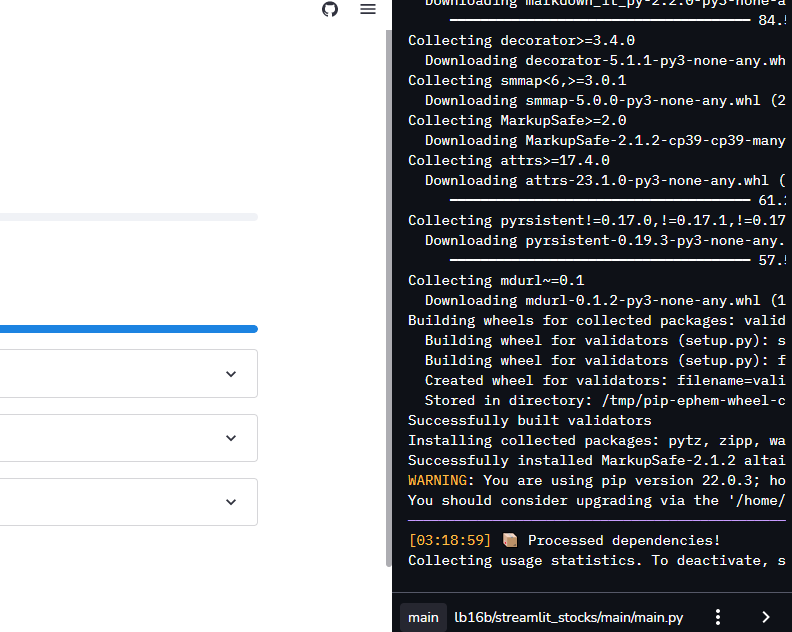
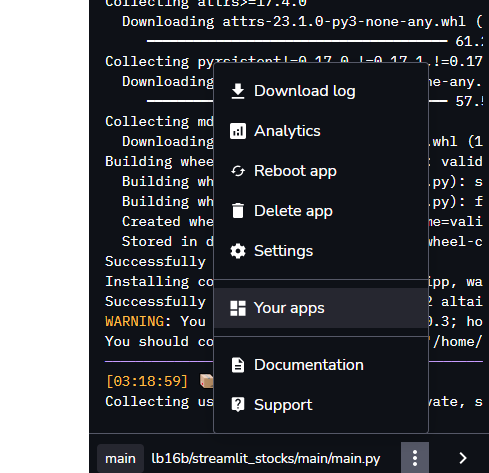
画面右したのmanage appをクリックすると、ログが表示されるサイドバーが出てきます。
試しにURLをコピーして他のブラウザに張り付けても、正常に動いています。
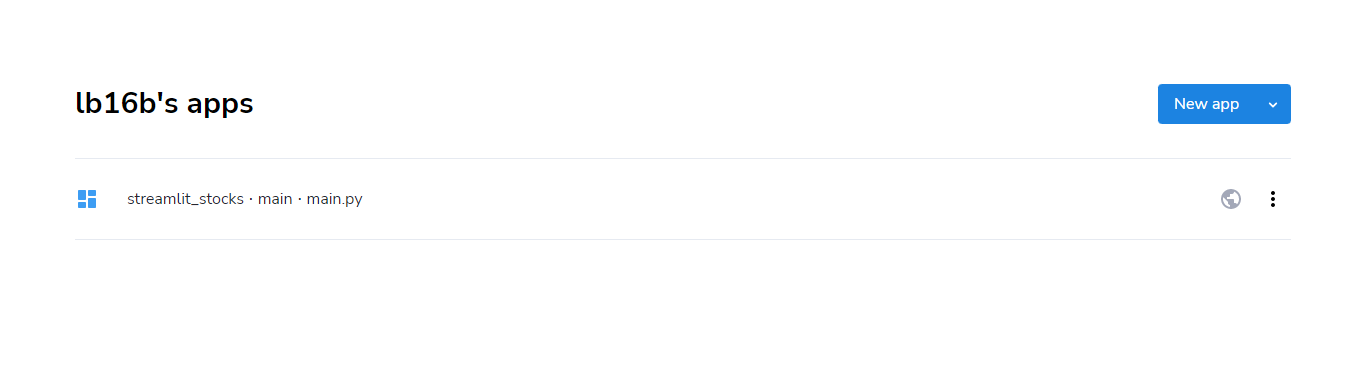
アプリケーションを複数追加したいとき
Your appsをクリックします。
作成済みアプリケーションの一覧が表示されます。
New appをクリックすれば、アプリケーションが追加されます。