はじめに
PythonのwebフレームワークであるDjangoでTwitter認証がしたい.
いくつかのサイトを参考に試みるも403エラーが発生し,なかなかうまく行きませんでした.
結論からいうと,TwitterがOAuth認証時にCallback URLをチェックするようになったことが原因.
今回はその点を考慮した,DjangoでのTwitter認証実装手順を紹介します.
この手順通りに実行することで,DjangoでTwitter認証を用いたアプリケーションを作成できます.
手順
開発環境
- Python 3.5.3
- Django 2.0.6
- social-auth-app-django 2.1.0
Djangoと認証ライブラリのインストール
Djangoとsocial-app-djangoのインストールを行います.
social-app-djangoは,Djangoで様々なwebサービスでの認証を実装するためのライブラリです.
$pip install django social-auth-app-django
プロジェクトとアプリケーションの作成
プロジェクトの作成を行います.
$django-admin startproject project
次にアプリケーションの作成を行います.
今回はuser_authという名前で作成します.
$cd project/
$python manage.py startapp user_auth
この時点では以下のようなディレクトリ構造になります.
.
├── manage.py
├── project
│   ├── __init__.py
│   ├── __pycache__
│   │   ├── __init__.cpython-35.pyc
│   │   └── settings.cpython-35.pyc
│   ├── settings.py
│   ├── urls.py
│   └── wsgi.py
└── user_auth
    ├── __init__.py
    ├── admin.py
    ├── apps.py
    ├── migrations
    │   └── __init__.py
    ├── models.py
    ├── tests.py
    └── views.py
マイグレーション実行
migrateを行います.
$python manage.py migrate
正常にマイグレーションが実行されると,以下のような表示になります.
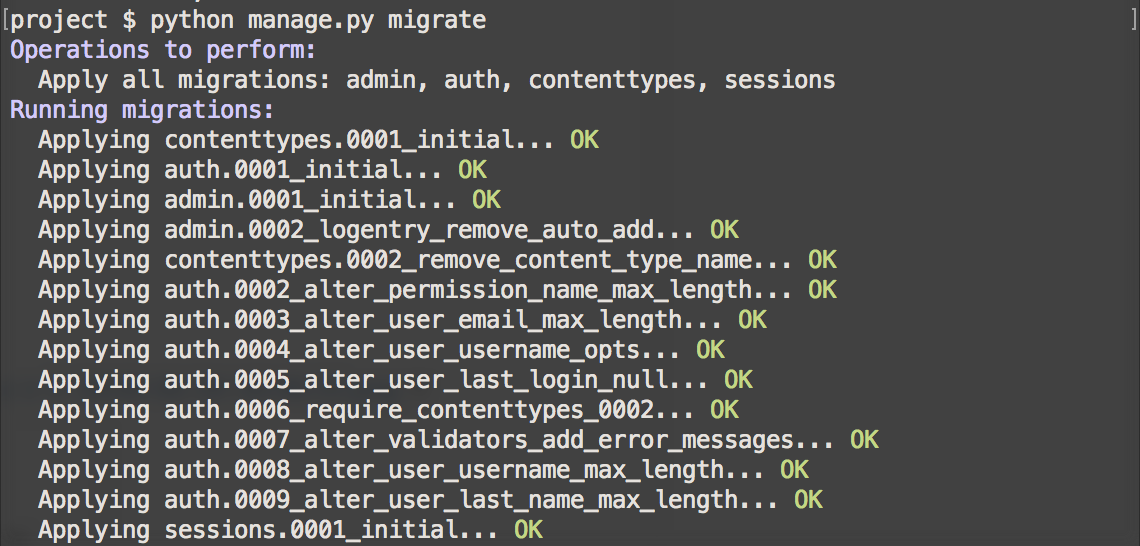
※この時点で,サーバを起動し,
$python manage.py runserver
localhost:8000にアクセスし,アプリケーションが正しく実行できるか確認しても良いでしょう.
Twitterアプリケーションの作成
Twitter認証を行うにあたり,
- Counsumer Key
- Consumer Secret
が必要となります.
Twitter Application Mangementにアクセスし,Twitterアプリケーションの作成を行い,キーを入手します.
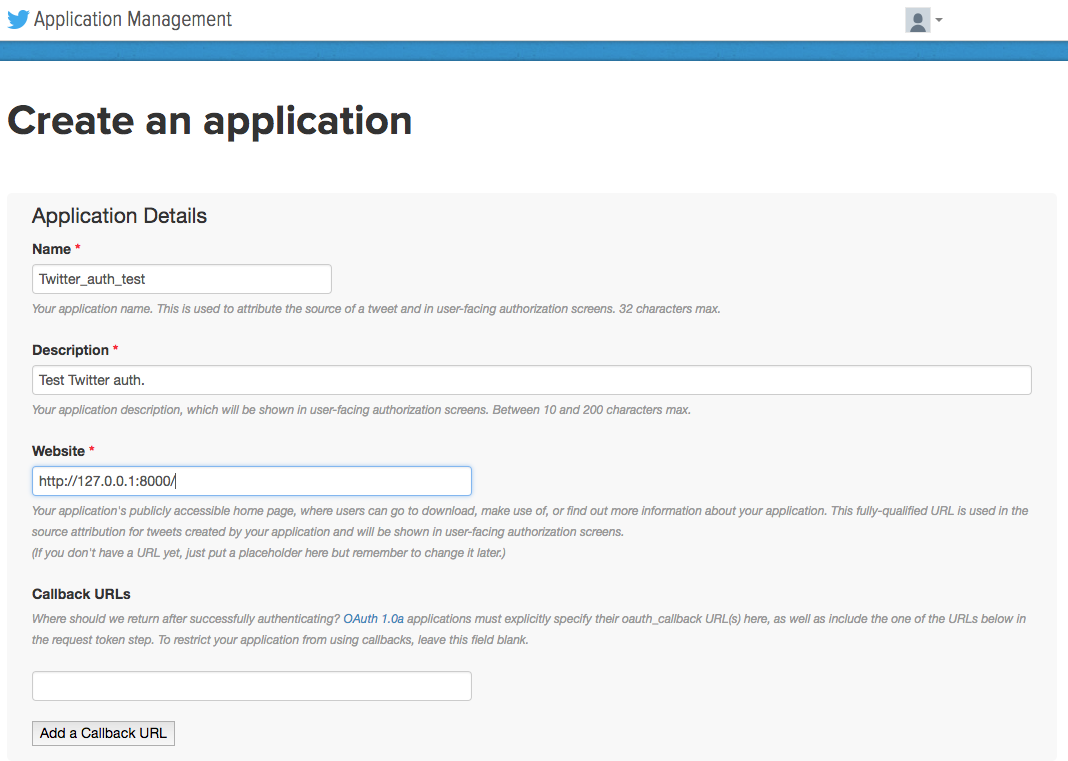
上記リンクにアクセス後,Create New Appをクリックし,以下の画面に行きます.
Name,Description,Websiteを埋め,Developer Agreementにチェックを入れた後,下部のCreate your Twitter applicationをクリックし,作成します.
(実はCallback URLが後にとても重要になるのですが,とりあえず今は空白にしておきます.)
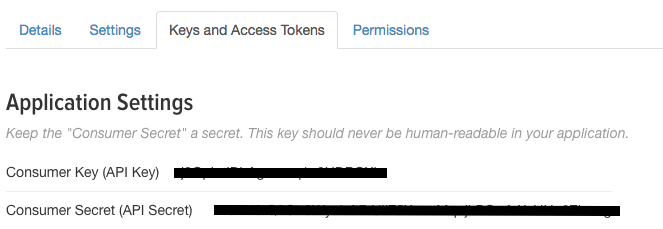
そして,作成したTwitterアプリケーションのKeys and Access Tokensタブに移動し,
- Consumer Key (API Key)
- Consumer Secret (API Secret)
をひかえておきます.
設定ファイルの書き換え
project/settings.pyの書き換えを行います.
先程取得した,TwitterアプリケーションのKeyを入力します.
...
# Application definition

INSTALLED_APPS = [
    'django.contrib.admin',
    'django.contrib.auth',
    'django.contrib.contenttypes',
    'django.contrib.sessions',
    'django.contrib.messages',
    'django.contrib.staticfiles',
+    'user_auth',
+    'social_django',
]

MIDDLEWARE = [
    'django.middleware.security.SecurityMiddleware',
    'django.contrib.sessions.middleware.SessionMiddleware',
    'django.middleware.common.CommonMiddleware',
    'django.middleware.csrf.CsrfViewMiddleware',
    'django.contrib.auth.middleware.AuthenticationMiddleware',
    'django.contrib.messages.middleware.MessageMiddleware',
    'django.middleware.clickjacking.XFrameOptionsMiddleware',
]

ROOT_URLCONF = 'project.urls'

TEMPLATES = [
    {
        'BACKEND': 'django.template.backends.django.DjangoTemplates',
        'DIRS': [],
        'APP_DIRS': True,
        'OPTIONS': {
            'context_processors': [
                'django.template.context_processors.debug',
                'django.template.context_processors.request',
                'django.contrib.auth.context_processors.auth',
                'django.contrib.messages.context_processors.messages',
+                'social_django.context_processors.backends',
+                'social_django.context_processors.login_redirect',
            ],
        },
    },
]

WSGI_APPLICATION = 'project.wsgi.application'


...


# Internationalization
# https://docs.djangoproject.com/en/2.0/topics/i18n/

- LANGUAGE_CODE = 'en-us'
+ LANGUAGE_CODE = 'ja'

- TIME_ZONE = 'UTC'
+ TIME_ZONE = 'Asia/Tokyo'

USE_I18N = True

USE_L10N = True

USE_TZ = True


# Static files (CSS, JavaScript, Images)
# https://docs.djangoproject.com/en/2.0/howto/static-files/

STATIC_URL = '/static/'

+ AUTHENTICATION_BACKENDS = [
+     'social_core.backends.twitter.TwitterOAuth',
+     'django.contrib.auth.backends.ModelBackend',
+ ]

+ SOCIAL_AUTH_TWITTER_KEY = 'xxxxxxxxxxx' # Consumer Key (API Key)
+ SOCIAL_AUTH_TWITTER_SECRET = 'xxxxxxxxxxx' # Consumer Secret (API Secret)
+ SOCIAL_AUTH_LOGIN_REDIRECT_URL = '/user/top' # リダイレクトURL
マイグレーション実行(2回目)
INSTALLED_APPSにsocial_djangoを加えたため,もう一度,マイグレーションを実行します.
$python manage.py migrate

ルートの書き換え
from django.contrib import admin
- from django.urls import path
+ from django.urls import path, include

urlpatterns = [
    path('admin/', admin.site.urls),
+   path('user/', include('user_auth.urls')),
+   path('user/', include('social_django.urls', namespace='social')),
]
user_auth直下にurls.pyを作成し,以下を記述します.
import django
import django.contrib.auth.views
from django.urls import path,include
from . import views
app_name='user_auth'

urlpatterns=[
    path('top/',views.top_page, name="top"), # リダイレクト
    path('login/', # ログイン
     django.contrib.auth.views.LoginView.as_view(template_name = 'user_auth/login.html'),
     name='login'),
    path('logout/', # ログアウト
     django.contrib.auth.views.LogoutView.as_view(template_name = 'user_auth/login.html'),
     name='logout'),
]
テンプレートの作成
user_auth/templates/user_authディレクトリを作成.
その中に,ログイン・ログアウト・リダイレクトの各テンプレートを作成.
<html>
<head>
    <title>ログイン</title>
</head>
<body>
<div>
    <button type="button" onclick="location.href='{% url 'social:begin' 'twitter' %}'">Twitterログイン</button>
</div>
</body>
</html>
<html>
<head>
    <title>ログアウト</title>
</head>
<body>
<div>
    <p>
        ログアウトしました.
    </p>
    <p>
        <a href="/user/login"><button type="button" >ログインページへ</button></a>
    </p>
</div>
</body>
</html>
<html>
<head>
    <title>TOP</title>
</head>
<body>
    <div>
        <a href="/twitterManager/logout"><button type="button" >ログアウト</button></a>
    </div>
<div>
    <div>
      <p><b>ScreenName</b>:{{ user.access_token.screen_name }}</p>
        <p><b>UserId</b>:{{ user.access_token.user_id }}</p>
        <p><b>OAuthTokenSecret</b>:{{ user.access_token.oauth_token_secret }}</p>
        <p><b>OAuthToken</b>:{{ user.access_token.oauth_token }}</p>
        <p><b>AuthTime</b>:{{ user.extra_data.auth_time }}</p>


    </div>
</div>
</body>
</html>
ビューの作成
リダイレクト用のビューを作成します.
from django.shortcuts import render
from django.contrib.auth.decorators import login_required
from social_django.models import UserSocialAuth


@login_required
def top_page(request):
    user = UserSocialAuth.objects.get(user_id=request.user.id)

    return render(request,'user_auth/top.html',{'user': user})
全体のディレクトリ構造
最終的に以下のような構造となります.
.
├── db.sqlite3
├── manage.py
├── project
│   ├── __init__.py
│   ├── __pycache__
│   │   ├── __init__.cpython-35.pyc
│   │   ├── settings.cpython-35.pyc
│   │   ├── urls.cpython-35.pyc
│   │   └── wsgi.cpython-35.pyc
│   ├── settings.py
│   ├── urls.py
│   └── wsgi.py
└── user_auth
    ├── __init__.py
    ├── __pycache__
    │   ├── __init__.cpython-35.pyc
    │   ├── admin.cpython-35.pyc
    │   ├── models.cpython-35.pyc
    │   ├── urls.cpython-35.pyc
    │   └── views.cpython-35.pyc
    ├── admin.py
    ├── apps.py
    ├── migrations
    │   ├── __init__.py
    │   └── __pycache__
    │       └── __init__.cpython-35.pyc
    ├── models.py
    ├── templates
    │   └── user_auth
    │       ├── login.html
    │       ├── logout.html
    │       └── top.html
    ├── tests.py
    ├── urls.py
    └── views.py
サーバ起動
サーバを起動し,実際にアクセスしてみます.
$python manage.py runserver
localhost:8000/user/login
にアクセス.

重要ポイント
さあ,いざログイン.
ログインボタンをおすと,401エラーが発生します.
これは先程のTwitterアプリケーションの設定で,Callback URLを空白にしたため.

以前までは,とりあえず適当なURLを入力しておくことで,この問題は解決できました.
しかし,2018年6月からはここに適当なURLを入力すると,403エラーが発生します.

なにを入力すればいいのか.
ずばり,
http://localhost:8000/user/complete/twitter/
です.

(最後の/を忘れず!)
今回はuset_authをTwitter認証のアプリケーションとしており,そのパスを**user/**としているため,このようなCallback URLとなります.
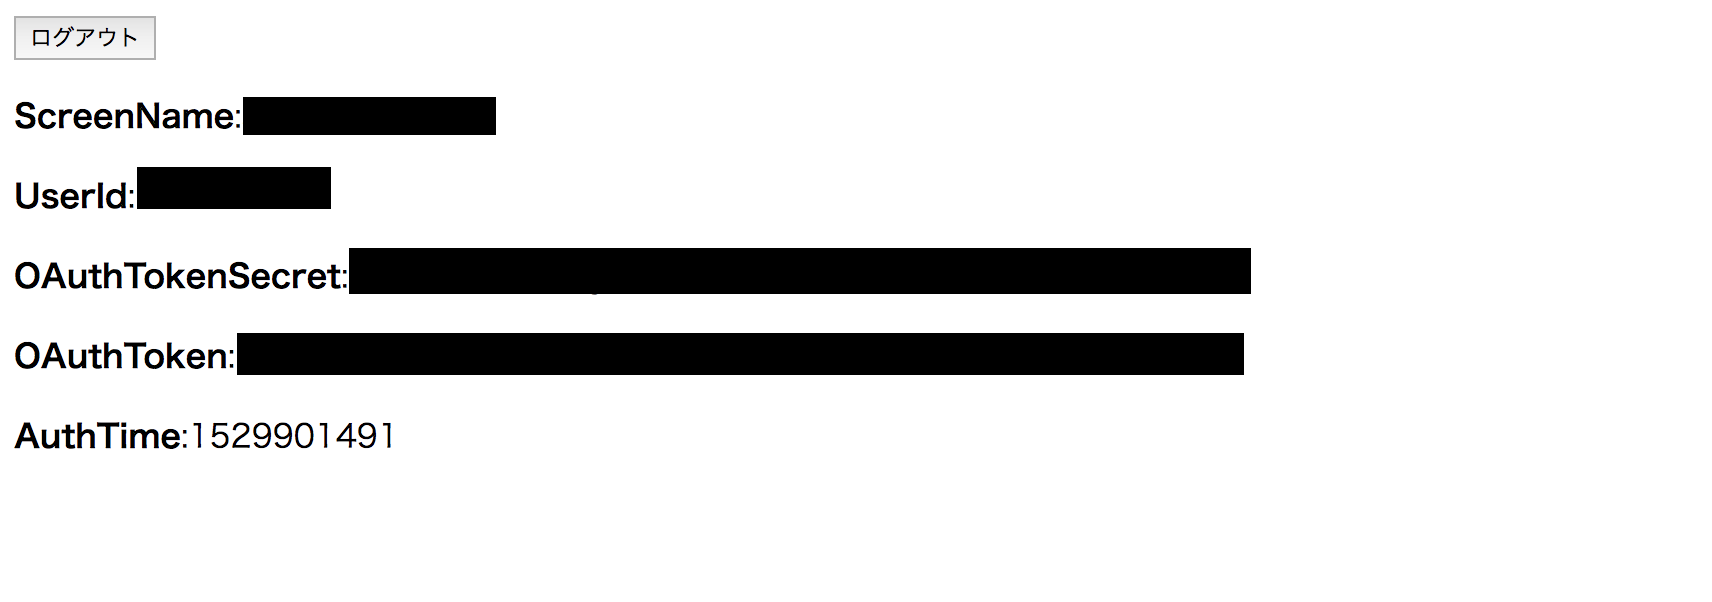
Callback URLをこのように変更し,ログインボタンを押すと,
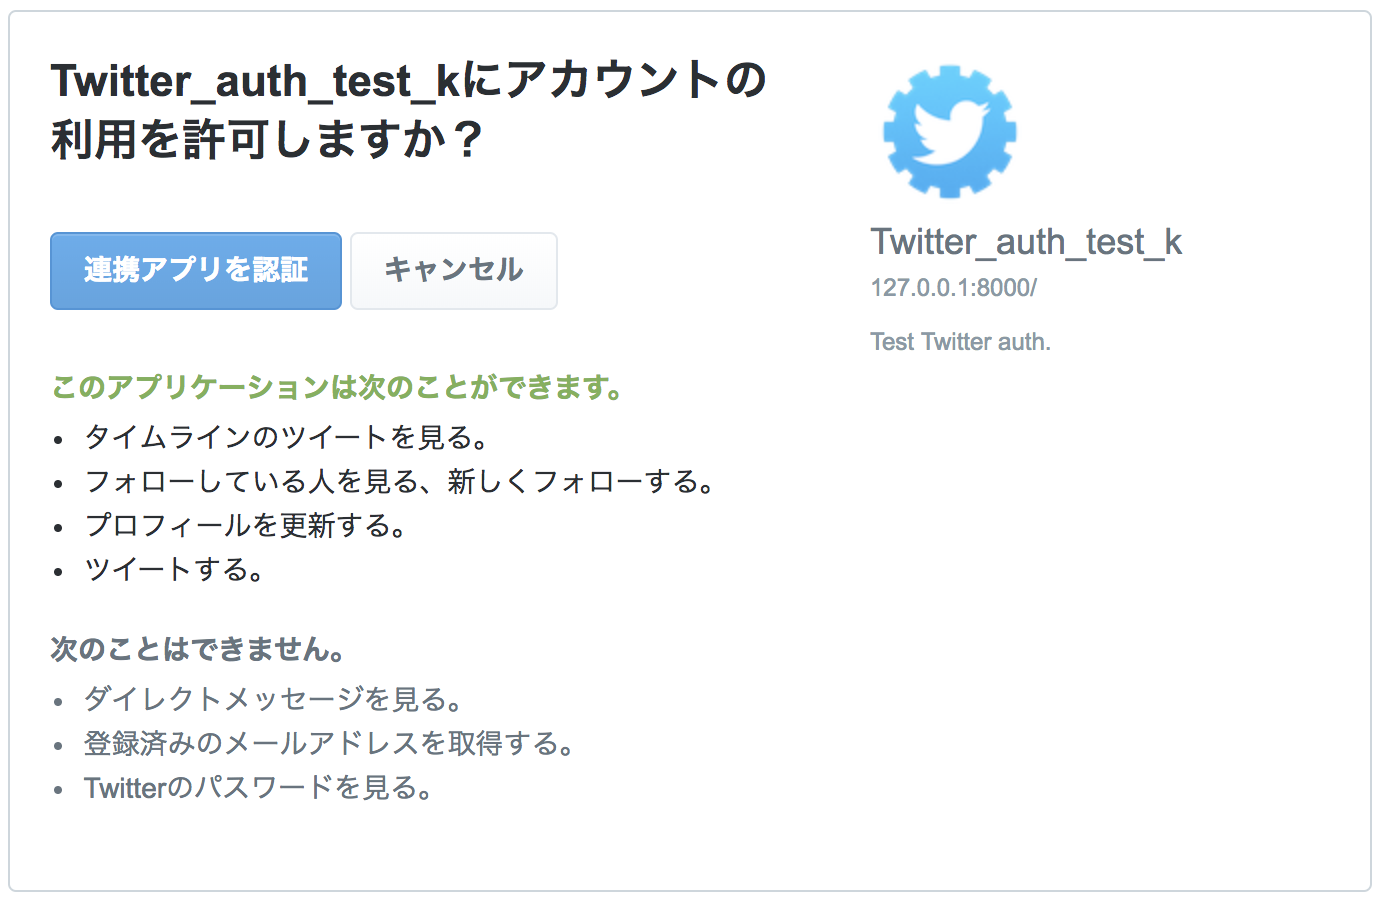
このようにログインが可能となります.
終わりに
以上が2018/06の仕様変更に対応した,DjangoでのTwitter認証実装となります.
あとは,標準のユーザ認証と同じように,ログイン情報などのチェックを行うことが可能となります.
参照サイト
[プロ生]Twitter が OAuth 認証時 Callback URL をチェックするようになったみたい
[Qiita]PythonのWebアプリフレームワーク「Django」を使ってTwitter認証してみた
[Github]Twitter login not working
