今回製品開発を行うにあたりESP32-S3を使用することになったので、
ESP32-S3-DevKitC-1を使用して、使い勝手を調査してみました!
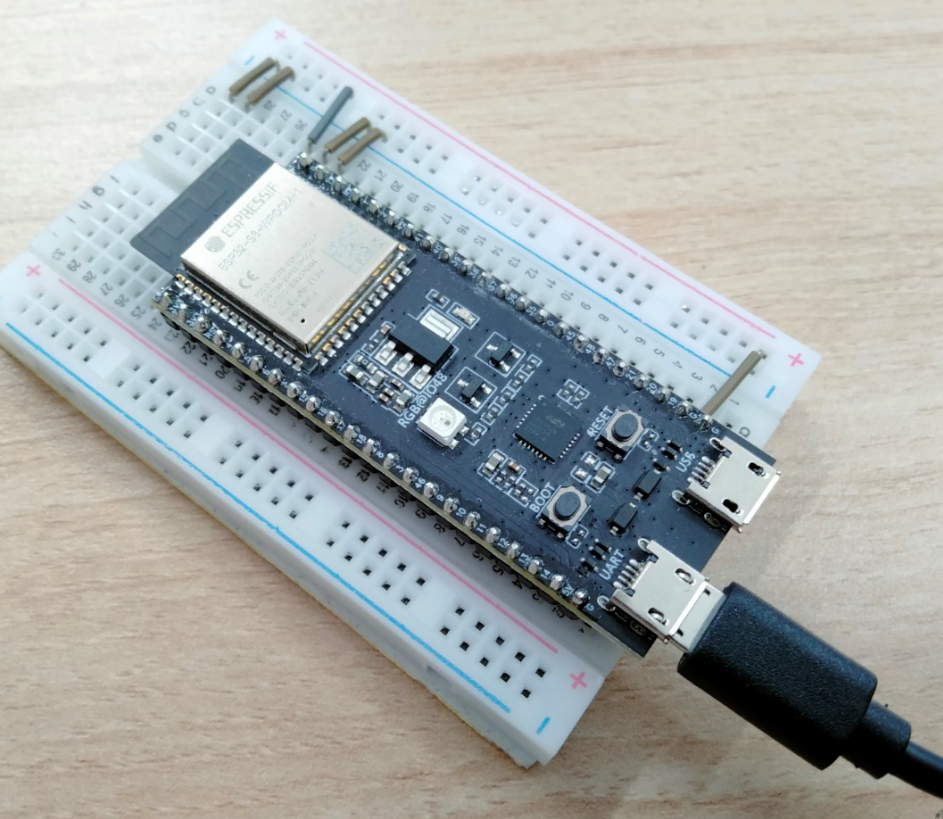
ハードウェア
型式:ESP32-S3-DevKitC-1
メーカー:Espressif Systems
購入先:秋月電子通商
価格:¥1,840
URL:https://akizukidenshi.com/catalog/g/gM-17073/
事前設定
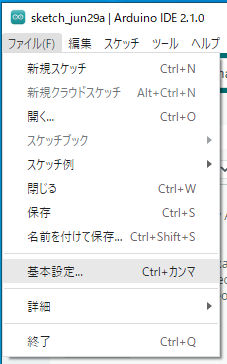
1、ボードマネージャーにESP32のURLを設定します。
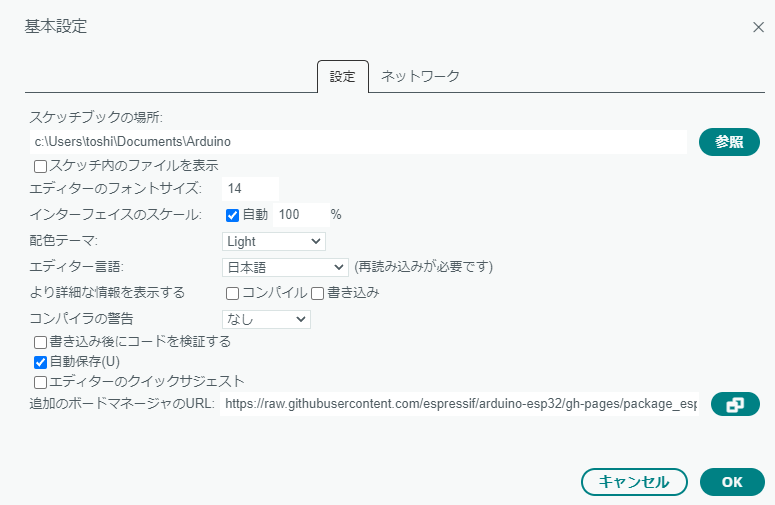
ファイル>基本設定
2、追加のボードマネージャのURLに「https://raw.githubusercontent.com/espressif/arduino-esp32/gh-pages/package_esp32_index.json」を追加。
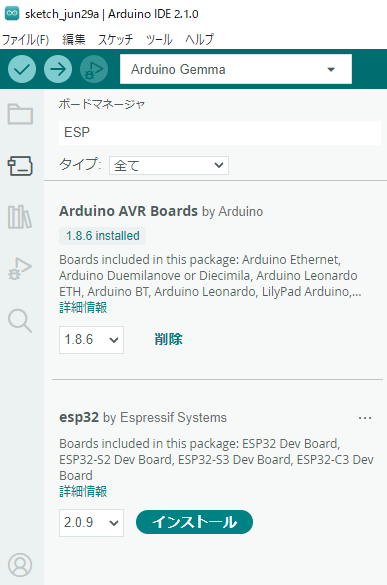
3、ボードマネージャーの検索に「ESP」と入力して、「esp32」をインストールする。
ソースコード作成
それではLチカを作ってみましょう!
#define LED LED_BUILTIN

void setup() {
  pinMode(LED, OUTPUT);
  digitalWrite(LED, LOW);

  Serial.begin(19200);
  Serial.println("Start Program");
}

void loop() {
  Serial.println("LED OFF");
  digitalWrite(LED, LOW);
  delay(1000);

  Serial.println("LED ON");
  digitalWrite(LED, HIGH);
  delay(1000);
}
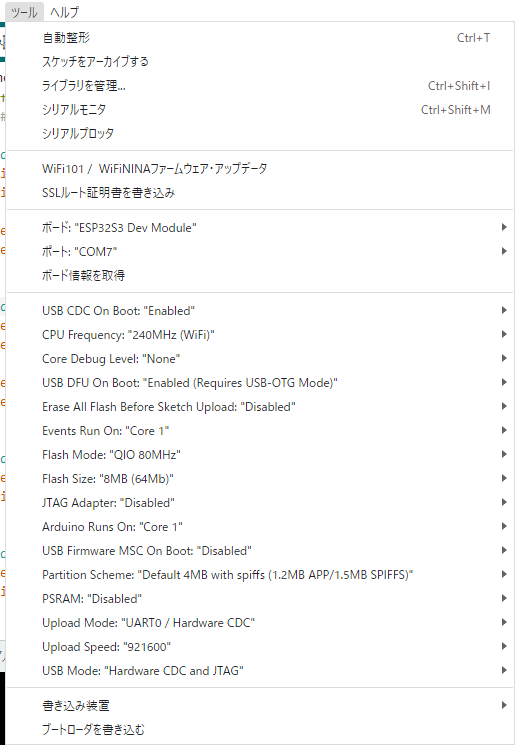
書き込み設定
以下の書き込み設定にします。
配線は、UARTポートに接続します。
(以前USBに接続していた。正常にインストールできるのでこれで良いと思っていたが、
シリアル通信ができないことが分かった。)
書き込みを行う場合は「BOOT」ボタンを押しながら「RESET」ボタンを押します。
書き込みモードに移行します。
書き込みを実行し、書込み後に再度「RESET」ボタンを押すとプログラムが実行されます。
ESP32の開発も行っております。
依頼をしたい方はお気軽にご相談下さい。