楽をするのは良いことだ
ということで、個人的に好きで使っているNuxt.jsをFirebaseにデプロイし、その後Githubにプッシュするたびに自動的にデプロイされるように設定するまでをこの記事では解説しておきます。
こちらの記事を参考にさせていただきました。
Nuxt.jsを短期間でFirebaseにデプロイしてCircleCIで自動デプロイをするところまでを設定するマニュアル②自動デプロイの設定
↑次回分投稿しました!
環境
OSX Catalina
npm version6.14.6
node.js v12.18.4
構築
Firebase
まずFirebaseにログインします。
Googleアカウントが必要となるので持っていない方は取得してください。

こちらのページにアクセスしたら使ってみるをクリックし、以下の個人のプロジェクトを管理するページに移ってください。
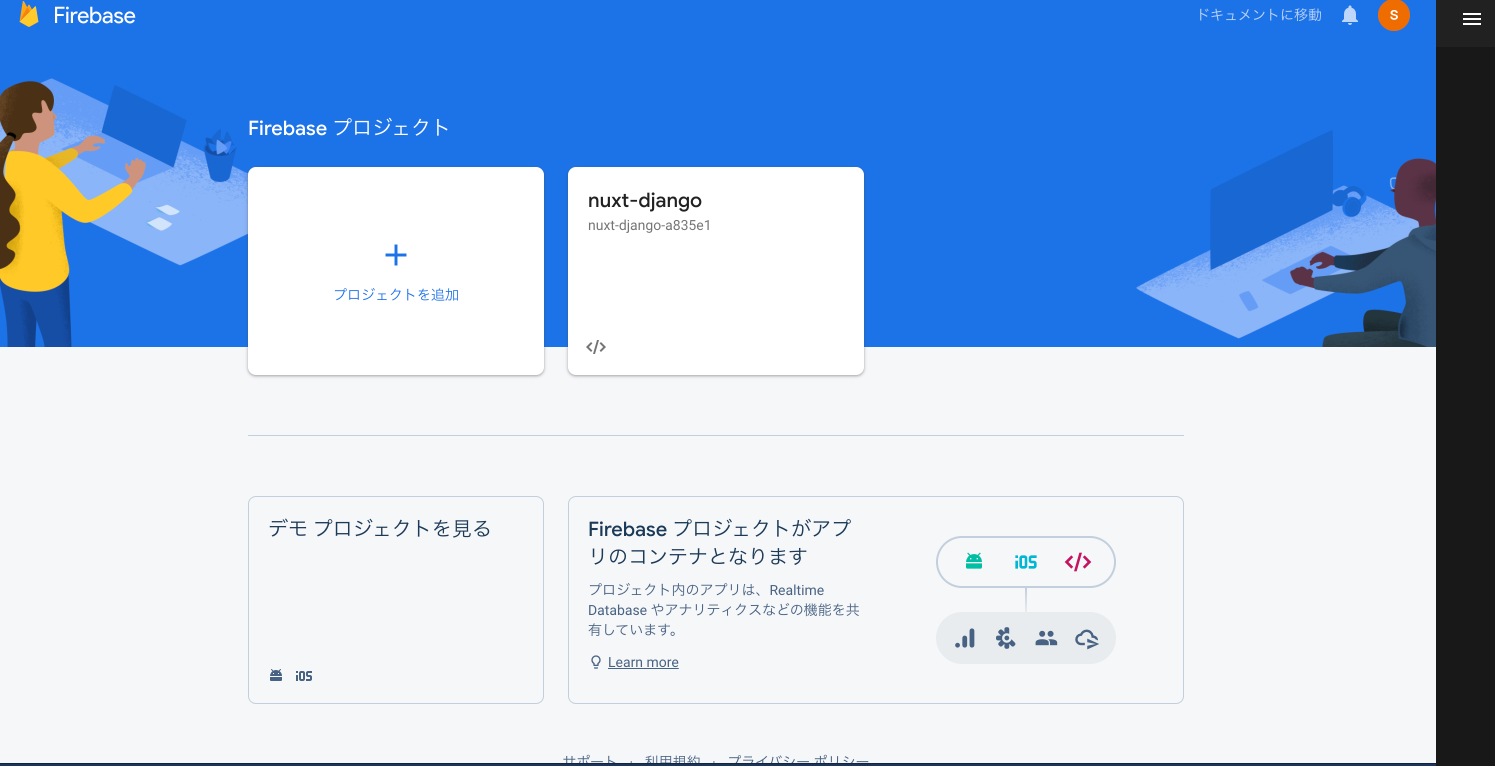
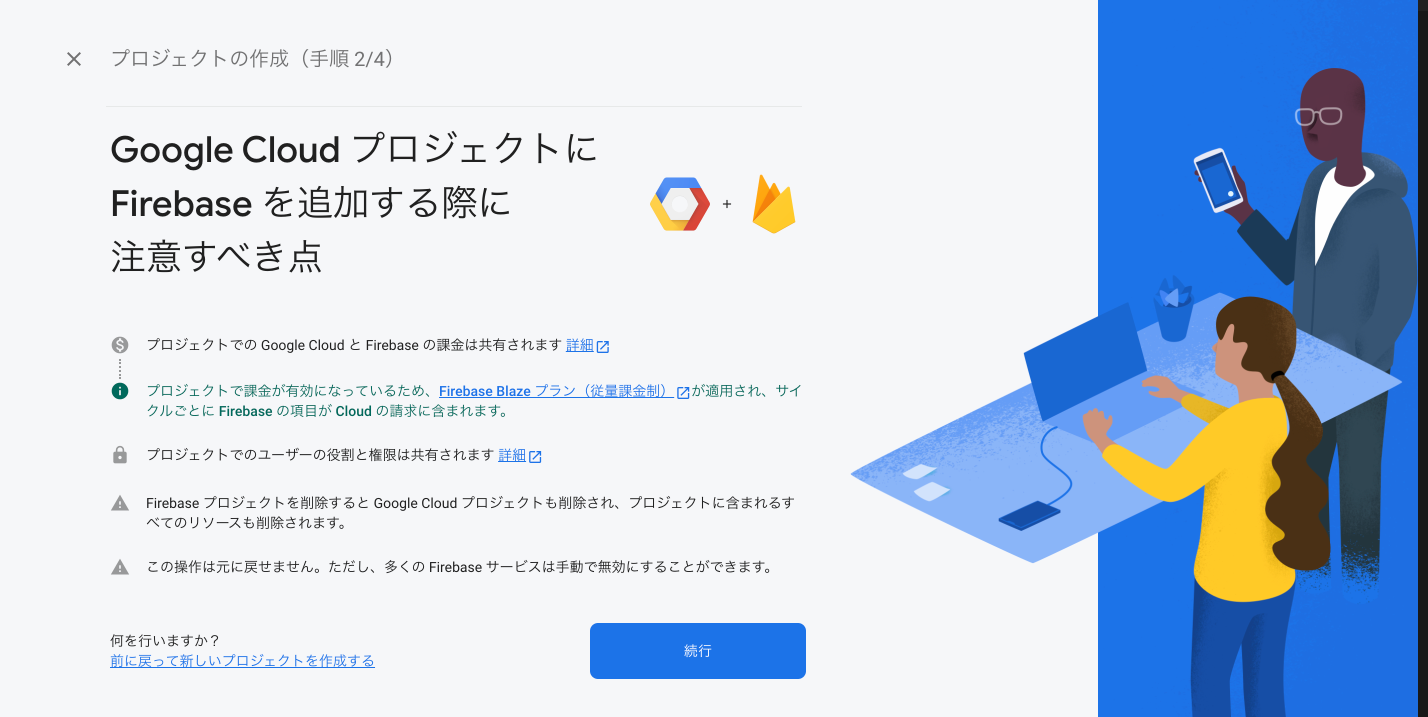
そしてプロジェクトを追加をクリックし、任意のプロジェクト名を設定し、プロジェクトを作成してください。


これでプロジェクトを作成できました!
ひとまずターミナルを開き、以下のコマンドを使ってFirebase CLIをインストールしておきましょう。
$ npm install -g firebase-tools
そしてついでにログインをしておきましょう。
$ firebase login
次はNuxtプロジェクトを作成し、Firebaseとつないでデプロイしてみましょう。
Nuxt.js
mkdir firebase
cd firebase
vue init nuxt-community/starter-template sample
こちらでfirebaseディレクトリ内にNuxtのテンプレートが作成されました。
そして次にfirebaseとつなぐ必要があるので以下のコマンドをターミナルで実行してください。
また、ここではHostingを選択してください。
$ firebase init
MacBook-Pro sample % firebase init

     ######## #### ########  ######## ########     ###     ######  ########
     ##        ##  ##     ## ##       ##     ##  ##   ##  ##       ##
     ######    ##  ########  ######   ########  #########  ######  ######
     ##        ##  ##    ##  ##       ##     ## ##     ##       ## ##
     ##       #### ##     ## ######## ########  ##     ##  ######  ########

You're about to initialize a Firebase project in this directory:

  firebase/sample/

? Which Firebase CLI features do you want to set up for this folder? Press Space
 to select features, then Enter to confirm your choices. Hosting: Configure and
deploy Firebase Hosting sites

=== Project Setup

First, let's associate this project directory with a Firebase project.
You can create multiple project aliases by running firebase use --add,
but for now we'll just set up a default project.

? Please select an option: Use an existing project
? Select a default Firebase project for this directory: (先ほど入力したプロジェクト名)
i  Using project (先ほど入力したプロジェクト名)

=== Hosting Setup

Your public directory is the folder (relative to your project directory) that
will contain Hosting assets to be uploaded with firebase deploy. If you
have a build process for your assets, use your build's output directory.

? What do you want to use as your public directory? public
? Configure as a single-page app (rewrite all urls to /index.html)? Yes
✔  Wrote public/index.html

i  Writing configuration info to firebase.json...
i  Writing project information to .firebaserc...

✔  Firebase initialization complete!
これでfirebaseプロジェクトとの接続が完了しました!
次にNuxtプロジェクトをビルドしましょう。
$ npm nuxt generate
これでdist内にビルドしたファイルが出力されました。
次に、sampleプロジェクト内に出力されたfirebase.jsonを以下のように書き換えます。
{
  "hosting": {
    "public": "sample/dist"
  }
}
そして、一つ上の階層のfirebaseディレクトリに移動し、
$ cd ..
$ firebase deploy
このコマンドでFirebaseにデプロイします!!
上手くいくと、以下のようにアドレスが表示されるので、そちらにブラウザからアクセスしてみましょう!
Project Console: https://console.firebase.google.com/project/[あなたのプロジェクト名]/overview
Hosting URL: https://[あなたのプロジェクト名].web.app
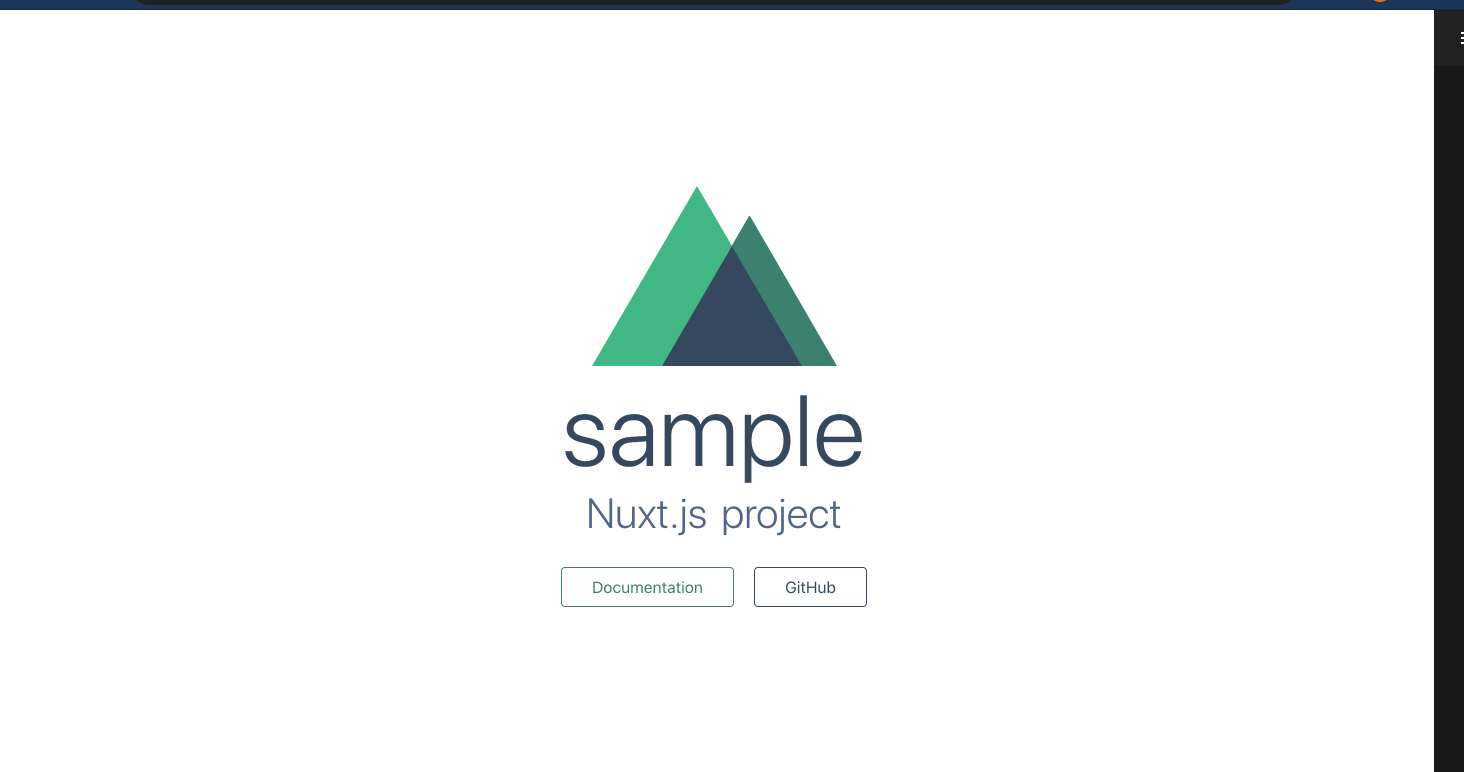
これで今回の記事の範囲、デプロイまでは完了です!
次回はGithubにリポジトリを作り、CircleCiと連携させる方法について書きます!
お疲れ様でした!