
概要
今回は、Windows 11で稼働するDocker Desktop上のコンテナにClaude Codeをインストールする手順を共有したいと思います。
流れとしては、LinuxベースのDockerコンテナ上にClaude Codeをインストールして、初期設定を実施したのちプロンプトを入力できる状態までセットアップします。
※本記事のログは執筆時点(2026年8月)の挙動・出力に基づいています。
環境
機器:ノートPC
エディション:Windows 11 Pro
バージョン:25H2
OSビルド:26200.8894
ソフト:Docker Desktop v4.83.0
構成
構成としては、Windows 11 にインストールした WSL 2 の仕組みでDocker Desktopを動かし、そこに作成した Ubuntu 24.04ベースのDockerコンテナ上にClaude Codeをインストールします。
Windows 11 (ホストOS)
   ↓
WSL 2 (Windows Subsystem for Linux)
   ↓
   ↓ WSL バージョン: 2.7.11.0
   ↓ カーネル バージョン: 6.18.33.2-2
   ↓
docker-desktop ディストリビューション
   ↓
Docker Engine (Docker Desktop)
   ↓
Claude Code 用コンテナ (Ubuntu 24.04 ベース)
   ↓
Claude Code(コンテナ内で起動するCLIベースのAIエージェント)
この記事では、以下の環境構築が完了している前提でClaude Codeのインストールを進めます。
・Windows 11のセットアップ
・WSL 2のインストール
・Docker Desktopのインストール
・Claude Code用のDockerコンテナ作成
なお、Windows 11のVisual Studio CodeからDockerコンテナ内のClaude Codeを直接操作できるよう、DevContainer拡張を使って開発用Dockerコンテナの作成とターミナルの起動を行っています。
インストール手順
1. Claude Codeのインストール
今回はUbuntuベースのLinux環境にインストールするため、公式から公開されている以下のコマンドでスクリプトファイルのダウンロードとbashシェルでの読み込みを実施します。
curl -fsSL https://claude.ai/install.sh | bash
■Claude Code Docs
・ステップ1:Claude Codeをインストールする
https://code.claude.com/docs/ja/quickstart#step-1-install-claude-code
vscode ➜ /workspaces/workspace $ curl -fsSL https://claude.ai/install.sh | bash
Setting up Claude Code...

✔ Claude Code successfully installed!

  Version: 2.1.220

  Location: ~/.local/bin/claude


  Next: Run claude --help to get started

✅ Installation complete!

vscode ➜ /workspaces/workspace $
2. Claude Codeの初期設定
①Claude Codeを起動します
vscode ➜ /workspaces/workspace $ claude
Welcome to Claude Code v2.1.220

 Let's get started.
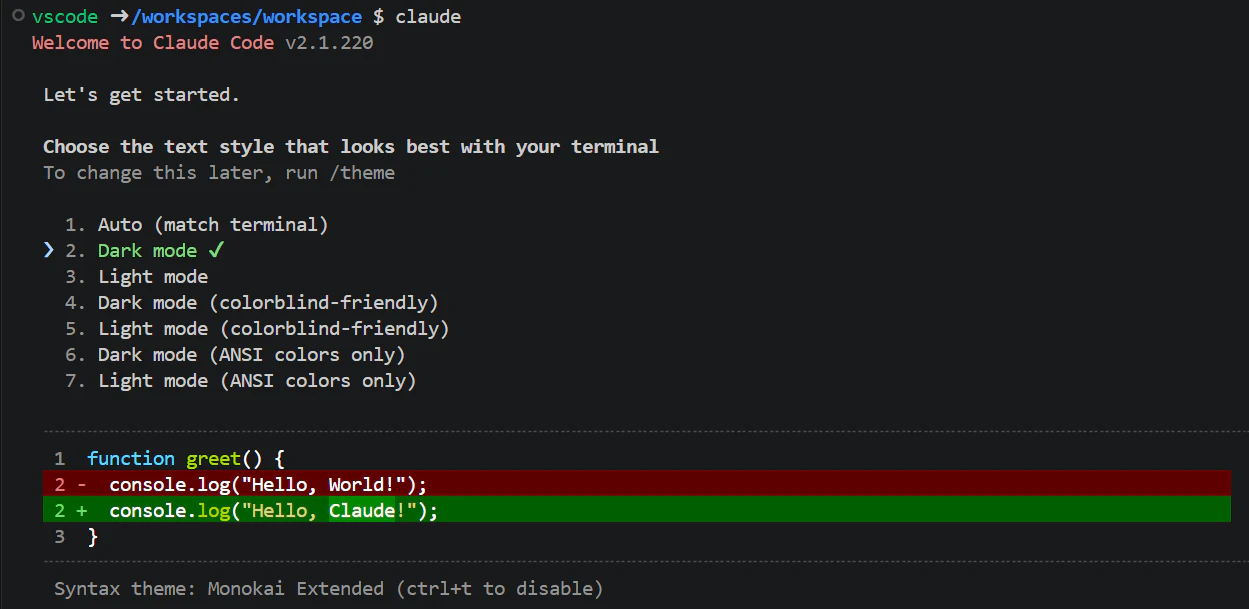
②文字の色を決めます
③Claudeのアカウント認証を実施します
Claude Code can be used with your Claude subscription or billed based on API usage through your Console account.

 Select login method:

 ❯ 1. Claude account with subscription · Pro, Max, Team, or Enterprise
   2. Anthropic Console account · API usage billing
   3. 3rd-party platform · Amazon Bedrock, Microsoft Foundry, or Vertex AI
Claudeの定額プランを契約している場合は「1」でEnterキーをクリックします。
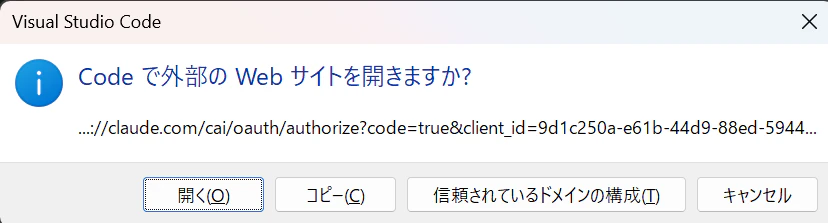
ログインメソッドを選択すると以下の確認画面が表示されますので、「開く」をクリックします。上手くいかない場合は、URLをWebブラウザに直接コピペします。
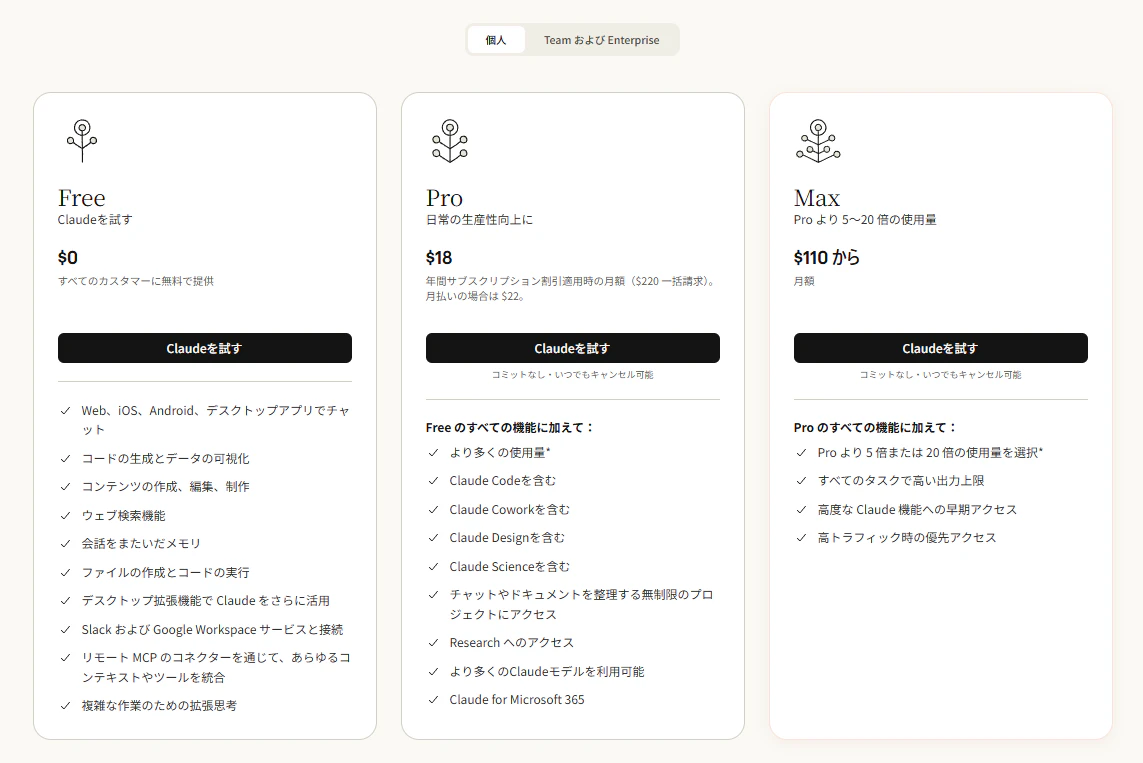
※Claudeのサブスクリプションに契約していない場合は、このタイミングで契約します。
■Claude(プランを確認する)
https://claude.com/ja
ProプランであればClaude Codeが利用できます。
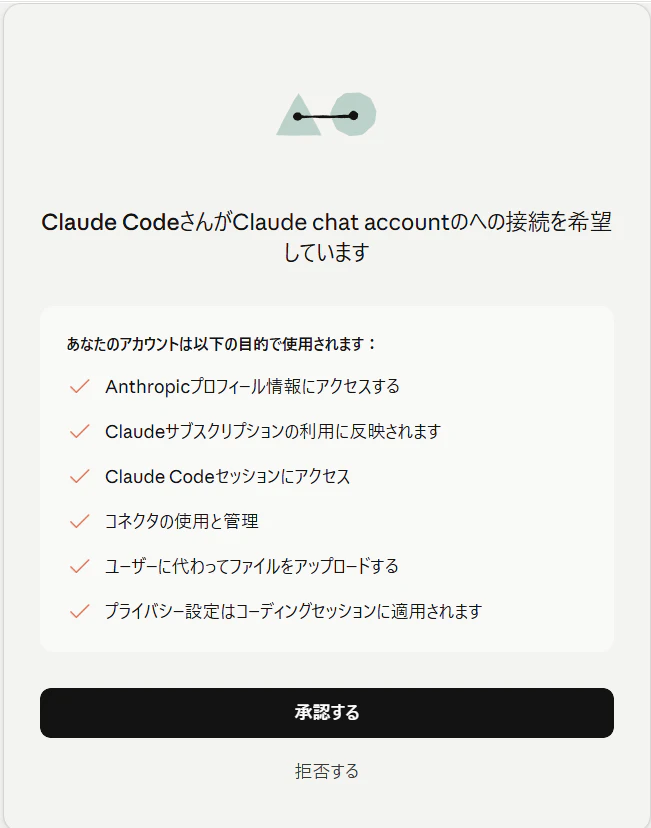
「外部のWebサイト」を開くと、以下の承認画面が表示されますので「承認する」をクリックします。
承認すると以下の画面が表示されます。
④Claude Codeを起動します
ターミナルに戻ると以下のメッセージが表示されているため、Enterキーをクリックします。
vscode ➜ /workspaces/workspace $ claude
Welcome to Claude Code v2.1.220

 Logged in as email@mail.com
 Login successful. Press Enter to continue…
⑤セキュリティの注意事項を一読します
- Claudeはミスを犯します
- プロンプトインジェクションのリスクがあるため、信頼できるコードのみ使用してください
こちらを確認のうえ、Enterキーをクリックします。
vscode ➜ /workspaces/workspace $ claude
Welcome to Claude Code v2.1.220

 Security notes:

 1. Claude can make mistakes.
    You're responsible for Claude's actions and should always
    review them, especially when running code.

 2. Due to prompt injection risks, only use it with code you trust
    Learn more: https://code.claude.com/docs/en/security

 Press Enter to continue…
⑥推奨設定で開始するかどうか確認します
こちらを有効にすると Shift+Enterで改行できるようになるとのことで、「1」を選択しました(Escキーでスキップもできるようです)
vscode ➜ /workspaces/workspace $ claude
Welcome to Claude Code v2.1.220

 Use Claude Code's terminal setup?

 For the optimal coding experience, enable the recommended settings
 for your terminal: Shift+Enter for newlines

 ❯ 1. Yes, use recommended settings
   2. No, maybe later with /terminal-setup

 Enter to confirm · Esc to skip
⑦Claude Codeによる注意事項を確認します
Claude Codeから、今操作しているフォルダ内にあるファイルの読み書きと実行ができるようになるため、「フォルダ内に何のファイルが保存されているか」「そのフォルダは信用できるか」といったことを聞かれます。
問題なければ「1」を選択します。
vscode ➜ /workspaces/workspace $ claude

──────────────────────────────────────────────────────────────────────────────────────────────────────────────────
Accessing workspace:

/workspaces/workspace

Quick safety check: Is this a project you created or one you trust? (Like your own code, a well-known open
source project, or work from your team). If not, take a moment to review what's in this folder first.

Claude Code'll be able to read, edit, and execute files here.

Security guide

❯ 1. Yes, I trust this folder
  2. No, exit

Enter to confirm · Esc to cancel
⑧Claude Codeのインストールが完了しました
「>」からプロンプトを入力することができます。
vscode ➜ /workspaces/workspace $ claude
╭─── Claude Code v2.1.220 ───────────────────────────────────────────────────────────────────────────────────────╮
│                                                    │ Tips for getting started                                  │
│                Welcome back User!                │ Run /init to create a CLAUDE.md file with instructions f… │
│                                                    │ ───────────────────────────────────────────────────────── │
│                       ▐▛███▜▌                      │ What's new                                                │
│                      ▝▜█████▛▘                     │ Bug fixes and reliability improvements                    │
│                        ▘▘ ▝▝                       │ Added Claude Opus 5 (`claude-opus-5`), now the default O… │
│ Sonnet 5 · Claude Pro · email@mail.com's  │ Added `sandbox.network.strictAllowlist` setting to deny … │
│ Organization                                       │ /release-notes for more                                   │
│               /workspaces/workspace                │                                                           │
╰────────────────────────────────────────────────────────────────────────────────────────────────────────────────╯

  Tackle your toughest work with Opus 5. Switch anytime with /model.

──────────────────────────────────────────────────────────────────────────────────────────────────────────────────
❯ Try "edit <filepath> to..."
──────────────────────────────────────────────────────────────────────────────────────────────────────────────────
 ⏸ manual mode on · ? for shortcuts · ← for agents
終わりに
この記事では、Docker環境への Claude Code のセットアップ手順を紹介しました。
なお、サーバーの基礎知識について、より体系的に学びたい方向けにZennでブック(一部無料)を公開しています。興味のある方は、ぜひこちらも参考にしてみてください!