概要
現時点(2020/11/26)で安定動作する機械学習環境を構築していきます。
具体的には、
- pyenv導入(macOS, Linuxのみ)
- Miniconca導入
- 機械学習に役立つパッケージたちの導入
の手順で進めていきます。
Tensorflow は NumPy などの他パッケージに依存しており、相性の良いバージョン同士でないと警告文などが頻発します。
この記事は、そのようなバージョン情報等の備忘録です。
記事中で紹介する実行環境とパッケージ(一部)は以下のとおりです。
| OS | Shell | Python | Tensorflow |
|---|---|---|---|
| Windows10 | Anaconda Prompt | 3.7.9 | 2.1.0 |
| macOS (intel) | bash, zsh, fish | 3.7.9 | 2.0.0 |
| Linux (Ubuntu) | bash, zsh, fish | 3.7.9 | 2.2.0 |
環境構築
Windows の場合
※Windowsでは公式にpyenvを導入できないため、minicondaを直接導入していきます。
miniconda導入
ここから最新のインストーラをダウンロードします。
本記事執筆時の最新版は、Miniconda3-py38_4.9.2-Windows-x86_64.exeです。
ダウンロード完了したらインストーラを起動し、画面の内容に従ってインストールを進めて下さい。
こちらの記事が参考になります: WindowsにMinicondaインストール(2018年)
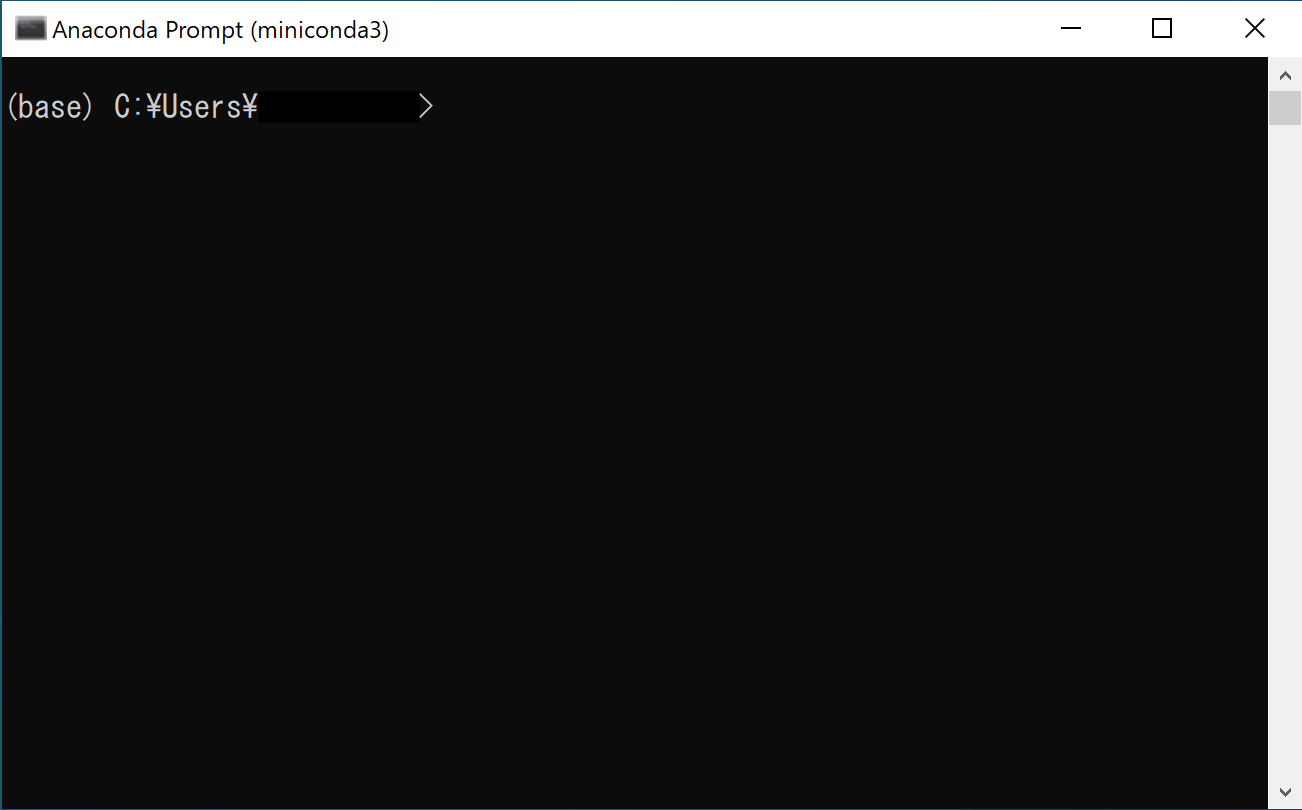
インストールが完了したら、スタートメニューからAnaconda Promptを起動できることを確認します。
以降の手順は、このプロンプトを使っていきます。
パッケージ導入
この手順では以下のパッケージを導入していきます。
| package | version |
|---|---|
| python | 3.7.9 |
| numpy | 1.17.1 |
| scipy | 1.5.2 |
| matplotlib | 3.3.2 |
| scikit-learn | 0.23.2 |
| pandas | 1.1.2 |
| jupyter | 1.0.0 |
| jupyter_contrib_nbextensions | 0.5.1 |
| tensorflow-gpu | 2.1.0 |
| [GPU無しの場合] tensorflow | 2.1.0 |
tensorflowをanacondaチャンネル、それ以外をconda-forgeチャンネルからインストールします。
conda install -c conda-forge -y python==3.7.9 numpy==1.17.1 scipy==1.5.2 matplotlib==3.3.2 scikit-learn==0.23.2 pandas==1.1.2 jupyter==1.0.0 jupyter_contrib_nbextensions==0.5.1
conda install -c anaconda -y tensorflow-gpu==2.1.0
macOS の場合
注) ARM系Mac(Apple Silicon)では動作確認ができていません。
brew導入
brewはmacOSへのソフトウェアを導入をサポートしてくれるツールです。
未導入の場合、ターミナルを起動して、以下コマンドを実行してください。
/bin/bash -c "$(curl -fsSL https://raw.githubusercontent.com/Homebrew/install/HEAD/install.sh)"
brew -v
--------------------------------------------------
Homebrew 2.5.11
Homebrew/homebrew-core (git revision eb4ff; last commit 2020-11-26)
Homebrew/homebrew-cask (git revision e68da2; last commit 2020-11-26)
pyenv導入
brewを使ってpyenvをインストールします。
以下のコマンド実行後、画面の内容に従ってインストールしてください。
brew install pyenv
この後の設定はshellごとに書式が異なるので、まずはshellを確認します。
echo $SHELL
画面に表示されたshellに合わせて、下記コマンドを実行します。
echo 'eval "$(pyenv init -)"' >> ~/.bash_profile
source ~/.bash_profile
echo 'eval "$(pyenv init -)"' >> ~/.zshrc
source ~/.zshrc
echo 'pyenv init - | source' >> ~/.config/fish/config.fish
source ~/.config/fish/config.fish
知りません…
miniconda導入
以下のコマンドを入力して、インストール可能なminicondaバージョンを確認します。
pyenv install -l | grep miniconda3.
--------------------------------------------------
  miniconda3-latest
  miniconda3-2.2.2
  miniconda3-3.0.0
  (中略)
  miniconda3-4.7.10
  miniconda3-4.7.12
今回は、miniconda3-4.7.12をインストールします。
miniconda3-latestは最新版のエイリアスなので、こちらでも問題ないです。
pyenv install miniconda3-4.7.10
--------------------------------------------------
Downloading Miniconda3-4.7.10-Linux-x86_64.sh...
-> https://repo.anaconda.com/miniconda/Miniconda3-4.7.10-Linux-x86_64.sh
Installing Miniconda3-4.7.10-Linux-x86_64...
  (中略)
Preparing transaction: done
Verifying transaction: done
Executing transaction: done
パッケージ導入
この手順では以下のパッケージを導入していきます。
| package | version |
|---|---|
| python | 3.7.9 |
| numpy | 1.17.1 |
| scipy | 1.5.2 |
| matplotlib | 3.3.2 |
| scikit-learn | 0.23.2 |
| pandas | 1.1.2 |
| jupyter | 1.0.0 |
| jupyter_contrib_nbextensions | 0.5.1 |
| tensorflow | 2.0.0 |
tensorflowをanacondaチャンネル、それ以外をconda-forgeチャンネルからインストールします。
conda install -c conda-forge -y python==3.7.9 numpy==1.17.1 scipy==1.5.2 matplotlib==3.3.2 scikit-learn==0.23.2 pandas==1.1.2 jupyter==1.0.0 jupyter_contrib_nbextensions==0.5.1
conda install -c anaconda -y tensorflow==2.0.0
Linux の場合
pyenv導入
githubからpyenvをインストールします。
インストールというよりはクローンするだけです。
git clone https://github.com/pyenv/pyenv.git ~/.pyenv
この後の設定はshellごとに書式が異なるので、shellを確認します。
echo $SHELL
画面に表示されたshellに合わせて、下記コマンドを実行します。
echo 'export PYENV_ROOT="$HOME/.pyenv"' >> ~/.bash_profile
echo 'export PATH="$PYENV_ROOT/bin:$PATH"' >> ~/.bash_profile
echo 'if command -v pyenv 1>/dev/null 2>&1; then eval "$(pyenv init -)" fi' >> ~/.bash_profile
source ~/.bash_profile
echo 'export PYENV_ROOT="$HOME/.pyenv"' >> ~/.zshrc
echo 'export PATH="$PYENV_ROOT/bin:$PATH"' >> ~/.zshrc
echo 'if command -v pyenv 1>/dev/null 2>&1; then eval "$(pyenv init -)" fi' >> ~/.zshrc
source ~/.zshrc
set -Ux PYENV_ROOT $HOME/.pyenv
set -Ux fish_user_paths $PYENV_ROOT/bin $fish_user_paths
echo 'pyenv init - | source' >> ~/.config/fish/config.fish
source ~/.config/fish/config.fish
正直、fish以外はどうでもいいです…
miniconda導入
以下のコマンドを入力して、インストール可能なminicondaバージョンを確認します。
pyenv install -l | grep miniconda3.
--------------------------------------------------
  miniconda3-latest
  miniconda3-2.2.2
  miniconda3-3.0.0
  (中略)
  miniconda3-4.7.10
  miniconda3-4.7.12
今回は、miniconda3-4.7.12をインストールします。
miniconda3-latestは最新版のエイリアスなので、こちらでも問題ないです。
pyenv install miniconda3-4.7.10
--------------------------------------------------
Downloading Miniconda3-4.7.10-Linux-x86_64.sh...
-> https://repo.anaconda.com/miniconda/Miniconda3-4.7.10-Linux-x86_64.sh
Installing Miniconda3-4.7.10-Linux-x86_64...
  (中略)
Preparing transaction: done
Verifying transaction: done
Executing transaction: done
パッケージ導入
この手順では以下のパッケージを導入していきます。
| package | version |
|---|---|
| python | 3.7.9 |
| numpy | 1.17.1 |
| scipy | 1.5.2 |
| matplotlib | 3.3.2 |
| scikit-learn | 0.23.2 |
| pandas | 1.1.2 |
| jupyter | 1.0.0 |
| jupyter_contrib_nbextensions | 0.5.1 |
| tensorflow-gpu | 2.2.0 |
| [GPU無しの場合] tensorflow | 2.2.0 |
tensorflowをanacondaチャンネル、それ以外をconda-forgeチャンネルからインストールします。
conda install -c conda-forge -y python==3.7.9 numpy==1.17.1 scipy==1.5.2 matplotlib==3.3.2 scikit-learn==0.23.2 pandas==1.1.2 jupyter==1.0.0 jupyter_contrib_nbextensions==0.5.1
conda install -c anaconda -y tensorflow-gpu==2.2.0
以上で、Tensorflow,Kerasなど安定して動くと思います。
その他、私が個人的に使うライブラリ(一部)
| package | version | channel |
|---|---|---|
| pywavelets | 1.1.1 | conda-forge |
| mne | 0.19.2 | conda-forge |
| peakutils | 1.3.3 | conda-forge |
| lightgbm | 3.1.0 | conda-forge |
周囲から頂いた質問
- なぜanacondaではなくminiconda? →最新のanacondaを導入すると、同梱パッケージの一部がtensorflow等に対応しておらず、結局一部の同梱物をアンインストールしないといけませんでした。それならはじめから最低限のconda環境を持つminicondaのほうが便利です。
- なぜconda系? → pip管理よりも、conda管理のほうがパッケージ同士の衝突が少ないため。さらに必要であればcudaなどの関連パッケージを自動でインストールしてくれるため。またpip管理よりもconda管理のほうがnumpyが速い(らしい)ため。詳しくはこちら
- pytorchは入れない? →私はKerasの設計思想のほうが好きなので、、