Macの環境はあまり弄りたくないので、venv+pipでできないことはdockerで行いたいです。しかし、GUIで確認が必要な強化学習タスクなどではコマンドベースでは処理できないため、なんとかする必要があります。
ssh経由でGUIを立ち上げる事もできますが、場合によってはできないこともあります。そこで、VNCを使ったリモートデスクトップでGUIを使います。
まず次のdockerfileを作ります。
# Python 3.11(arm64/amd64 両対応)
FROM python:3.11-slim

# 基本ツール & GUI に必要なパッケージ
RUN apt-get update && apt-get install -y --no-install-recommends \
    build-essential swig \
    xvfb x11vnc fluxbox \
    novnc python3-websockify \
    supervisor \
    ca-certificates curl \
    && rm -rf /var/lib/apt/lists/*

# pip周りアップデート
RUN python -m pip install --upgrade pip setuptools wheel

# VNC パスワードを事前に設定
# /etc/vnc_passwd に保存
RUN mkdir -p /etc && \
    x11vnc -storepasswd mypass /etc/vnc_passwd

# 作業ディレクトリ
WORKDIR /workspace

# Python依存ライブラリ
COPY requirements.txt /tmp/requirements.txt
RUN pip install --no-cache-dir -r /tmp/requirements.txt

# ソースコードをコピー
COPY . /workspace

# 環境変数
ENV DISPLAY=:1
EXPOSE 5901 6901

# Supervisor設定ファイルを生成
RUN mkdir -p /etc/supervisor/conf.d && \
    cat > /etc/supervisor/conf.d/gui.conf <<EOF
[program:xvfb]
command=/usr/bin/Xvfb :1 -screen 0 1400x900x24 -ac +extension GLX +render -noreset
autorestart=true
priority=10

[program:fluxbox]
command=/usr/bin/fluxbox
environment=DISPLAY=":1"
autorestart=true
priority=20

[program:x11vnc]
command=/usr/bin/x11vnc -display :1 -forever -shared -rfbport 5901 -rfbauth /etc/vnc_passwd
autorestart=true
priority=30

[program:novnc]
command=/usr/bin/websockify --web=/usr/share/novnc/ 6901 localhost:5901
autorestart=true
priority=40
EOF

# 起動
CMD ["/usr/bin/supervisord","-n","-c","/etc/supervisor/supervisord.conf"]
requirement.txtを作ります。
requirement.txtに必要なpythonライブラリをかきます。強化学習タスクのBipedalを動かしたかったので、次のようなpythonライブラリを入れます。
gymnasium==0.29.1
Box2D==2.3.10
numpy
torch               # 学習で使うなら
buildします
docker build -t bipedal-vnc:latest .
コンテナを起動します。
docker run -d --name bipedal_gui \
  -p 5901:5901 -p 6901:6901 \
  --shm-size=1g \
  -v "$(pwd)":/workspace \
  bipedal-vnc:latest
Finderから開きます
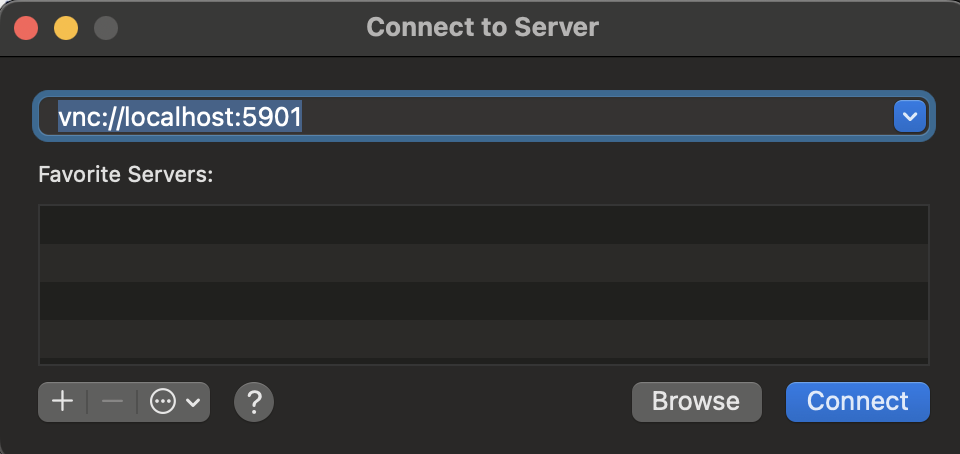
Finderを立ち上げ、Go->Connect to serverを選びます。図のようなダイアログが起動するので、
vnc://localhost:5901
と入力します。
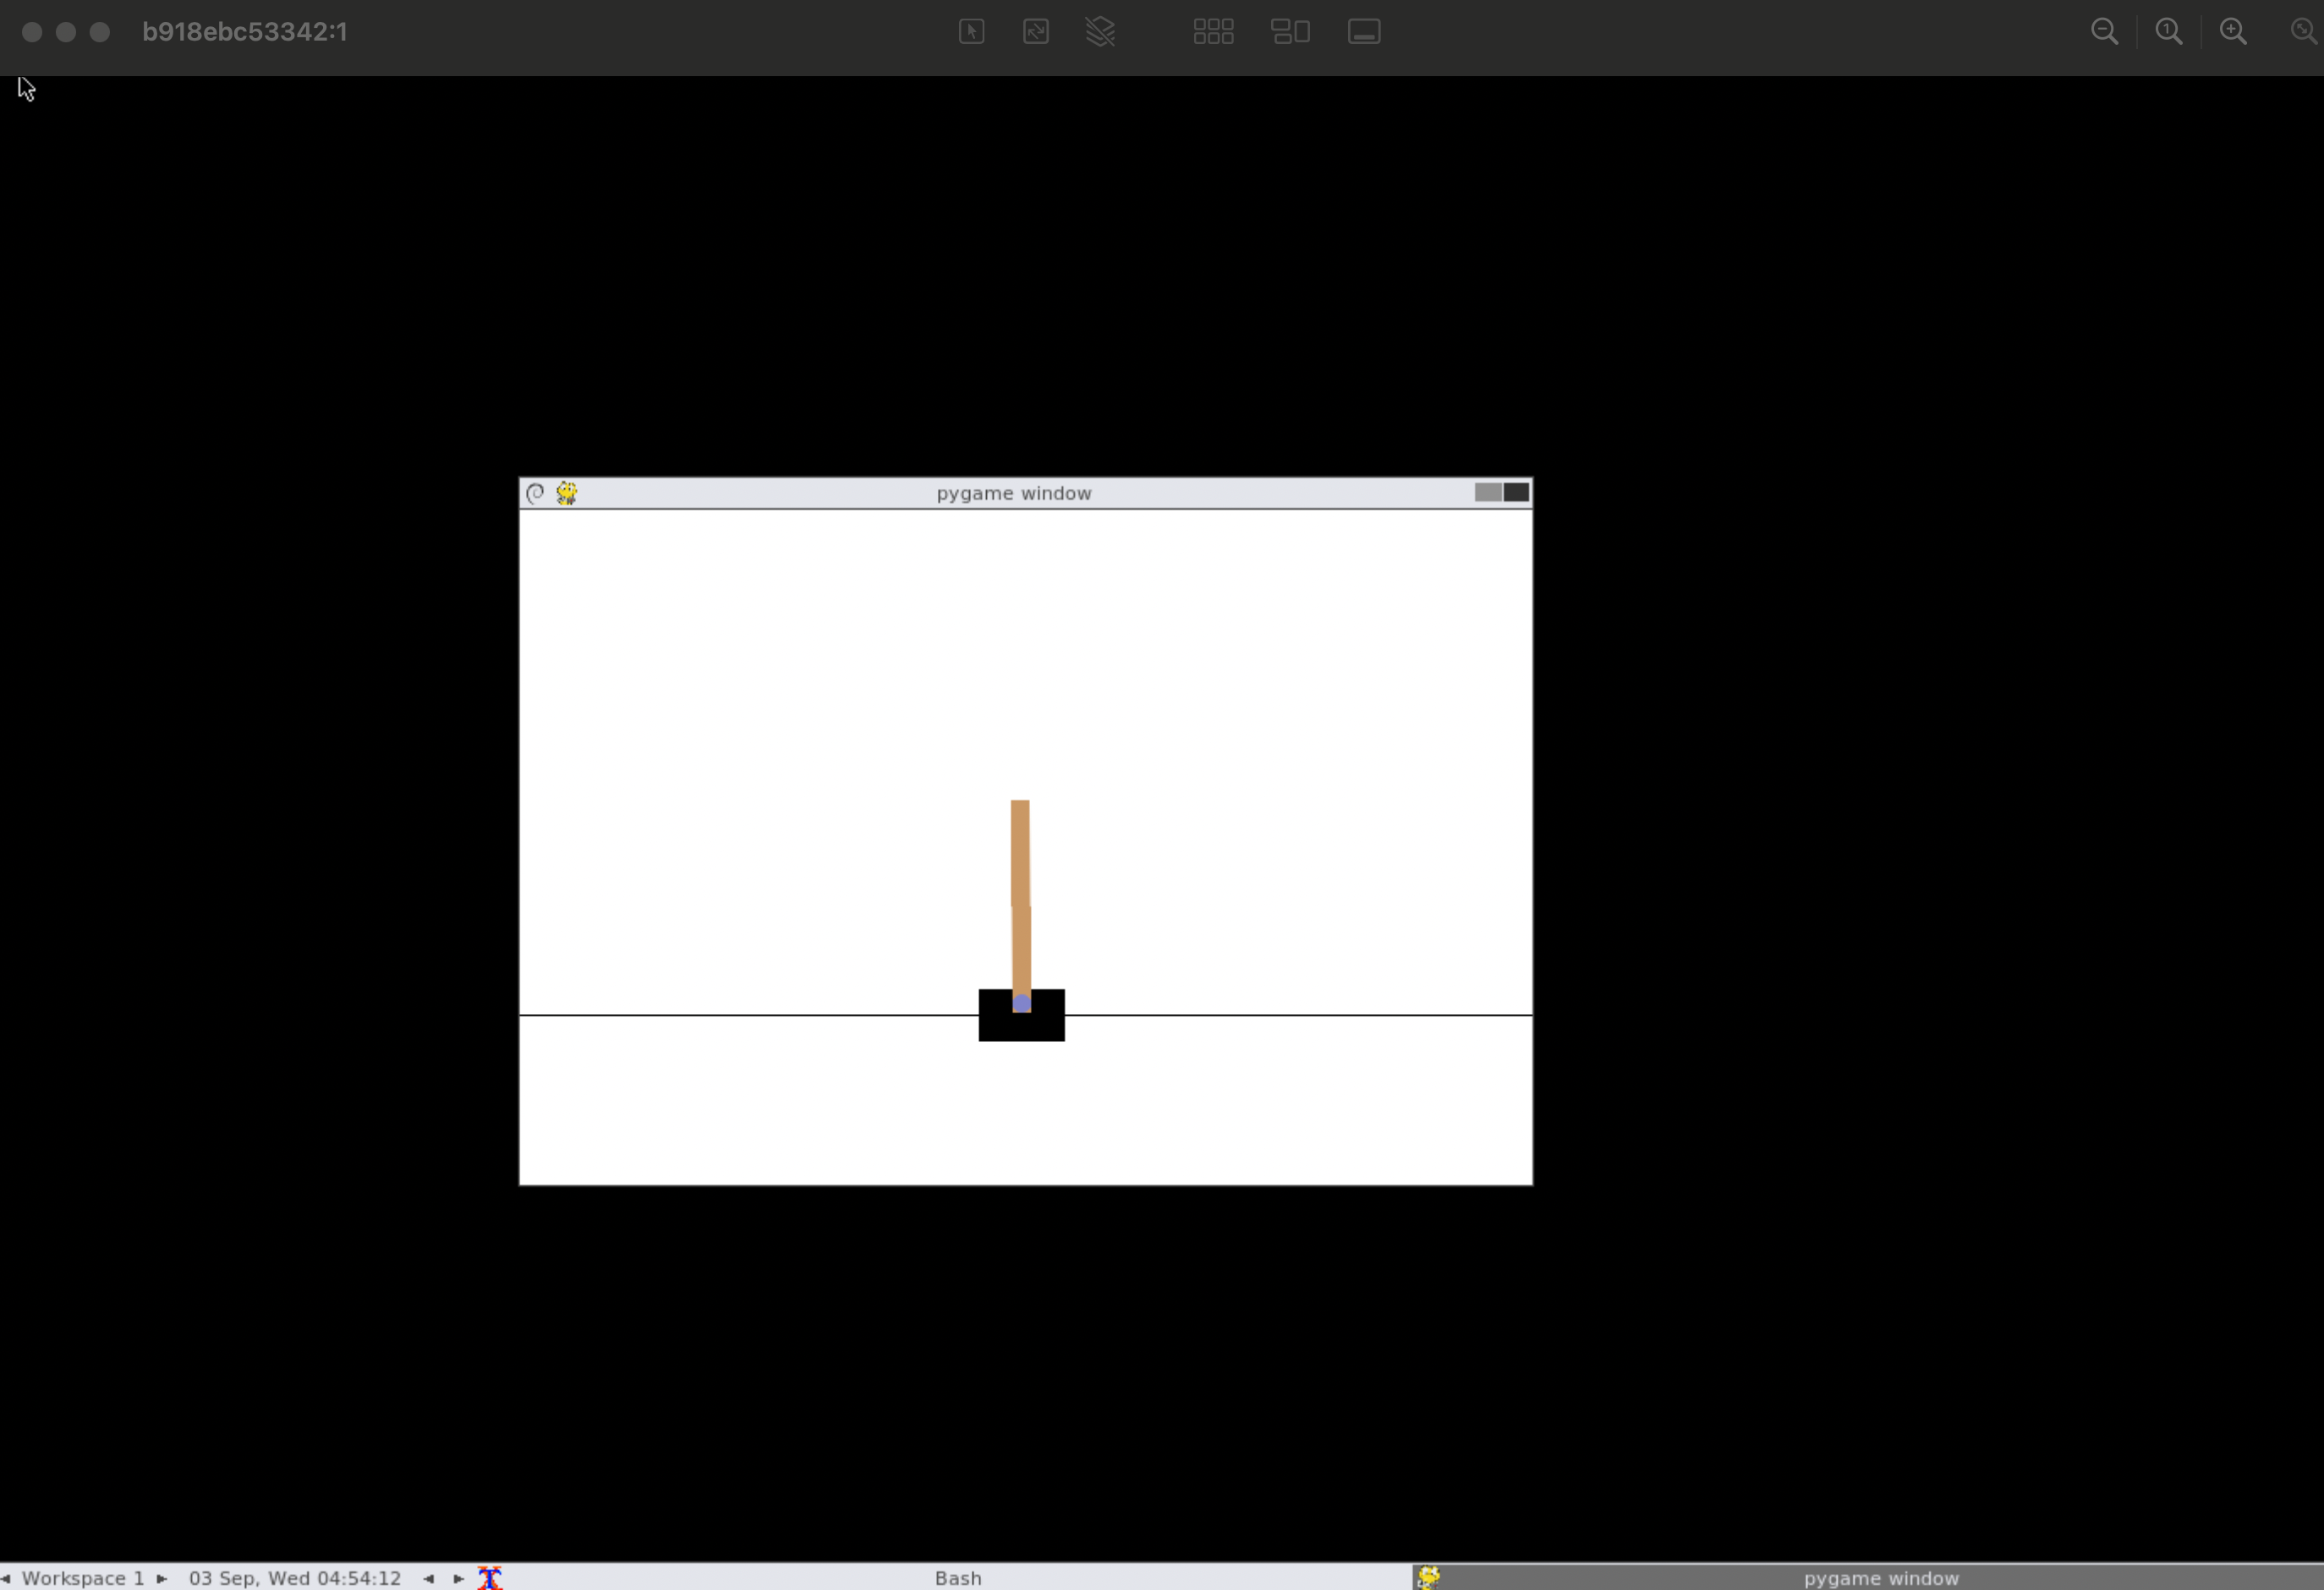
次に、パスワードを入力するように言われるので、Dockerfileで指定したパスワードmypassを入力します。するとLinuxのデスクトップ環境を見ることができます。