はじめに
さくらのレンタルサーバに AppBeads を導入した後で、メールを送信できるようにする手順を示します。
さくらのレンタルサーバに AppBeads を導入する手順については別の記事
さくらのレンタルサーバ+AppBeadsで業務アプリ
を参照してください。
メールアドレス の準備
サーバーコントロールパネルのログイン画面 を開きます。
ドメイン名とサーバーパスワードを入力して [ログイン] をクリックします。
ドメイン名とパスワードは、レンタルサーバーを申し込んだ時に届いた登録完了のお知らせメールに記載されています。

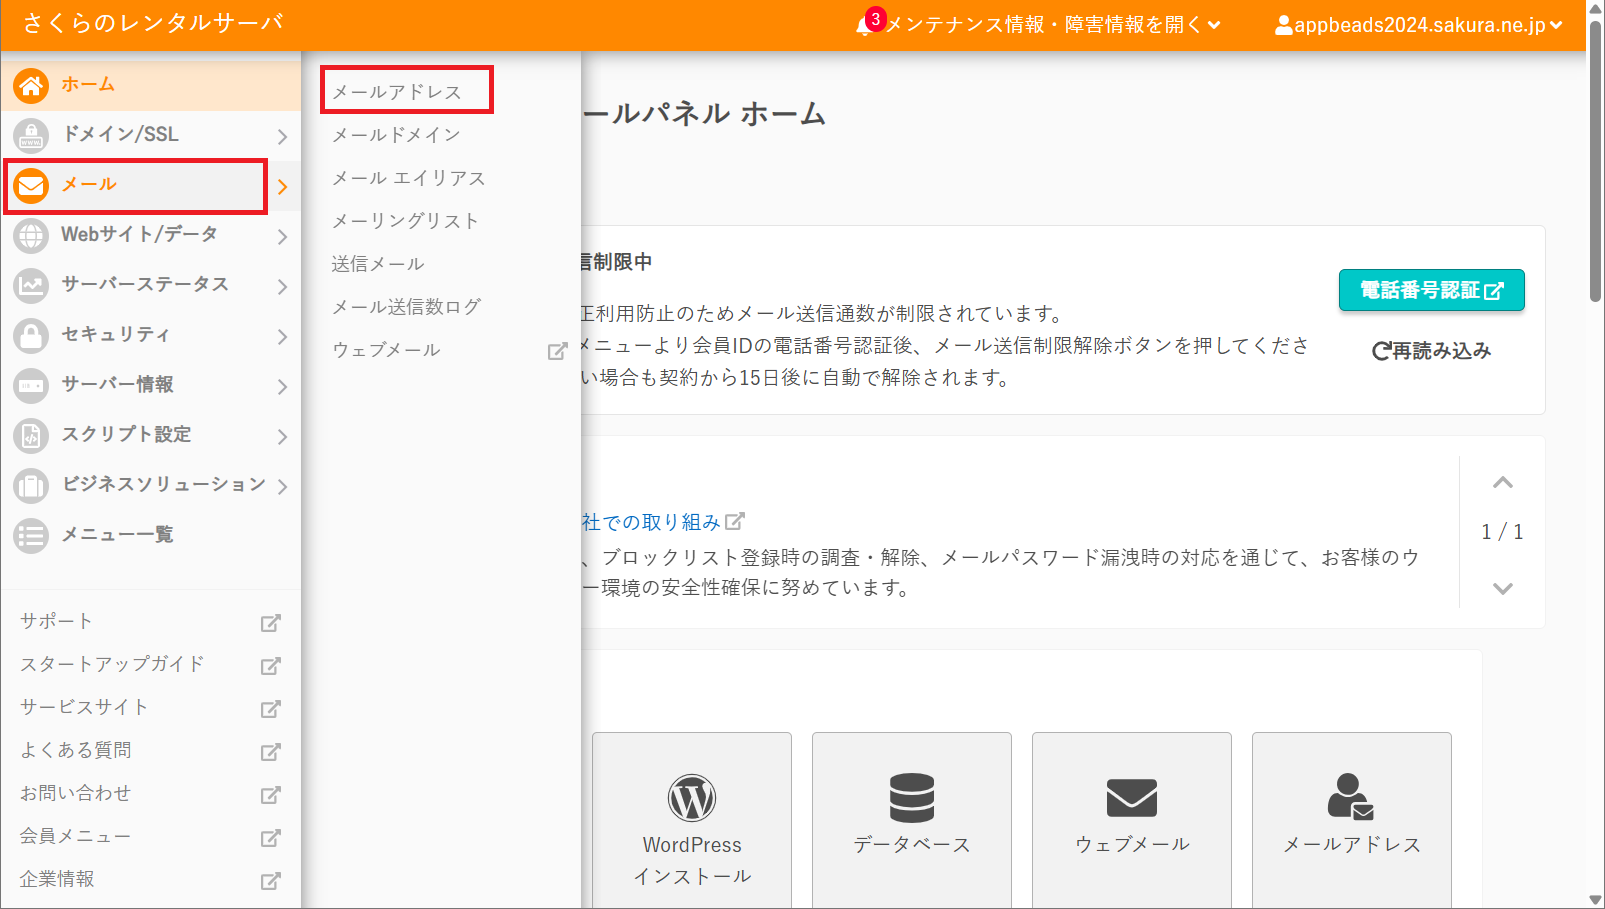
[メール] をクリックします。
続けて [メールアドレス] をクリックします。
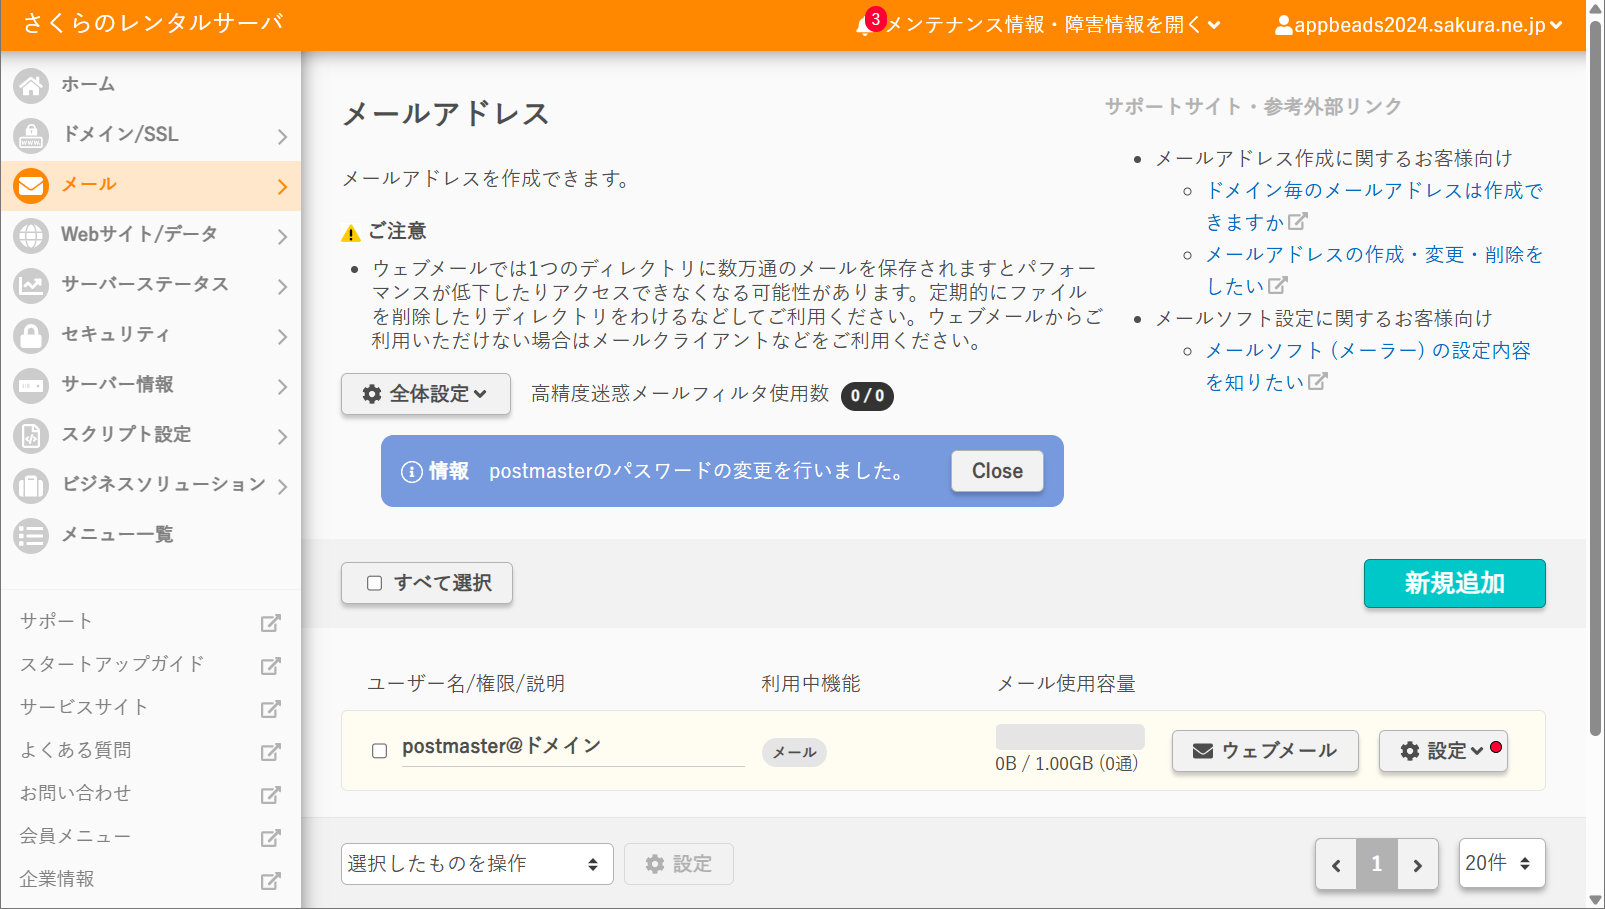
レンタルサーバーを申し込んだ時に「postmaster@ドメイン」というメールアドレスが自動的に作成されています。
この記事では「postmaster@appbeads2024.sakura.ne.jp」
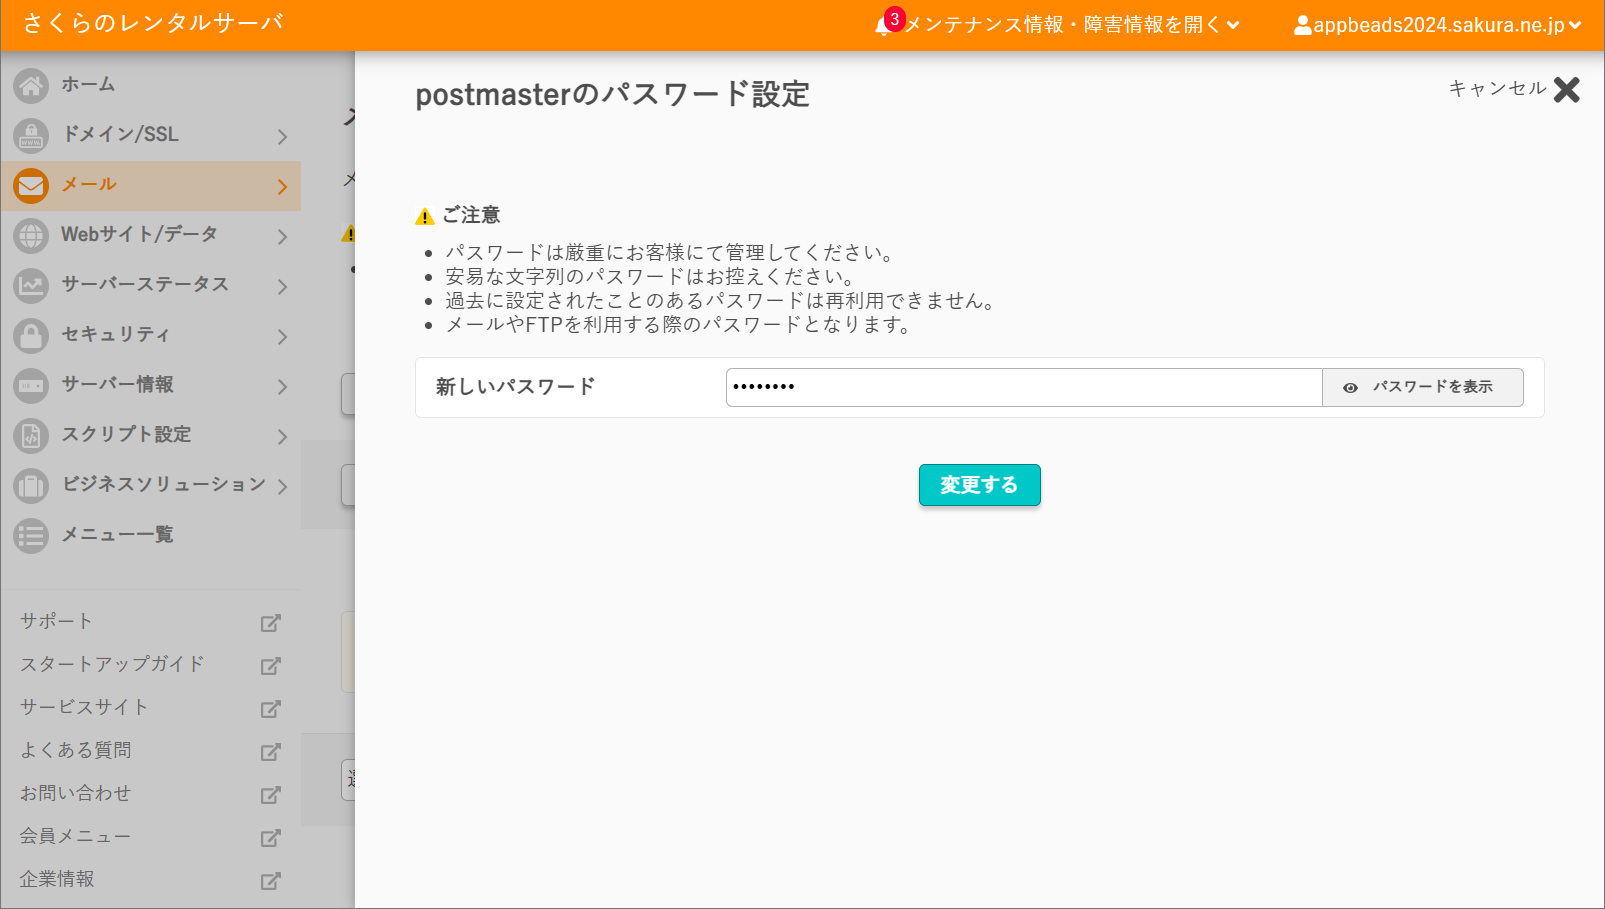
[設定] をクリックして、ポップアップメニューの [パスワード設定] をクリックします。

パスワードを設定して [変更する] をクリックします。
これで
postmaster@ドメイン(postmaster@appbeads2024.sakura.ne.jp)
が使えるようになります。
AppBeads の設定
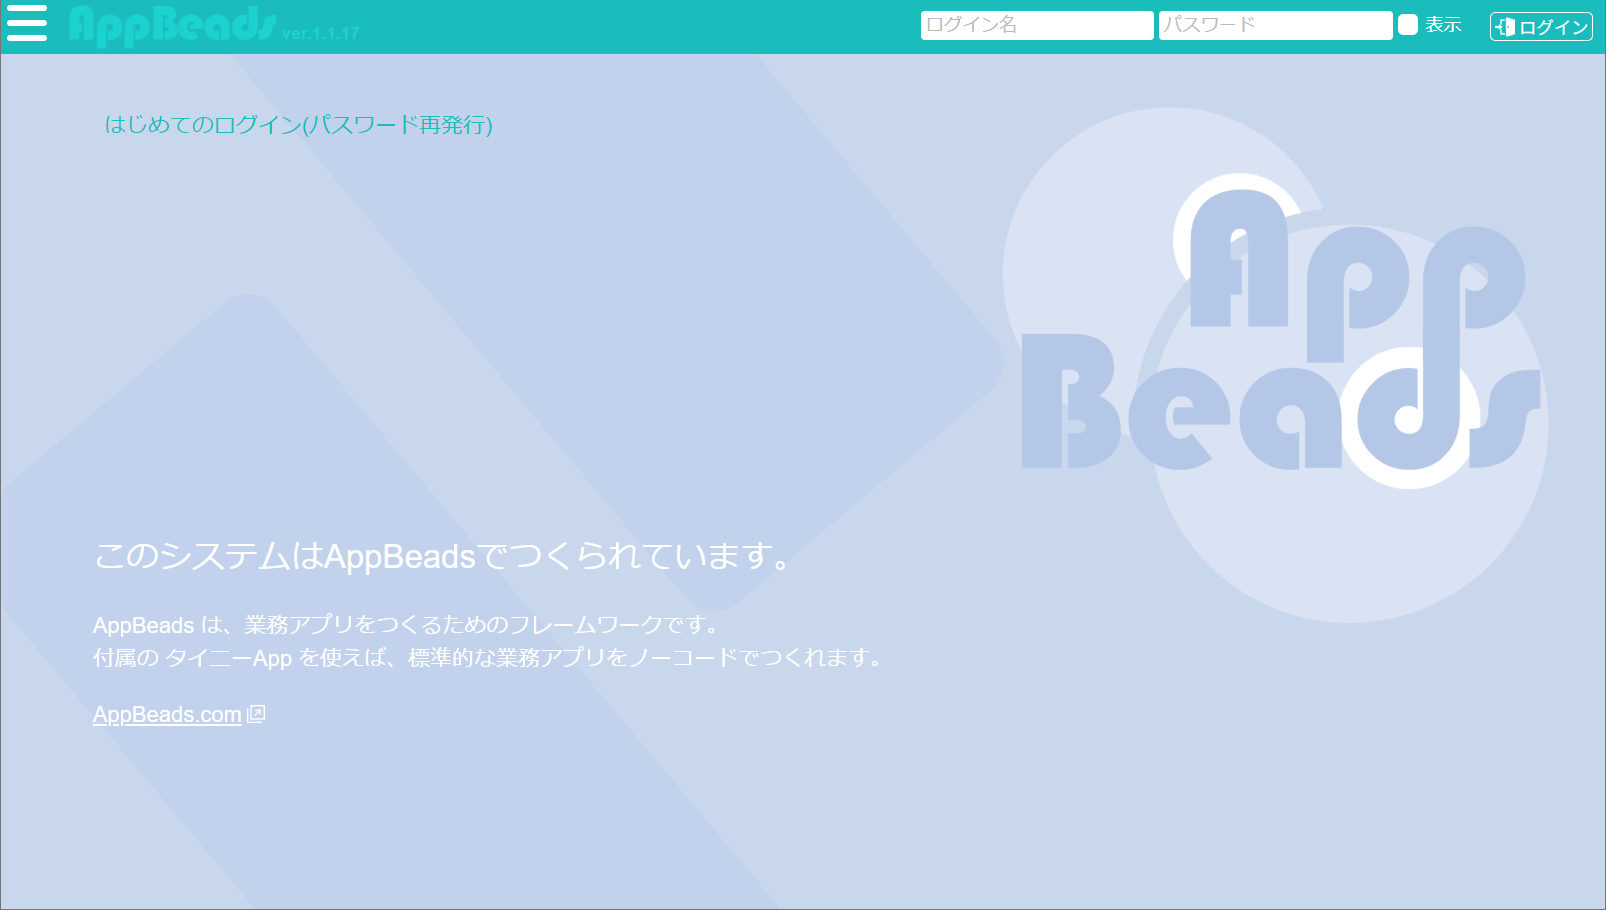
ブラウザで「http://ドメイン/appbeads」を開きます。
この記事の場合は http://appbeads2024.sakura.ne.jp/appbeads です。
メニューから [設定] を開きます。
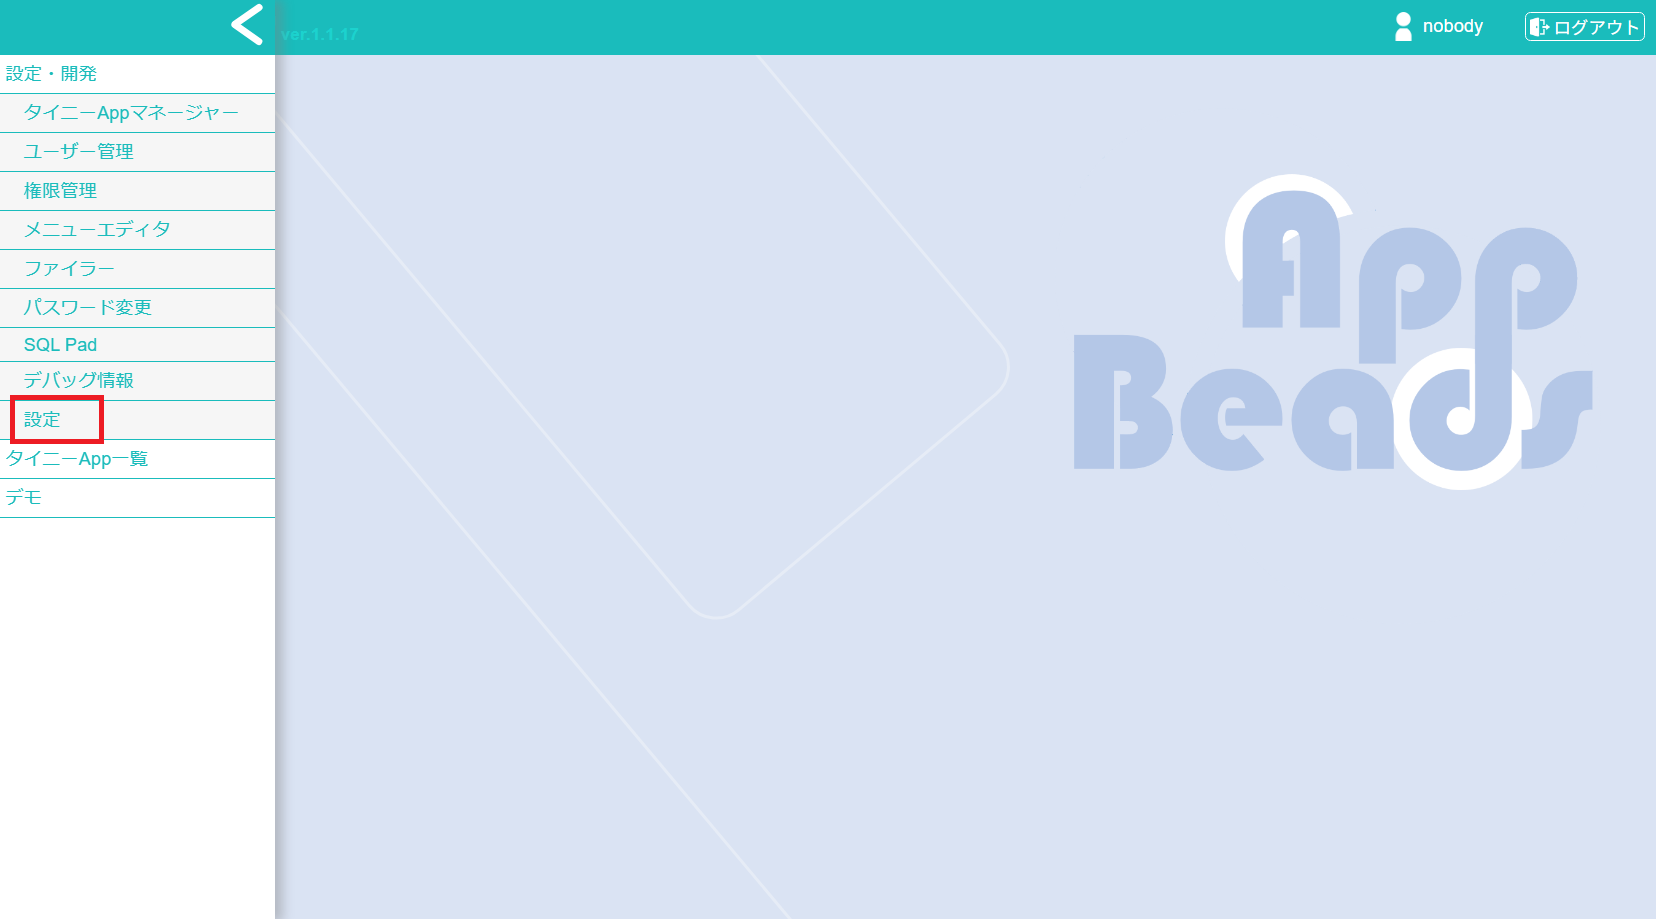
メールの設定は、データベースの設定の下にあります。
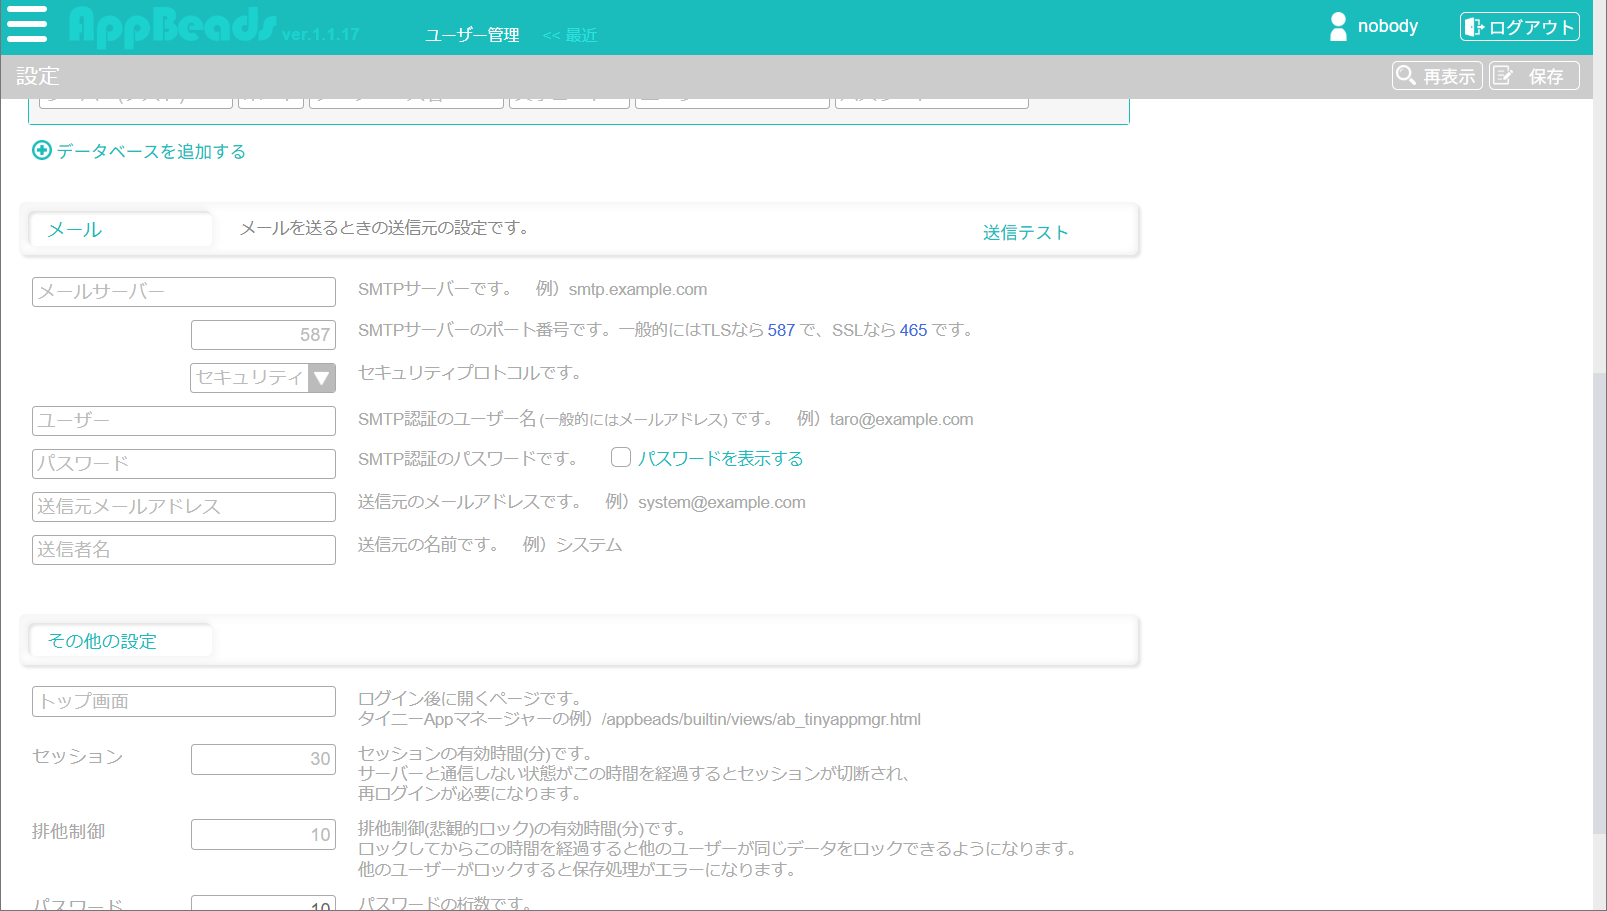
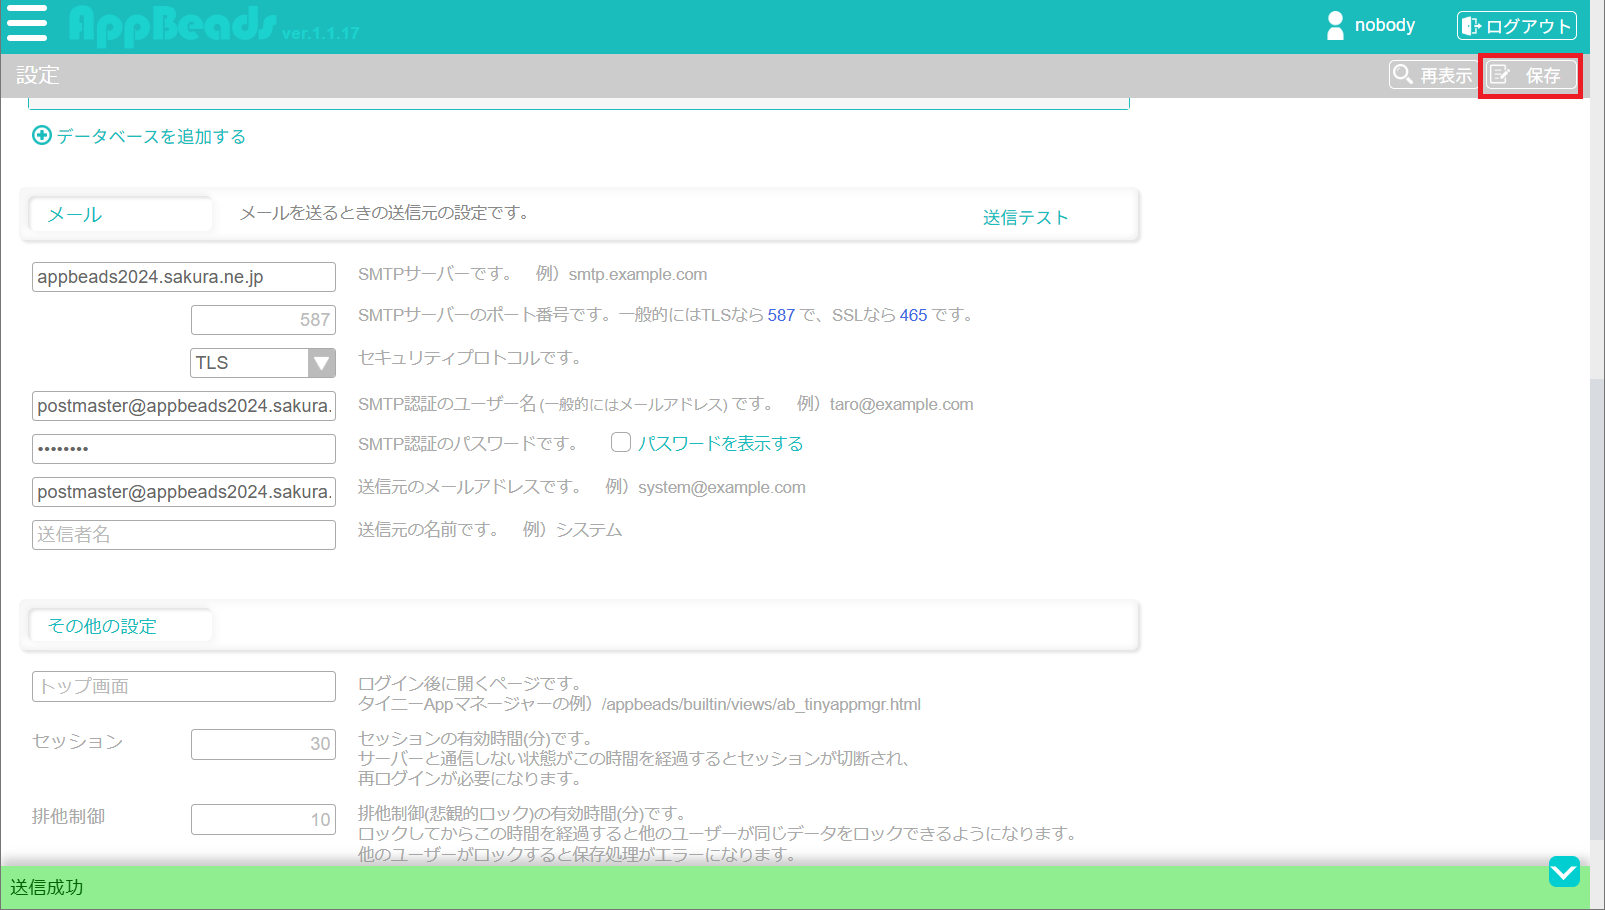
送信メールの情報を入力します。
この記事では次のように入力しています。
メールサーバー:
appbeads2024.sakura.ne.jp
メールサーバーにはドメインを入力します。
セキュリティ:
TLS
ポートはデフォルト(587)のままです。
ユーザー:
postmaster@appbeads2024.sakura.ne.jp
ユーザーにはメールアドレスを入力します。
パスワード:
postmaster@appbeads2024.sakura.ne.jp に設定したパスワード
送信元メールアドレス:
postmaster@appbeads2024.sakura.ne.jp
メールアドレスは「postmaster@ドメイン」です。
[送信テスト] をクリックします。
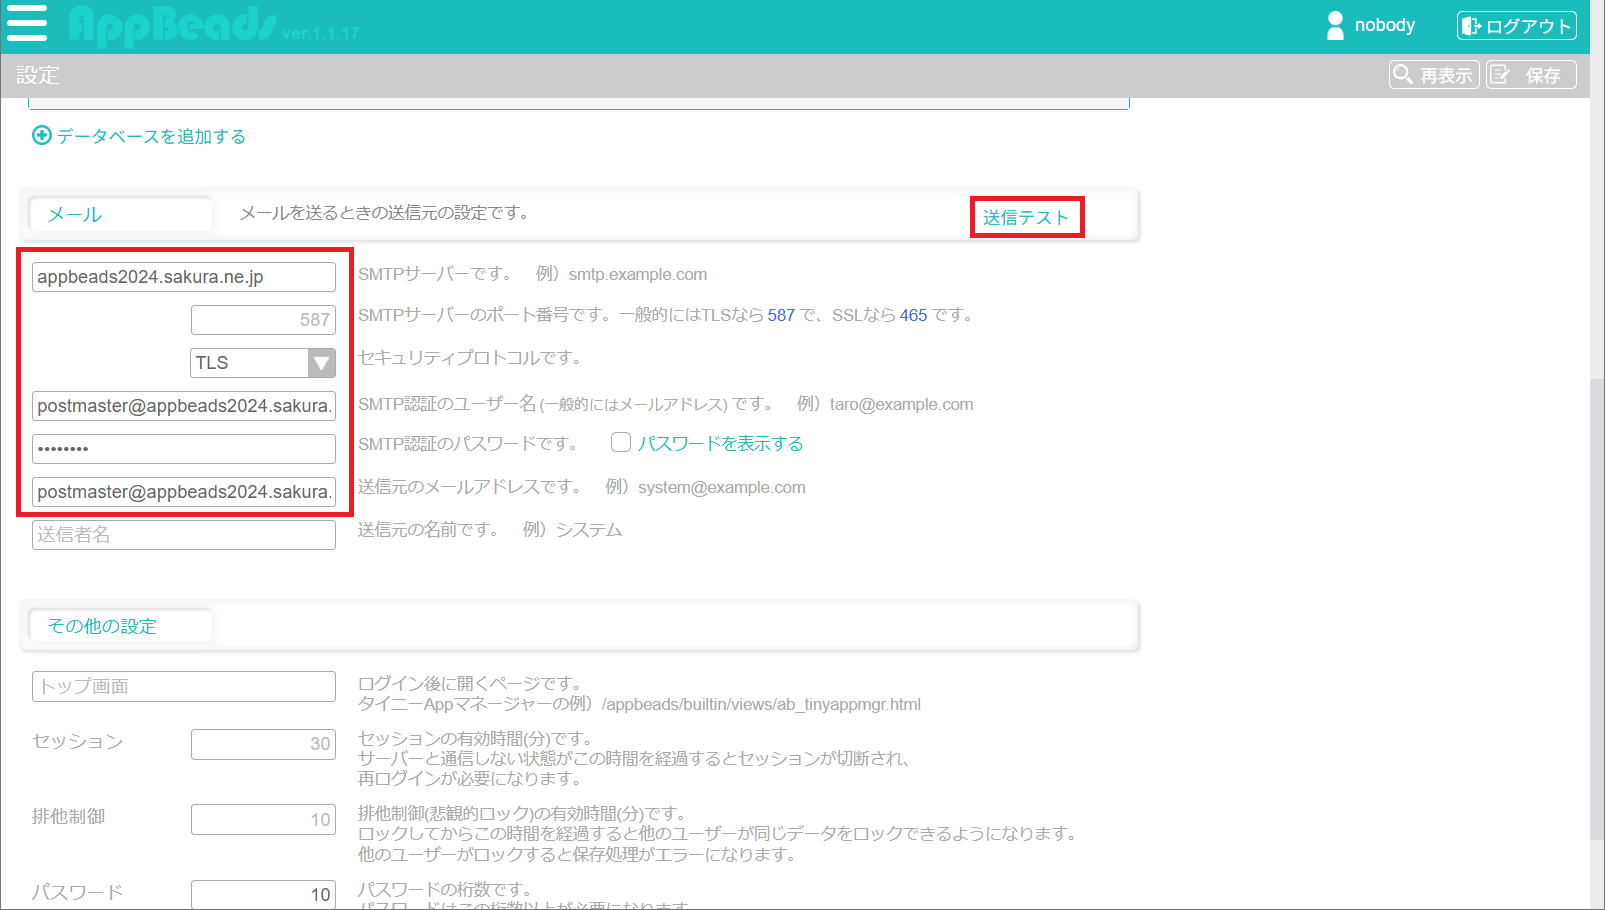
テストメールの宛先メールアドレスを入力て、[送信] をクリックします。
送信に成功したら画面右上の [保存] をクリックして設定情報を保存します。
以上で、さくらのレンタルサーバに導入したAppBeadsからメールが送信できるようになりました。