はじめに
こちらはM5Stack Advent Calendar 2019の20日目の記事です。
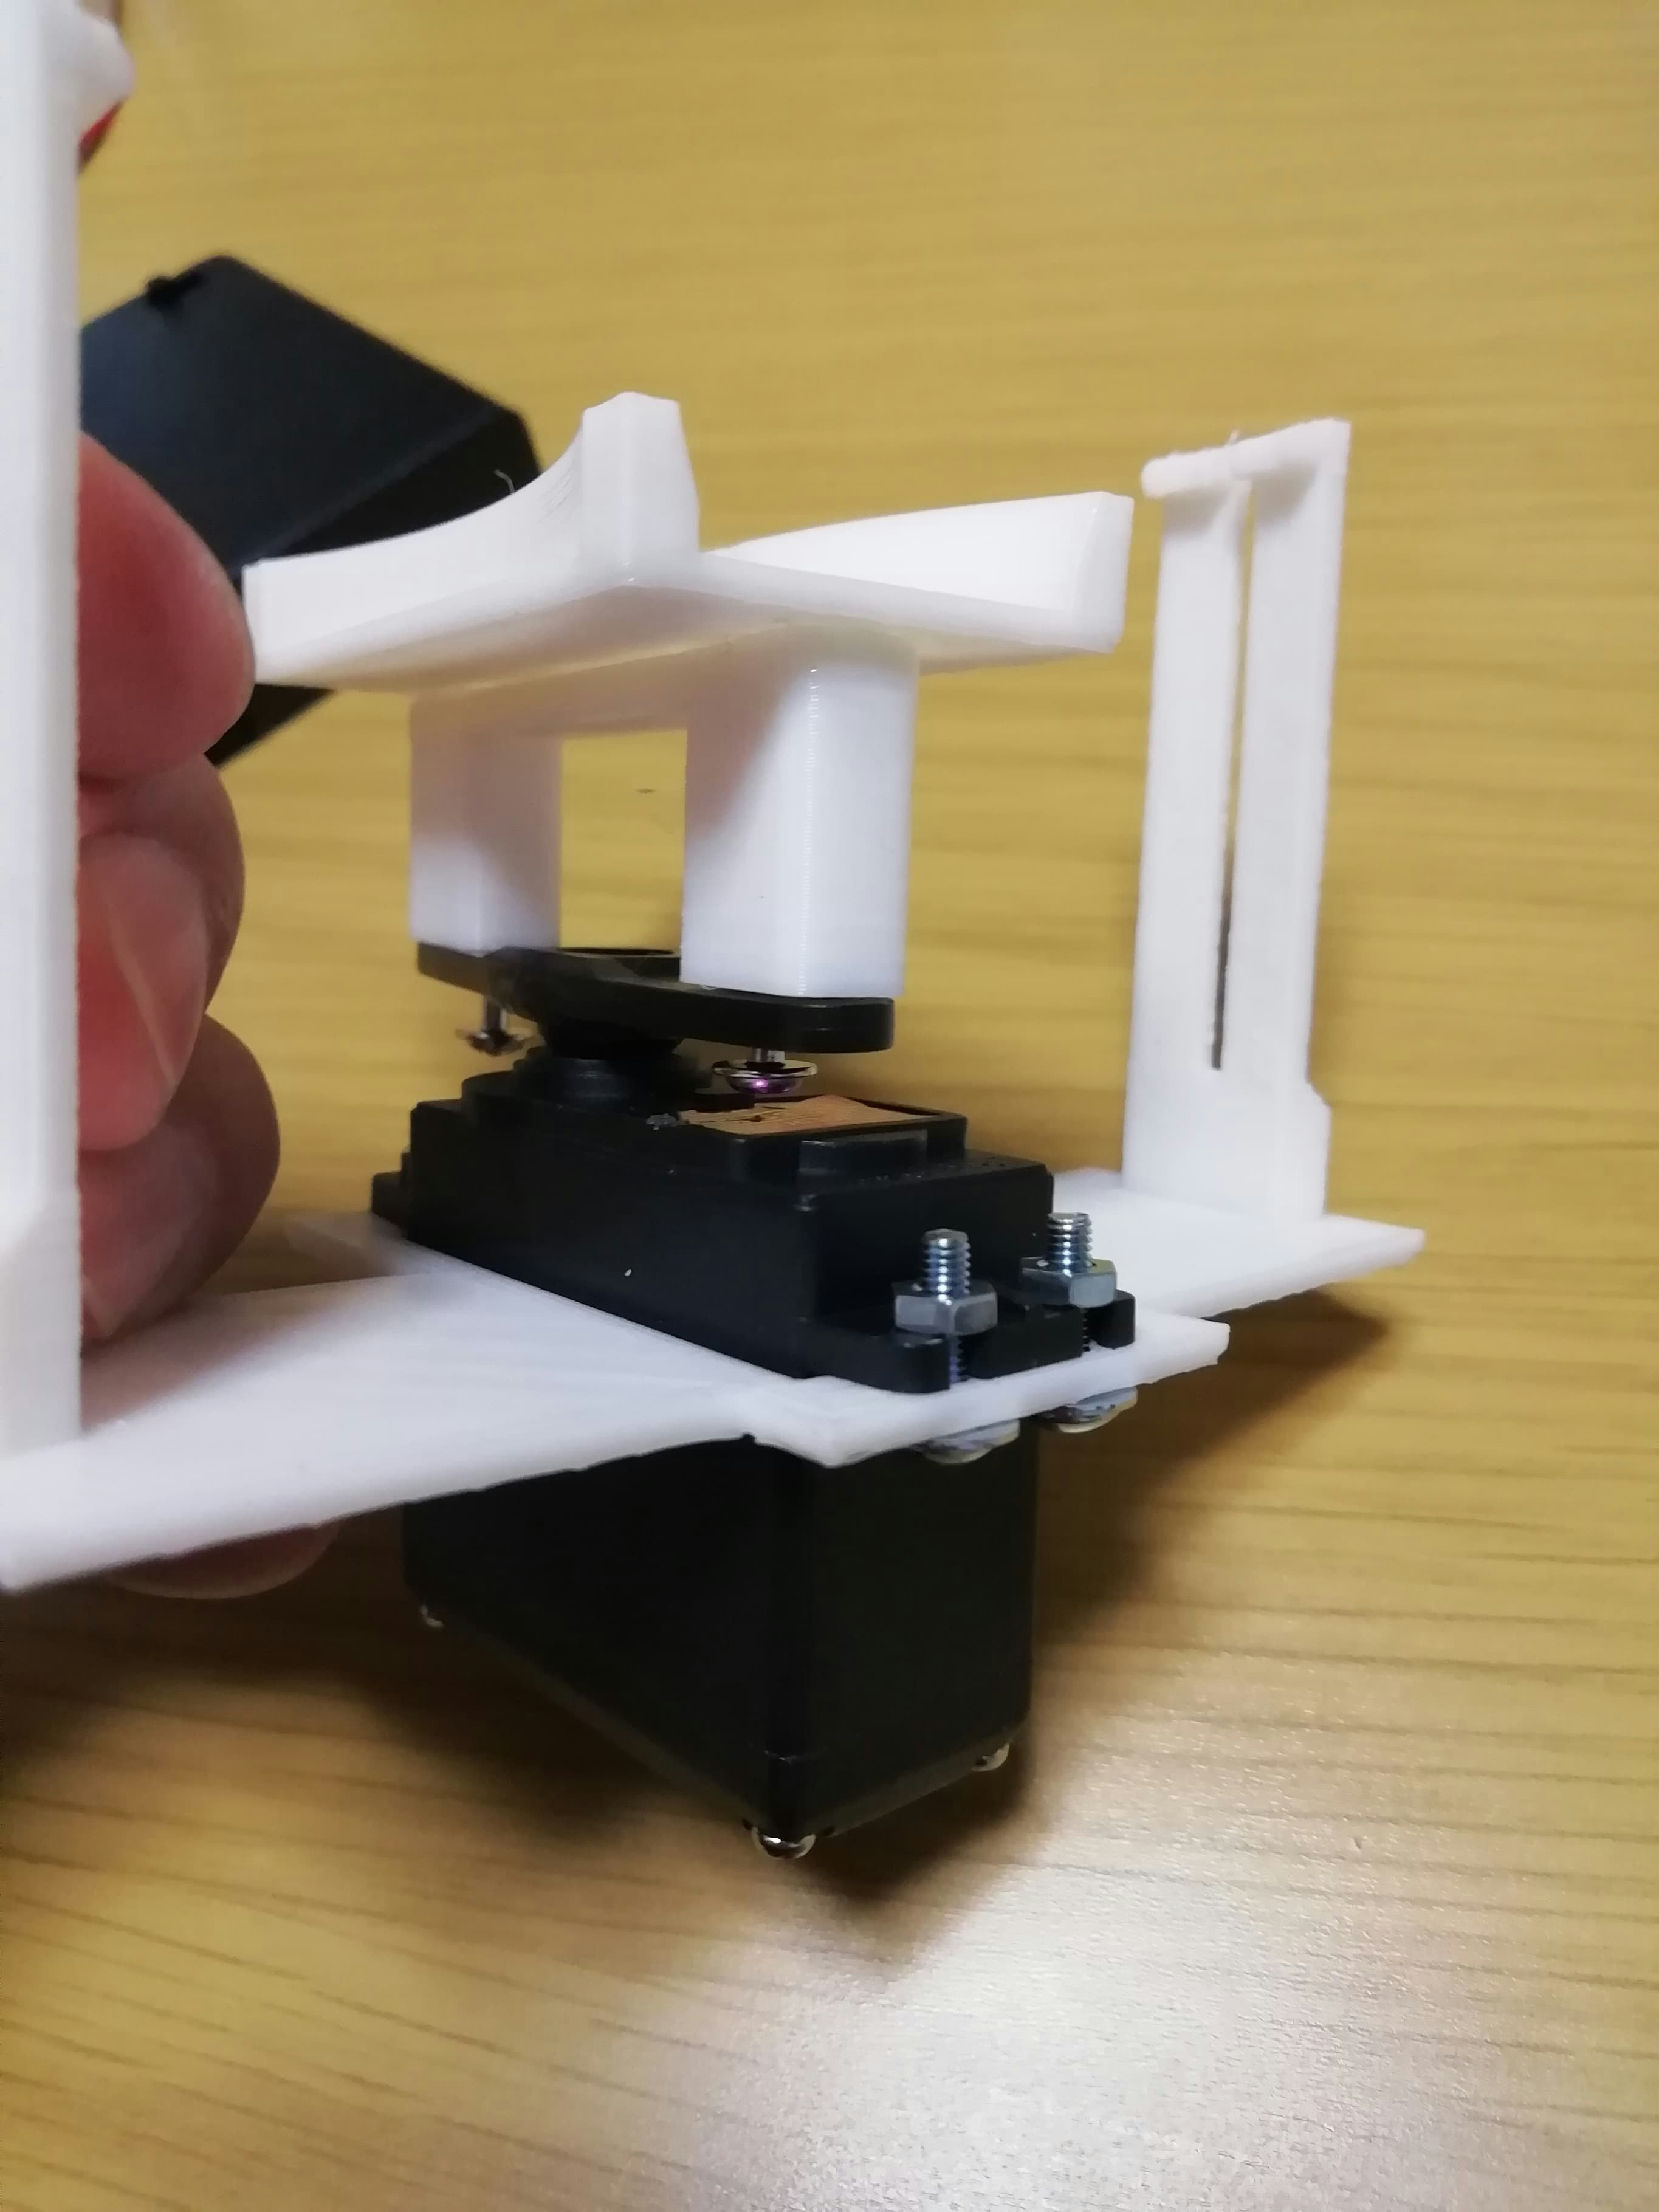
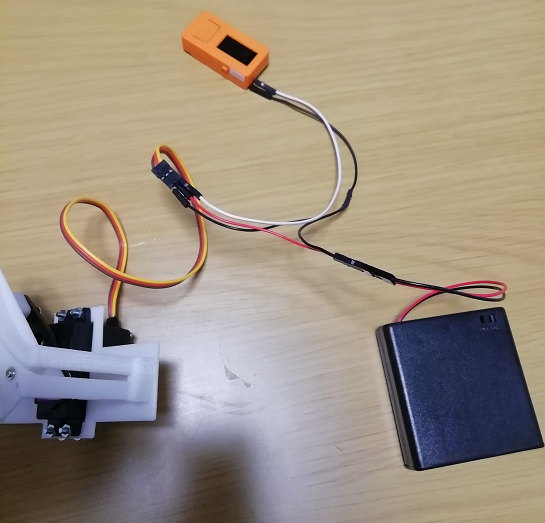
最近M5Stack公式からスマートホームコンテストがあったので、家の何かをM5StickCから動かしてみようと思い、M5StickCから制御するためにサーボを取り付けて、Alexa経由でオンオフしてみました。
結果はこちらの動画のとおりです。
Alexaからサーキュレーターの電源がON/OFF出来るようになった😃
— Katsu Shun (@katsushun89) December 19, 2019
これでわざわざスイッチを回さなくてもよくなる。#M5StickC pic.twitter.com/ySBu0u12be
サーボ購入
家のサーキュレーターはZEPEAL サーキュレーター ホワイト DKS-20W
という3000円ぐらいの安いやつなので、スイッチはダイヤル式になっています。
スイッチを手で回した感じ pic.twitter.com/IBUVLAw7Bc
— Katsu Shun (@katsushun89) December 19, 2019
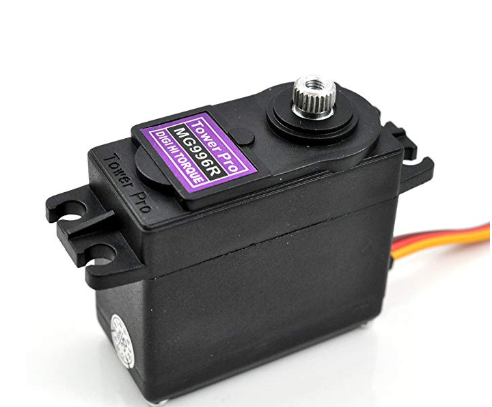
家にSG90という小さいサーボはあったんですが、これでこのスイッチを回すのはトルク的に厳しそうだったので、MG996Rというサーボを買いました。2000円はしませんでした。つよつよサーボです。
モデリング
Fusion360でもモデリングしました。
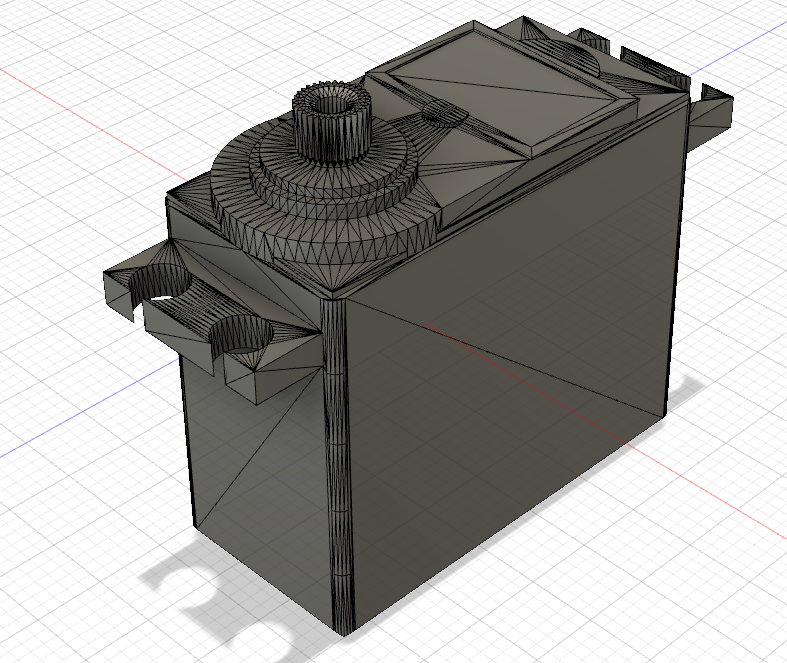
MG996RのモデリングデータはThingiverseにあったのでそれをダウンロードして使いました。
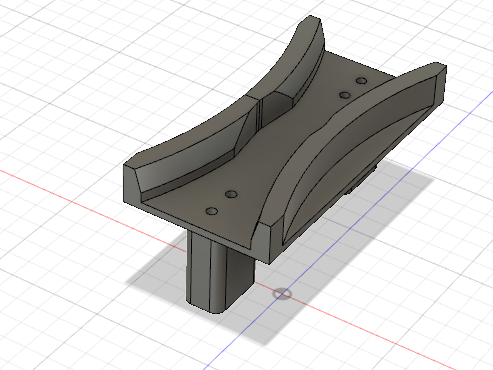
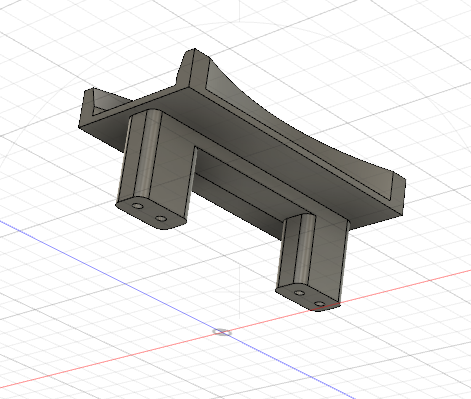
主に以下のパーツを作ります。
- サーボの先に取り付けてダイヤルを回す部分
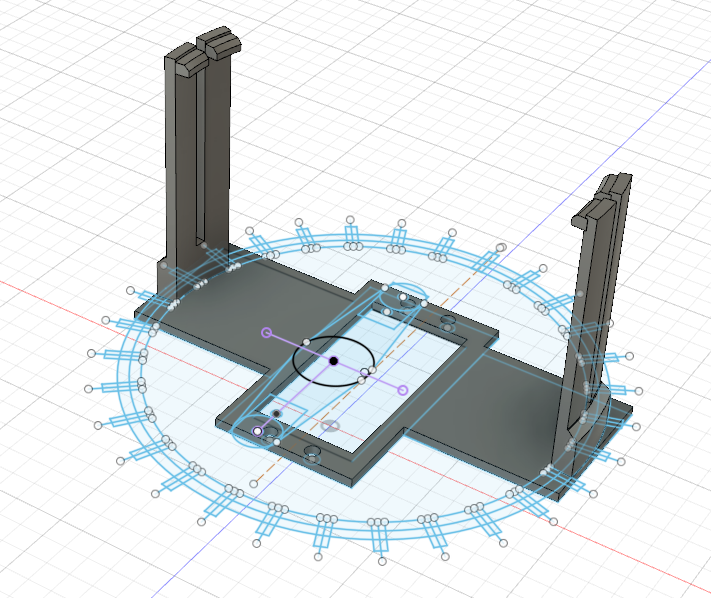
- サーボ本体側をサーキュレータに固定する部分
ダイヤルを回す部分はモデリングしたら長さが合わなかったので、延長するパーツを追加しました。
サーキュレータに固定するために、サーキュレータの網状の間にツメをひっかけるようにしました。
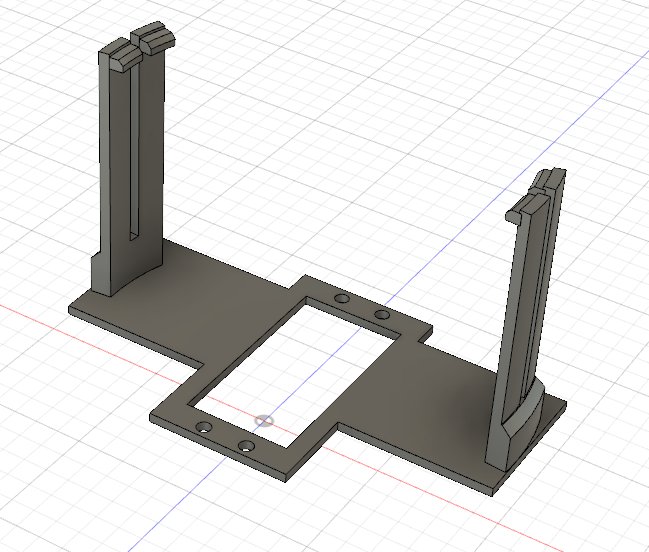
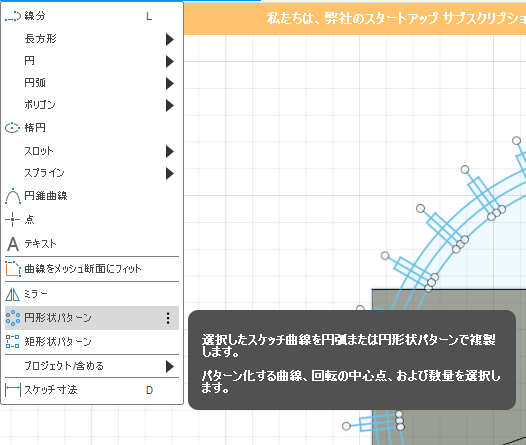
ひっかける位置はこのように円形に繰り返す形で配置しました。
円形上パターンを使って、網上の部分の数で繰り返したらそれだけでできたのであとはその隙間にツメを入れるように押し出ししてあげました。
モデリング出来たので3Dプリンタでプリントします。

割愛していますが、モデリングは失敗して調整、再度プリントを繰り返しています。(今回は2回で出来ましたが、いつも何度かは調整しますね。一発ではほぼ出来ないですw)

サーボモータを回してみる
サーキュレータのスイッチの「切」と「中」に合わせるようにサーボの指示角度を調整します。
「切」:10度
「中」:40度
としました。
サーボのPINはM5StickCのGPIO26につなぎます。サーボの電源は電池ボックス(単三4個:6V)につなぎます。M5StickC、サーボ、電池ボックスのGND側のケーブルは繋ぎます。
動作確認のために10秒単位でON/OFFしてみました。
# include <M5StickC.h>
# include <Wire.h>
# include <ESP32Servo.h>

Servo servo1; // create four servo objects
int32_t servo1_pin = 26;
const int32_t MIN_US = 500;
const int32_t MAX_US = 2400;

void setupServo(void)
{
  servo1.setPeriodHertz(50); // Standard 50hz servo
  servo1.attach(servo1_pin, MIN_US, MAX_US);
}

void setup() {
  // put your setup code here, to run once:
  M5.begin();

  Wire.begin(0,26);
  M5.Lcd.setRotation(3);
  M5.Lcd.fillScreen(BLACK);
  M5.Lcd.setCursor(0, 0, 2);

  setupServo();
}

void loop() {
  const int16_t ROTATE_ANGLE = 40;
  const int16_t INITIAL_ANGLE = 10;
  static int16_t pos = INITIAL_ANGLE;
  static int16_t inc = ROTATE_ANGLE;
  servo1.write(pos);
  pos += inc;
  if(pos >= ROTATE_ANGLE) inc = -ROTATE_ANGLE;
  else if(pos <= INITIAL_ANGLE)  inc = ROTATE_ANGLE;
  Serial.println(pos);

  M5.Lcd.setCursor(0, 20, 2);
  M5.Lcd.printf("Angle: %d ", pos);

  delay(10000);
}
サーキュレーターのダイヤル式のスイッチをサーボで回すやつ出来たー! pic.twitter.com/2nBLlNDwWS
— Katsu Shun (@katsushun89) December 18, 2019
Alexaから制御
Alexaからオンオフしてみます。
Espalexaというライブラリを使ってみようとしたんですが、一度Alexaのスマホアプリ側で認識したデバイス削除したらその後見つからなくなってしまったので、昔使ったことがあったfauxmoESPというライブラリを使ってみました。
# include <M5StickC.h>
# include <WiFi.h>
# include "fauxmoESP.h"
# include <Wire.h>
# include <ESP32Servo.h>
# include "config.h"

Servo servo1; // create four servo objects
int32_t servo1_pin = 26;
const int32_t MIN_US = 500;
const int32_t MAX_US = 2400;

const int16_t HANDLE_POSITION_OFF = 10;
const int16_t HANDLE_POSITION_2   = 40;
const int16_t HANDLE_POSITION_ON  = HANDLE_POSITION_2;

void setupServo(void)
{
  servo1.setPeriodHertz(50); // Standard 50hz servo
  servo1.attach(servo1_pin, MIN_US, MAX_US);
  delay(10000);
  servo1.write(HANDLE_POSITION_OFF);
}

fauxmoESP fauxmo;

const int led_pin = 10;
const char *id_circulator = "circulator";

void setupWifi()
{
  WiFi.mode(WIFI_STA);
  Serial.printf("connecting to %s¥n", ssid);
  WiFi.begin(ssid, password);

  while (WiFi.status() != WL_CONNECTED)
  {
    Serial.print(".");
    delay(100);
  }

  Serial.println();
  Serial.print("WiFi connected: ");
  Serial.println(WiFi.localIP());
}

void setup() {
  Serial.begin(115200);
  pinMode(led_pin, OUTPUT);
  digitalWrite(led_pin, HIGH);
  setupWifi();
  Wire.begin(0, servo1_pin);
  setupServo();

  fauxmo.createServer(true);
  fauxmo.setPort(80);
  fauxmo.enable(true);

  fauxmo.addDevice(id_circulator);

  fauxmo.onSetState([](unsigned char device_id, const char *device_name, bool state, unsigned char value){
    Serial.printf("Device #%d (%s) state: %s value: %d\n", device_id, device_name, state ? "ON" : "OFF", value);
    if (strcmp(device_name, id_circulator) == 0) {
      digitalWrite(led_pin, state ?LOW : HIGH);

      if(state){
        servo1.write(HANDLE_POSITION_ON);
      }else{
        servo1.write(HANDLE_POSITION_OFF);
      }
    }
  });
}

void loop() {
    fauxmo.handle();
}
# pragma once

const char* ssid = "yourssid";
const char* password = "yourpass";
これで最初の動画のようにオンオフ出来ました。
さいごに
Alexaからサーキュレーターの物理的なダイヤルスイッチをサーボで回してみました。
本当は、家の温度をセンシングして閾値以下になったら自動的に電源を入れるというのも作りたかったんですが、時間が間に合わなかったのでそれはまた出来たら別記事書きます。
サーボがあれば結構力づくで家のいろいろなものが動かせるので試してみてくださいー。
