概要
IBMのDeveloperツールのひとつであるData Science Experience(https://datascience.ibm.com/) には、Jupyter NotebookやR StudioなどオープンソースベースのIDEがビルトインされている。
このJupyterはデータ加工やデータ分析に非常に有用な多くの機能を持っており、WatsonなどAIの各種APIやエンジンに投げ入れる学習データやテストデータを作成するのに活躍する場面が増えてきた。
更に、Jupyterで直接Watson APIをCALLすることができれば、学習データの加工と作成→AIエンジンの学習→AIエンジンの実行の一連の流れが自動化出来て、AI活用システム開発における利便性や運用性が高まることになる。
この投稿では、Data Science Exprience上のJupyterでPythonを使って、直接Watson API(このケースではNatural Language Understanding (https://www.ibm.com/watson/services/natural-language-understanding/) )をCALLする方法について紹介する。
前提となる環境
- Data Science Experience(以下DSX)のサービス・インスタンスを作成(Bluemix もしくはDSXのWebサイト からSign upし作成、ライトプラン(無料)で可)
- IBM Watson Natural Language Understandingのサービス・インスタンスを作成(Bluemix上で作成、ライトプラン(無料)で可)
処理の流れ
- DSX上でPythonのWatson Developer Cloudのライブラリーをインストールする
- Jupyter notebookのPythonコードを書く
- 当該PythonコードでAPIを実行しResult(JSON)を得る
手順の詳細
1.DSX上でPythonのWatson Developer Cloudのライブラリーをインストールする
Watson APIをPython環境から実行するには、Watson Developer CloudのPythonのライブラリーが必要である。ちなみにこのWatson Developer CloudのPythonライブラリーを導入しないまま、Pythoのプログラムを実行すると、以下のエラーに遭遇することになる。
ModuleNotFoundError: No module named 'watson_developer_cloud.natural_language_understanding'
Data Science Experience(以下DSX)ではないJupyterの環境(Local PC上にAnacondaなどにより構築された環境)では、Phtonのライブラリーをpipコマンドなどでコマンドプロンプトから導入することが可能だが(例えば、pip install ライブラリー名)、DSXはクラウド上のサービスになるので、ローカルのpipコマンドからライブラリーを導入することが出来ない。
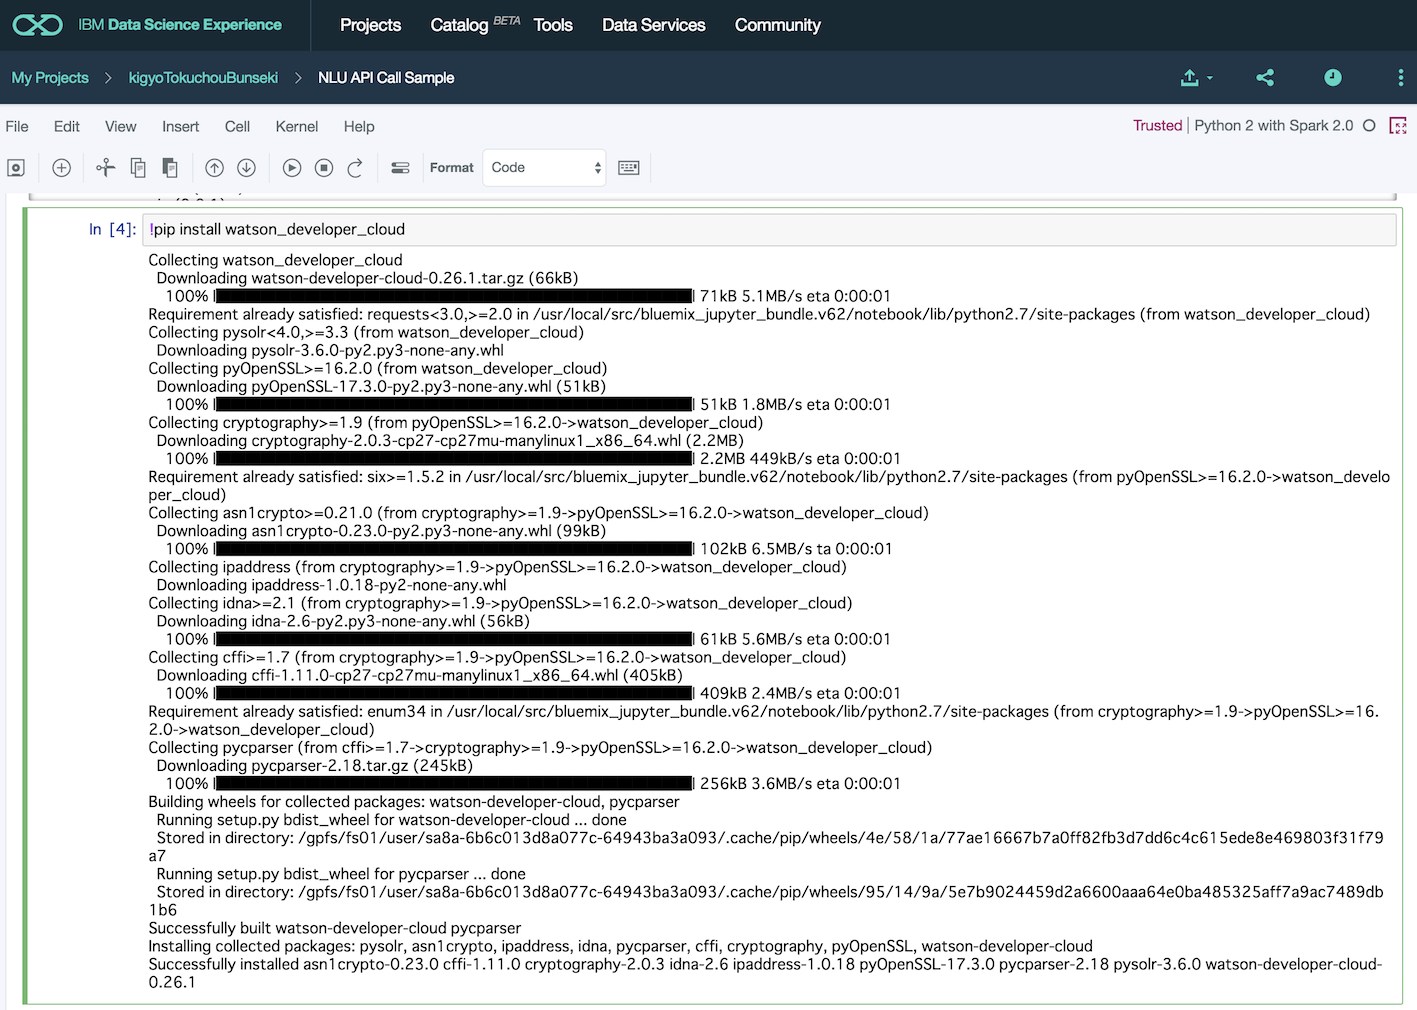
そこで、DSX上の環境にpipコマンドでライブラリーを導入するには、DSXのJupyter notebookのセルで以下のコマンドを入力する。
!pip install watson_developer_cloud
Jupyter上のセルの記述と実行結果は以下のような感じになる。
2.Jupyter notebookのPythonコードを書く
JupyterのProject上で、add notebookをクリックし、新しいnotebookを作成し、以下のコードを記述する。
Natural Language Understandingのusername(以下NLU)とpasswordは、Bluemix上の当該サービス・インスタンスのサービス資格情報から取得したものをコピーして記述する。
import json
from watson_developer_cloud import NaturalLanguageUnderstandingV1
import watson_developer_cloud.natural_language_understanding.features.v1 as \
    Features


natural_language_understanding = NaturalLanguageUnderstandingV1(
    version='2017-02-27',
    username="Your username",
    password="Your password")

response = natural_language_understanding.analyze(
    text='Bruce Banner is the Hulk and Bruce Wayne is BATMAN! '
         'Superman fears not Banner, but Wayne.',
    features=[Features.Entities(), Features.Keywords()])

print(json.dumps(response, indent=2))
3.当該PythonコードでAPIを実行しResult(JSON)を得る
このコードが記述されたセルを実行すると、リクエストで指定したTextがNLUのAPIで解析され、APIコールで指定されたFeature(この例ではEntitiesとKeywordsが指定されている)を抽出しJSON形式でリターンされる。

【補足】参考文献
Error Importing Library
元々はローカルのJupyter環境でWatson APIをCallした際に、「ModuleNotFoundError: No module named 'watson_developer_cloud.natural_language_understanding」のエラーに遭遇し、この記事から調べ始めたもの。この記事の終盤に、PythonからWatson APIをコールするサンプルが載っているがうまく動かない。
watson-developer-cloud/python-sdk
こちらのPythonコードでは、Watson Developer CloudのライブラリーをインストールすればWatson APIのコールが出来る。
Install custom or third-party libraries and packages
DSX環境にサードパーティーのライブラリーやパッケージを導入するためのガイド。Pythonのライブラリー以外にのJARファイルやRパッケージの導入方法等も書かれている。