はじめに
Payjpを利用してカード情報が登録されていることが前提です
Payjpカード情報登録
前提
- Railsでの実装
- deviseの導入が済んでいる
- hamlでの記載(gem 'haml-rails')をする
- Payjpカード情報登録ができている
前回の記事の一番下に、成功例と失敗例を記述しています
カード情報が紐づいている状態にしてください
全体の流れ
- viewの作成
- controller作成
- ルーティング設定
1.viewの作成
viewを作成します
今回は、フリマアプリのコピーサイトを元に作成します
indexが購入確認画面、doneが購入完了画面です
.buy
  .buy__header
    = link_to root_path do
      = image_tag "/fmarket_logo_red.svg", size: "185x49", class: "single_header__img"
  .buy__centerbox
    .buy__centerbox__head
      購入内容の確認
    .buy__centerbox__item
      .buy__centerbox__item__bx
        .buy__centerbox__item__bx__image
          = image_tag "/fmarket_logo_red.svg"
        .buy__centerbox__item__bx__right
          .buy__centerbox__item__bx__right__name
            = @item.name
          .buy__centerbox__item__bx__right__detail
            - i_price = @item.price.to_s
            = "¥" + i_price + " (税込) 送料込み"
    .buy__centerbox__buyinfo
      .buy__centerbox__buyinfo__price
        .buy__centerbox__buyinfo__price__upper
          .buy__centerbox__buyinfo__price__upper__detail
            支払い金額
          .buy__centerbox__buyinfo__vprice__upper__price
            = "¥" + i_price
        .buy__centerbox__buyinfo__price__under
          %input{type:"checkbox", value:"1"}/
          %label{for:"status_all"} ポイントを使用 (所持ポイント: P180)
      .buy__centerbox__buyinfo__card
        .buy__centerbox__buyinfo__card__upper
          .buy__centerbox__buyinfo__card__upper__detail
            支払い方法
          .buy__centerbox__buyinfo__card__upper__change
            =link_to "#" do
              .buy__centerbox__buyinfo__card__upper__change__text
                変更する
        .buy__centerbox__buyinfo__card__under
          クレジットカード
          %br/
          - if @default_card_information.blank?
            %br /
          - else
            -#以下カード情報を表示
            = "**** **** **** " + @default_card_information.last4
          %br/
          - exp_month = @default_card_information.exp_month.to_s
          - exp_year = @default_card_information.exp_year.to_s.slice(2,3)
          = "有効期限" + exp_month + " / " + exp_year
          %h4.card-logo
            = image_tag "/logo_gray.svg", size: "15x49", alt:"visa"
      .buy__centerbox__buyinfo__adress
        .buy__centerbox__buyinfo__adress__upper
          .buy__centerbox__buyinfo__adress__upper__detail
            配送先
          .buy__centerbox__buyinfo__adress__upper__change
            =link_to "#" do
              .buy__centerbox__buyinfo__adress__upper__change__text
                変更する
        .buy__centerbox__buyinfo__adress__under
          〒000-0001
          %br/
          兵庫県 宝塚市
          〇〇町0-0-3
          %br/
          hoge 太郎
      .buy__centerbox__buyinfo__buybutton
        = form_tag(action: :pay, method: :post) do
          %button.btn{type:"submit",class:"buy__centerbox__buyinfo__buybutton__red"} 購入する
  .buy__footer
    .buy__footer__box
      %ul#ul
        =link_to "プライバシーポリシー","#",class:"buy__footer__box__atag"
        = link_to "メルカリ利用規約","#",class:"buy__footer__box__atag"
        = link_to "特定商取引に関する表記","#",class:"buy__footer__box__atag"
        = link_to '', "/", id: "buy__footer__box__atag"
        = image_tag "/logo_gray.svg", size: "100x85", class: "single_header__img"
      %p#p ©Meruari,Inc
.buy
  .buy__header
    = link_to root_path do
      = image_tag "/fmarket_logo_red.svg", size: "185x49", class: "single_header__img"
  .buy__alert
    .buy__alert__top
      %i.far.fa-clock.alert__icon
      .buy__alert__top__text
        発送をお待ちください
    .buy__alert__bottom
      出品者からの発送通知をお待ちください
  .buy__centerbox
    .buy__centerbox__head
      購入が完了しました
    .buy__centerbox__item
      .buy__centerbox__item__bx
        .buy__centerbox__item__bx__image
          = image_tag "/fmarket_logo_red.svg"
        .buy__centerbox__item__bx__right
          .buy__centerbox__item__bx__right__name
            = @item.name
          .buy__centerbox__item__bx__right__detail
            - i_price = @item.price.to_s
            = "¥" + i_price + " (税込) 送料込み"
    .buy__centerbox__buyinfo
      .buy__centerbox__buyinfo__price
        .buy__centerbox__buyinfo__price__upper
          .buy__centerbox__buyinfo__price__upper__detail
            支払い金額
          .buy__centerbox__buyinfo__vprice__upper__price
            = "¥" + i_price
      .buy__centerbox__buyinfo__buybutton
        = link_to root_path do
          %button.btn{type:"submit",class:"buy__centerbox__buyinfo__buybutton__red"} 戻る
  .buy__footer
    .buy__footer__box
      %ul#ul
        =link_to "プライバシーポリシー","#",class:"buy__footer__box__atag"
        = link_to "メルカリ利用規約","#",class:"buy__footer__box__atag"
        = link_to "特定商取引に関する表記","#",class:"buy__footer__box__atag"
        = link_to '', "/", id: "buy__footer__box__atag"
        = image_tag "/logo_gray.svg", size: "100x85", class: "single_header__img"
      %p#p ©Meruari,Inc
住所下のform_tagがうまく働かなければ、link_toに変更してください
controllerの設定
続いてcontrollerの設定です
class PurchaseController < ApplicationController
  require 'payjp'        #Payjpの読み込み
  before_action :set_card, :set_item

  def index
    if @card.blank?
      #登録された情報がない場合にカード登録画面に移動
      redirect_to controller: "cards", action: "new"
    else
      Payjp.api_key = ENV["PAYJP_PRIVATE_KEY"]
      #保管した顧客IDでpayjpから情報取得
      customer = Payjp::Customer.retrieve(@card.customer_id)
      #保管したカードIDでpayjpから情報取得、カード情報表示のためインスタンス変数に代入
      @default_card_information = customer.cards.retrieve(@card.card_id)
    end
  end

  def pay
    Payjp.api_key = ENV["PAYJP_PRIVATE_KEY"]
    Payjp::Charge.create(
    :amount => @item.price,          #支払金額を引っ張ってくる
    :customer => @card.customer_id,  #顧客ID
    :currency => 'jpy',              #日本円
  )
  redirect_to action: 'done' #完了画面に移動
  end

  def done
  end

  private

  def set_card
    @card = Card.where(user_id: current_user).first
  end
  def set_item
    @item = Item.find(params[:item_id])
  end
end
set_card,set_itemの記述で、cardとitemの情報をもってきます
今回は、先ほど作成したindexから、form_tag内のaction: 'pay'で、controller内のpayを発動させます。
ルーティング設定
ルーティング設定ですが、今回商品詳細ページからitem_idを引き継ぎたかったので、下記のようにしました
  resources :items do
    resources :purchase, only: [:index] do
      collection do
        post 'pay', to: 'purchase#pay'
        get 'done', to: 'purchase#done'
      end
    end
  end
これで完了です
あとは商品を作成して、挙動を確認してみましょう
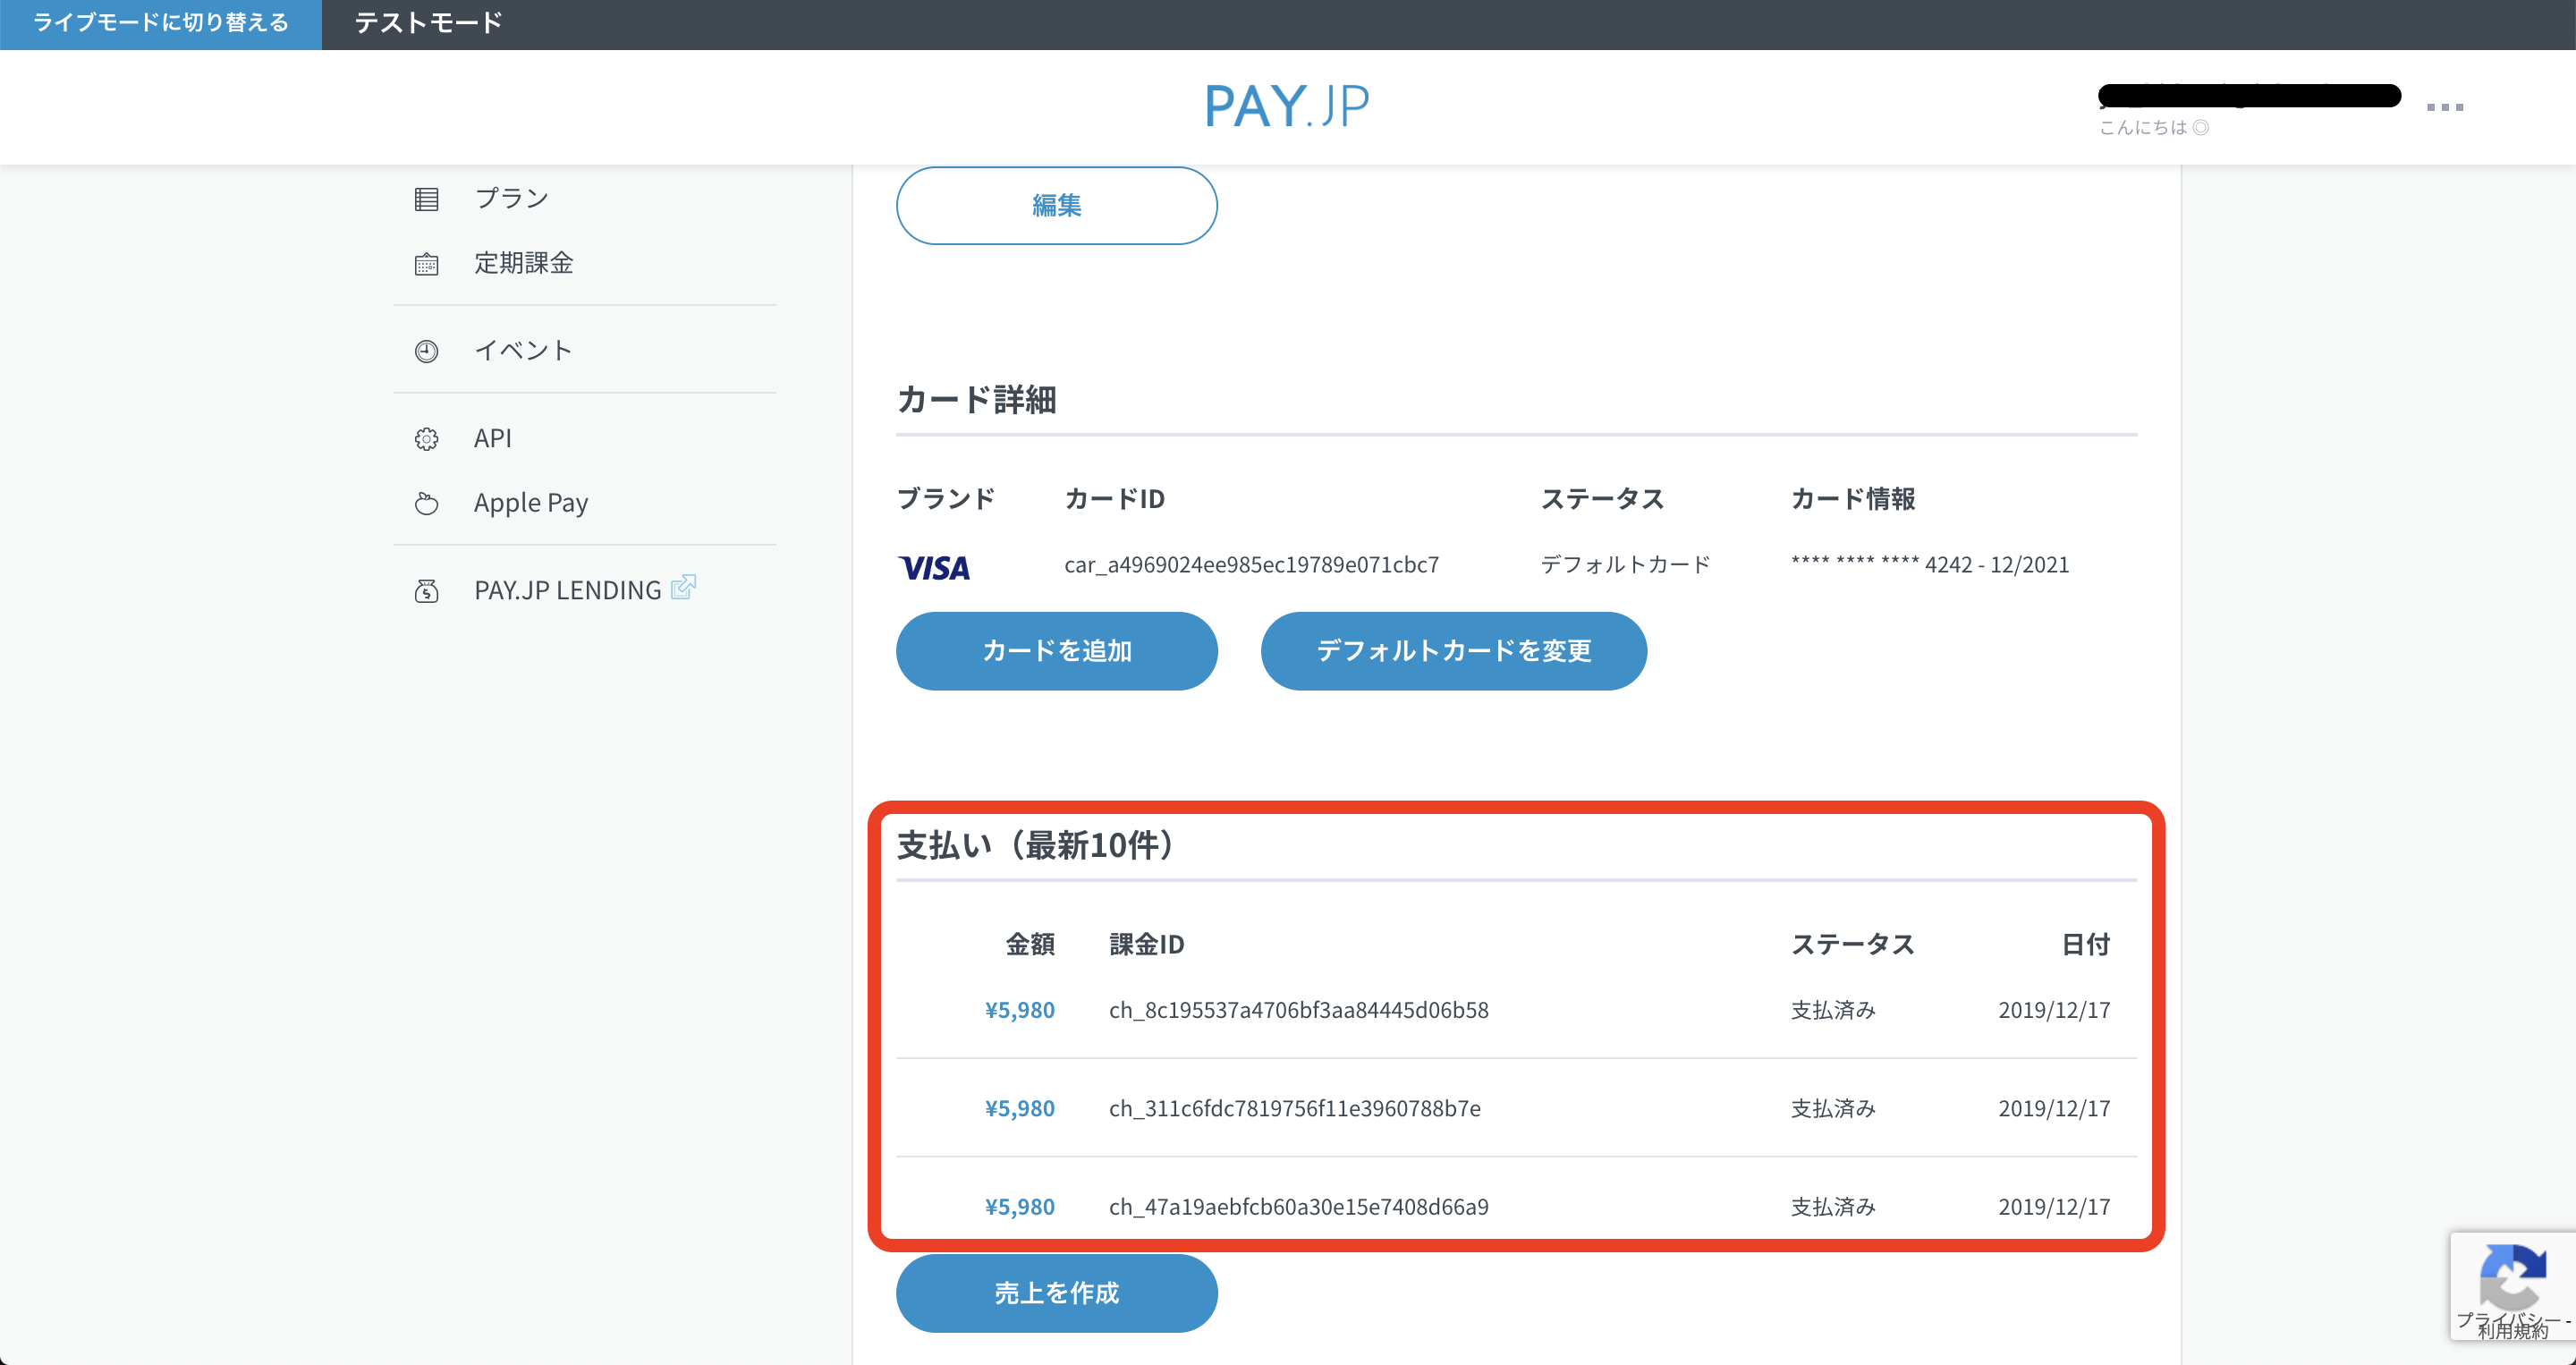
購入の確認
さいごに
実装ができてしまえばそこまで難しいところはないのかなという感じがします
が、前回のカードの登録に関してトークンの作成や情報の紐付け部分で結構苦戦しました
この記事が誰かの一助になれば幸いです
参考記事
https://pay.jp/docs/api/
https://qiita.com/takachan_coding/items/d21c0d2621368c9b0d9b
https://qiita.com/tanaka-t/items/99b722ab3be471d43183
